How To Record Your Screen On Your Computer

Imagine you’re navigating a complex software tutorial, a friend needs help with a tech issue from afar, or you’ve just achieved an epic gaming moment you want to share. Frustration mounts as words fail to capture the nuances of what you’re seeing on your screen. Wouldn't it be fantastic to simply *show* them exactly what's happening?
This article unveils the secrets of screen recording, offering a comprehensive guide to capturing your computer screen, whether you're a seasoned techie or a complete beginner. We’ll explore both built-in tools and external software, empowering you to effortlessly create tutorials, share gameplay highlights, and troubleshoot tech problems with ease.
The Rise of Visual Communication
The digital age has ushered in an era dominated by visual communication. Think about the popularity of platforms like YouTube and TikTok, which are testament to our preference for seeing rather than just reading.
Screen recording has become an indispensable tool for creators, educators, and professionals alike. According to a recent report by Statista, the online video market is projected to reach over $470 billion by 2025, demonstrating the skyrocketing demand for visual content.
Built-In Screen Recording Tools: Your Computer's Hidden Gems
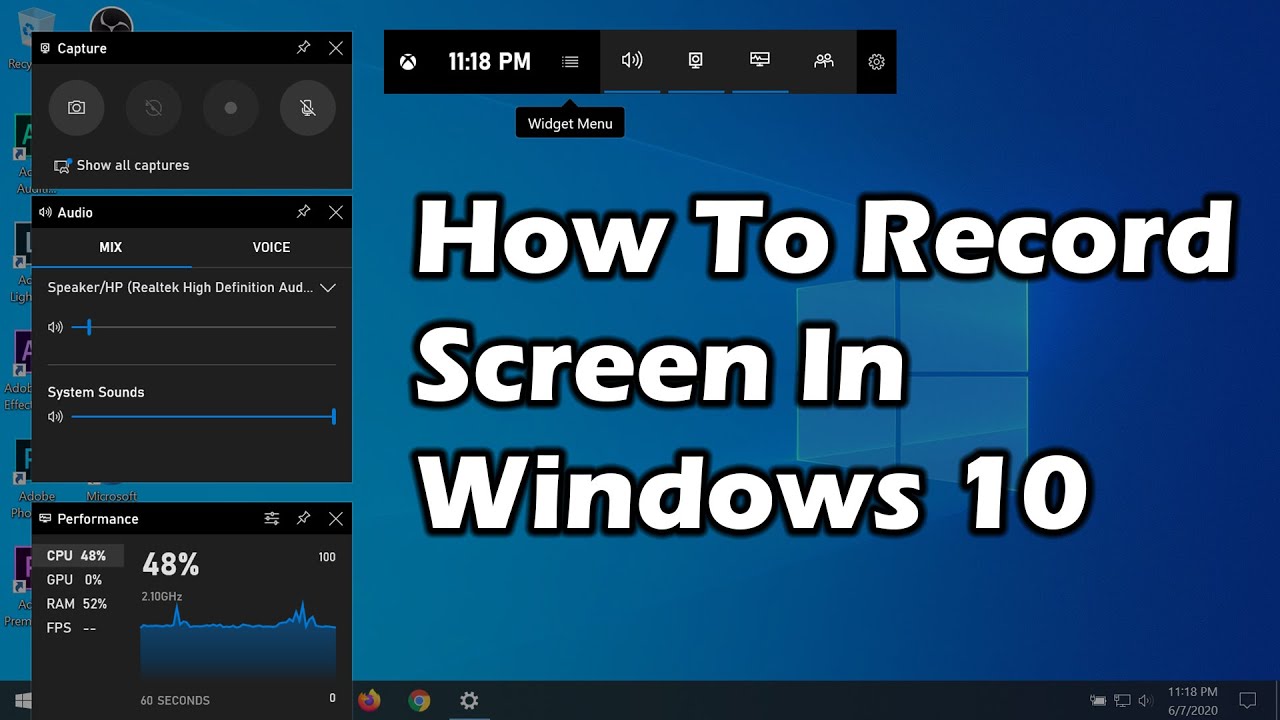
Windows 10 and 11: The Game Bar Advantage
Microsoft has thoughtfully included a screen recording feature directly into Windows 10 and 11 through the Game Bar. Despite its name, it's not just for gaming!
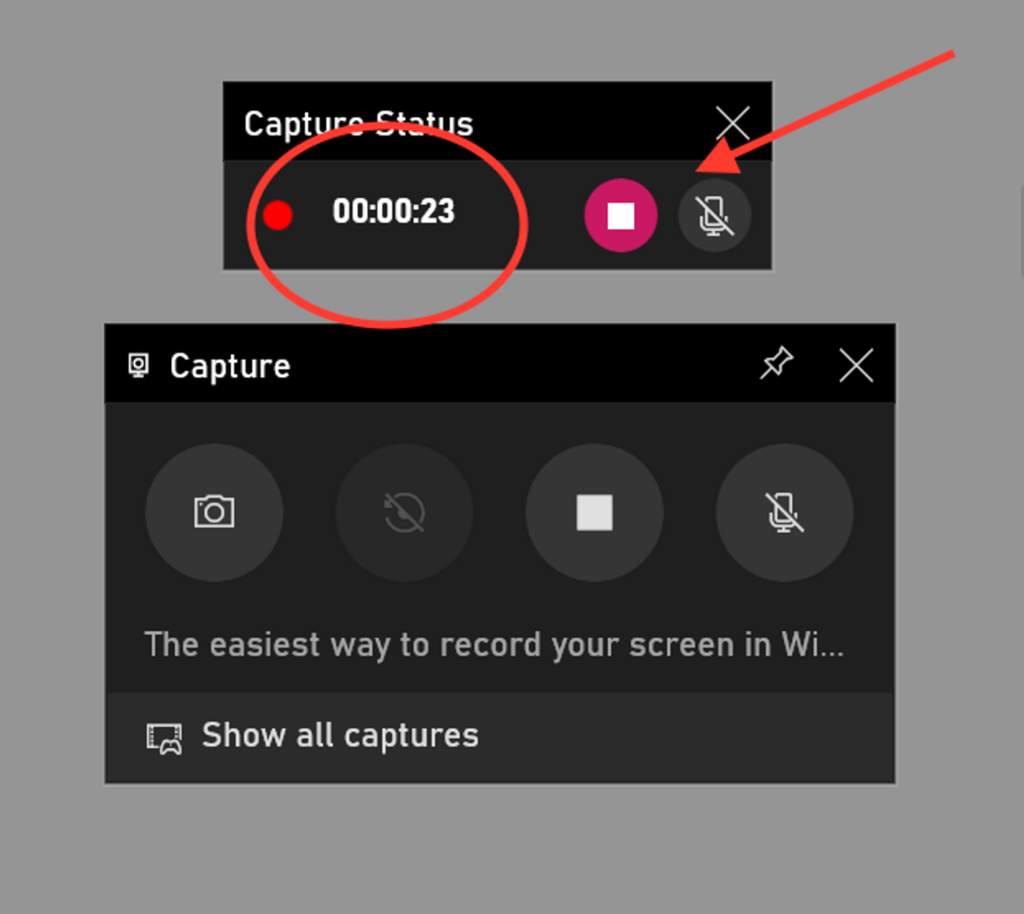
Simply press the Windows key + G to bring up the Game Bar. If you're prompted to confirm it’s a game, just check the box, and the record button will appear. You can then start and stop recordings with a click or by using the keyboard shortcut Windows key + Alt + R. The recorded videos are conveniently saved in your Videos/Captures folder.
macOS: Simplicity and Power Combined
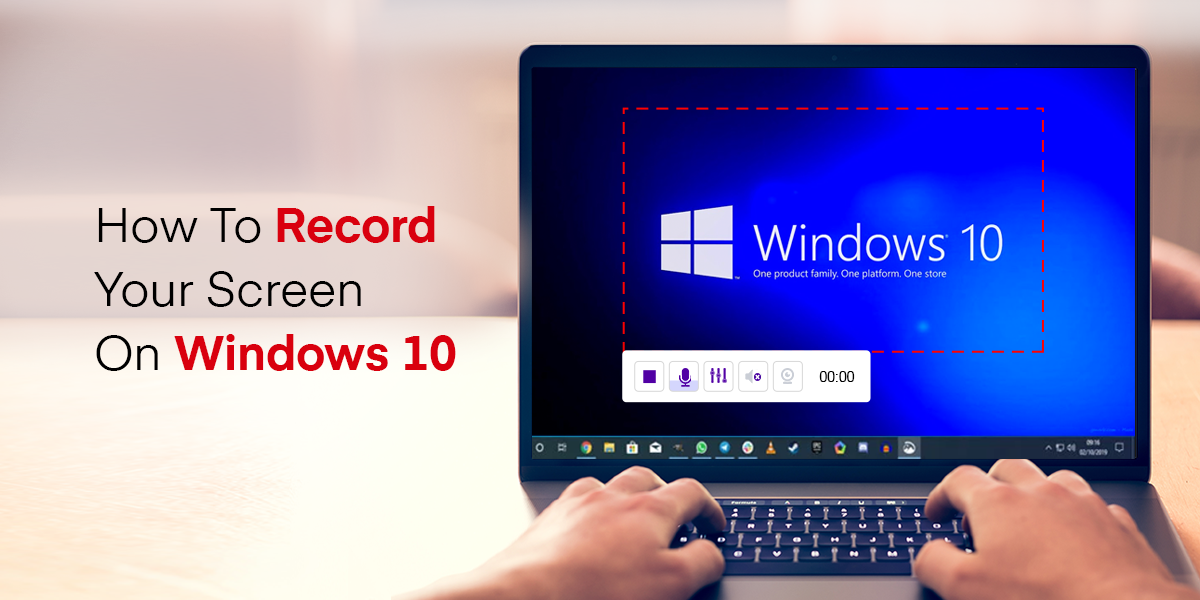
Apple has streamlined screen recording on macOS, making it incredibly user-friendly. Press Shift + Command + 5, and a control panel will appear at the bottom of your screen.
From here, you can choose to record the entire screen, a selected window, or a portion of the screen. You can also capture screenshots and even set a timer for delayed recordings. The recordings are saved directly to your desktop by default.
Exploring External Screen Recording Software
While built-in tools are handy, external software offers more advanced features and customization options. Several excellent choices are available.
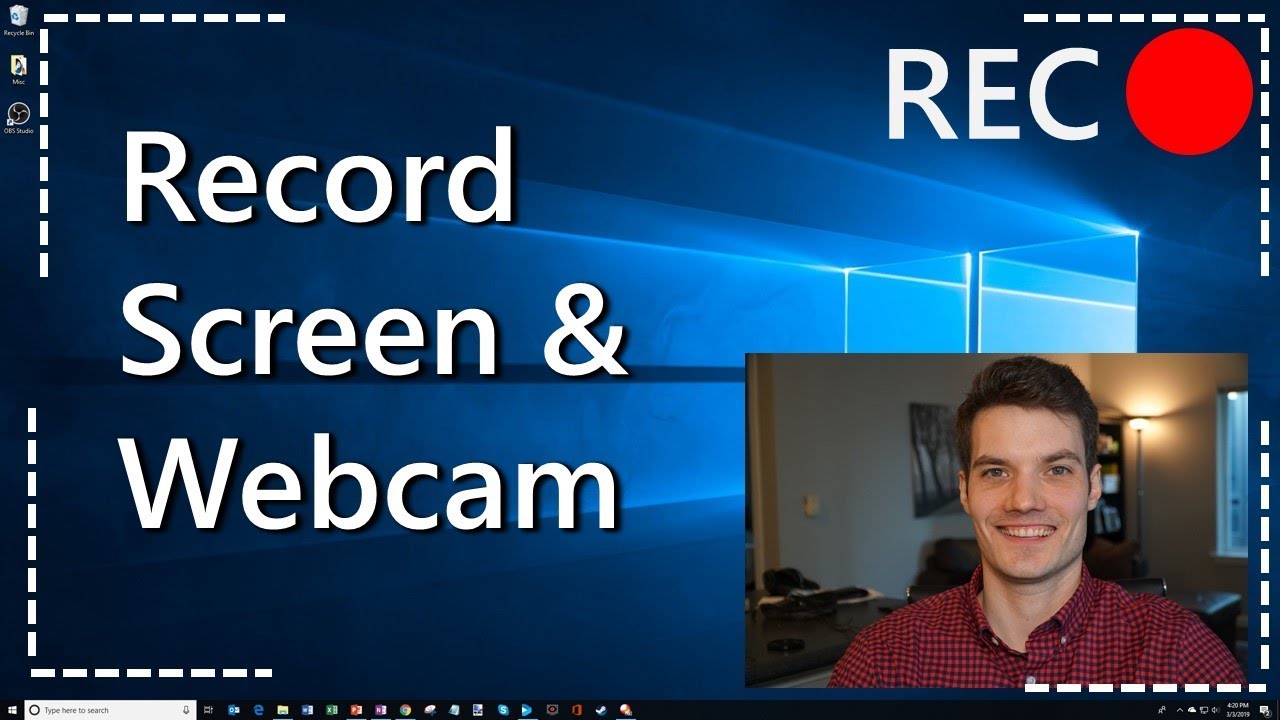
OBS Studio: The Open-Source Powerhouse
OBS Studio is a free and open-source screen recording and streaming software that's popular with gamers and content creators. It offers a vast array of features, including multiple source inputs, custom scenes, and advanced audio mixing capabilities.
However, its interface can be a bit daunting for beginners. Many tutorials are available online to help you master its functions.
Camtasia: The Professional's Choice
Camtasia by TechSmith is a powerful screen recording and video editing software suite. It allows you to record your screen and then edit the footage with its intuitive timeline-based editor.
Camtasia comes with a range of features such as animations, transitions, and annotations, but it comes at a cost, with a one-time purchase fee.
Other Notable Options
Several other screen recording tools are available, each catering to different needs and budgets. These include Screencast-O-Matic, Bandicam, and ShareX.
Many are free or offer a free trial period, allowing you to test them out before committing to a purchase. It’s worth exploring these options to find the best fit for your needs.
Tips for Effective Screen Recording
Before you hit that record button, consider these tips to ensure a smooth and professional-looking screen recording:
Firstly, clean up your desktop. Remove any clutter or sensitive information that you don’t want to be visible in your recording. Secondly, close unnecessary applications. This will free up system resources and prevent distracting notifications from popping up during your recording.
Speak clearly and concisely. Practice what you want to say beforehand to avoid stutters and fillers.
Conclusion
Mastering screen recording can unlock a world of possibilities, from creating engaging tutorials to providing invaluable tech support. Whether you choose the simplicity of built-in tools or the power of external software, the ability to visually communicate ideas and processes is an invaluable asset in today's digital landscape. So go ahead, capture your screen, share your knowledge, and connect with others in a more meaningful way.