How To Save Photos From Iphone To Mac Without Icloud

iPhone users face a data transfer dilemma: iCloud isn't the only answer. Transferring photos directly to your Mac without cloud services is faster and provides more control.
Bypass iCloud: Direct Photo Transfers to Your Mac
For those wary of cloud storage or seeking quicker backups, alternative methods offer seamless photo transfers. This guide outlines simple, effective techniques for moving your precious memories directly from your iPhone to your Mac.
Method 1: Using a USB Cable
The most straightforward approach is connecting your iPhone to your Mac with a USB cable. Once connected, the Photos app on your Mac will recognize your iPhone.
You can then import photos directly. Select the photos you want to transfer and click "Import Selected" or "Import All New Photos."
Remember to unlock your iPhone and trust the computer when prompted. This ensures successful communication between devices.
Method 2: Image Capture
Image Capture, a pre-installed macOS application, offers another method for photo transfer. Open Image Capture from your Applications folder.
Select your iPhone from the devices list on the left. Choose a destination folder on your Mac to save the photos.
Click "Download All" or select individual photos and click "Download." Image Capture provides more granular control over file naming and organization.
Method 3: AirDrop
AirDrop allows wireless file sharing between Apple devices. Ensure both your iPhone and Mac have AirDrop enabled and are connected to the same Wi-Fi network.
On your iPhone, select the photos you want to transfer. Tap the share icon and choose AirDrop, then select your Mac.
Accept the incoming file transfer request on your Mac. The photos will be saved in your Downloads folder by default.
Troubleshooting Common Issues
If your Mac doesn't recognize your iPhone, check the USB connection. Try a different cable or USB port.
Ensure you've trusted the computer on your iPhone. Go to Settings > General > Reset > Reset Location & Privacy to re-prompt the trust dialog if needed.
For AirDrop issues, verify both devices have AirDrop enabled for "Everyone" or "Contacts Only." Firewall settings can also interfere with AirDrop connections.
Choosing the Right Method for You
USB cable transfer is the fastest and most reliable method for large photo libraries. Image Capture provides advanced file management options.
AirDrop offers a convenient wireless solution for smaller batches of photos. Consider your transfer speed requirements and file management needs when selecting a method.
Post-Transfer Best Practices
After transferring your photos, consider backing them up on an external hard drive. This adds an extra layer of protection against data loss.
Organize your photos into folders or albums for easier browsing. Periodically delete photos from your iPhone to free up storage space.
Next Steps
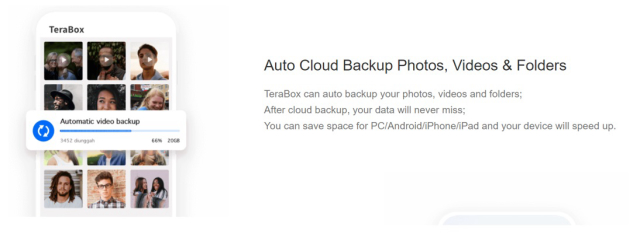
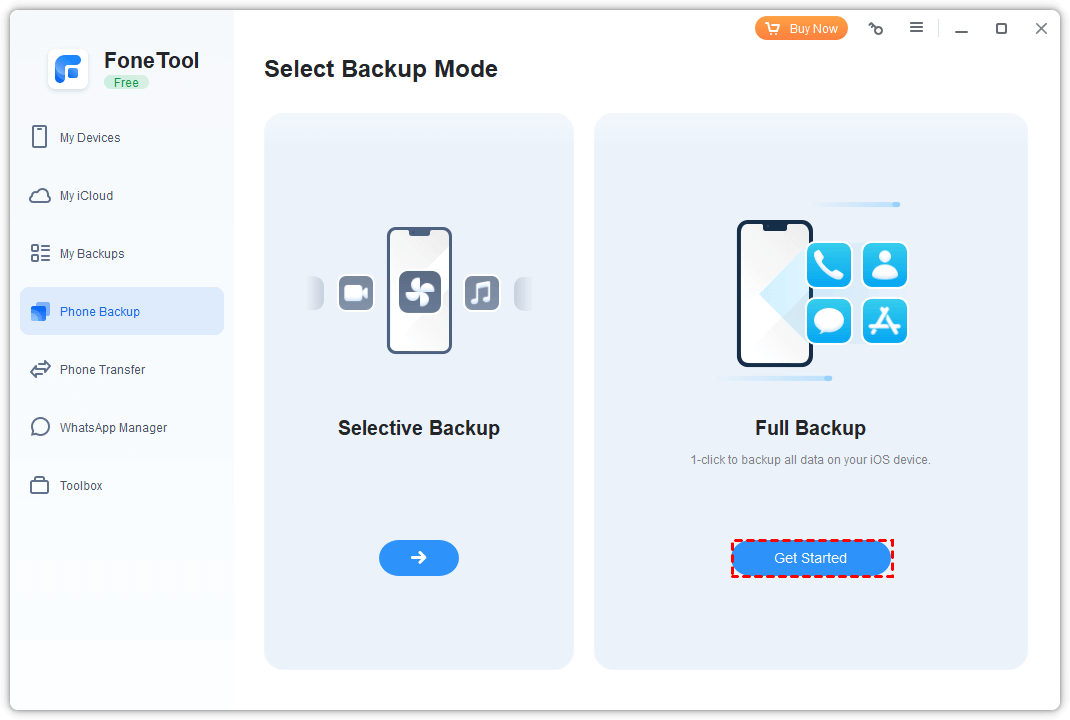
Explore third-party file transfer apps for enhanced features. Some apps offer automatic photo syncing and advanced organization tools.
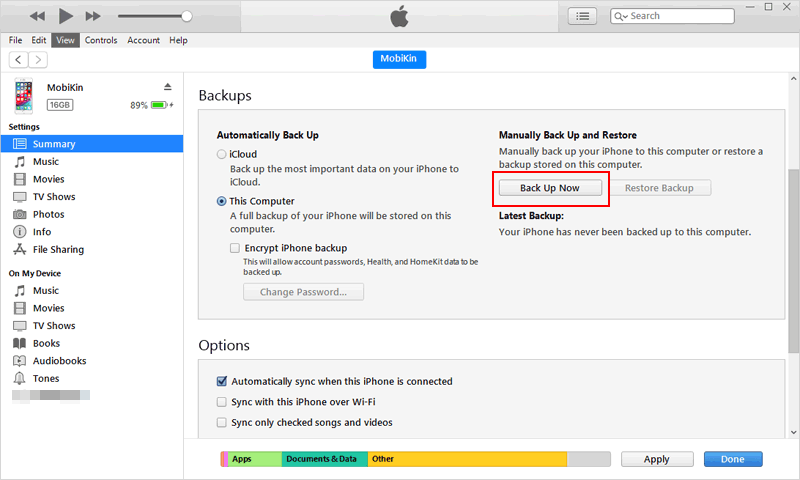
![How To Save Photos From Iphone To Mac Without Icloud How to Backup iPhone without iCloud for Free [Top 3 Ways]](https://www.ubackup.com/phone/screenshot/en/backup-my-iphone/click-backup.jpg)


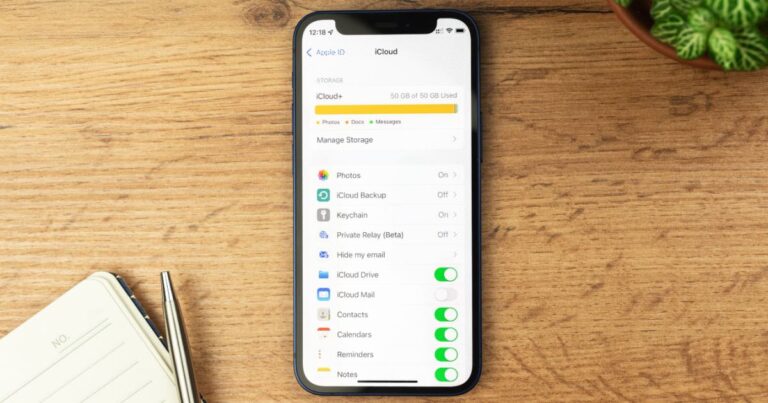
![How To Save Photos From Iphone To Mac Without Icloud How to Backup iPhone without iCloud for Free [Top 3 Ways]](https://www.ubackup.com/phone/screenshot/en/backup-my-iphone/select-files.jpg)
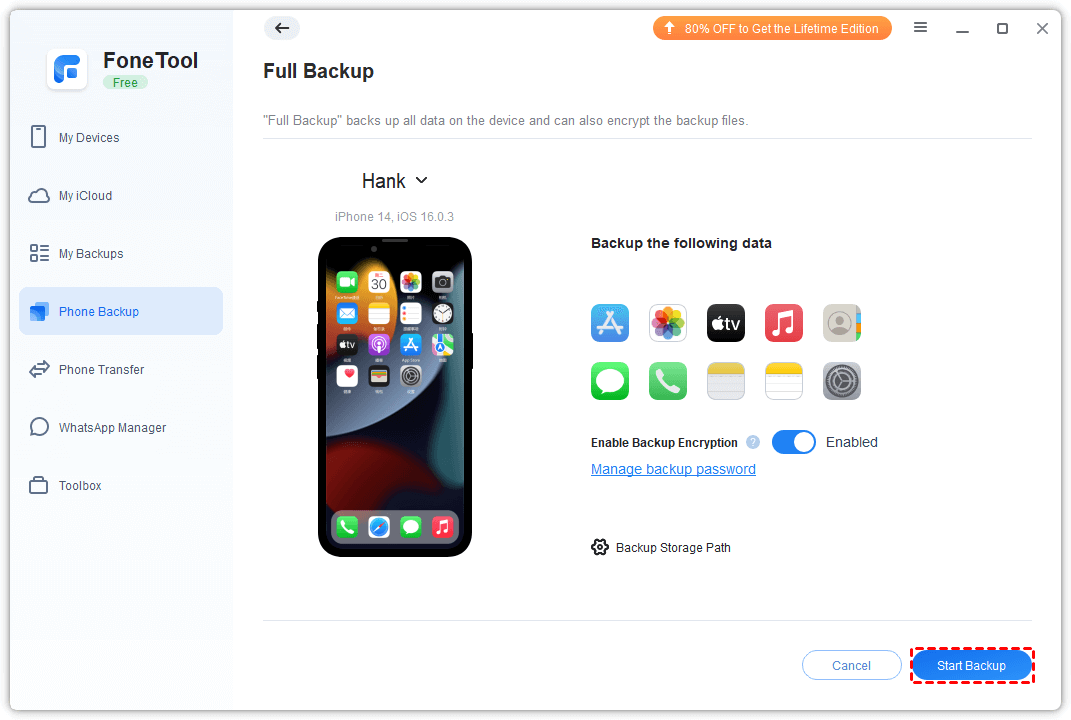
![How To Save Photos From Iphone To Mac Without Icloud How to Backup iPhone without iCloud for Free [Top 3 Ways]](https://www.ubackup.com/phone/screenshot/en/others/itunes/itunes.jpg)


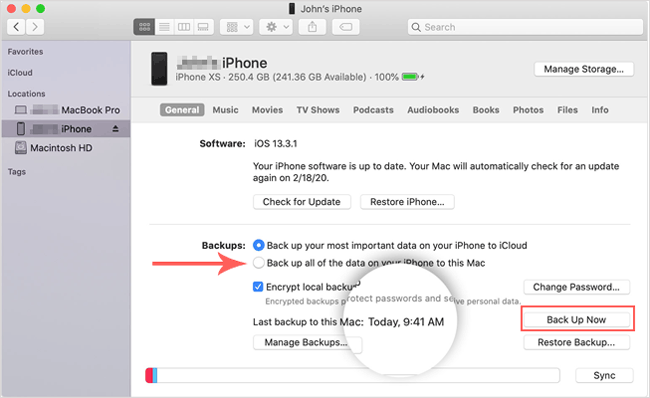
![How To Save Photos From Iphone To Mac Without Icloud How to Backup iPhone Without iCloud [3 Techniques]](https://www.fonelab.com/images/ios-backup-restore/how-to-backup-iphone-without-icloud/how-to-backup-iphone-without-icloud.jpg)