How To Switch From City Water To Fresh Water Tank
The sun dipped below the horizon, painting the sky in hues of orange and purple as Sarah tinkered with a wrench, the gentle lapping of the lake against her RV providing a soothing soundtrack. A sense of accomplishment washed over her as she tightened the last fitting, knowing that soon, the crisp, clean water from her freshwater tank would replace the treated city water she'd been relying on for weeks.
Switching from city water to a freshwater tank in an RV or camper involves a straightforward process of disconnecting from the city water source, sanitizing and filling your tank, and then engaging your RV's water pump. This transition offers greater control over your water quality and allows for off-grid adventures, but requires understanding your RV's plumbing system and practicing responsible water management.
Understanding the Basics of RV Water Systems
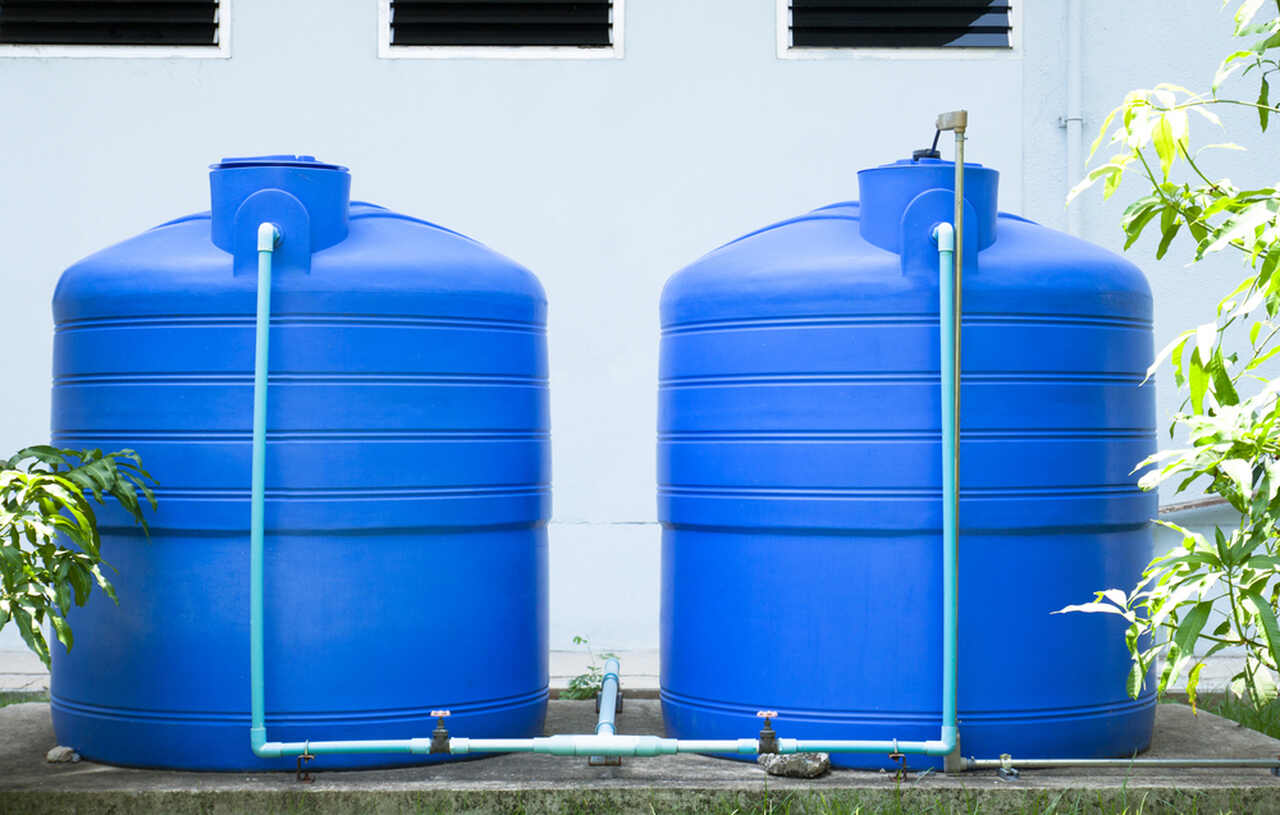
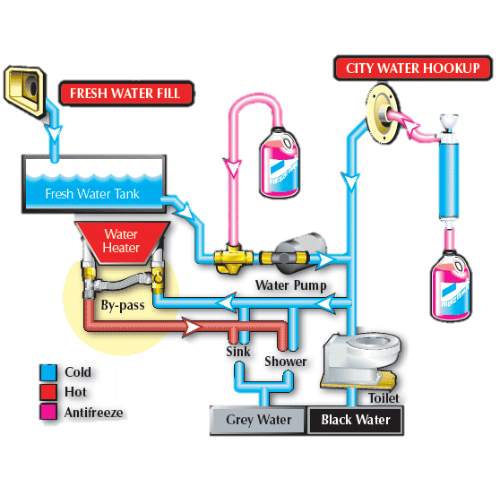
Modern RVs are equipped with dual water systems: one for connecting to city water hookups and another that relies on a self-contained freshwater tank.
When connected to city water, the water pressure from the municipal source directly supplies your faucets, shower, and toilet.
However, relying solely on city water limits your mobility and control over water quality.
The freshwater tank system provides independence, drawing water from a storage tank via an electric water pump.
This pump pressurizes the lines, mimicking the effect of city water pressure.
Why Switch to Your Freshwater Tank?
Several factors might lead you to choose your freshwater tank over a city water connection.
Off-grid camping, also known as boondocking, is a primary motivator. When venturing into areas without water hookups, your freshwater tank is essential.
Concerns about water quality can also drive the decision. Some RVers prefer the taste and perceived safety of their own filtered and treated water.
Conserving water resources, particularly in drought-prone areas, is another valid reason. Monitoring your tank levels encourages mindful water usage.
Step-by-Step Guide to Switching Over
The transition is simple, but attention to detail is crucial for a seamless experience.
First, disconnect from the city water. Turn off the water supply at the spigot, detach the hose from your RV, and drain any residual water from the hose.
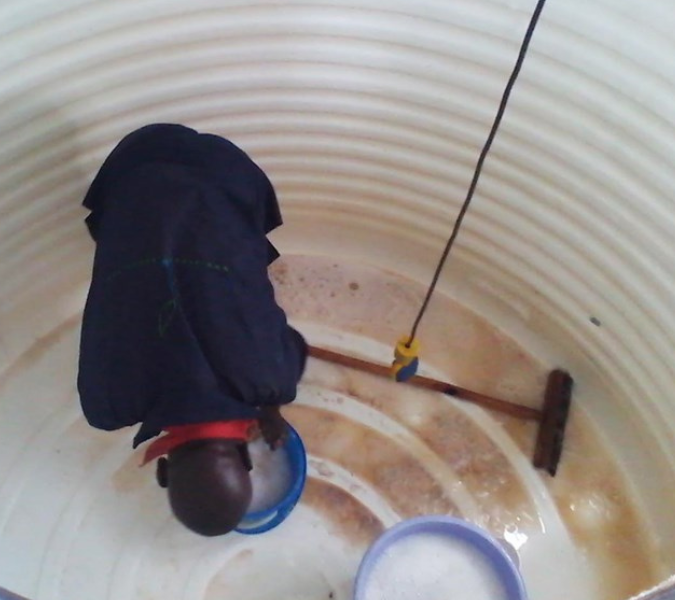
Next, prepare your freshwater tank. If you haven't used it recently, sanitize the tank to eliminate bacteria and algae.
A common method involves adding a quarter cup of household bleach per 15 gallons of tank capacity.
Fill the tank completely with water, let it sit for at least four hours (or overnight), and then drain and flush the tank thoroughly with clean water until the chlorine smell dissipates.
Now, fill your freshwater tank with potable water. Use a dedicated drinking water hose to avoid contamination.
Many RVs have a gravity fill port and a city water connection; use the gravity fill for the tank. Be careful not to overfill the tank.
Finally, engage your RV's water pump. Locate the water pump switch (usually near the control panel) and turn it on. You should hear the pump whirring as it pressurizes the lines.
Open a faucet to release any trapped air and allow water to flow freely.
Troubleshooting Common Issues
Sometimes, the switch isn't perfectly smooth. Here are a few potential problems and how to address them.
Low water pressure could indicate a clogged pump filter. Locate the filter (usually near the pump), remove it, and clean it thoroughly.
A noisy water pump might suggest air in the lines. Open all faucets and let the water run for a few minutes to purge the air.
If the pump cycles on and off frequently even when no water is being used, check for leaks in your plumbing system.
No water flow could point to a blown fuse for the water pump. Check your RV's fuse panel and replace any blown fuses with the correct amperage.
Maintaining Your Freshwater System
Proper maintenance ensures a reliable and healthy water supply.
Regularly sanitize your freshwater tank, especially after periods of inactivity.
Consider using a water filter to remove sediment, chlorine, and other impurities.
Inspect your plumbing connections for leaks and address them promptly.
When storing your RV for extended periods, drain the freshwater tank completely to prevent algae growth and freezing damage.
Always use a potable water hose when filling your tank to avoid introducing contaminants.
“Clean water is essential for a healthy RV lifestyle,” says John Sanders, a certified RV technician. “Taking the time to properly maintain your freshwater system will pay dividends in terms of peace of mind and overall enjoyment of your travels.”
Responsible Water Usage
Conserving water is crucial when relying on your freshwater tank, especially during boondocking adventures.
Take shorter showers, install a low-flow showerhead, and turn off the water while brushing your teeth or washing dishes.
Use a portable dishwashing basin to conserve water during cleanup.
Collect rainwater when possible (ensure it's properly filtered before use).
Monitor your tank levels regularly to avoid running out of water unexpectedly.
The Freedom of Independence
Switching to your freshwater tank is more than just a practical necessity; it's an embrace of freedom and self-sufficiency.
It allows you to explore remote locations, connect with nature on a deeper level, and control the quality of the water you consume.
As Sarah watched the stars emerge, reflecting in the calm lake, she knew the minor effort of switching water sources had opened up a world of possibilities. The gentle hum of her water pump was a symphony of independence, a reminder that adventure awaited just beyond the horizon, fueled by the clean, fresh water she now carried with her.