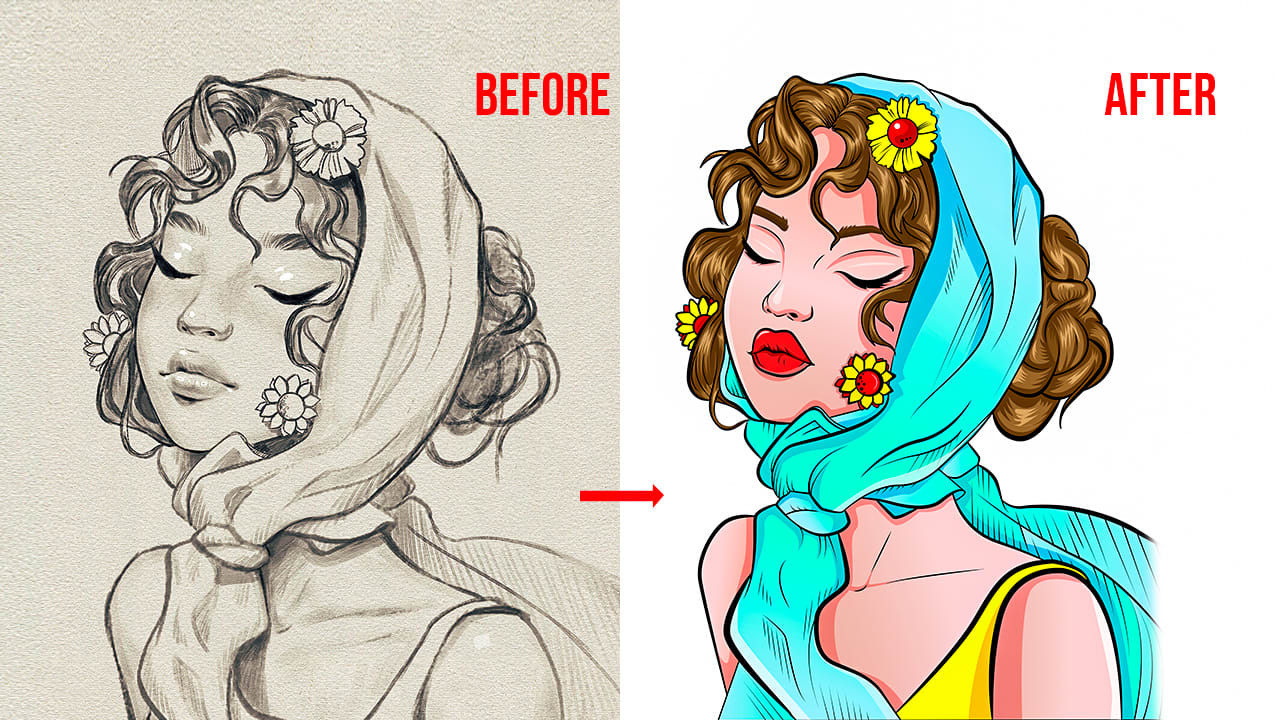
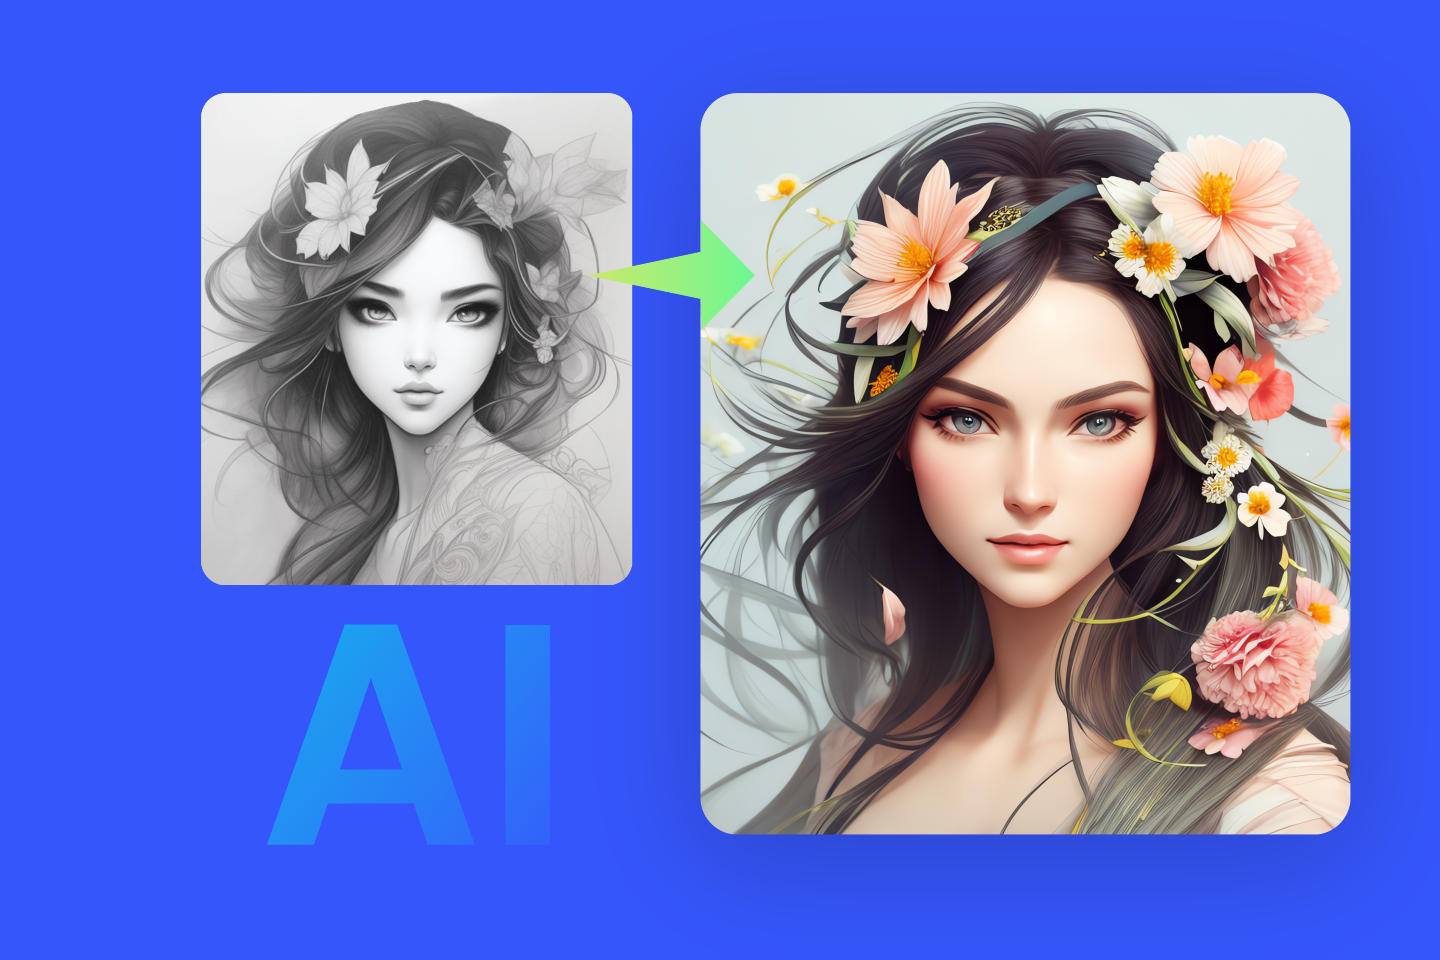
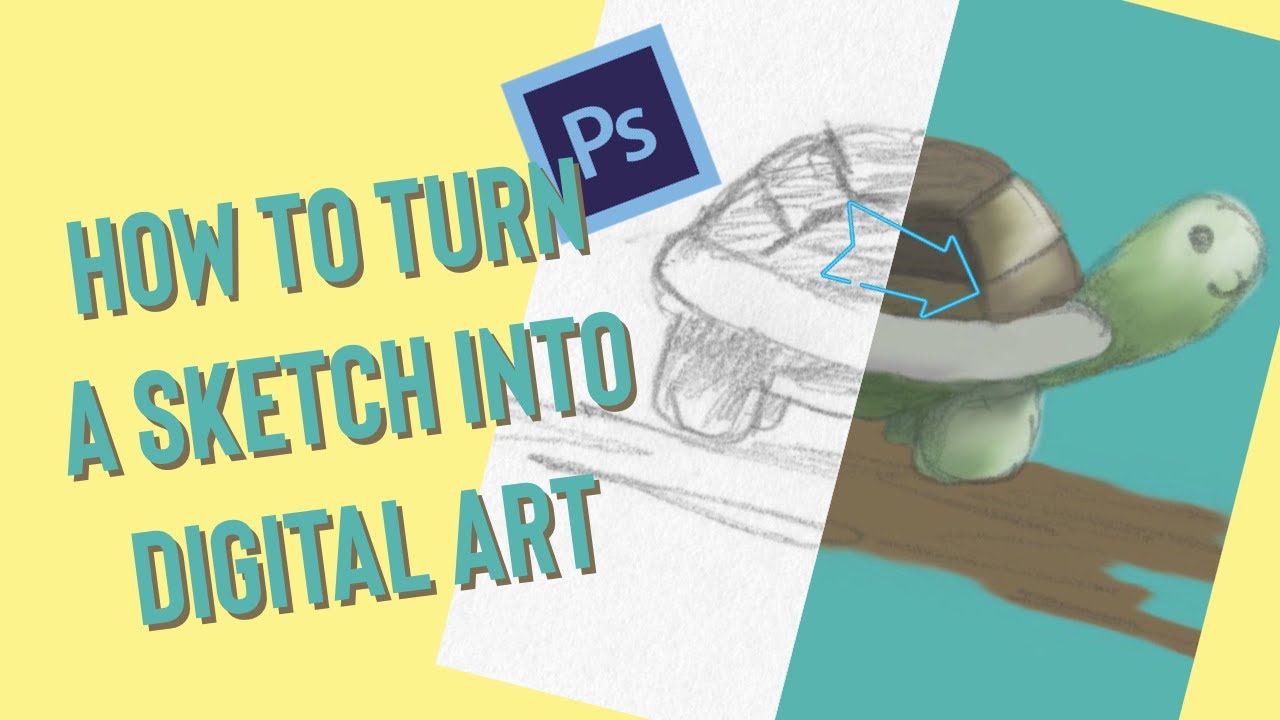
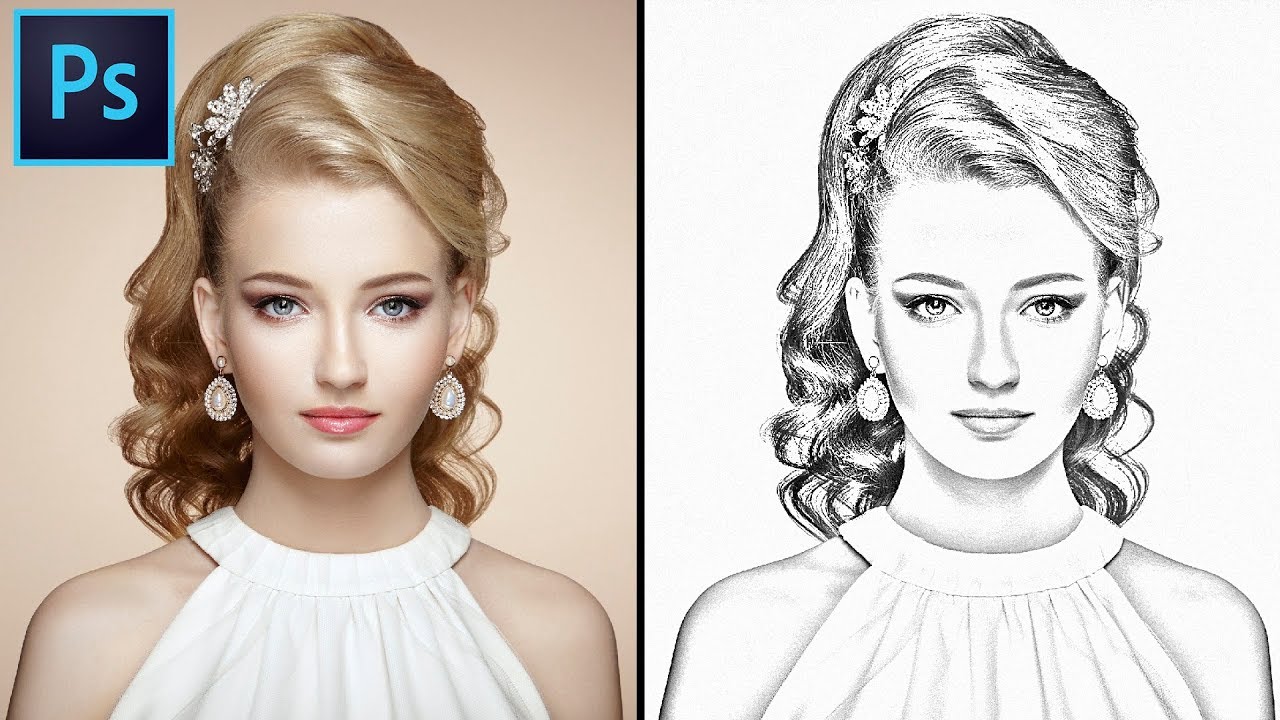
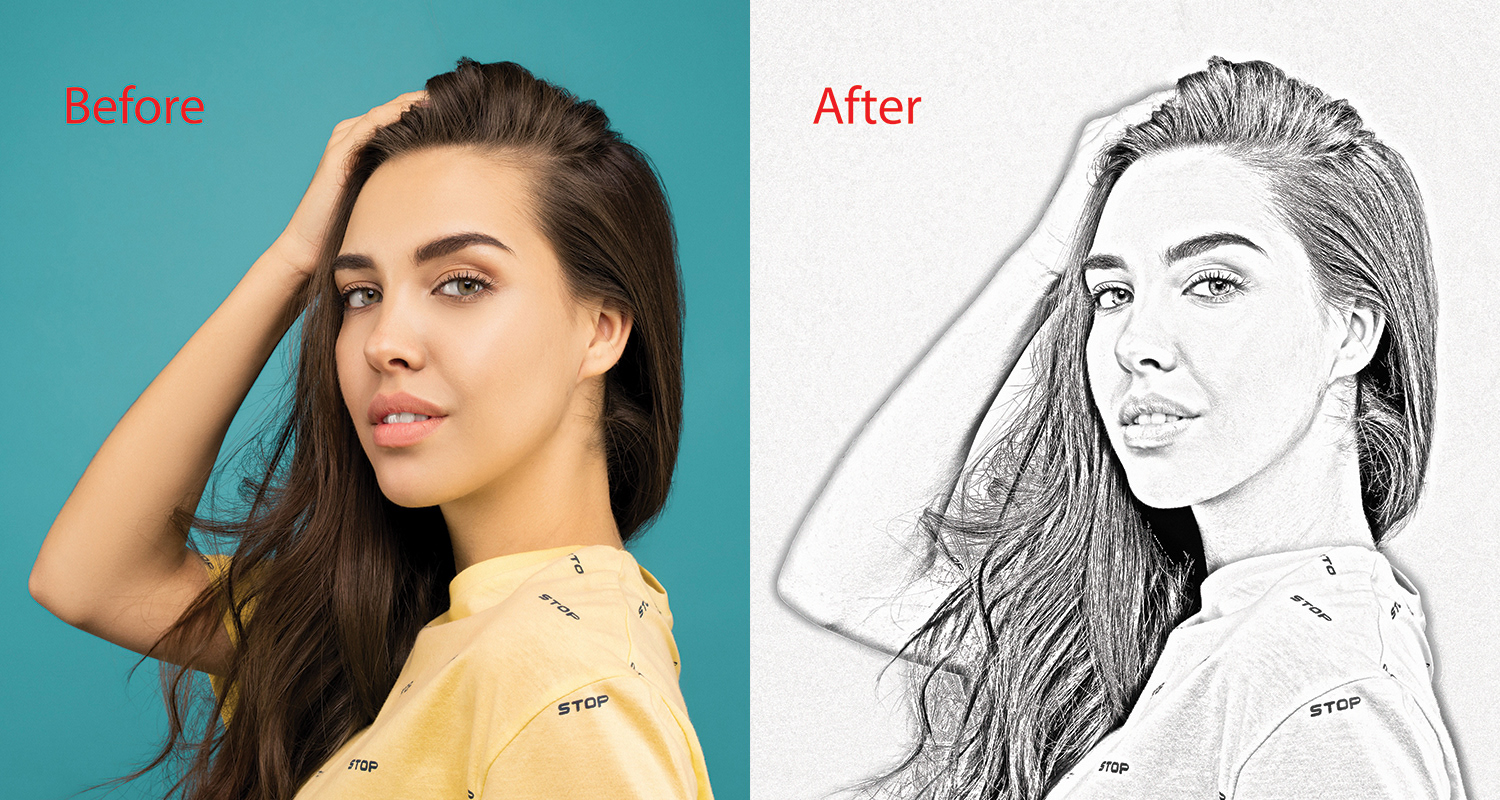
How To Turn A Sketch Into A Digital Image
Time is of the essence: Artists and designers are increasingly leveraging digital tools to transform hand-drawn sketches into polished digital images for professional use. Mastering this process is now crucial for streamlining workflows and maximizing creative potential.
This article provides a rapid-fire guide to converting your sketches into high-quality digital assets, covering everything from basic scanning to advanced software techniques.
Step 1: Preparation & Scanning/Photographing
First, ensure your sketch is clean and clearly defined. Use a fine-tipped pen or pencil for sharper lines.
Next, scan your sketch at a high resolution (at least 300 DPI) for optimal detail retention. Alternatively, take a well-lit, straight-on photograph with your smartphone or camera.
Ensure even lighting to minimize shadows and distortion; natural light is often best.
Step 2: Importing & Basic Adjustments
Import your scanned image or photograph into your chosen software. Adobe Photoshop, Procreate, and GIMP are popular choices.
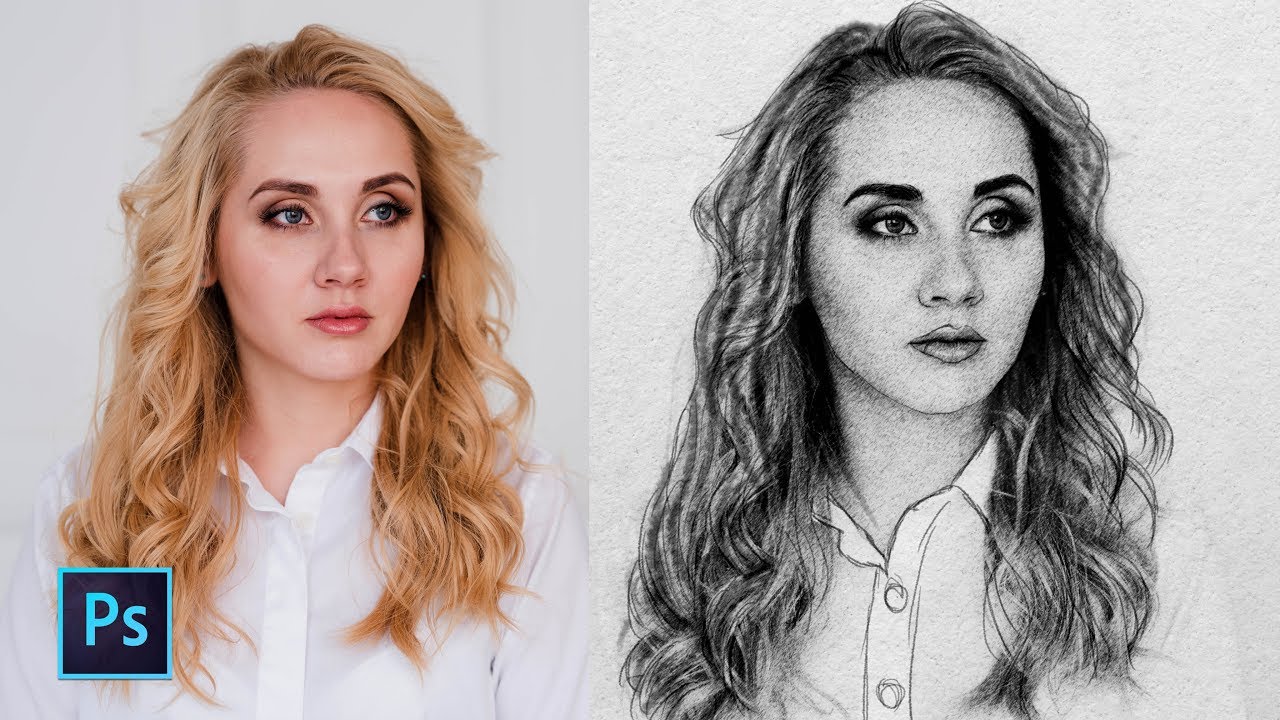
Adjust brightness and contrast to enhance the lines and remove any unwanted background noise. Use levels or curves adjustments for finer control.
Crop the image to remove any unnecessary borders or distractions. Consider using a background remover tool to remove the background as well.
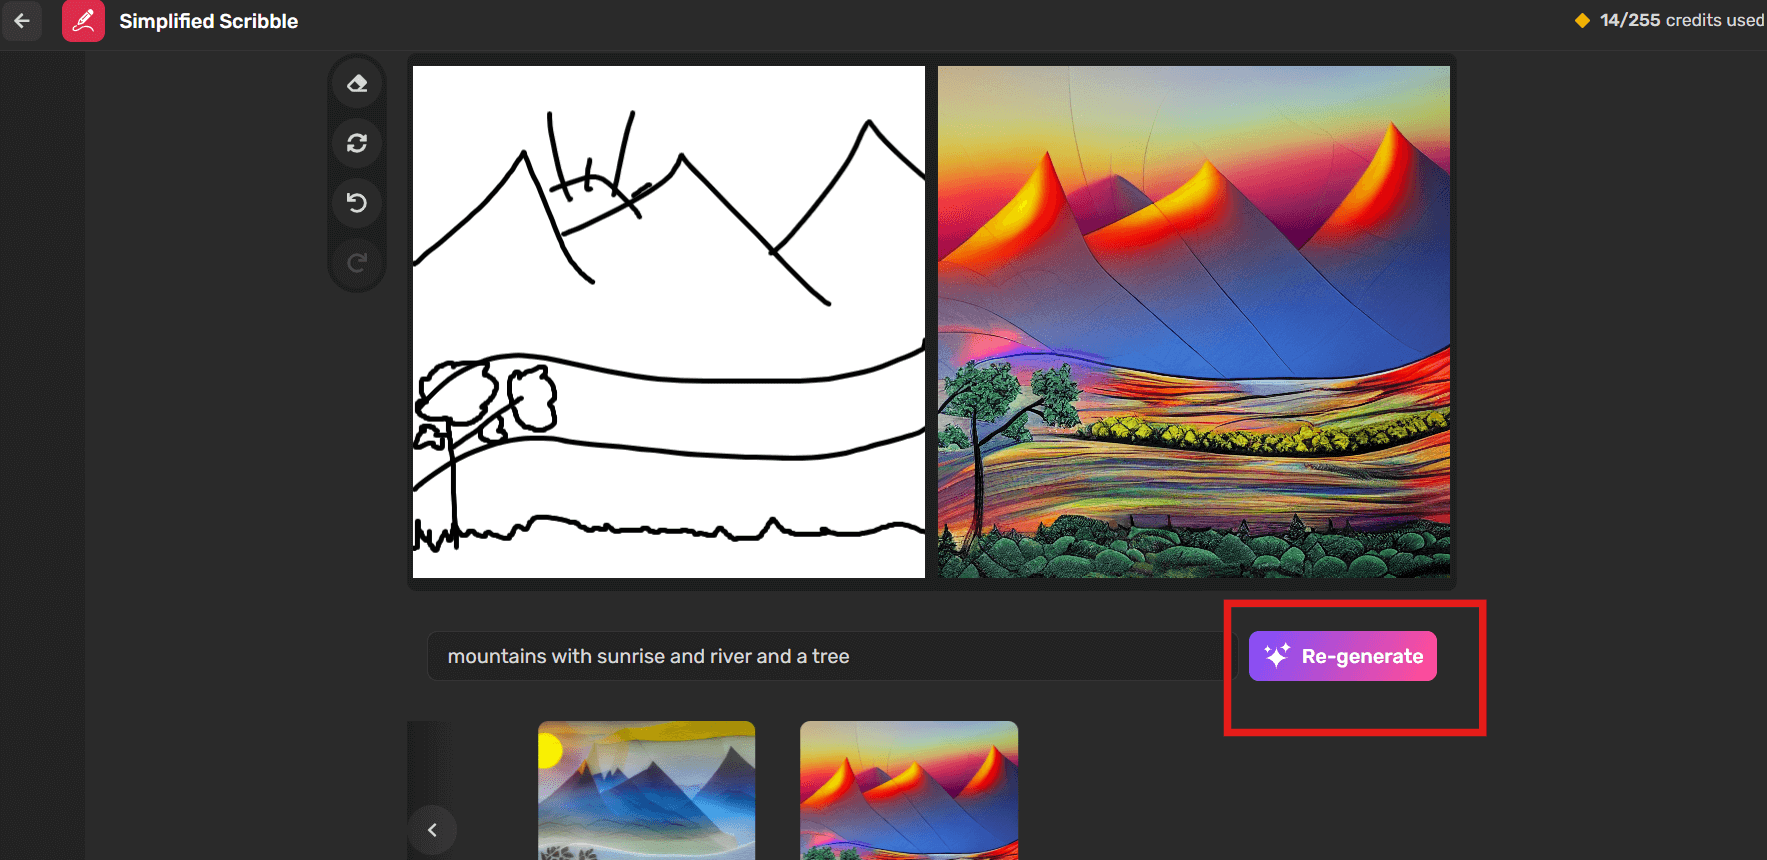
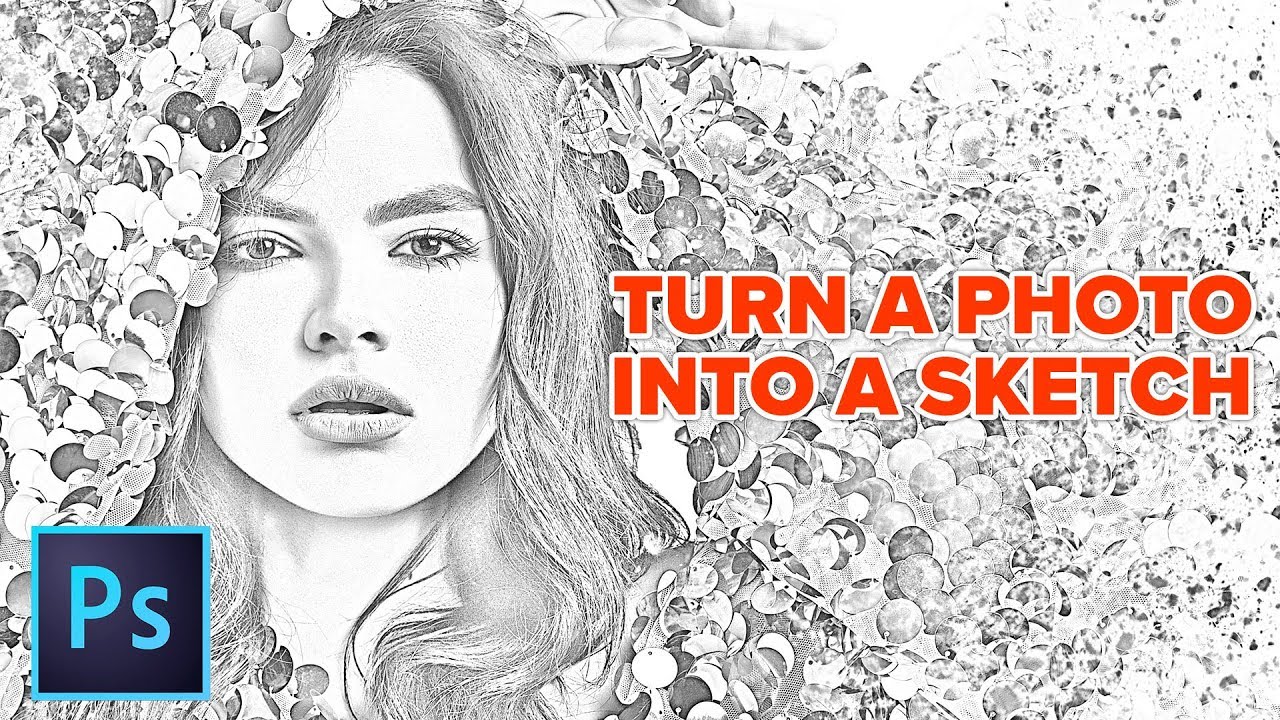
Step 3: Vectorization (Optional but Recommended)
For scalability and clean lines, vectorization is key. Vectorization converts raster images (like scans) into vector graphics.
Adobe Illustrator offers powerful vectorization tools. Use the "Image Trace" feature to automatically convert your sketch into vector paths.
Experiment with different tracing presets to achieve the desired level of detail and accuracy.
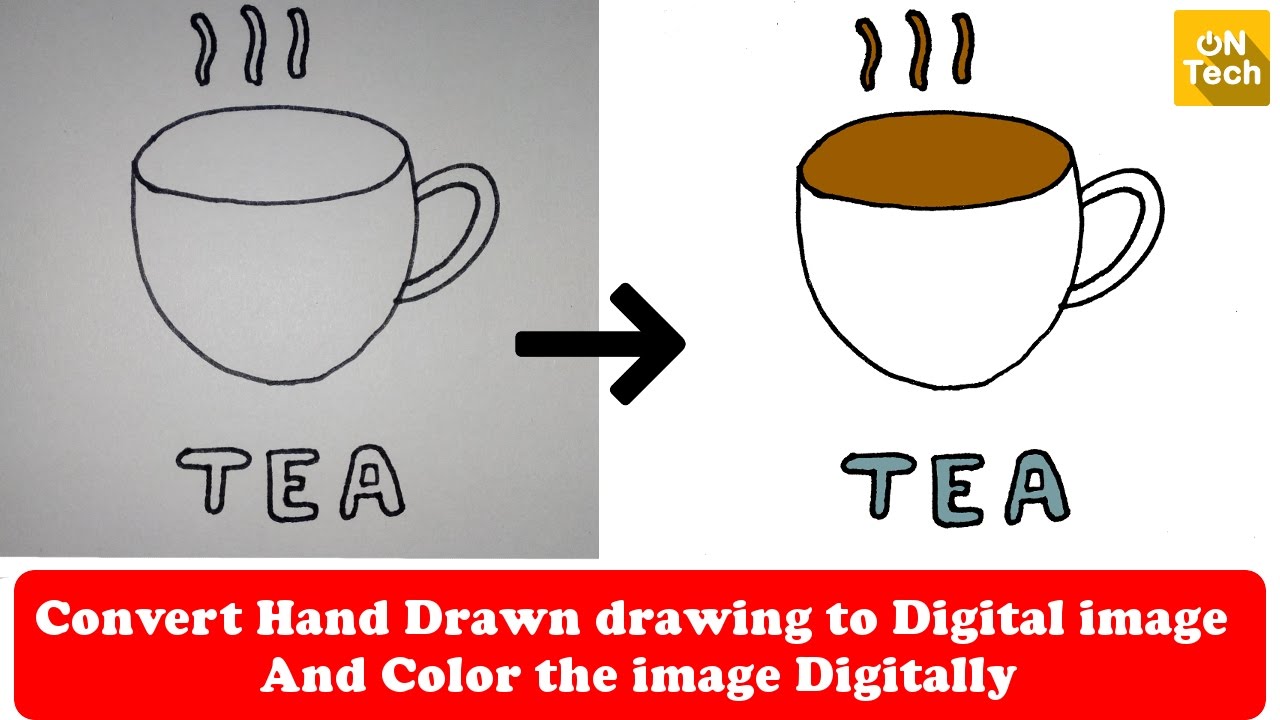
Step 4: Refining & Detailing
Whether you've vectorized your sketch or not, you'll likely need to refine it. Use the pen tool in Photoshop or Illustrator to clean up lines, add details, and correct any imperfections.
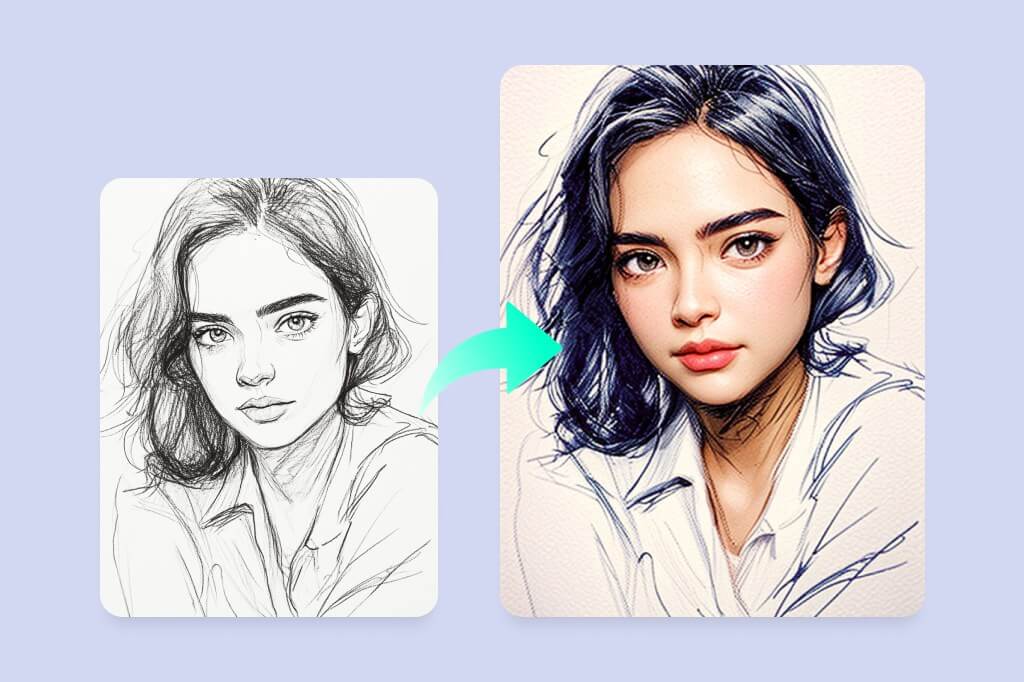
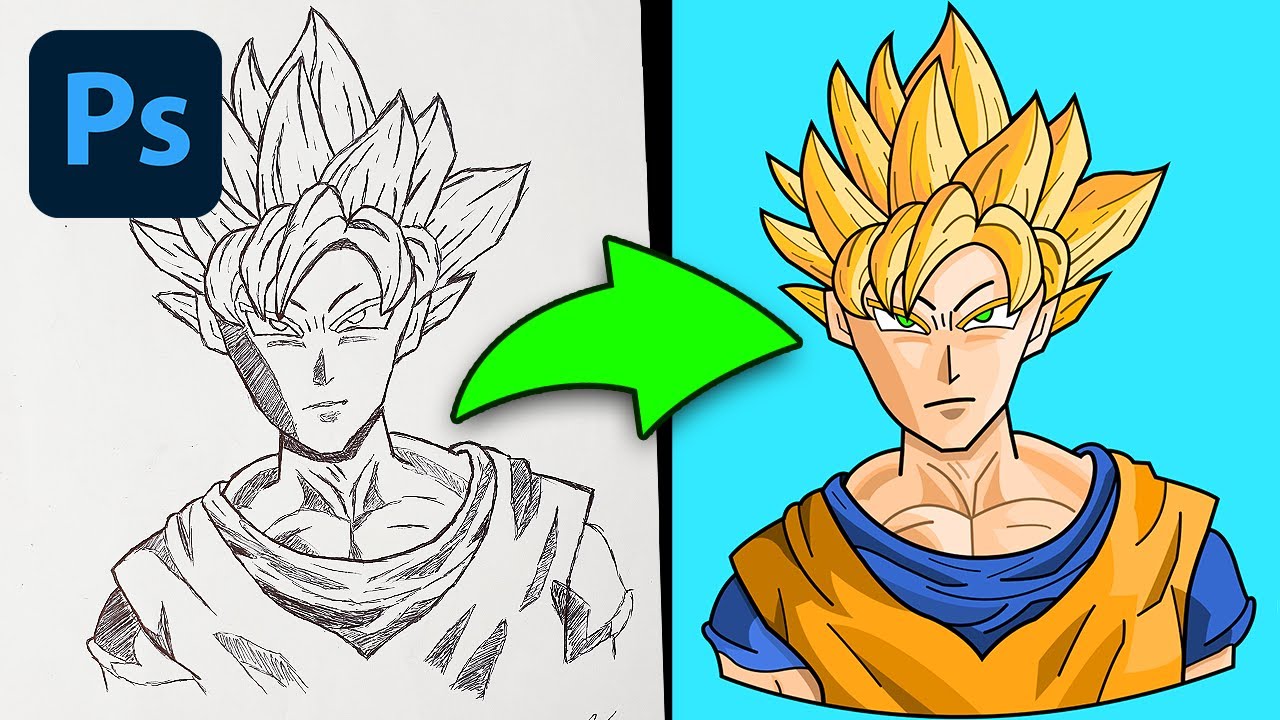
Add color, shading, and texture using brushes, gradients, and layer effects. Experiment with different techniques to achieve your desired artistic style.
Consider using digital painting techniques for a more organic, hand-drawn look. This can add depth and dimension to your digital image.
Step 5: Exporting for Various Uses
Finally, export your digital image in the appropriate format for its intended use. JPEG is suitable for web use, while PNG is better for images with transparency.
For print, export as a high-resolution TIFF or PDF. Ensure the color mode is set to CMYK for accurate color reproduction.
Save your work in a layered file format (like PSD or AI) to allow for future edits. Back up your files regularly to prevent data loss.
Software Considerations
Adobe Photoshop is the industry standard for image editing and raster graphics. It offers a wide range of tools and features for enhancing scanned sketches.
Adobe Illustrator is the go-to choice for vector graphics. It allows you to create scalable and editable digital images from your sketches.
Procreate (iPad only) is a popular digital painting app that is great for sketching and illustrating. GIMP is a free and open-source alternative to Photoshop.
Data & Statistics
A 2023 survey by Creative Market found that 78% of designers use digital tools to enhance their hand-drawn sketches.
The demand for skilled digital artists is increasing, according to LinkedIn data, with job postings for digital illustrators up 35% year-over-year.
Adobe reports that users who incorporate sketching into their digital workflow see a 20% increase in creative output.
Next Steps
Practice is essential. Experiment with different techniques and software to find what works best for you.
Explore online tutorials and courses to further enhance your skills. Resources from Skillshare and YouTube can be invaluable.
Stay updated on the latest software updates and industry trends to remain competitive. Mastering these digital transformation techniques is an ongoing process.