Make Background Transparent Gimp 2.10
Time is of the essence: GIMP 2.10 users are facing challenges with transparent backgrounds. This guide provides a swift solution to master transparent background creation in GIMP 2.10, cutting through the complexities and getting straight to the essential steps.
This article aims to quickly equip users with the practical knowledge to create transparent backgrounds, a crucial skill for graphic design and photo editing. Addressing the urgent need for clarity, we deliver a step-by-step guide.
Immediate Steps to Transparency in GIMP 2.10
First, open your image in GIMP 2.10. Make sure you're working with the correct file before proceeding.
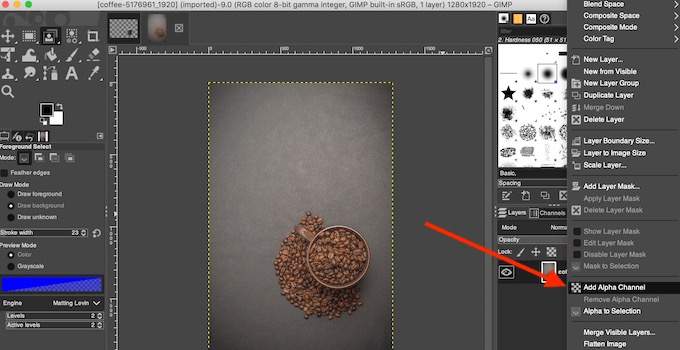
Next, confirm your image has an alpha channel. Go to Layer > Transparency > Add Alpha Channel. This step is critical for enabling transparency; skip it and you will be unable to proceed.
Selection Tools: Your Key to Transparency
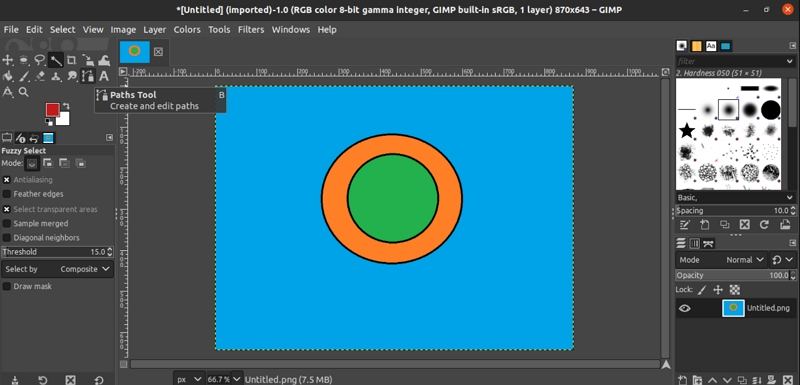
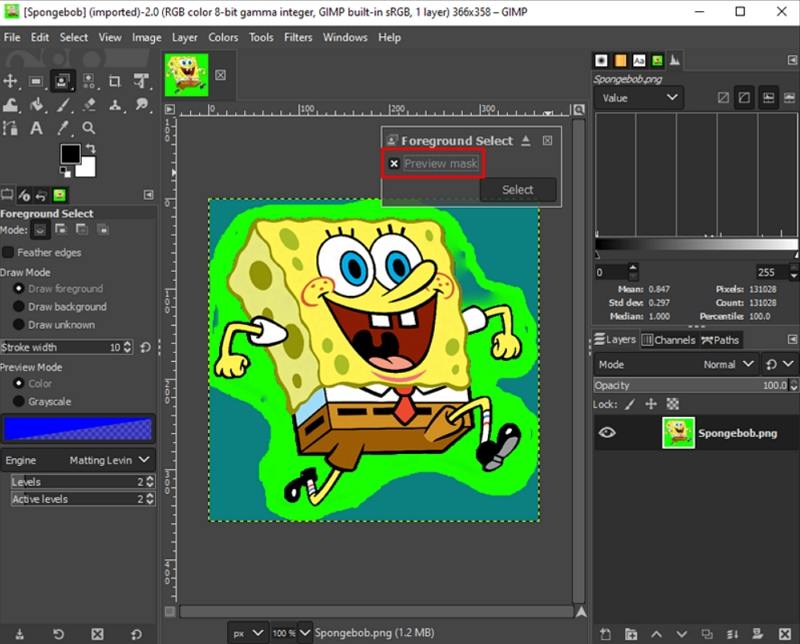
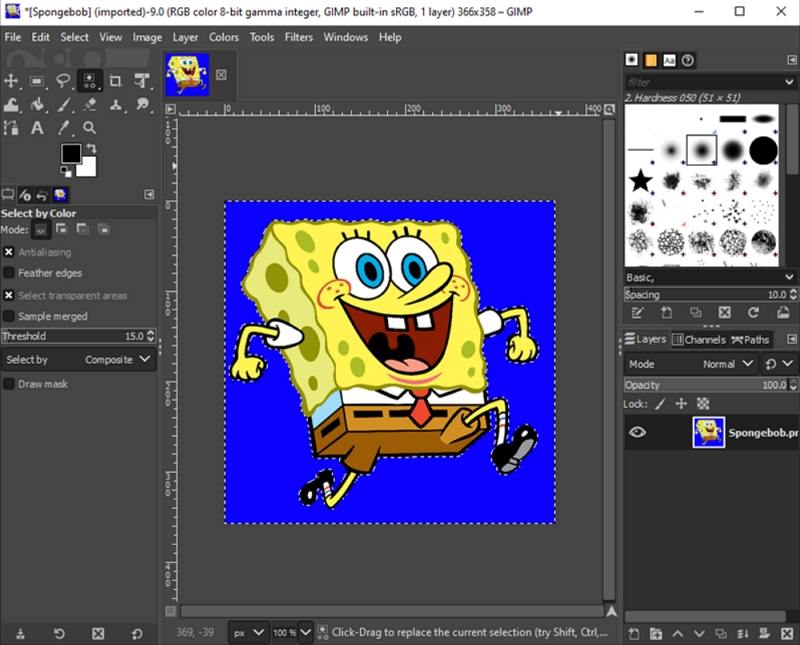
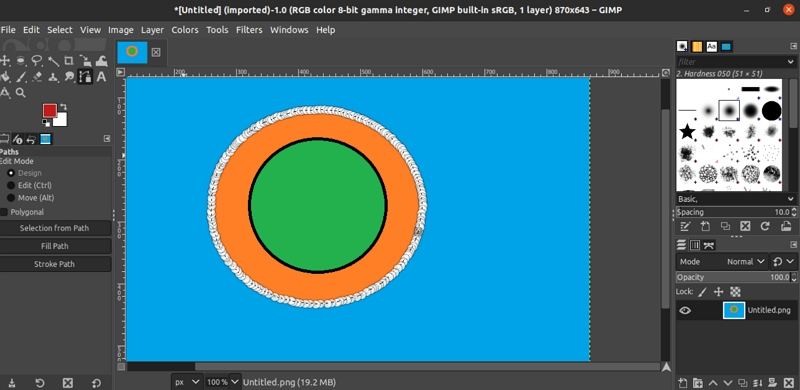
Employ a selection tool. Popular choices are the Fuzzy Select Tool (Magic Wand), Free Select Tool (Lasso), or the Paths Tool for more precise selections.
The Fuzzy Select Tool works best for areas with uniform color. Adjust the threshold to refine your selection; higher values select more.
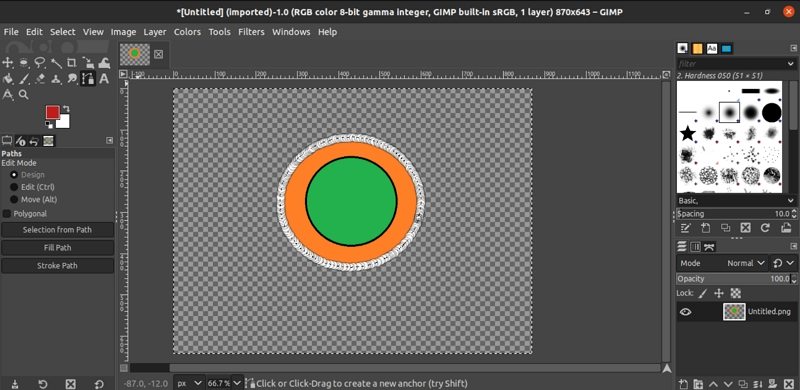
For complex shapes, the Paths Tool is recommended. Create anchor points and adjust the curves for accuracy.
Once selected, press the Delete key. The selected area should now appear as a checkered pattern, indicating transparency.
Troubleshooting Common Issues
If the Delete key fills the selection with a color, revisit Layer > Transparency > Add Alpha Channel. Without an alpha channel, GIMP cannot create transparency.
Dealing with rough edges? Use Select > Feather to soften the selection's edges before deleting, this can make the transition from visible to transparent more smooth.
For semi-transparent areas, adjust the opacity of the layer. Lower opacity values create a partial transparent effect.
Saving Your Transparent Image
Saving is paramount. Export your image as a PNG file. This format natively supports transparency unlike JPG.
Navigate to File > Export As and choose the .png extension. Ensure the settings are correct before clicking 'Export'.
Check the "Save background color" box is unchecked to ensure transparency. Otherwise, you might accidentally apply a background color.
Advanced Techniques
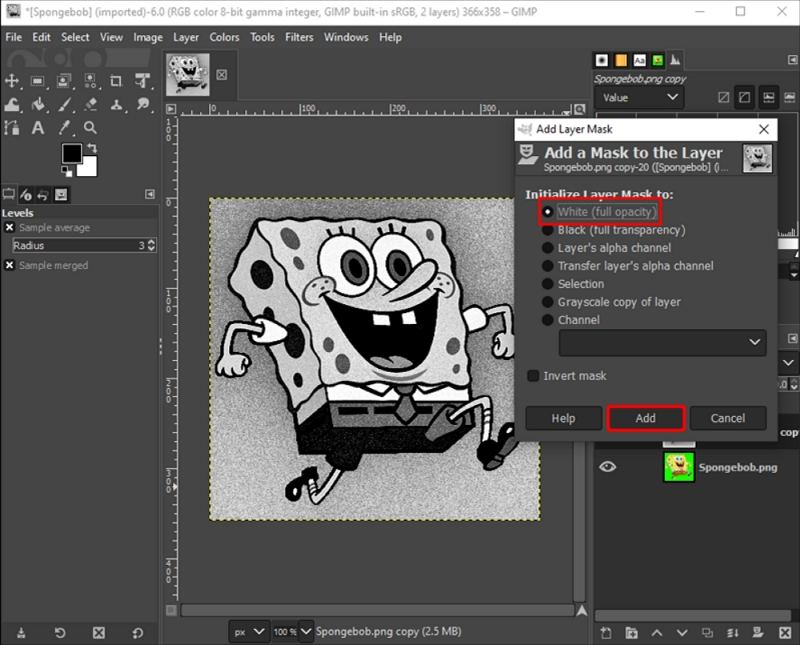
Consider using layer masks for non-destructive editing. A layer mask allows you to hide or reveal portions of a layer without permanently deleting them.
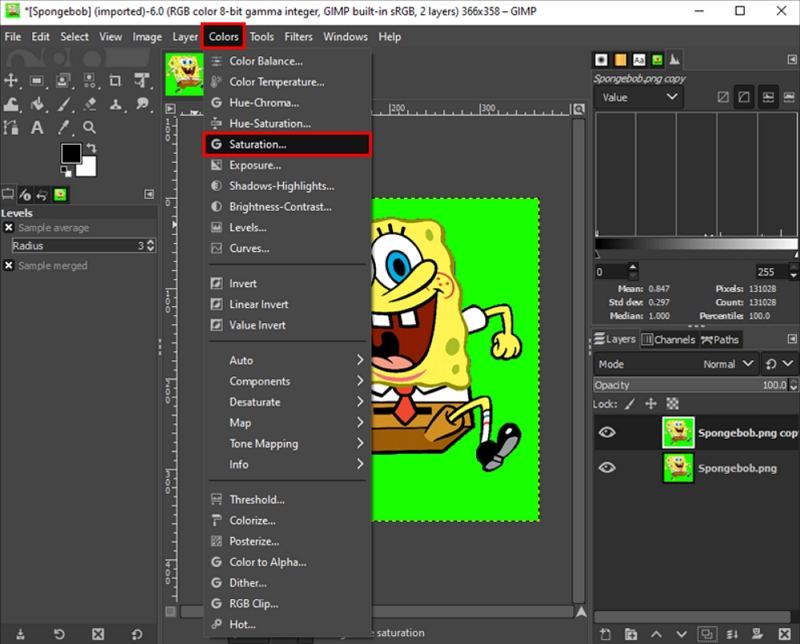
For complex selections, explore color selection tools. These tools allow you to select based on color range, useful for removing backgrounds of a specific color.
Experiment with blend modes. Different blend modes can interact with the underlying layers in unique ways, creating interesting transparency effects.
Ongoing Developments
GIMP is constantly evolving. Stay updated on the latest features and improvements through the official GIMP website and community forums.
Future updates might introduce more streamlined transparency tools. Regularly check for updates to optimize your workflow.
Further tutorials and community support can be found on dedicated GIMP forums. Engage with fellow users for tips and solutions to specific problems.

![Make Background Transparent Gimp 2.10 How to Make Background Transparent Using GIMP [Tutorial]](https://www.anymp4.com/images/photo-editing/make-background-transparent-with-gimp/make-background-transparent-with-gimp-anymp4-edit.jpg)
![Make Background Transparent Gimp 2.10 How to Make Background Transparent Using GIMP [Tutorial]](https://www.anymp4.com/images/photo-editing/make-background-transparent-with-gimp/make-background-transparent-with-gimp-anymp4-preview.jpg)


![Make Background Transparent Gimp 2.10 How to Make Background Transparent Using GIMP [Tutorial]](https://www.anymp4.com/images/photo-editing/make-background-transparent-with-gimp/make-background-transparent-with-gimp-alpha.jpg)