Replacing Drum Unit On Brother Printer

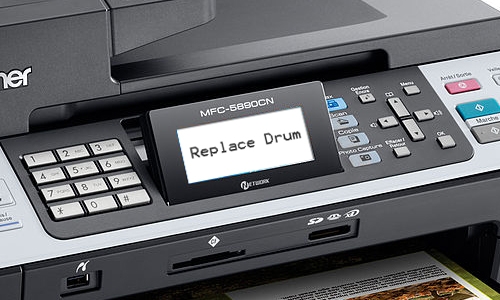
The dreaded "Replace Drum" error message flashes on your Brother printer's LCD screen. Panic ensues. Vital documents hang in the balance, deadlines loom, and the once-reliable machine now threatens to grind your productivity to a halt. While seemingly daunting, replacing the drum unit on a Brother printer is a relatively straightforward process, often far simpler and cheaper than calling a technician.
Understanding the drum unit and its replacement is crucial for maintaining optimal print quality and extending the life of your printer. This article will provide a comprehensive guide on how to identify when a drum unit needs replacing, the steps involved in the replacement process, and tips for ensuring a smooth and successful experience, drawing upon manufacturer guidelines and user experiences.
Understanding the Drum Unit
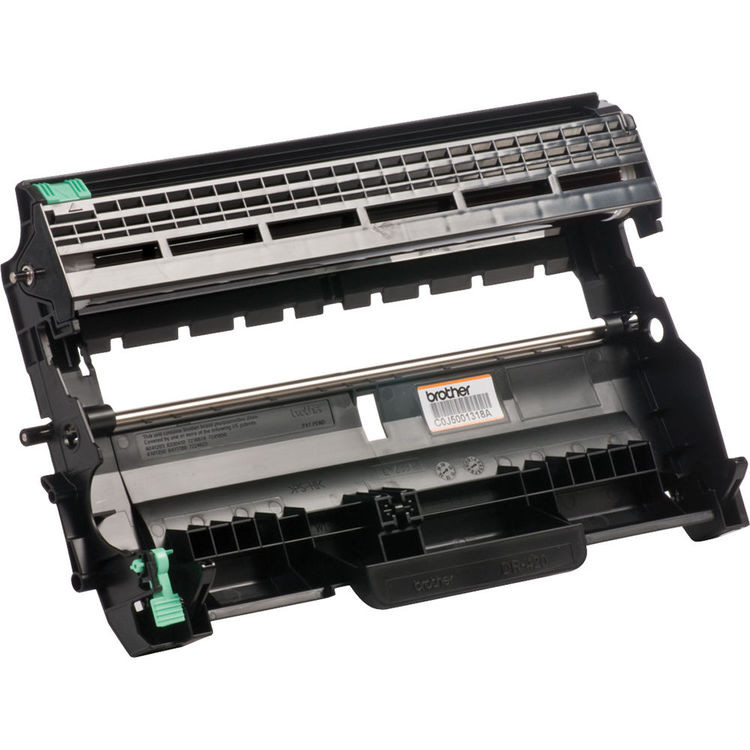
The drum unit is a critical component in Brother laser printers. It essentially transfers the toner onto the paper to create the image.
Unlike the toner cartridge, which holds the ink powder, the drum unit has a limited lifespan, measured in the number of pages it can print. Once this limit is reached, or if the drum unit becomes damaged, print quality will deteriorate, necessitating a replacement.
Identifying the Need for Replacement
The most obvious sign is the "Replace Drum" message on the printer's display. However, other indicators may appear before the message, suggesting an impending replacement.
These include faded print quality, streaks or lines on the printed pages, or repeating defects that appear in the same spot on every print. Brother's official website provides troubleshooting guides to help users diagnose these issues.
Before replacing the drum unit, it's advisable to perform a test print and examine the output closely. This can confirm whether the problem genuinely stems from the drum unit, or if it might be related to the toner cartridge or another component.
Step-by-Step Replacement Guide
Safety First: Always disconnect the printer from the power source before beginning any maintenance procedure. This minimizes the risk of electrical shock and protects the printer's delicate components.
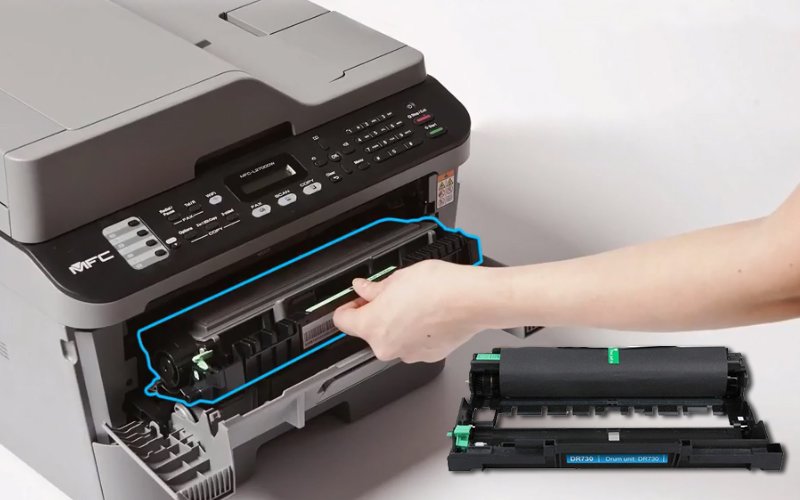
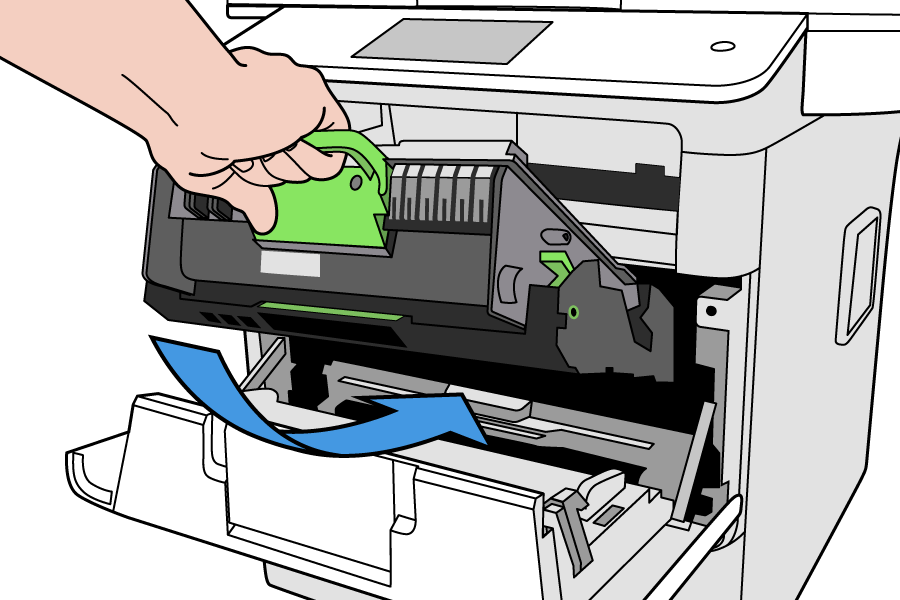
Accessing the Drum Unit: Open the printer's front cover, the same way you would to replace the toner cartridge. Locate the drum unit, which is usually a larger, rectangular component housed inside the printer.
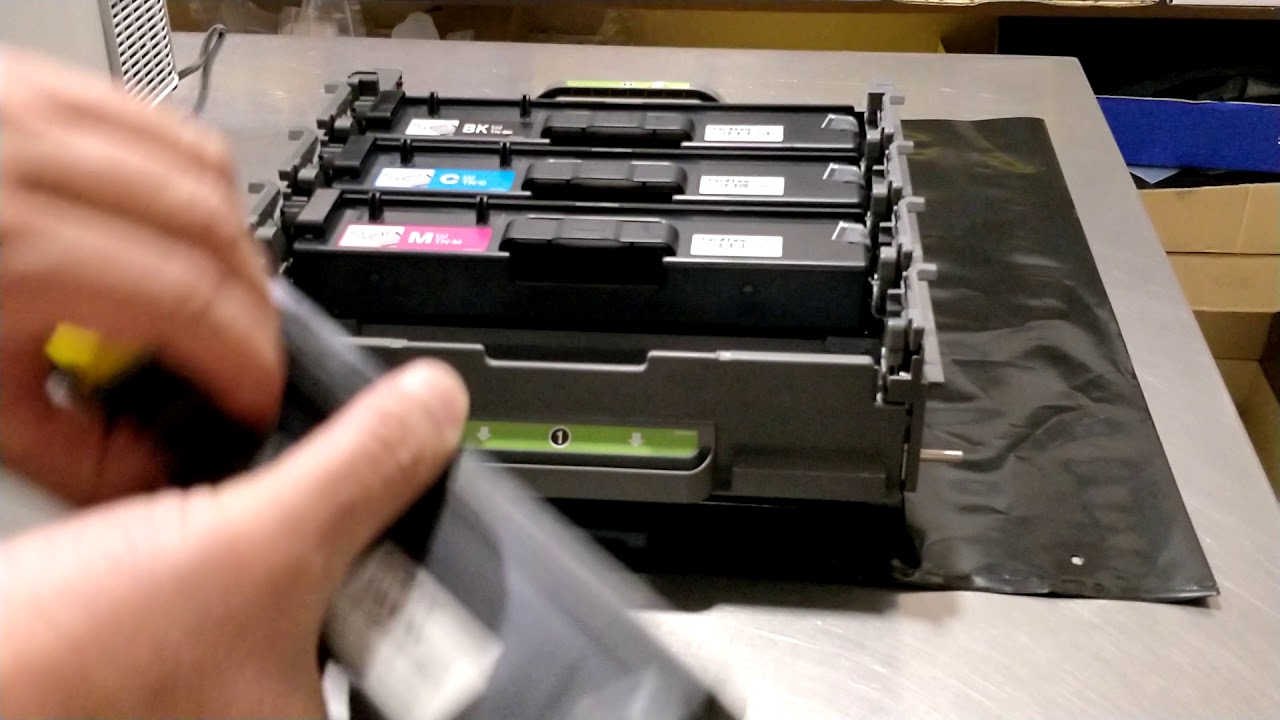
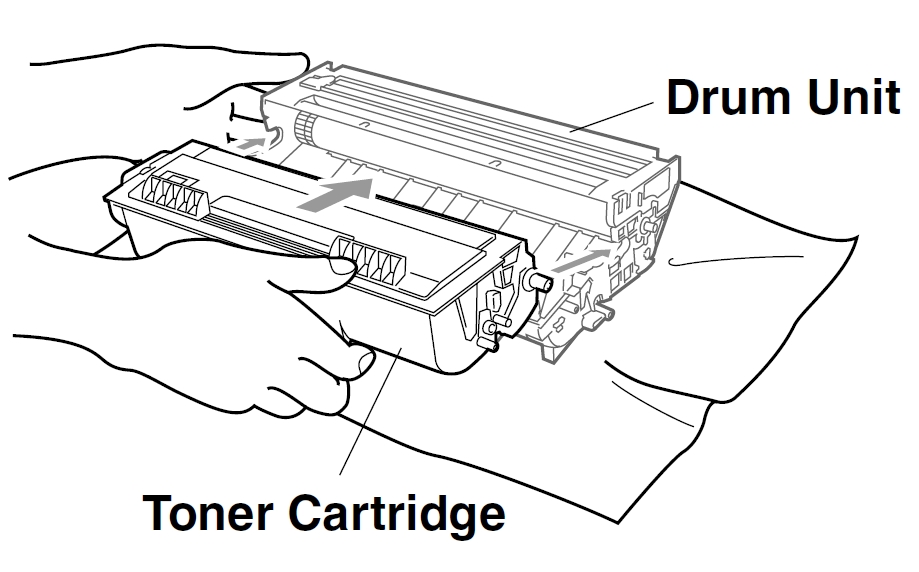
Removing the Old Drum Unit: Carefully remove the toner cartridge from the drum unit. Most Brother printers have a lever or button that releases the toner cartridge. Once the toner cartridge is removed, you can then take out the old drum unit.
Installing the New Drum Unit: Unpack the new drum unit, being careful not to touch the surface of the drum itself. Align the new drum unit with the guides inside the printer and gently slide it into place until it clicks or locks securely.
Reinstalling the Toner Cartridge: Reinsert the toner cartridge back into the new drum unit. Ensure it is properly seated and locked in place. Close the printer's front cover.
Resetting the Drum Counter: This is a crucial step that tells the printer you've installed a new drum unit. The reset procedure varies depending on the specific Brother printer model.
Consult your printer's user manual or Brother's online support for the correct reset sequence. Failure to reset the drum counter may result in the "Replace Drum" message persisting, even with a new drum unit installed.
Tips for a Smooth Replacement
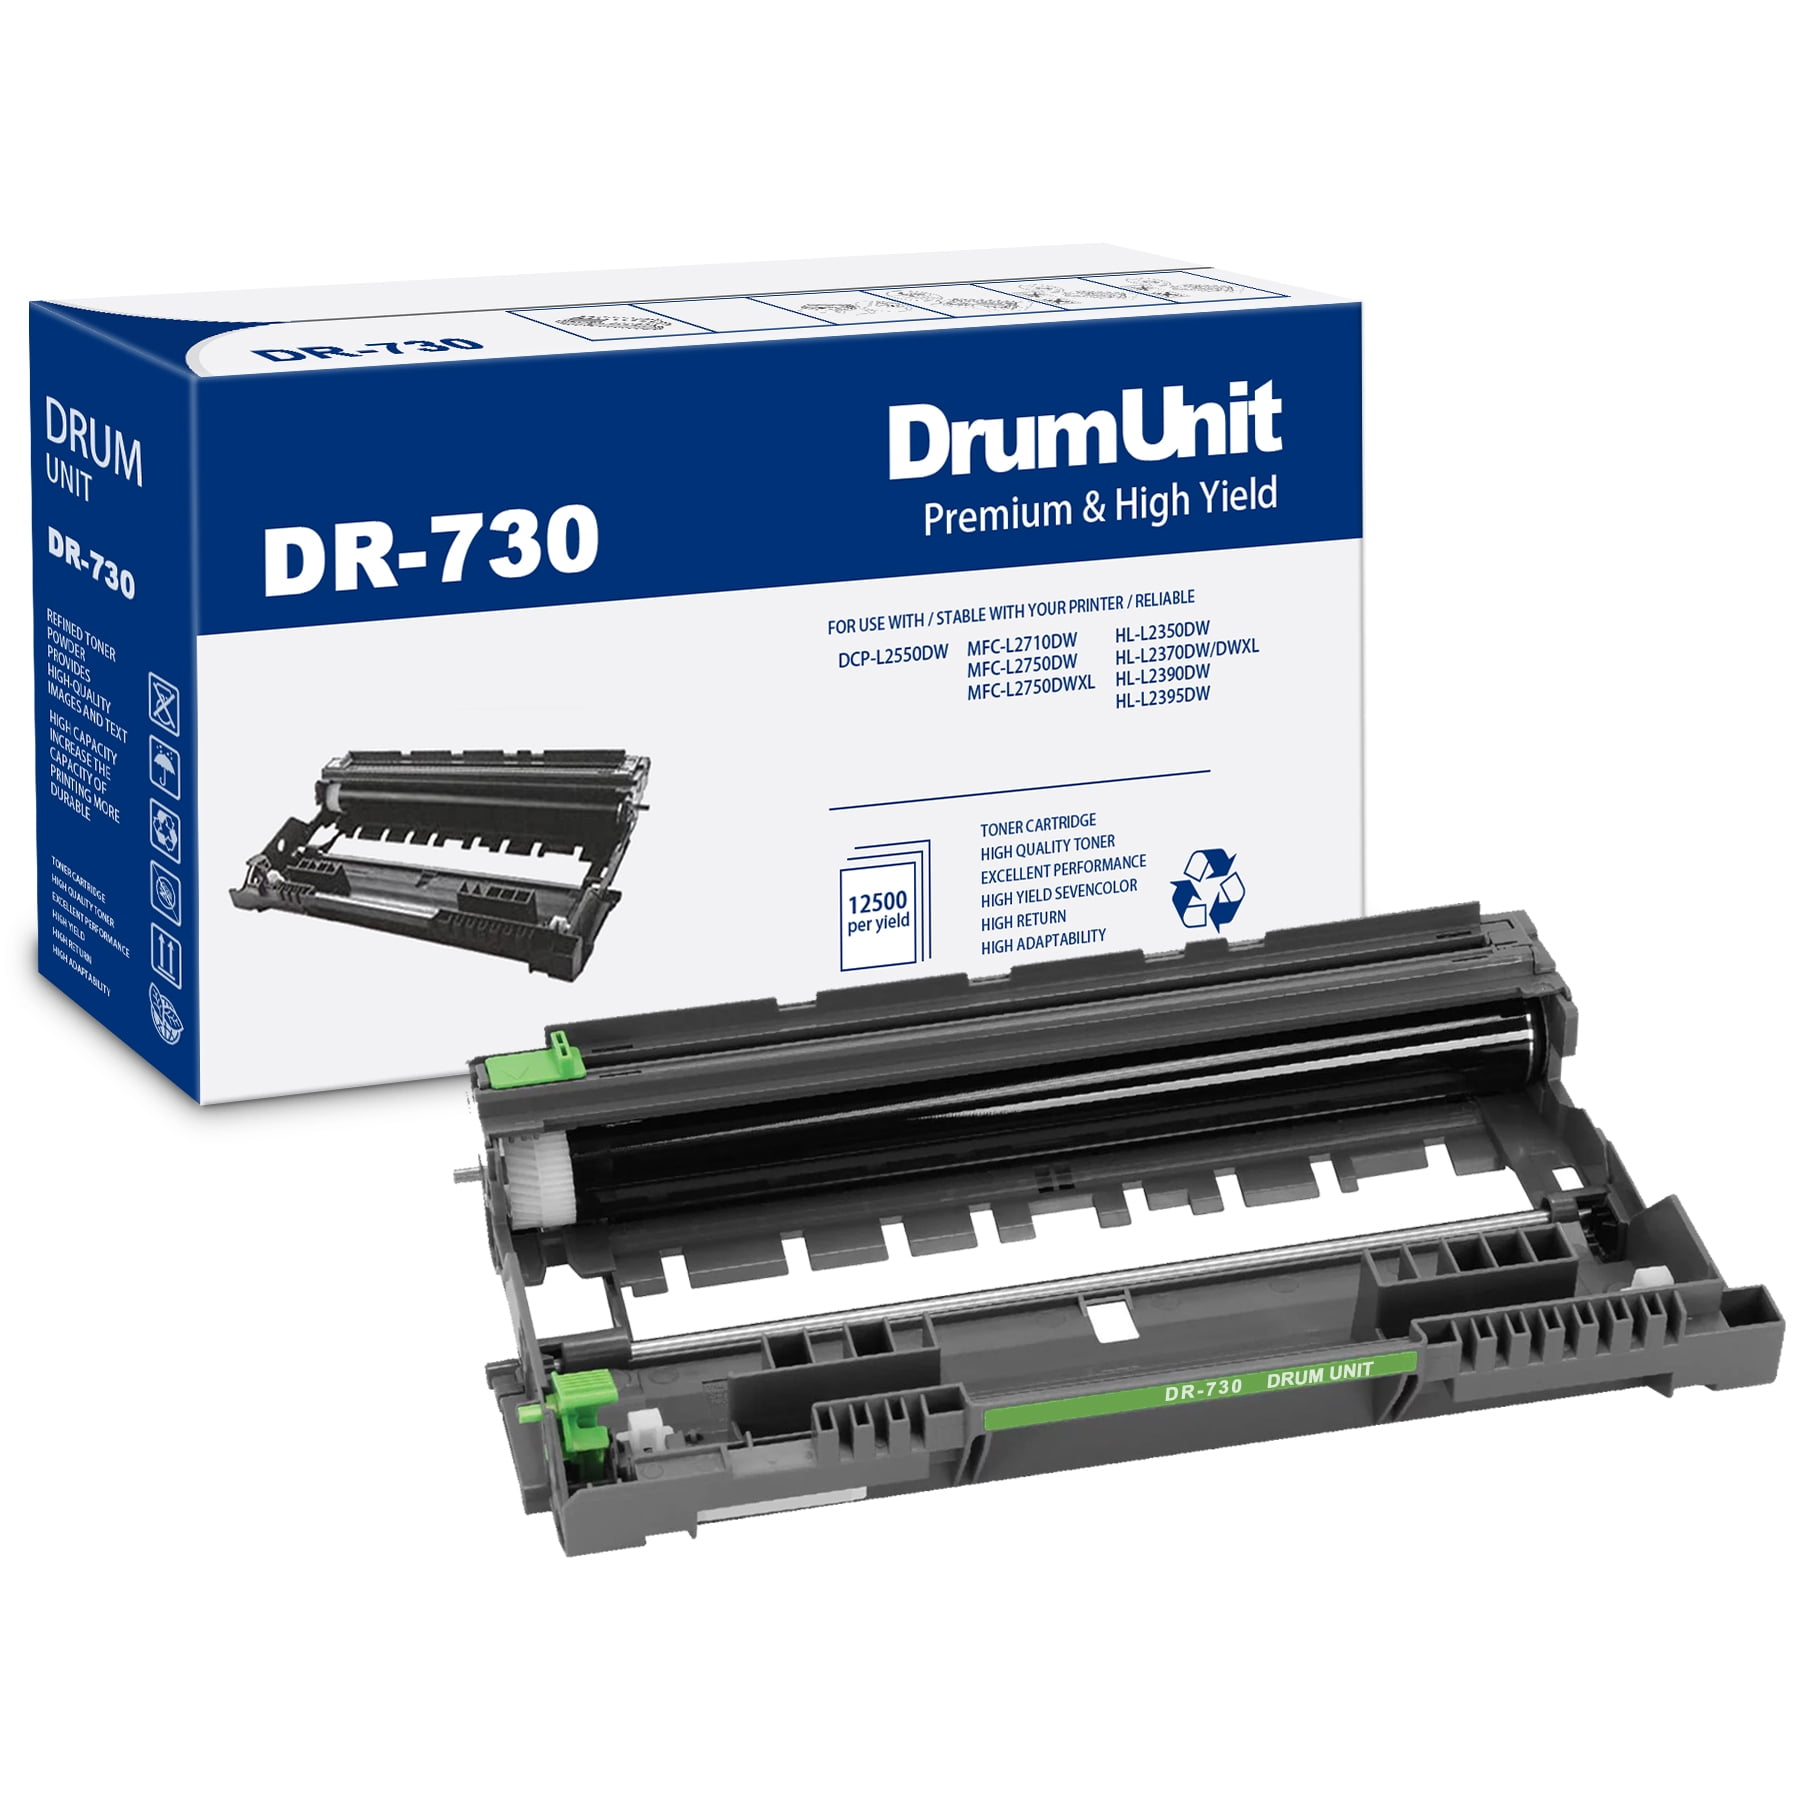
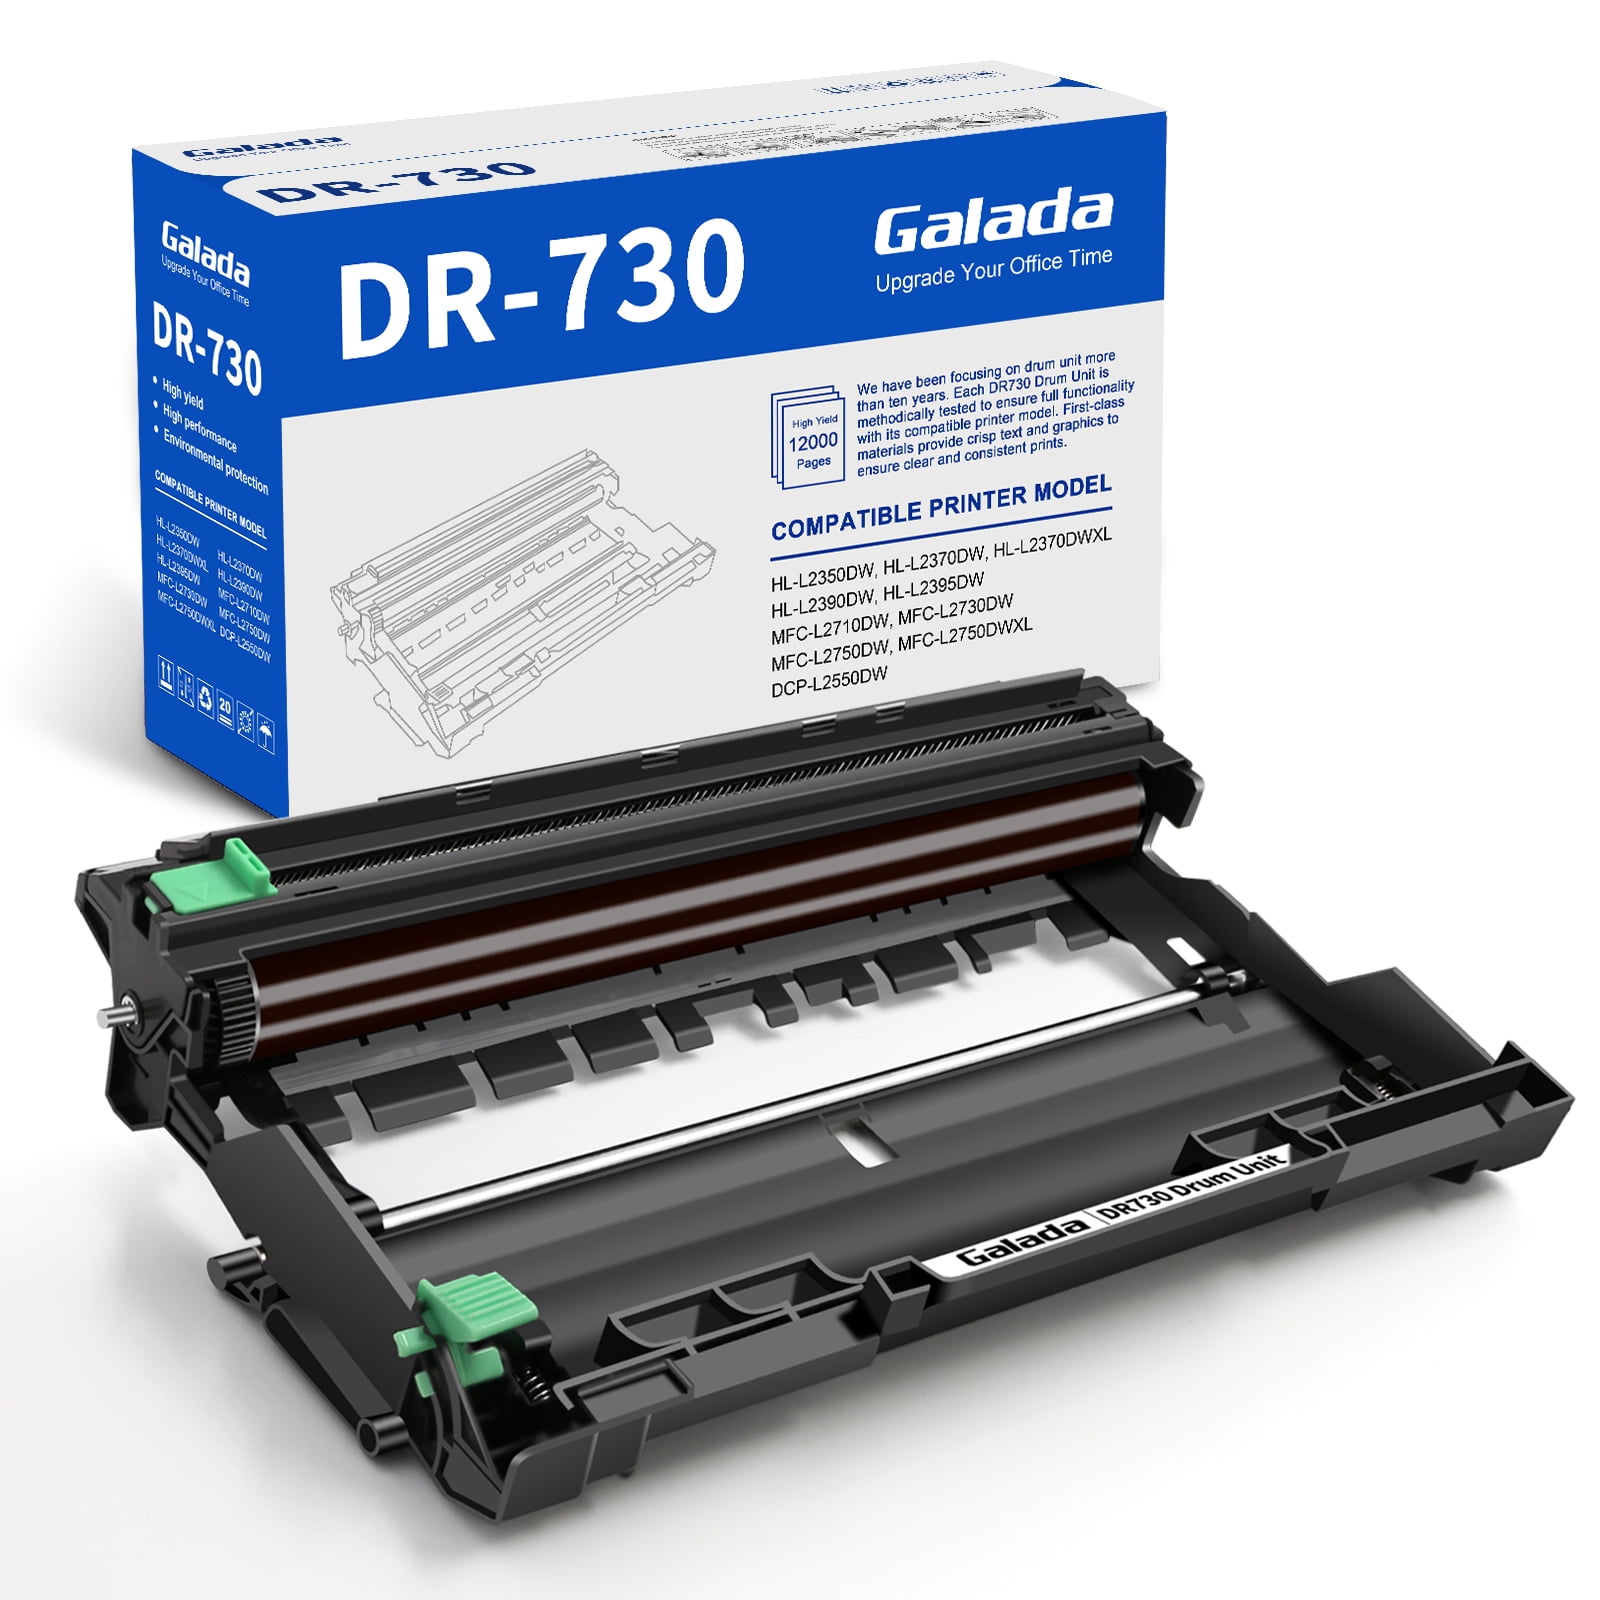
Always use genuine Brother drum units for optimal performance and compatibility. While aftermarket options may be cheaper, they can potentially damage your printer or produce subpar print quality.
Using compatible toners and drums can void the warranty on the machine.
Handle the drum unit with care, avoiding direct sunlight and excessive dust. The drum surface is sensitive and can be easily damaged. Store the new drum unit in its original packaging until you are ready to install it.
If you encounter any difficulties during the replacement process, consult the printer's user manual or Brother's online support for detailed instructions and troubleshooting tips. Video tutorials are also available on platforms like YouTube, demonstrating the replacement process for various Brother printer models.
Looking Ahead
Regularly maintaining your Brother printer, including timely drum unit replacements, is essential for ensuring consistent print quality and extending the printer's lifespan. By following the steps outlined in this guide and adhering to manufacturer recommendations, you can confidently replace the drum unit yourself, saving time and money.
Technological advancements in printing technology may lead to even more durable and efficient drum units in the future. Stay informed about the latest innovations and maintenance practices to keep your printer performing at its best.