Water Heater Thermopile Replacement

The pilot light flickered hesitantly, a tiny blue flame struggling against the unseen forces of a chilly basement. A homeowner, armed with a flashlight and a healthy dose of determination, peered into the depths of their water heater, a common household appliance suddenly feeling more like a mysterious mechanical beast. The lukewarm showers had been the first sign, the chilling realization that something was amiss with this essential component of modern life.
At the heart of this domestic drama lies a small but mighty part: the thermopile. This article explores the role of the thermopile in water heaters, the telltale signs of its failure, and what homeowners need to know about its replacement, ensuring a return to hot water bliss and a deeper understanding of their home's inner workings.
Understanding the Thermopile
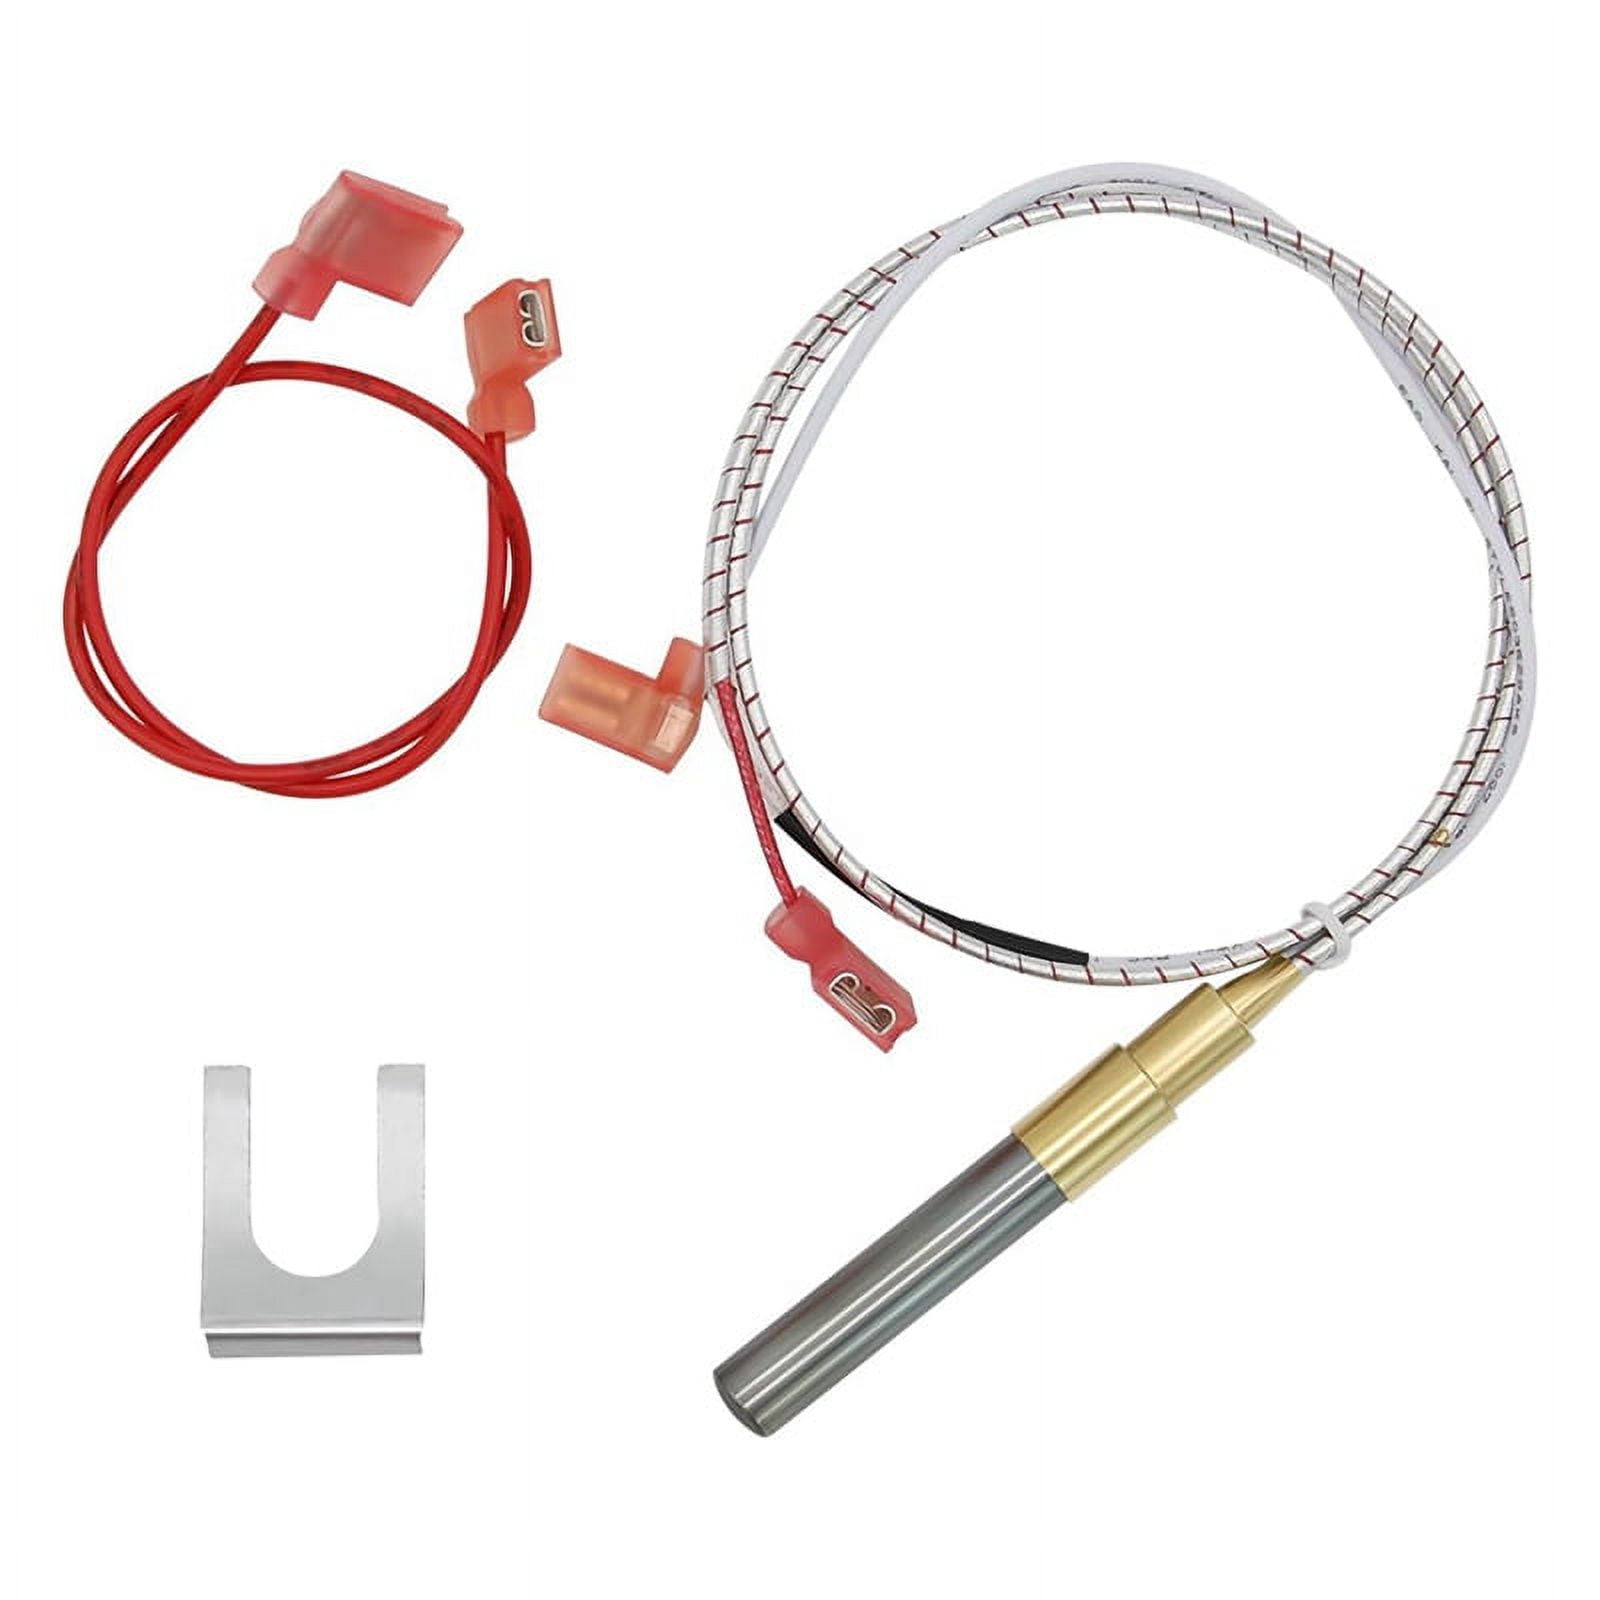
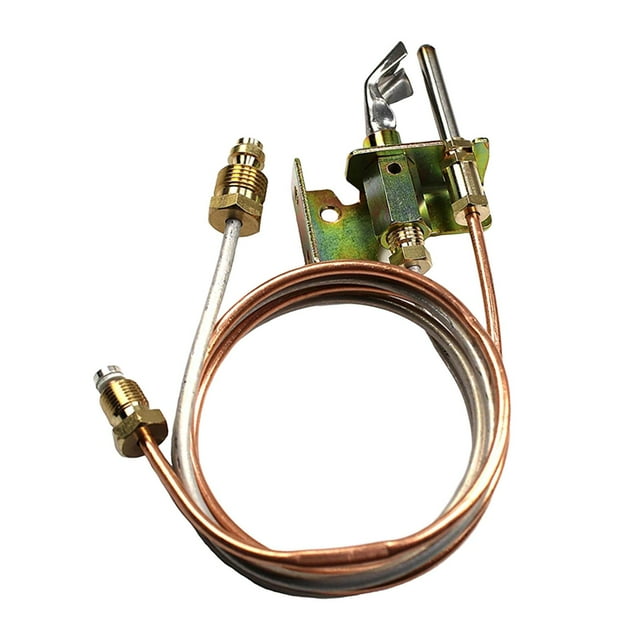
A thermopile is essentially a series of thermocouples wired together to generate a small electrical current. This current is crucial for operating the gas valve in many gas-powered water heaters. Without a functioning thermopile, the gas valve remains closed, preventing the main burner from igniting and heating the water.
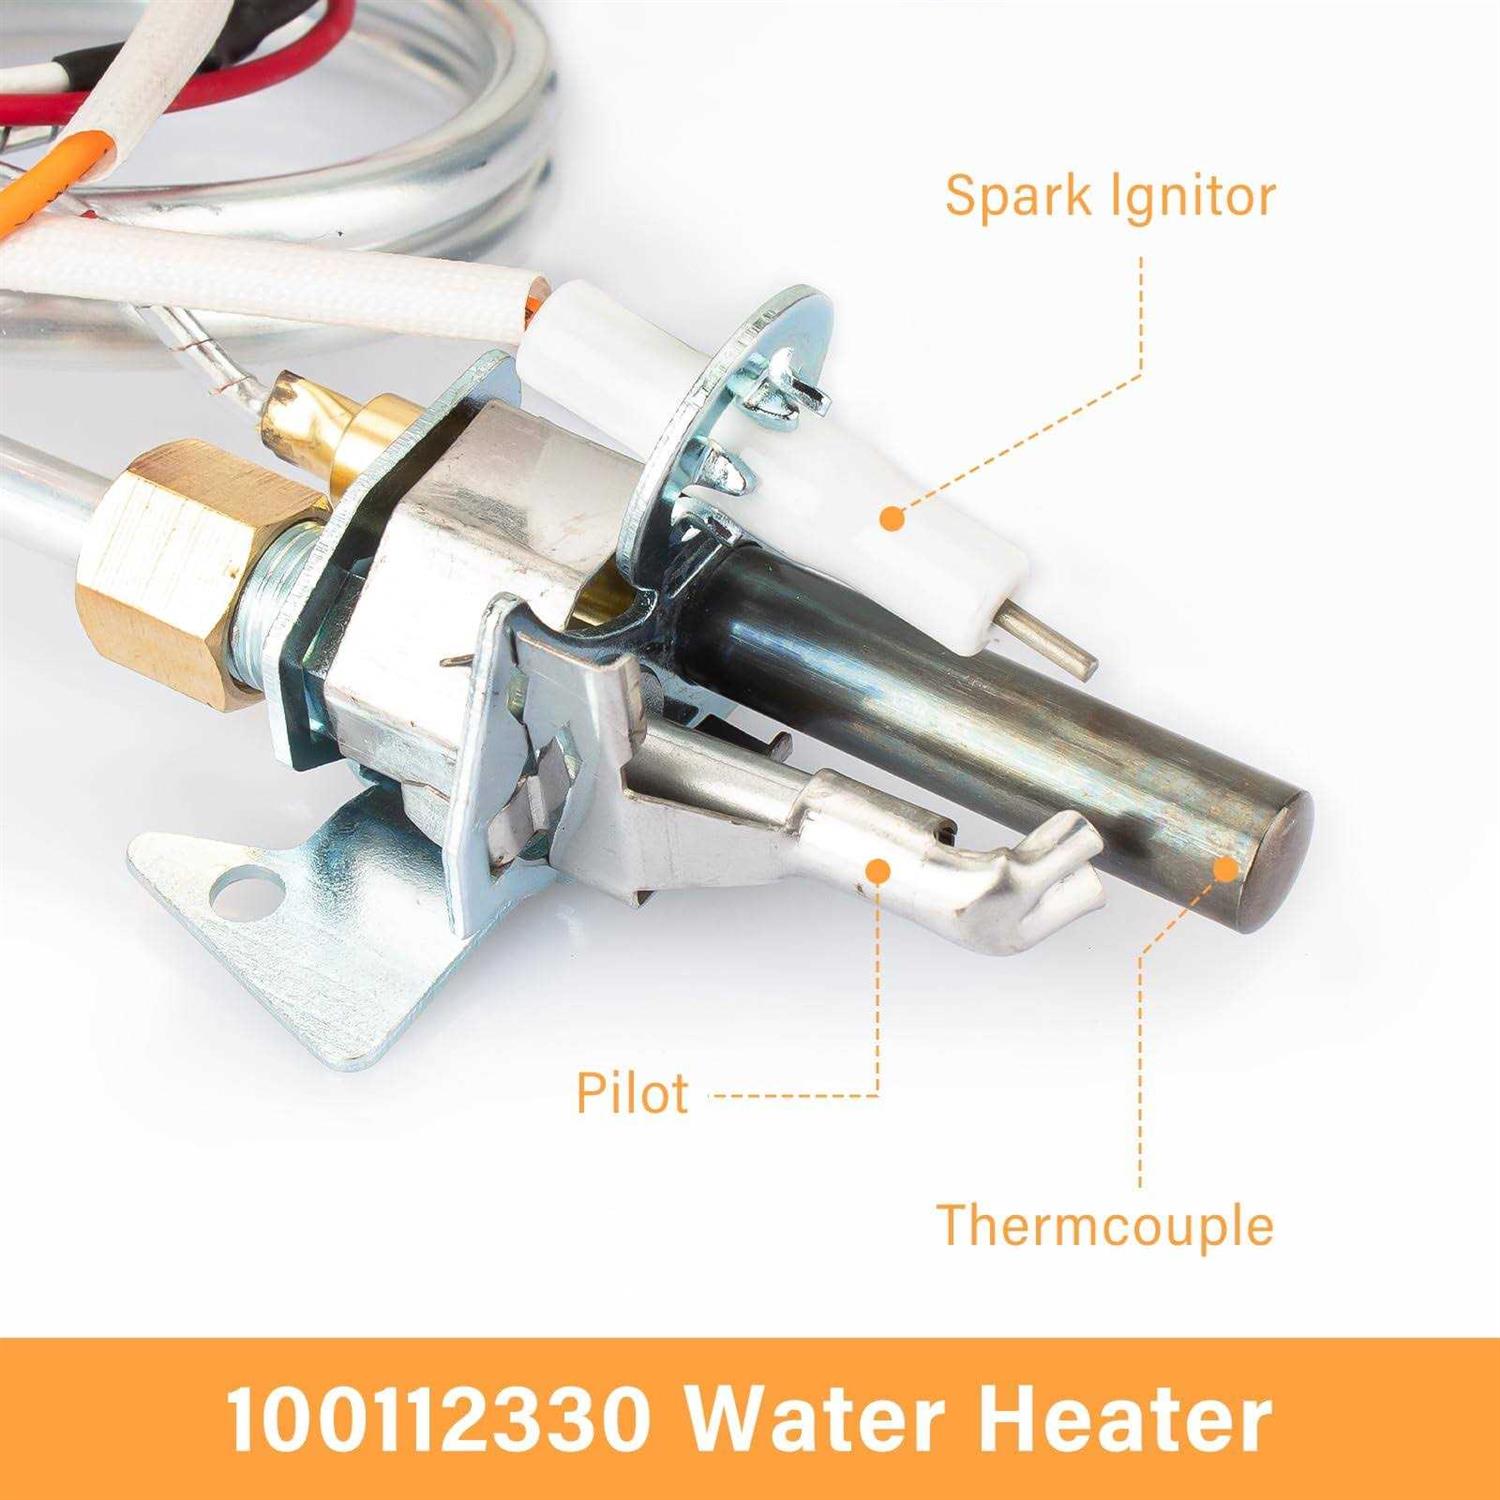
The thermopile relies on the heat from the pilot light to generate this electricity. It’s a clever, self-sufficient system designed for safety and efficiency.
Signs of a Failing Thermopile
Recognizing the symptoms of a failing thermopile can save you from icy showers and potential frustration. The most obvious sign is a pilot light that won't stay lit, despite repeated attempts to relight it.
Another clue is a water heater that simply refuses to heat the water, leaving you with a tank full of cold disappointment. Sometimes, you might hear clicking sounds from the gas valve as it tries unsuccessfully to engage.
Common Causes of Thermopile Failure
Thermopiles, like any mechanical component, have a lifespan. Over time, the constant exposure to heat can degrade the thermocouples, reducing their ability to generate electricity.
Corrosion is another common culprit, especially in areas with high humidity or poor ventilation. Dust and debris accumulation around the pilot light and thermopile can also impede its performance.
According to data from the American Society of Home Inspectors (ASHI), regular maintenance can significantly extend the life of a water heater and its components.
Thermopile Replacement: DIY or Call a Pro?
Replacing a thermopile is a task that falls into a gray area for many homeowners. While it's not inherently complex, it involves working with gas, which always carries inherent risks.
If you're comfortable working with gas appliances and have a good understanding of electrical circuits, you might consider tackling the replacement yourself. However, if you're at all hesitant or unsure, it's always best to call a qualified plumbing or HVAC professional.
DIY Approach: Steps and Precautions
If you decide to proceed with a DIY replacement, safety is paramount. Always turn off the gas supply to the water heater before starting any work.
Carefully disconnect the old thermopile, noting the connections to the gas valve. Install the new thermopile, ensuring that all connections are secure and properly tightened.
Double-check your work before turning the gas back on and relighting the pilot light. After the Gas Appliance Manufacturers Association (GAMA), always refer to manufacturer's instructions.
Professional Installation: Peace of Mind
Hiring a professional ensures that the replacement is done correctly and safely. They have the experience and tools to diagnose the problem accurately and complete the repair efficiently.
A professional can also inspect other components of the water heater, identifying potential issues before they become major problems.
Extending the Life of Your Thermopile
Preventive maintenance is key to prolonging the life of your thermopile and water heater. Regularly inspect the pilot light and thermopile for any signs of corrosion or debris.
Clean the area around the pilot light with a soft brush or vacuum to remove any dust or dirt. Ensure that the water heater has adequate ventilation to prevent moisture buildup.
Consider having your water heater professionally serviced annually to identify and address any potential issues early on.
As the homeowner successfully relit the pilot light, a steady blue flame now danced confidently. A sense of accomplishment washed over them, not just for restoring hot water to their home, but for gaining a deeper understanding of the inner workings of a seemingly simple appliance. The warmth wasn't just coming from the water heater; it was the satisfaction of knowing they had taken control and brought comfort back to their household.