How To Add Freeze Frame In Premiere Pro

Let's talk about freeze frames in Premiere Pro. And let’s be honest, mastering them feels like unlocking a secret level, right? So, grab your favorite beverage. We're diving in!
The Obvious Way (That's Still Kind of Magical)
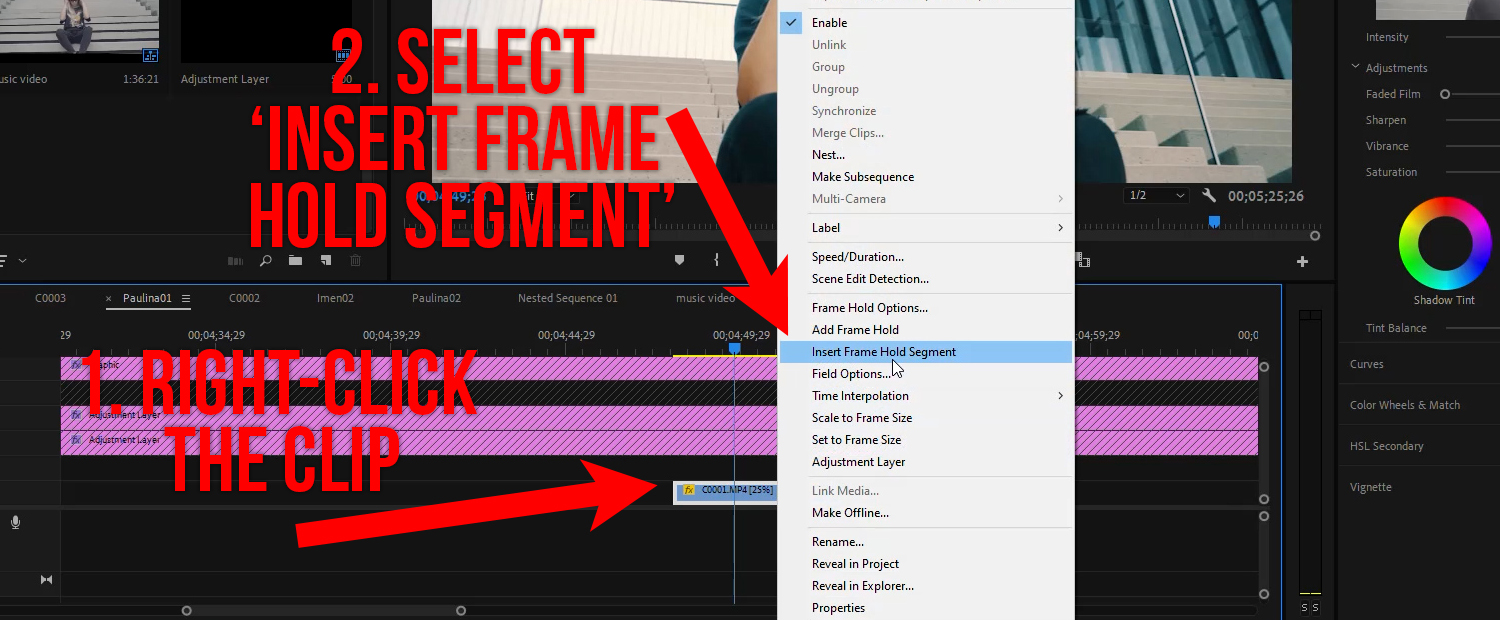
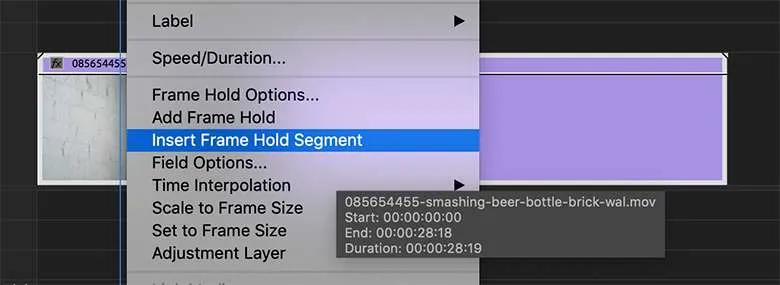
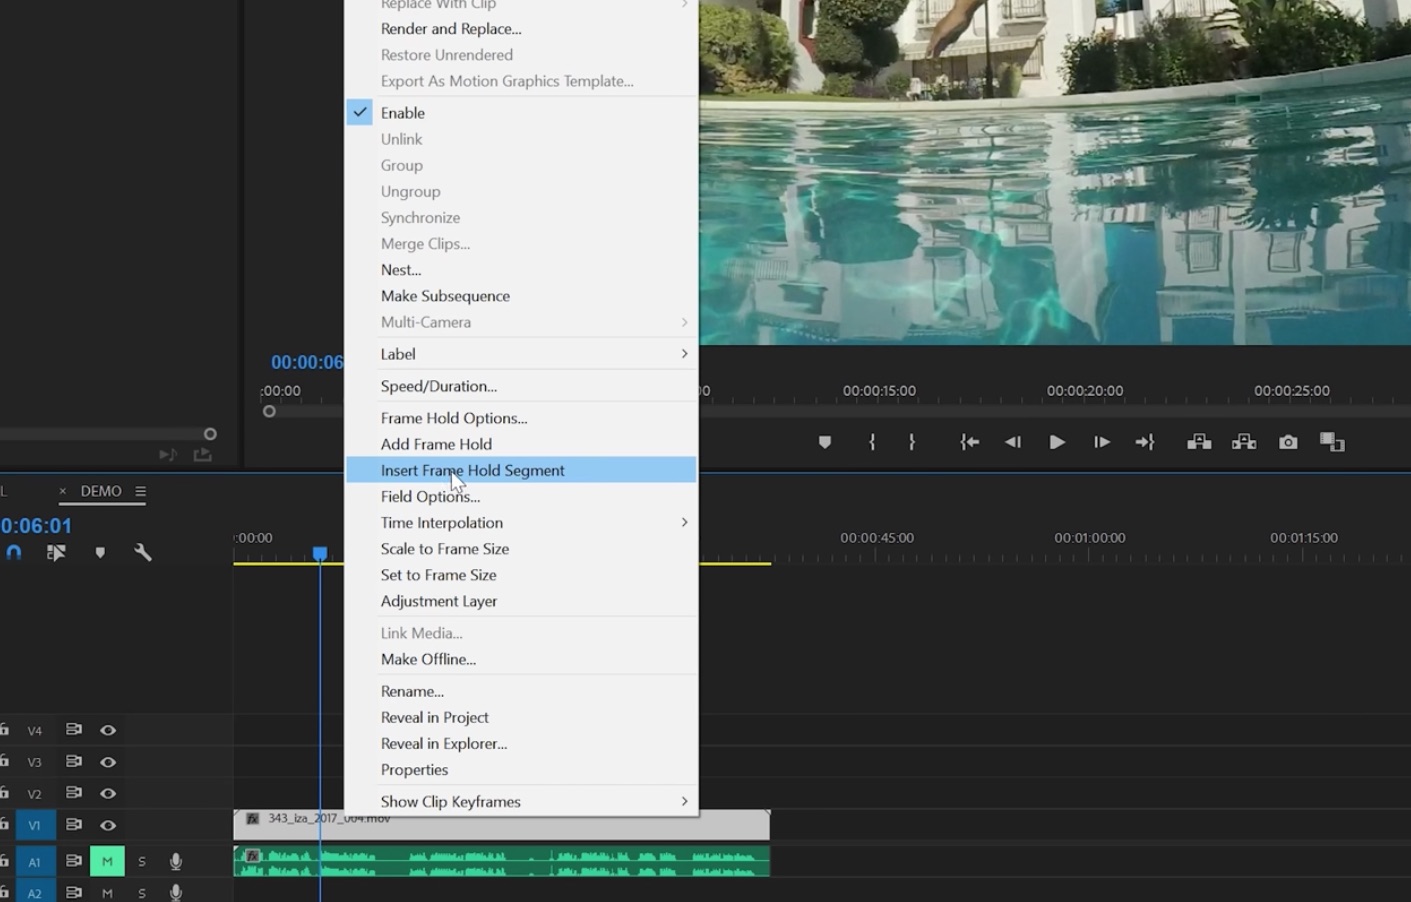
First, there's the classic "Insert Frame Hold Segment" method. Find the exact frame you want to freeze. Right-click like you mean it.
Then, select "Insert Frame Hold Segment." Boom! Instant statue. It’s almost too easy. But don't tell anyone I said that.
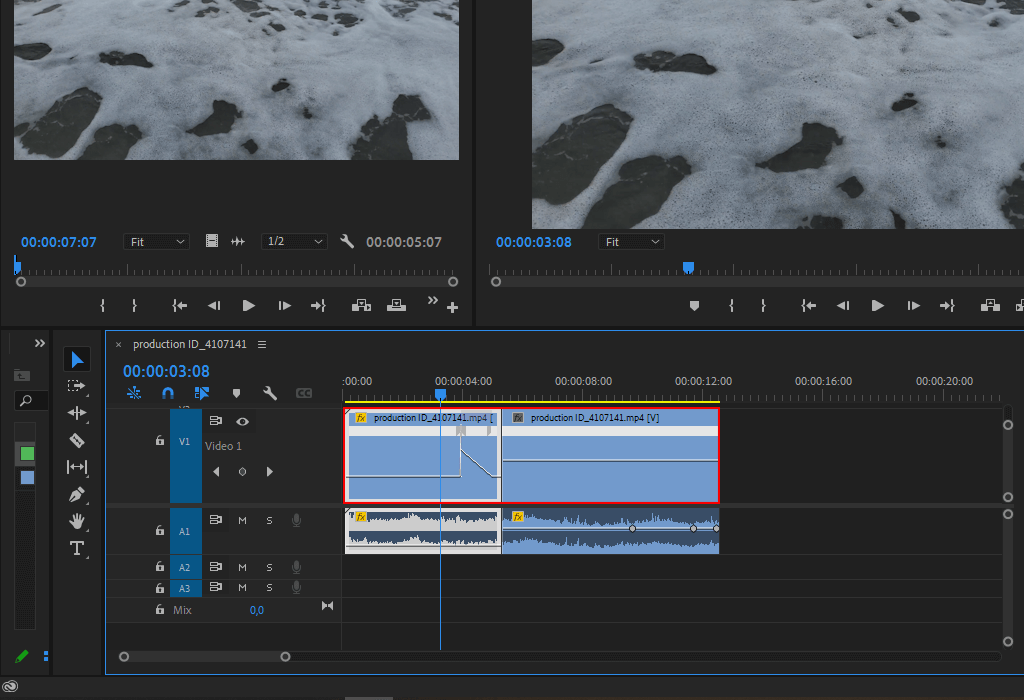
You can drag the edges to make the freeze last longer. Or shorter, if your attention span rivals a goldfish.
The Slightly-Less-Obvious But Still-Pretty-Easy Way
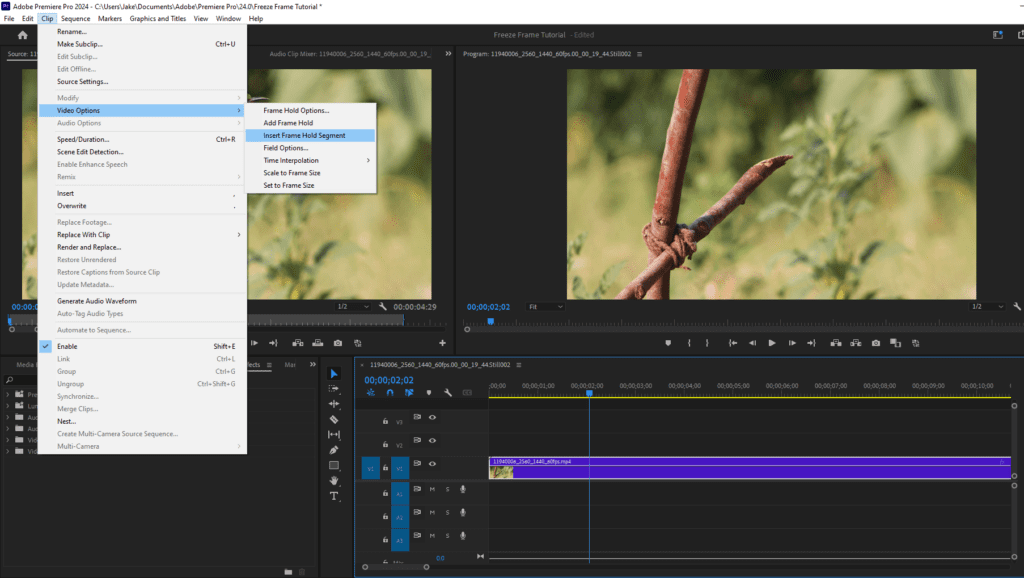
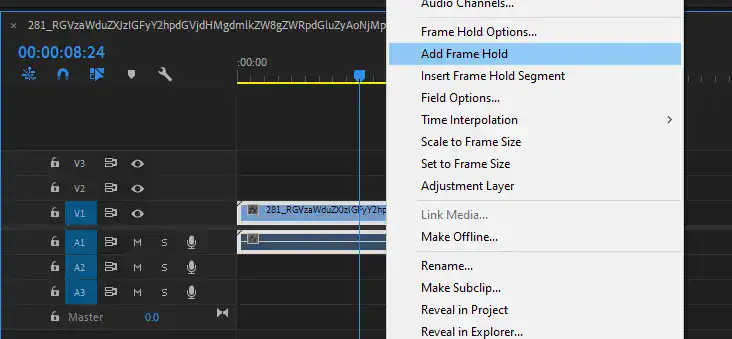
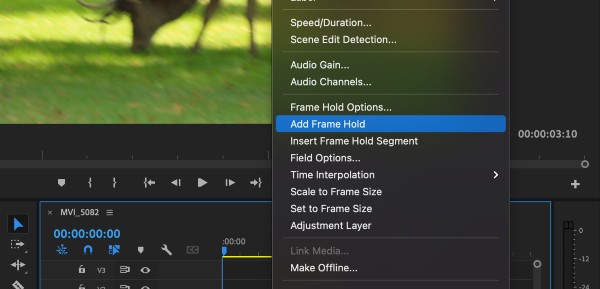
Okay, maybe "slightly-less-obvious" is a stretch. This method involves the *Add Frame Hold* option. It lives under the Clip menu.
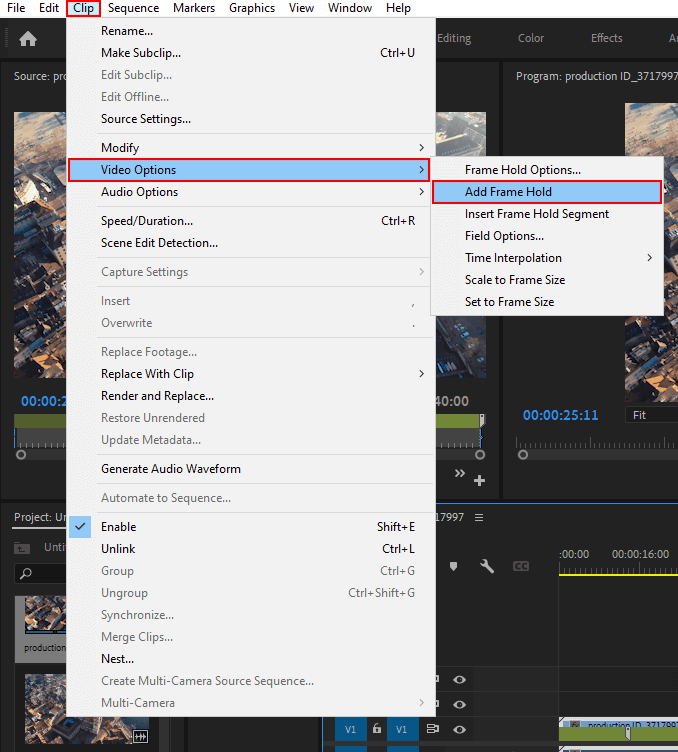
Again, park your playhead where the action stops. Then, navigate to Clip -> Video Options -> Frame Hold Options.
A little window pops up. Select frame holding option that you want. Hit "OK" and bam! You got it.
Unpopular Opinion Time!
Here’s my hot take. I think these two methods are neck and neck in terms of ease. I am not even kidding.
But the menu dive gives you options and lets you feel like you know what you are doing. I love to pick Sequence Timecode.
Am I the only one who feels this way? Probably. But let's move on, shall we?
The Secret Agent (aka Using Exported Frames)
This one's for the rebels. The ones who laugh in the face of menus. We're exporting a single frame!
Position your playhead on the exact frame you crave. Click the little camera icon under the Program monitor. A snapshot!
Premiere will save that frame as an image. Import it back into your project. Place it on the timeline where you want the freeze.
Resize it to your heart’s content. You can drag it to be longer. It is now a photo, and you get total control.
Is this method overkill? Maybe. But who doesn't love a little over-engineering in their editing?
Bonus Round: Time Remapping!
Okay, this isn't *technically* a freeze frame. But it gives you similar effects. Plus, it lets you get fancy.
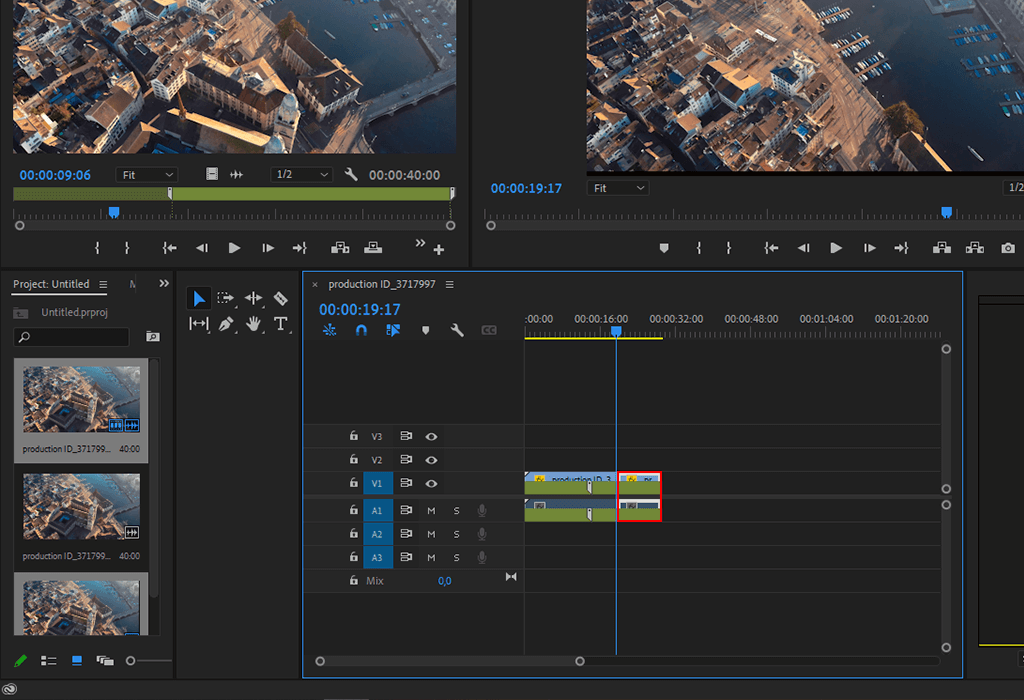
Right-click on your clip in the timeline. Go to Show Clip Keyframes and then Time Remapping and then Speed.
Now, add two keyframes close to each other. Drag the line between them down to zero percent. You now have a freeze.
Drag the other frames, and you can do fast forward. You can rewind! You control time itself.
This method is perfect for those moments when you want to subtly pause the action. And by subtly, I mean, make it look epic.
With time remapping, you're not just freezing a frame. You're manipulating reality! Use your powers wisely.
Final Thoughts (and Maybe Another Unpopular Opinion)
Freeze frames are essential. They punctuate moments and add emphasis. They are also fun!
And here's my second unpopular opinion. Premiere Pro actually makes them pretty darn easy. It's true!
So go forth! Freeze, remix, and create something awesome. Don't be afraid to experiment. And embrace the freeze!