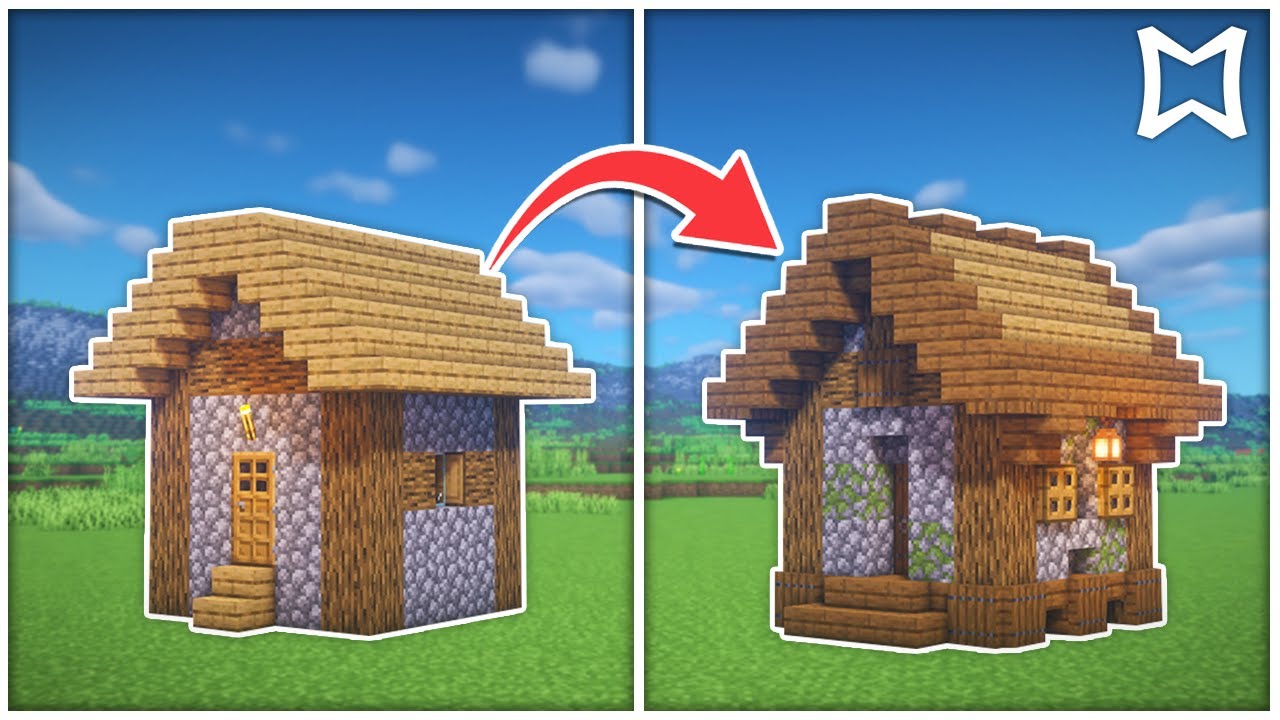
How To Build A Villagers House In Minecraft

So, You Wanna Be a Real Estate Tycoon (in Minecraft)?
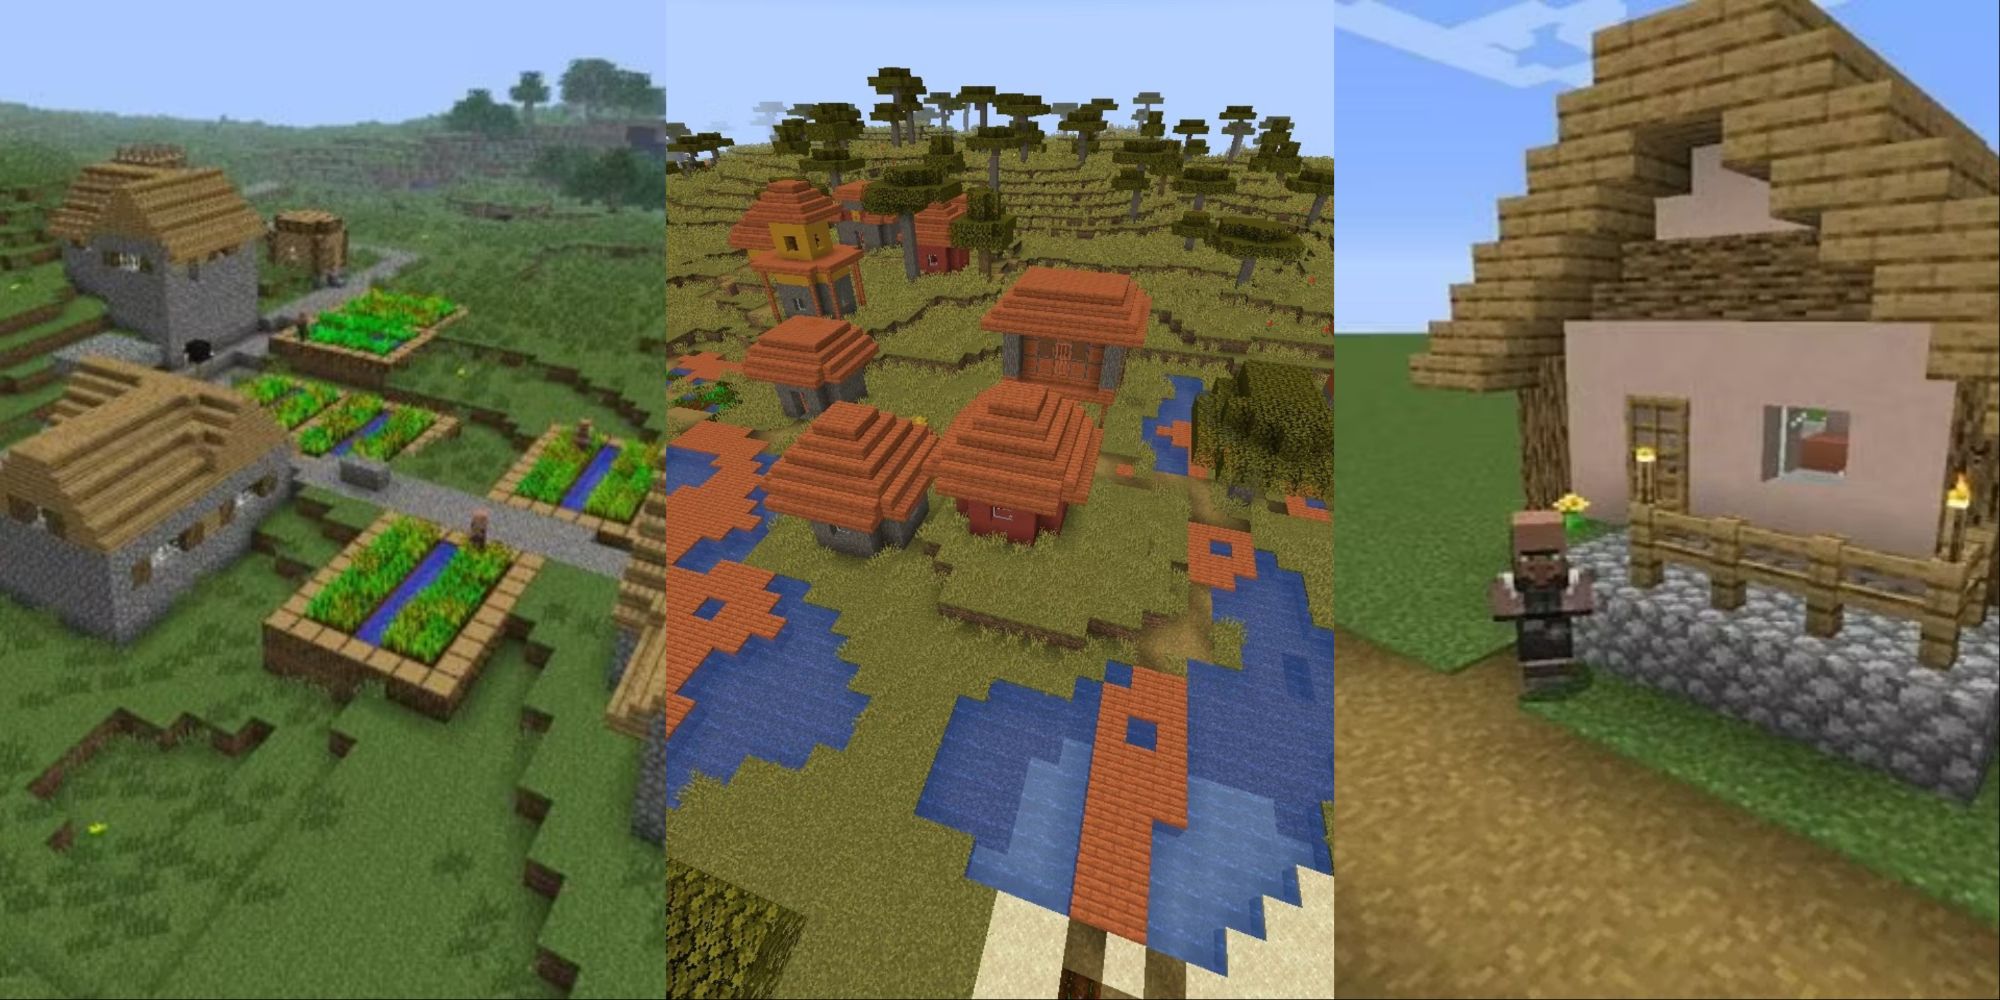
Ever felt bad for those Minecraft villagers crammed into tiny, identical houses? You're not alone! It's time to unleash your inner architect and build them something a little more…homely.
Think of it as "Extreme Home Makeover: Villager Edition." We're talking curb appeal, folks! Forget those dirt huts; we're going for brick, wood, and maybe even a swimming pool (if the zoning laws allow).
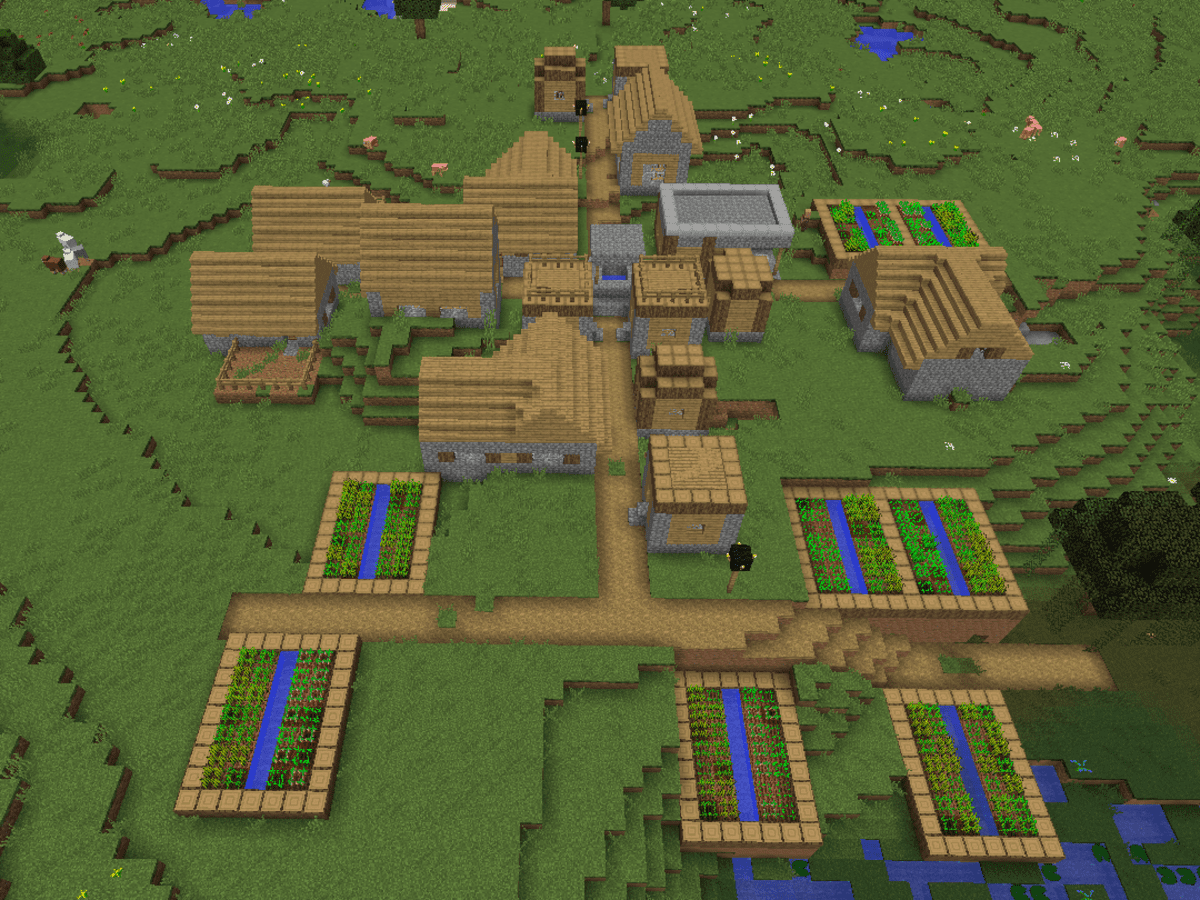
Step 1: Location, Location, Location!
First things first, find a good spot. A nice, flat area near their village is ideal. Just make sure you're not accidentally building on top of their precious farmland.
Nobody wants a disgruntled farmer with a hoe. Trust me on this one.
Step 2: The Foundation (and the Fun Begins!)
Grab your favorite building blocks. Wood, stone, brick – whatever floats your architectural boat. Lay down a square or rectangle. This is the base of your masterpiece!
Don't worry about being perfect. Minecraft is all about creativity. Unless you're going for a minimalist dirt cube, in which case, carry on!
Step 3: Walls That Whisper "Welcome Home"
Stack those blocks up! Make walls that are at least three blocks high. This gives the villagers headroom. We don't want any head-bumping incidents.
Add some windows! Glass panes are your friend. Villagers like to see the sunshine, and maybe spot any approaching zombies.
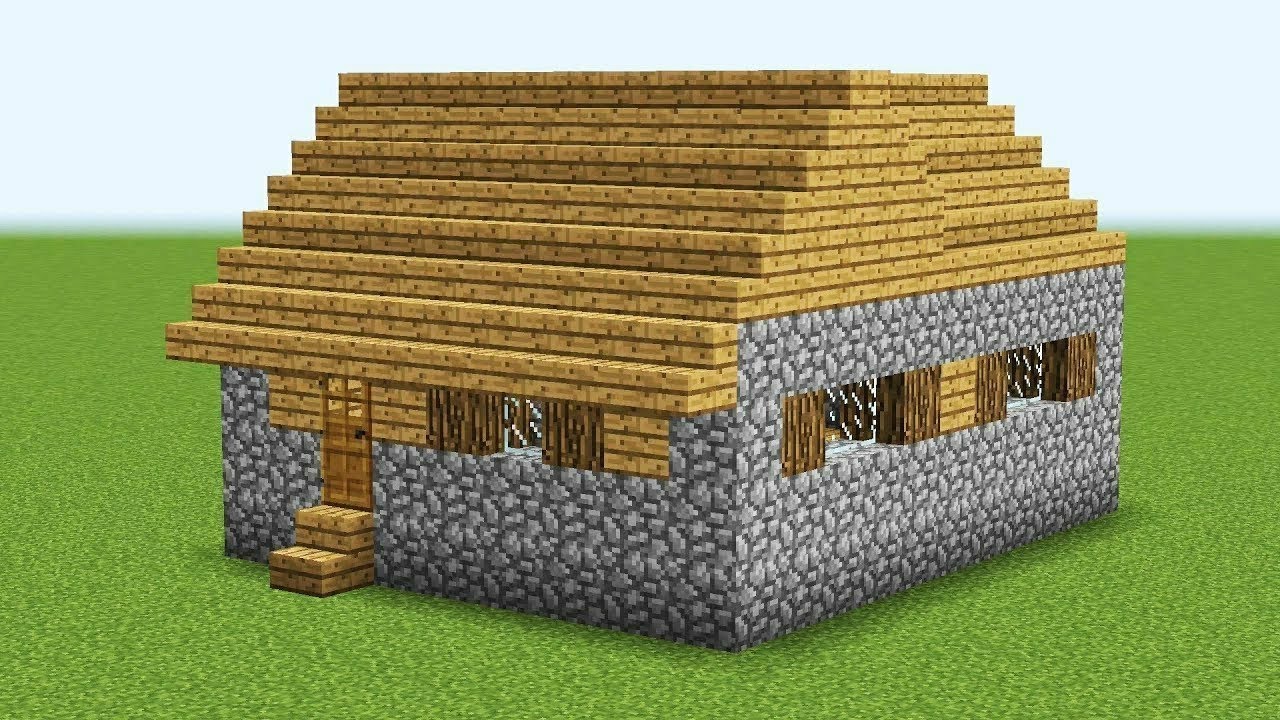
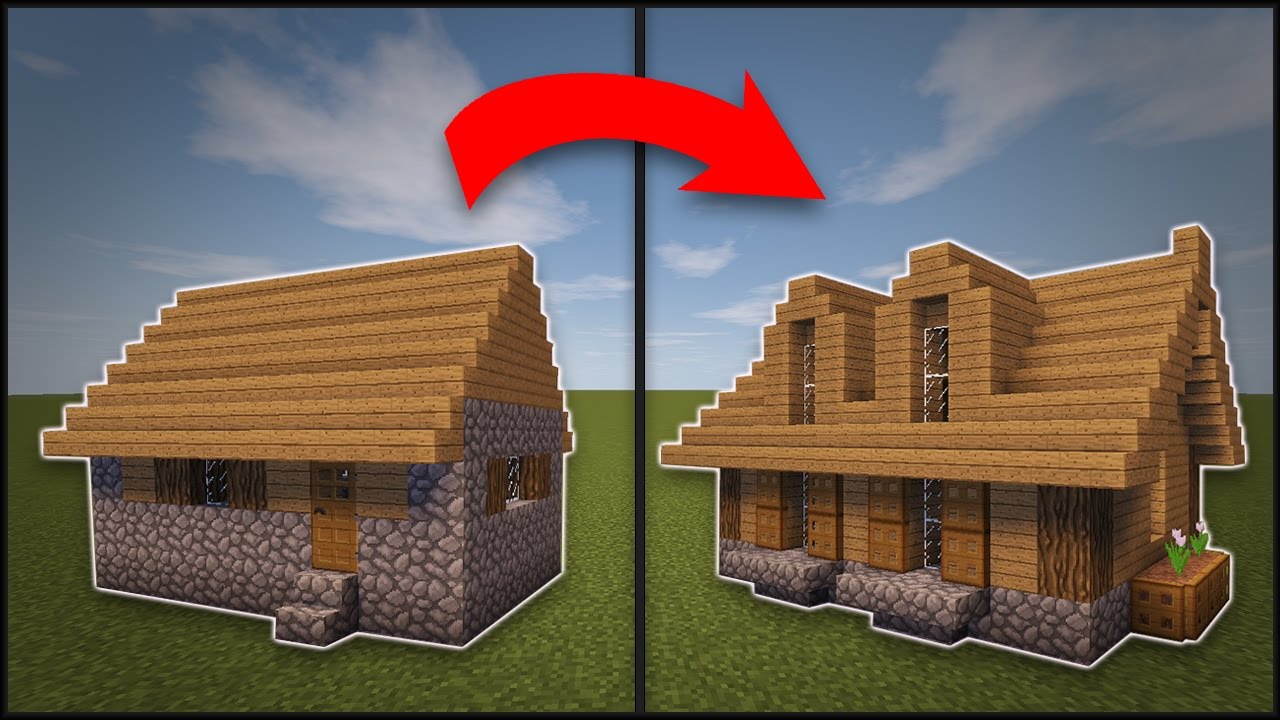
Step 4: Roof, Glorious Roof!
Now for the tricky part: the roof. Use stairs and slabs to create a slanted roof. It adds a touch of class. Imagine them gossiping about whose is steeper!
Or, if you're feeling lazy, just slap a flat roof on top. The villagers won't judge... much.
Step 5: Interior Design for Dummies (Like Me)
Time to furnish! A bed is essential. After all, even villagers need their beauty sleep. Throw in a crafting table and a furnace.
A chest for all their…stuff. What exactly do villagers keep in chests? Mysterious. Very mysterious.
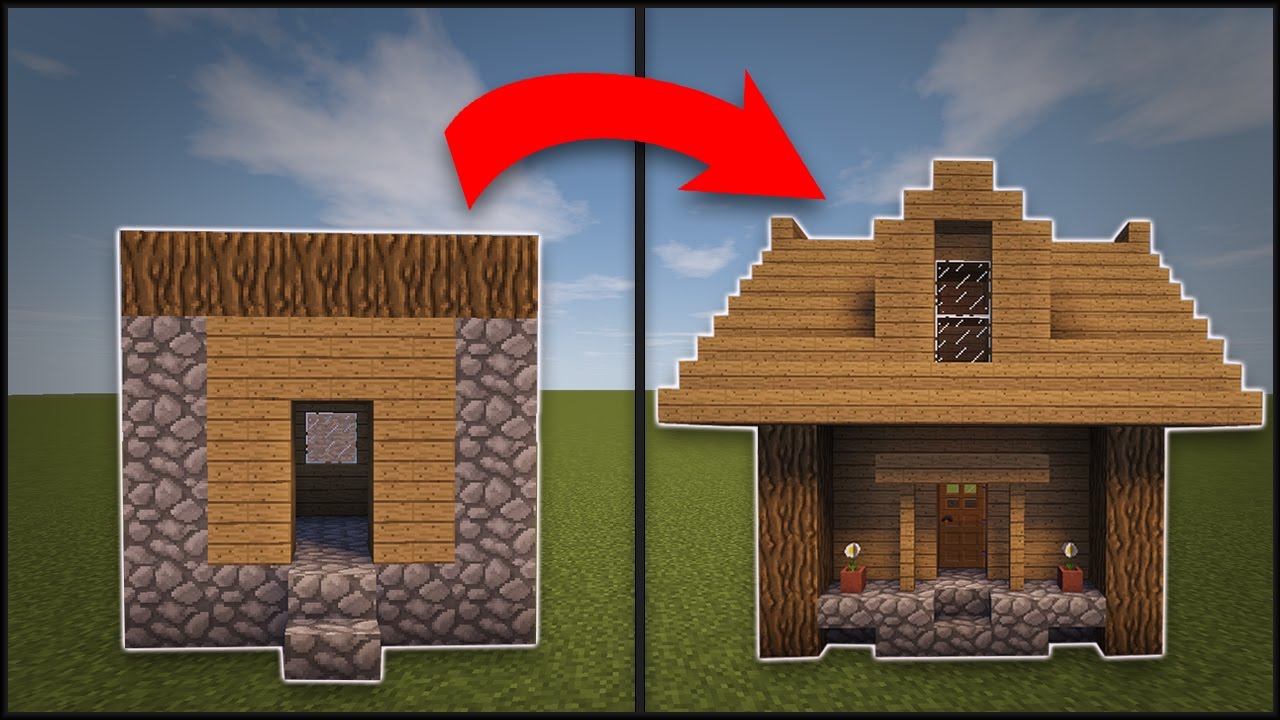
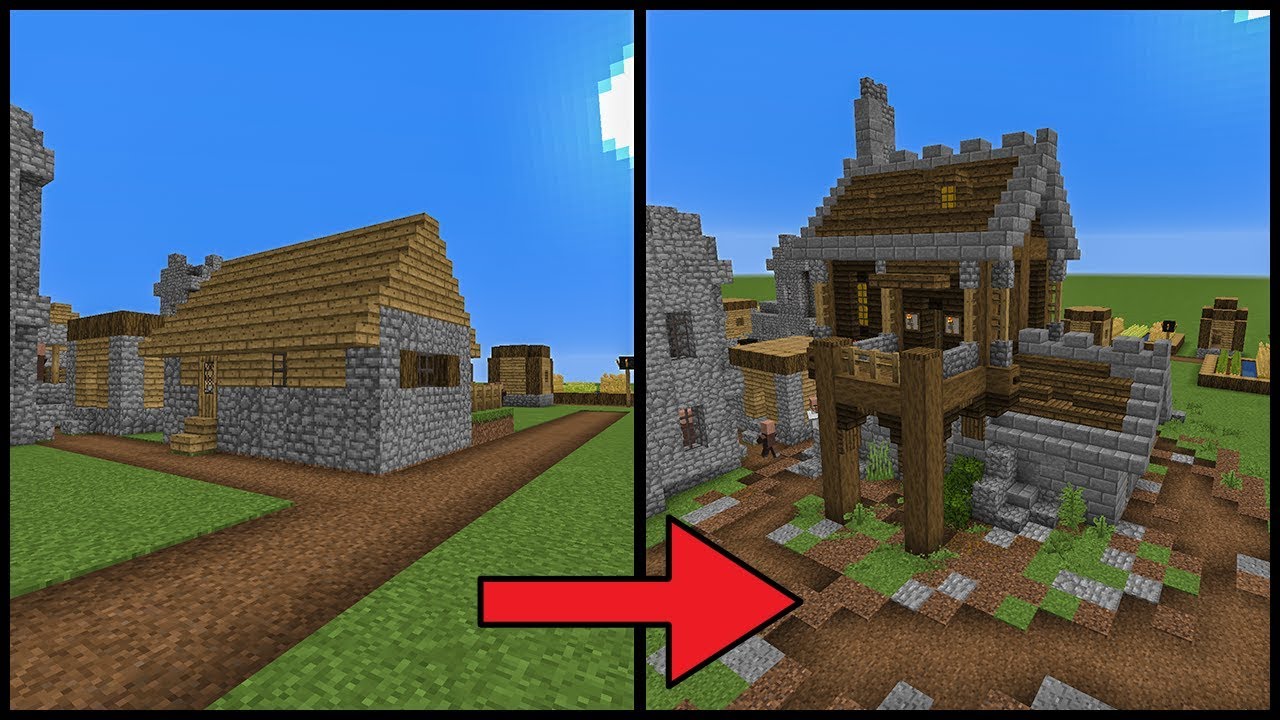
Step 6: The Finishing Touches: Curb Appeal!
Flowers! Every home needs flowers. Place flower pots outside the door. Maybe even a little garden.
A path leading to the door is always a nice touch. Use cobblestone or gravel. Avoid lava, unless you're going for a "modern art" vibe.
Step 7: Move-In Day (and the Awkward Stare)
Now, the moment of truth. Will the villagers appreciate your hard work? Probably not. They'll just stare at you blankly.
Don't take it personally! Villagers are notoriously hard to impress. Just bask in the knowledge that you've created a slightly less depressing living space.
Bonus Tip: The Ultimate Villager Trap… I Mean, House!
Want to ensure your villager moves in? Make the house ridiculously over-the-top! Add towers, moats, and maybe even a rollercoaster that leads directly to the front door.
They can't resist. It's science. Or, you know, Minecraft logic.
So there you have it! You are now armed with the knowledge to create truly mediocre housing. Let's raise the standard of Minecraft living!
Go forth and build! And remember, even if your villagers don't appreciate it, at least you'll have a cool house to show off to your friends. Unless, of course, they're building entire castles. Then you're back to square one. Good luck, Minecraft architect!