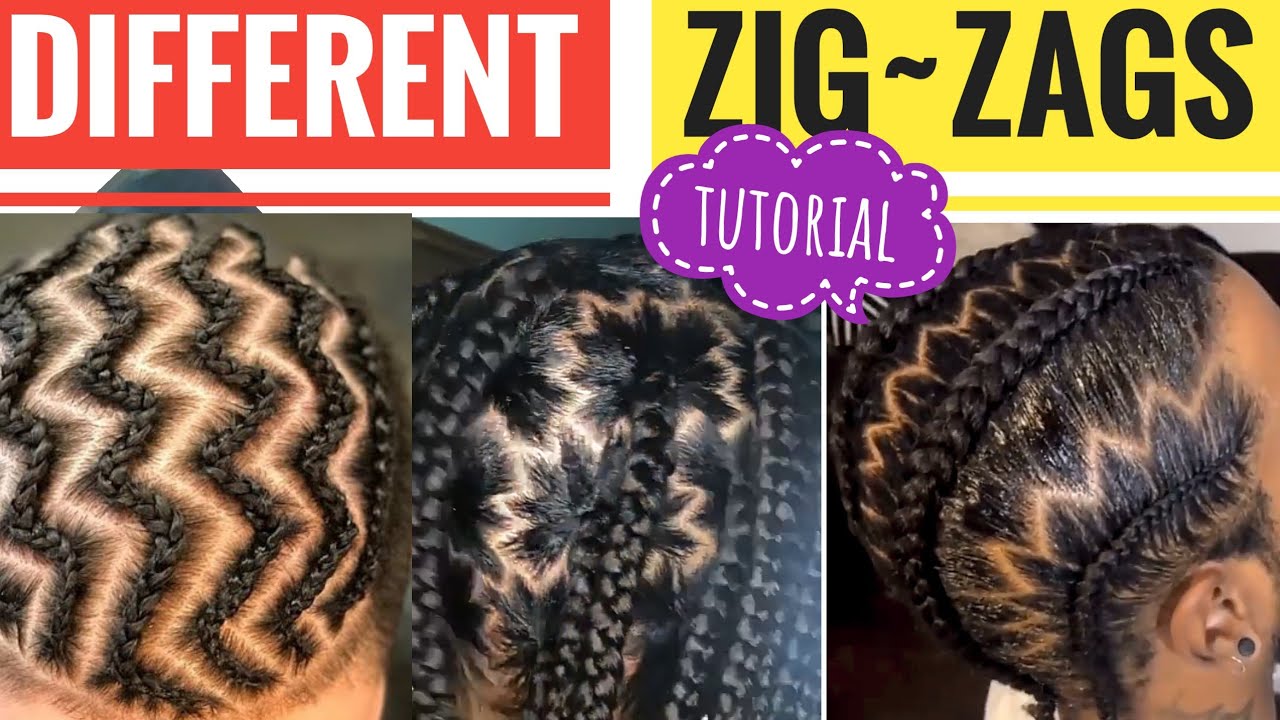
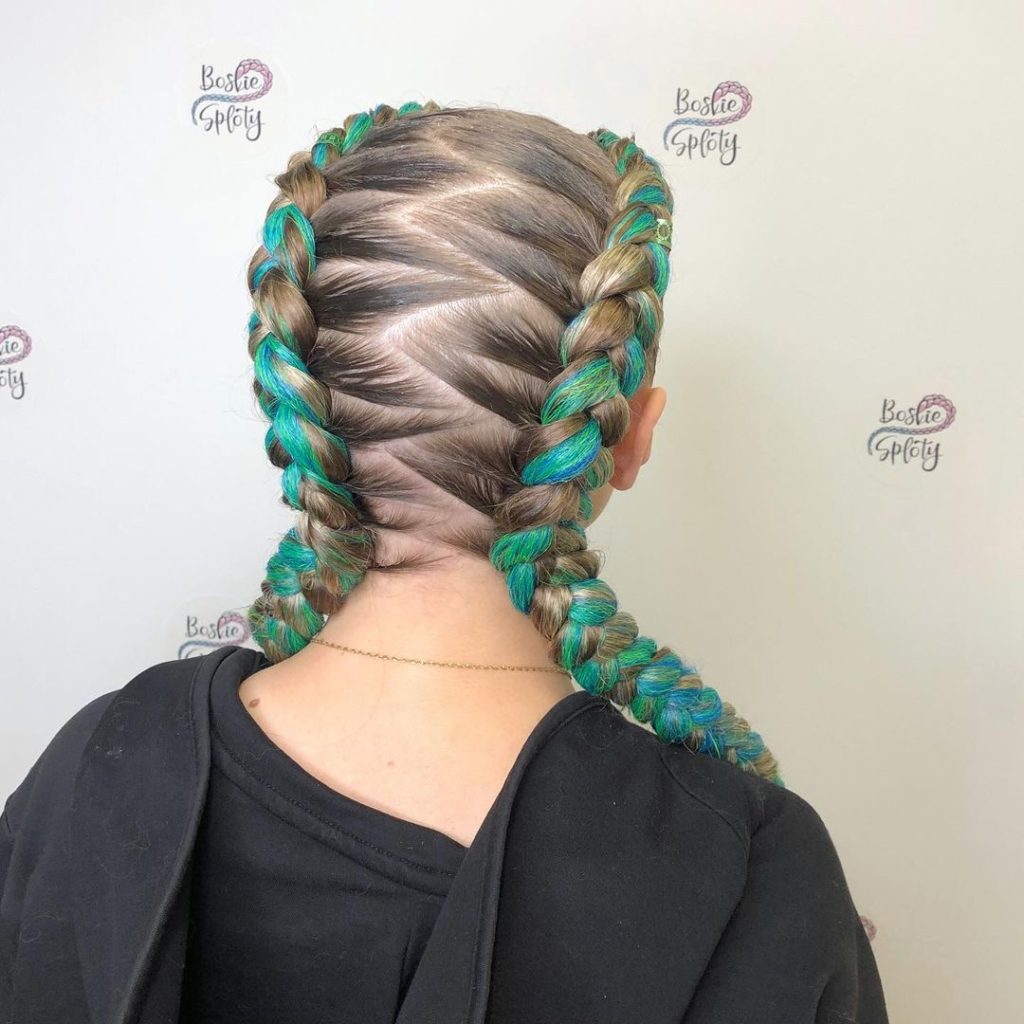
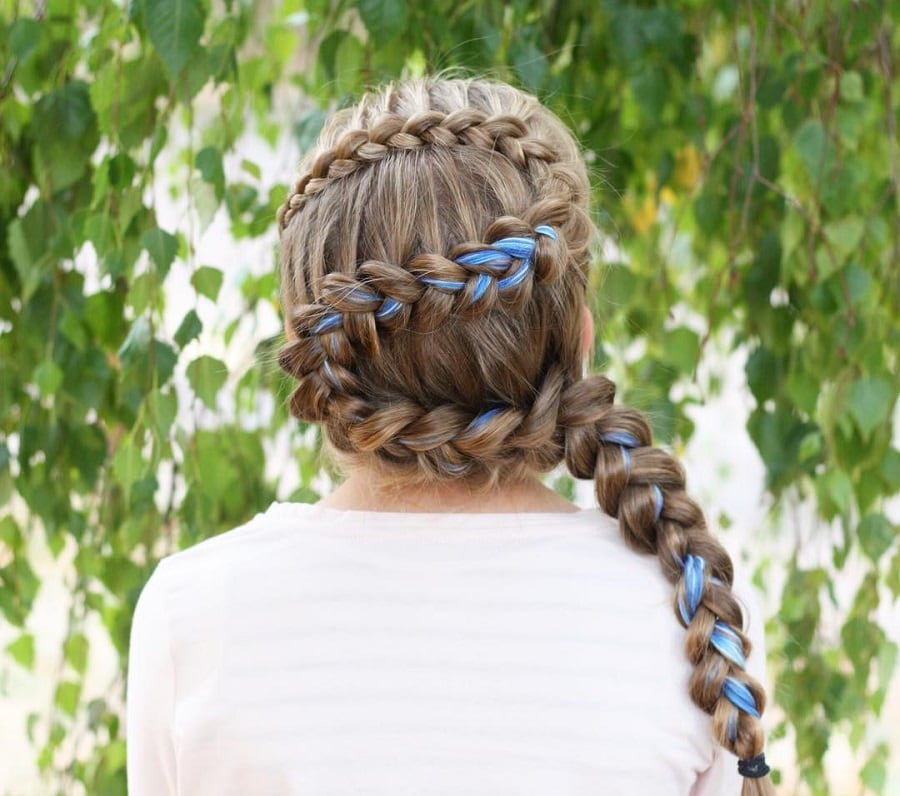
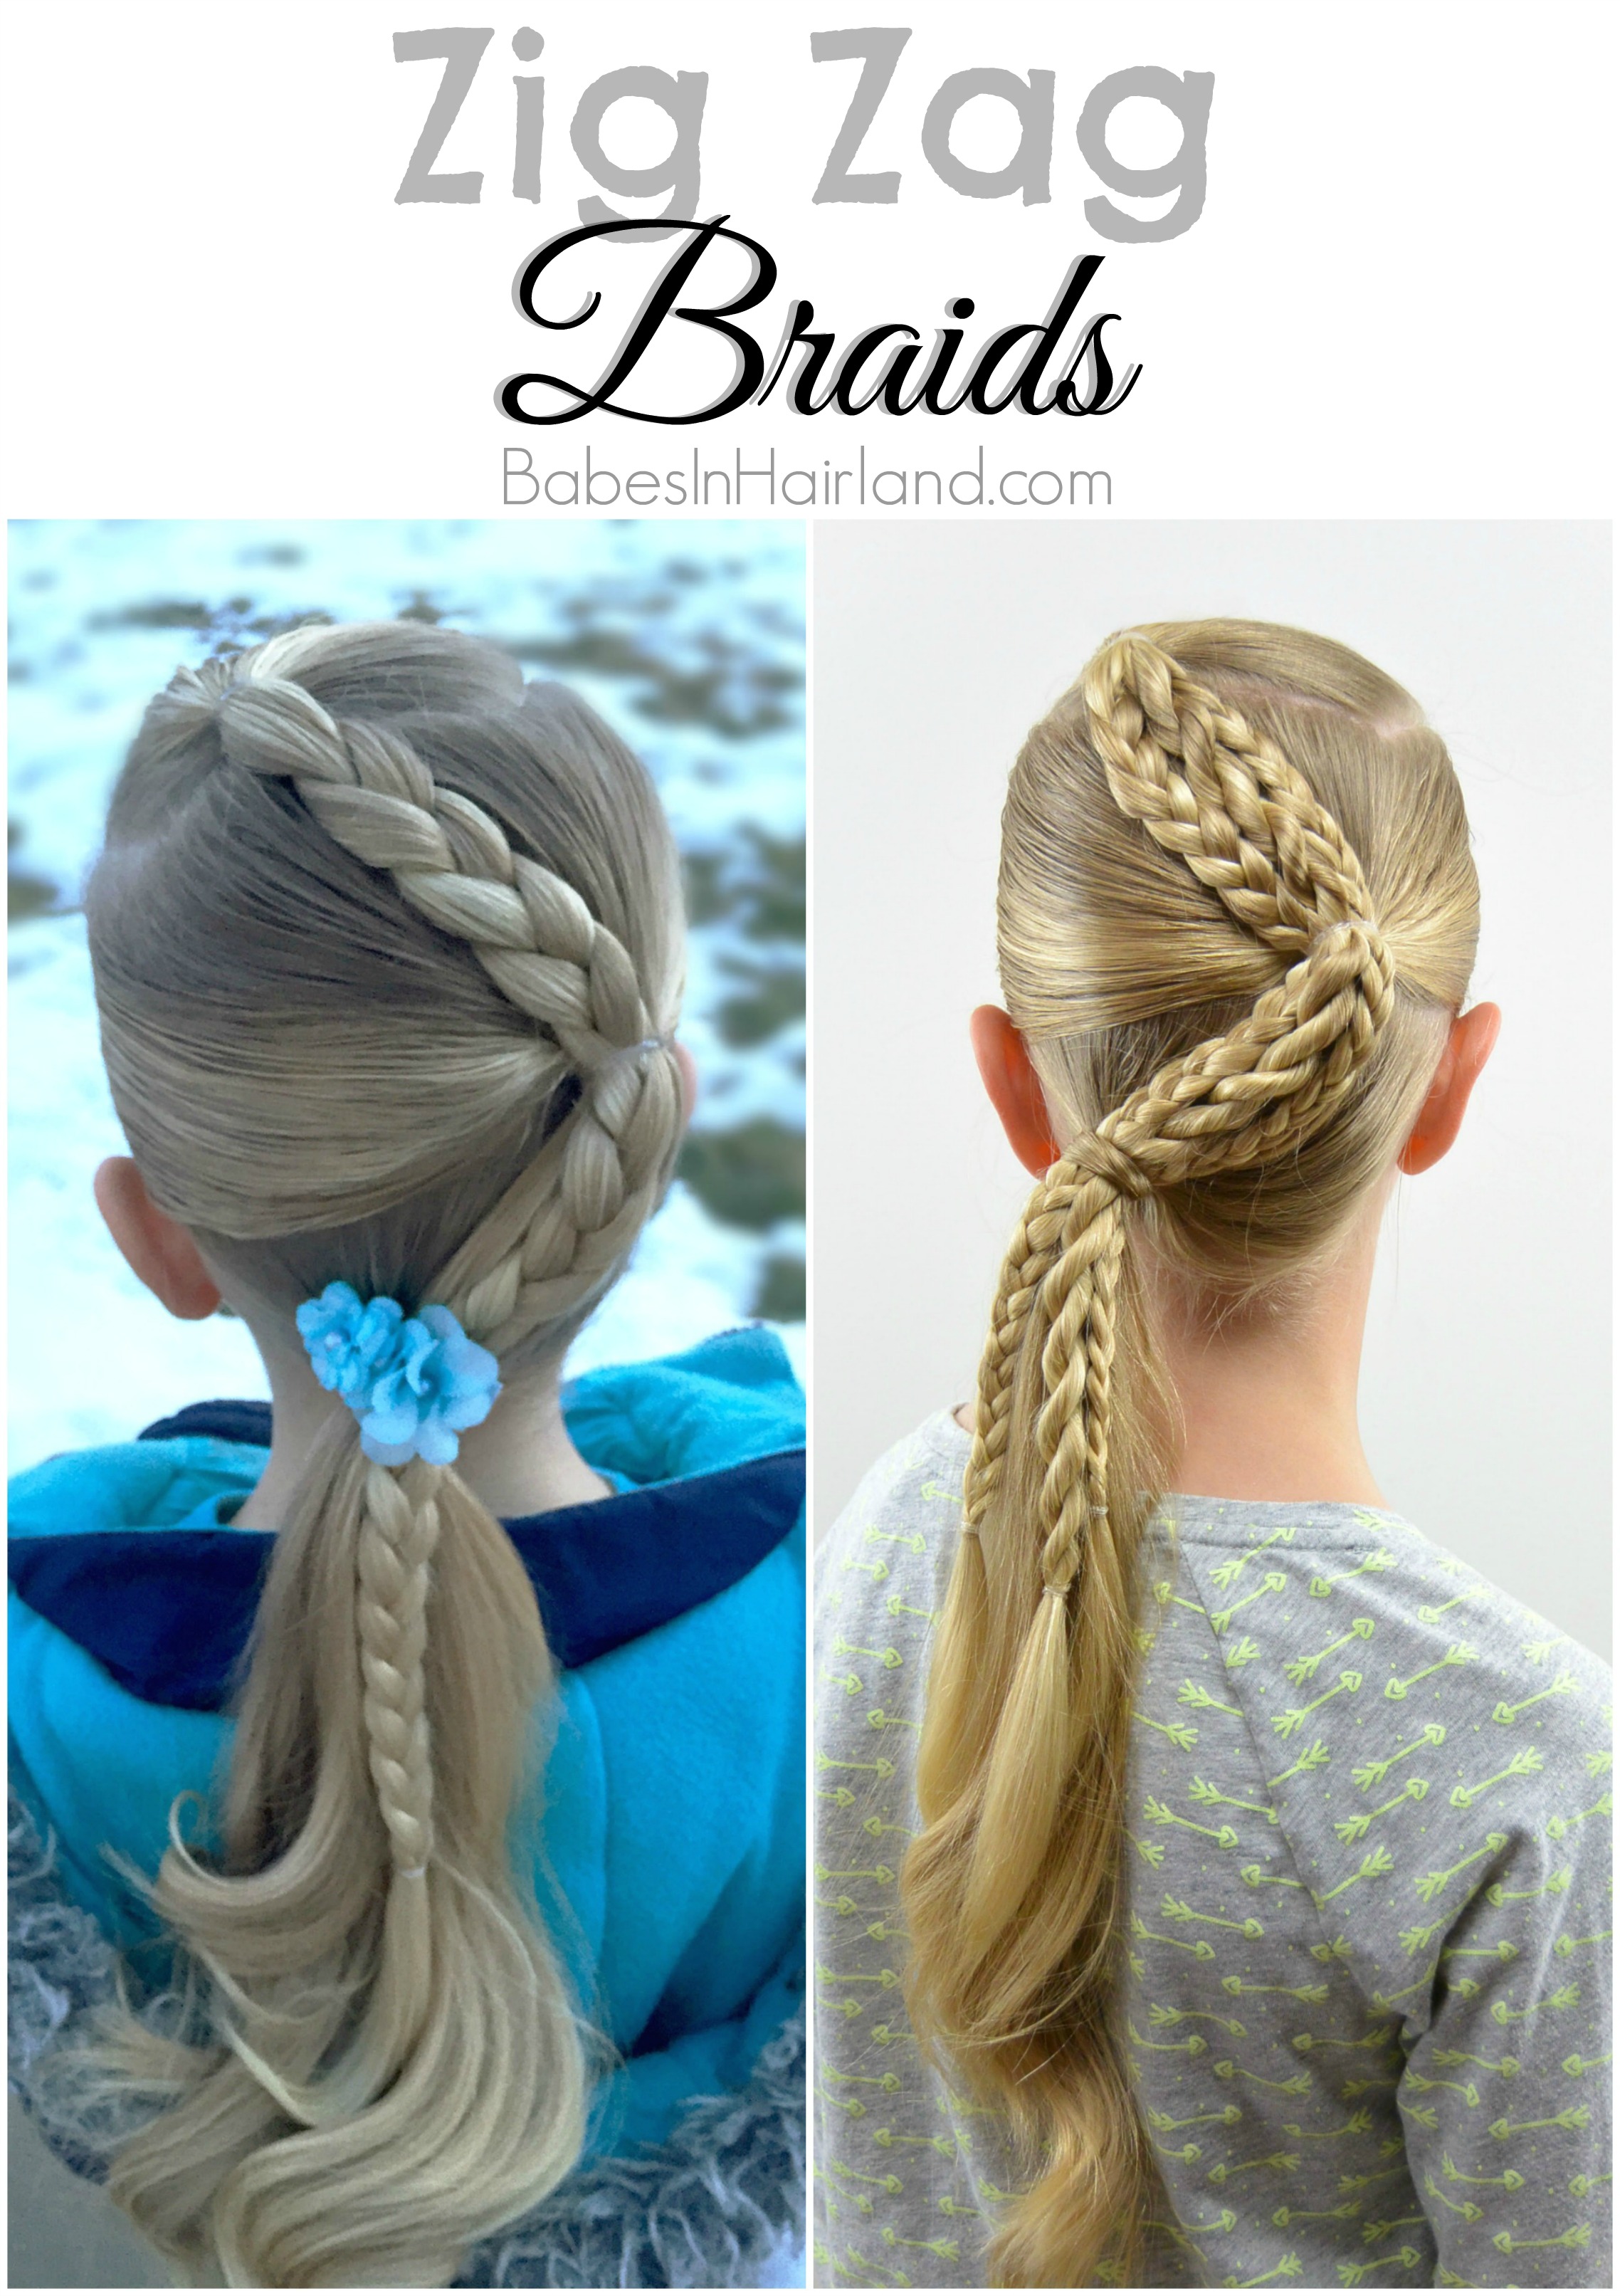
How To Do A Zig Zag Braid

Alright, hair adventurers! Feeling a little bored with your same-old, same-old hairstyle? Ready to spice things up without, you know, accidentally gluing your hair to your forehead? Then buckle up, buttercup, because we're diving headfirst (pun intended!) into the wonderfully wacky world of the zigzag braid!
Step 1: Prep Your Mane
First things first, grab your trusty brush. Imagine you're detangling a mischievous kitten, gentle and patient.
Spray a little bit of detangler if your hair is prone to knots. We're aiming for smooth sailing, not a tangled shipwreck!
Step 2: The Parting of the Ways (Literally!)
Now, using a comb (or your finger, if you're feeling rebellious), create a deep side part. Channel your inner Moses, parting that hair like it's the Red Sea.
This is the starting point of our zigzag journey, so make it count!
Step 3: Braid Like a Boss (But a Beginner Boss)
Okay, here comes the fun part! Take three small sections of hair from the heavier side of your part, right at the hairline. Pretend they're tiny dancers eager to perform.
Start a regular braid, like you're braiding a friendship bracelet for your bestie. Left strand over the middle, then right strand over the new middle.
See? You're already a braiding prodigy!
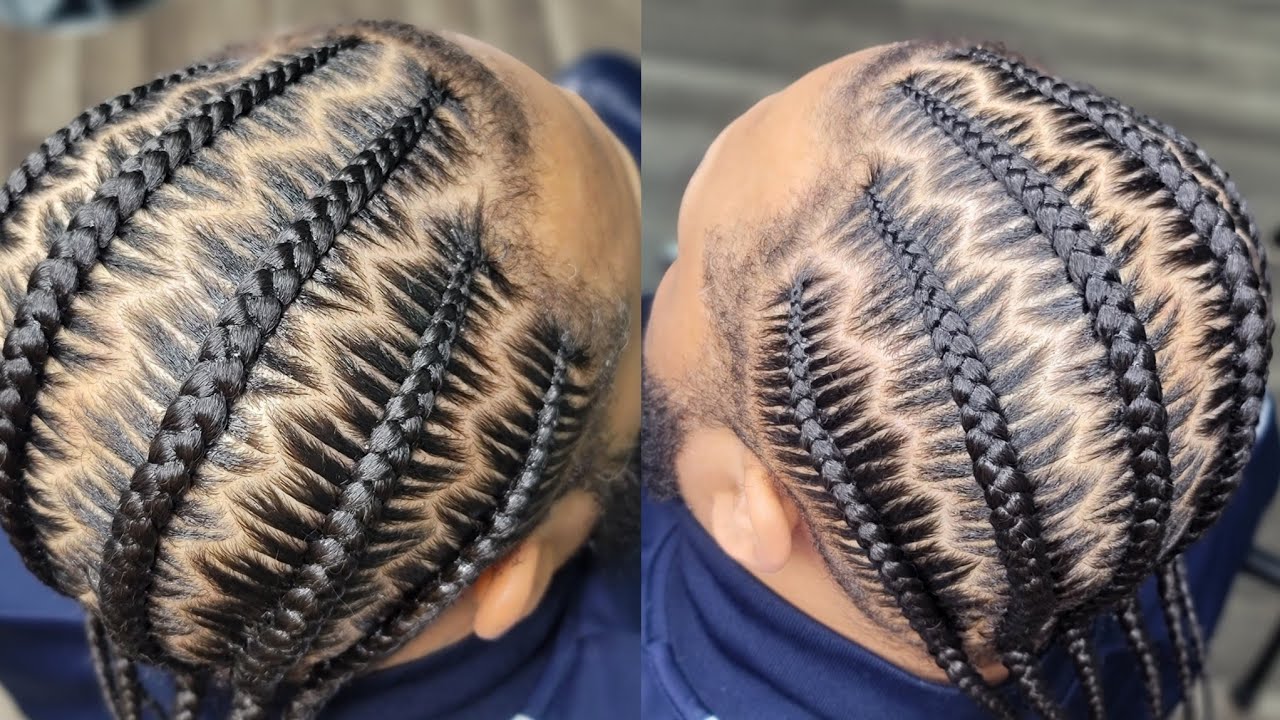
Step 4: The Zig and the Zag
Now, this is where the magic happens. Instead of continuing straight down, we're going to zig and zag! After your first stitch of the braid, add a small section of hair from the right side (closer to your face) into the right strand of the braid.
Next, add a small section of hair from the left side (away from your face) into the left strand of the braid. This is how you shift direction and get that cool zigzag effect.
Step 5: Keep on Truckin' (and Zigging and Zagging)
Continue adding sections of hair from alternating sides into your braid, one stitch at a time. Imagine you're creating a tiny, hair-based mountain range.
Don't stress about perfection! The slight imperfections actually add to the quirky charm.
Just keep zigging and zagging until you reach the nape of your neck or you have no hair left to add. Although I highly doubt that would happen!
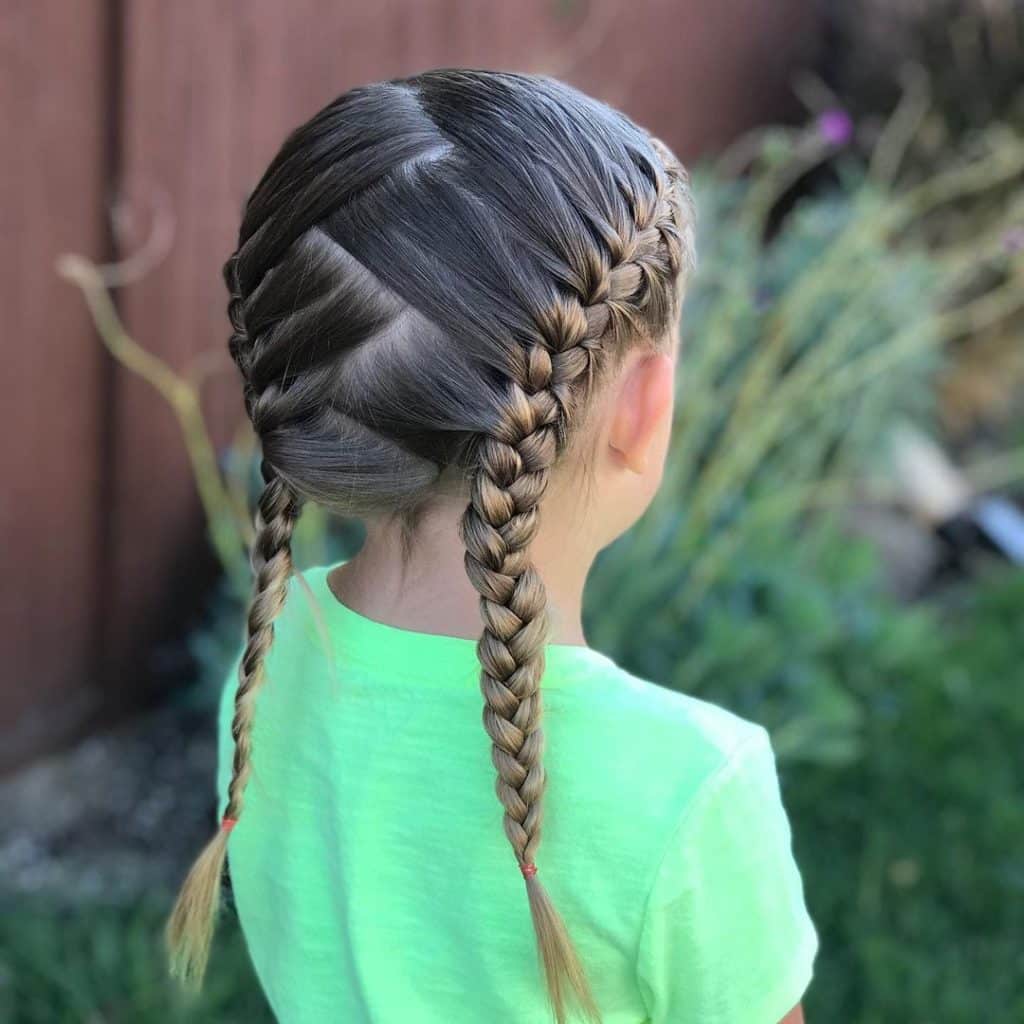
Step 6: The Home Stretch
Once you've run out of hair to add, finish the braid like a regular three-strand braid. It's the final lap of the hair marathon!
Secure the end with a hair tie. Something cute and colorful is always a good choice.
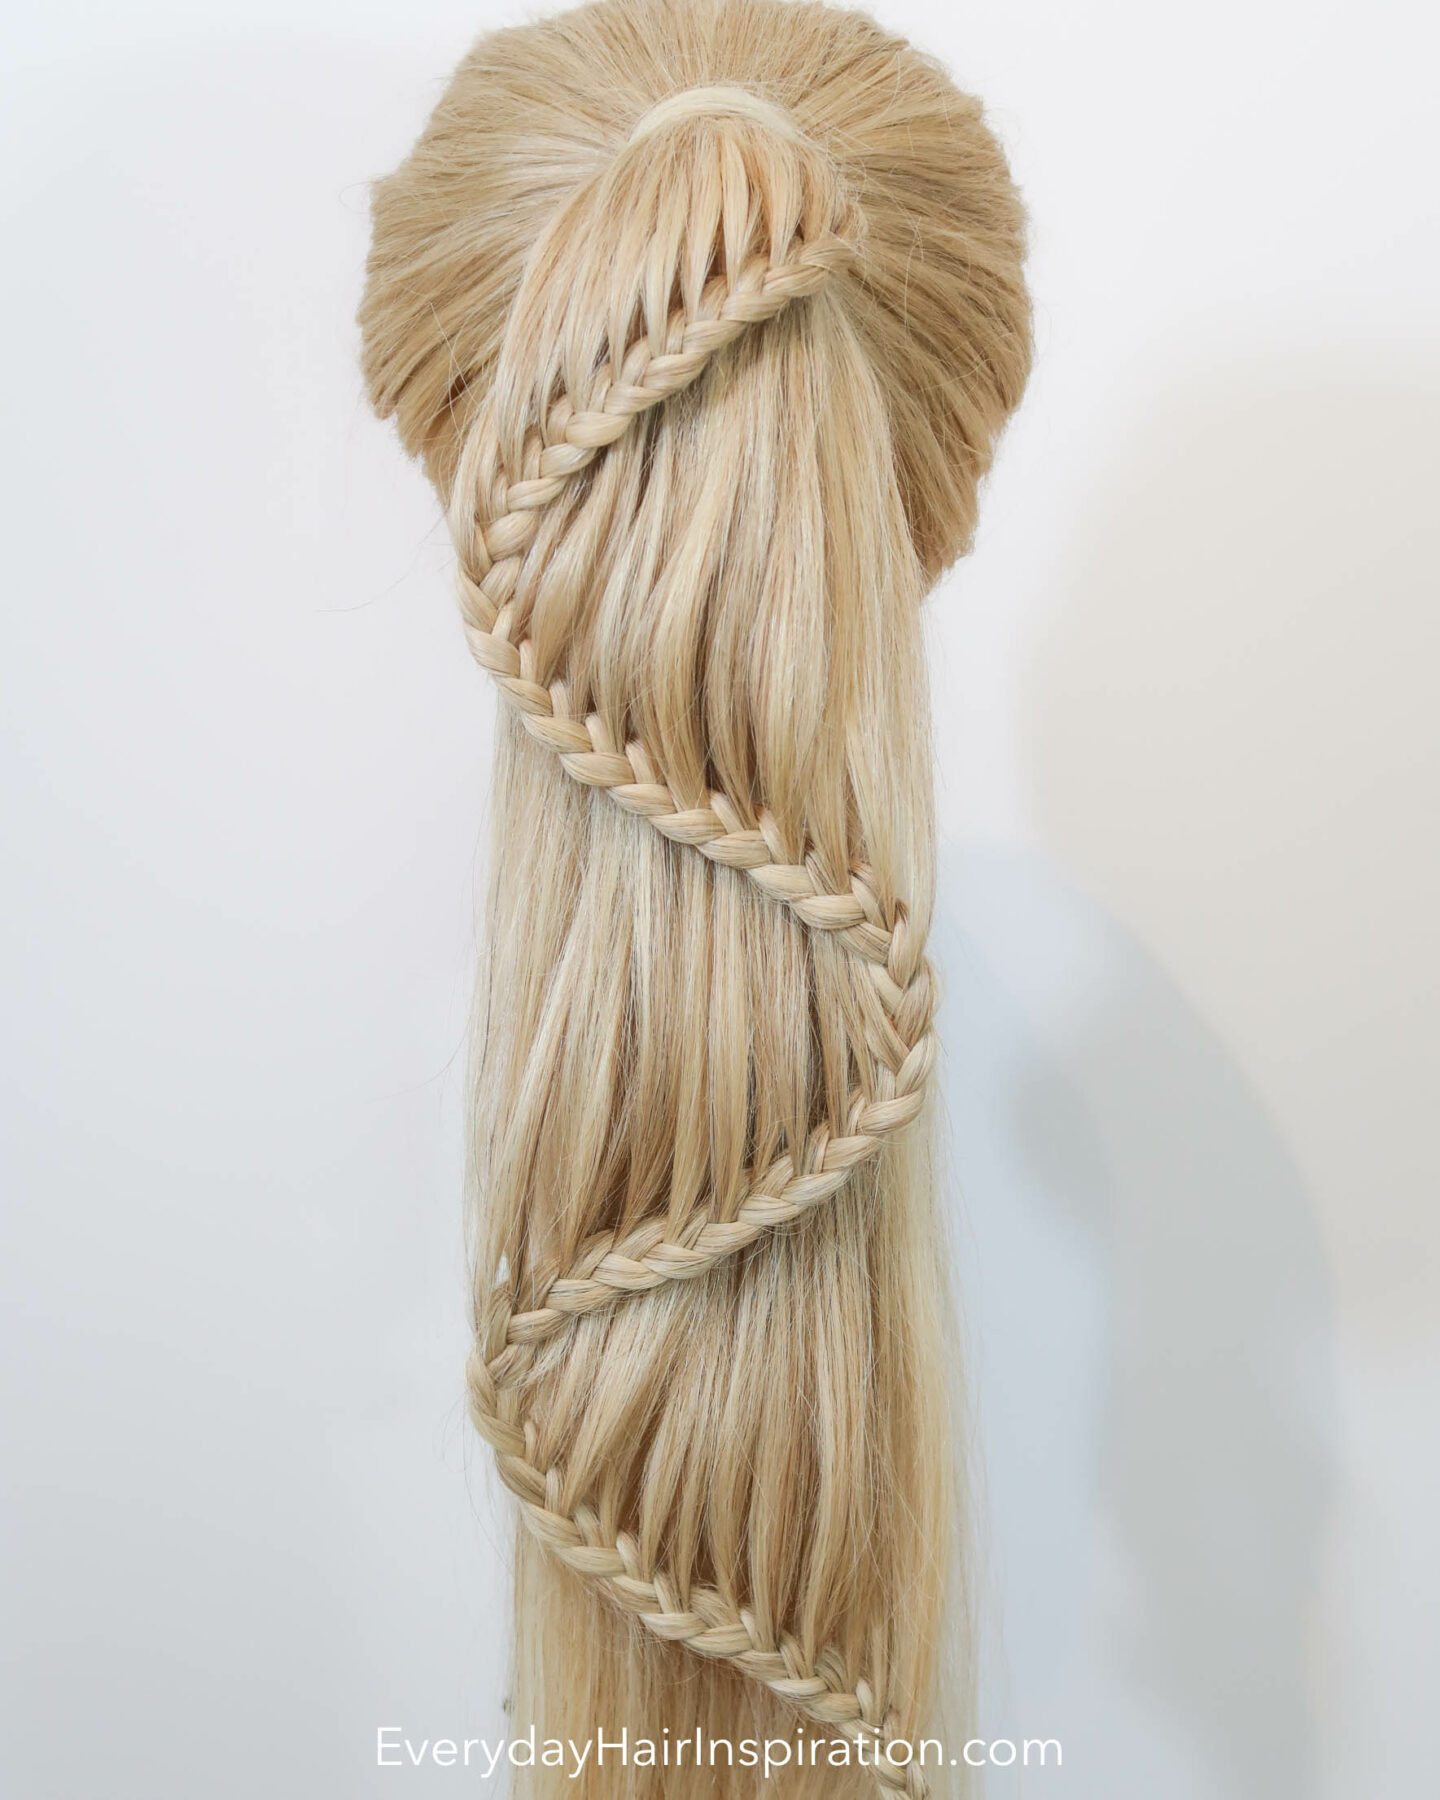
Step 7: Admire Your Handiwork!
Ta-da! You've done it! You've created a stunning zigzag braid that would make even Rapunzel jealous. Okay, maybe not Rapunzel, but definitely someone with slightly shorter hair.
Give yourself a pat on the back (or a high-five, if you're feeling coordinated). You're officially a braiding rockstar!
Optional Extra: The "Oops, I Messed Up!" Fix
Listen, we've all been there. Sometimes, braiding goes wrong. It's okay! It is what it is.
Just gently undo the braid, smooth out the kinks, and try again. Think of it as a practice run, only with slightly more frustration.
Tips and Tricks for the Zigzagging Soul
For extra hold, consider using a texturizing spray before you braid. It gives your hair a little more grip, like giving it tiny velcro strips.
Experiment with different part placements to create different looks. A middle part gives a totally different vibe!
Don't be afraid to add accessories! Hair clips, ribbons, even tiny plastic dinosaurs (if that's your thing) can elevate your braid to the next level.
The Grand Finale
So there you have it! The zigzag braid, demystified and ready for your styling pleasure. Go forth and braid with confidence, knowing that even if it's not perfect, it's perfectly you.
Now go show off your awesome new 'do! You deserve all the hair-envy looks that are coming your way.
Remember, it's just hair! Have fun, experiment, and don't take it too seriously. And if all else fails, just blame it on the gnomes!