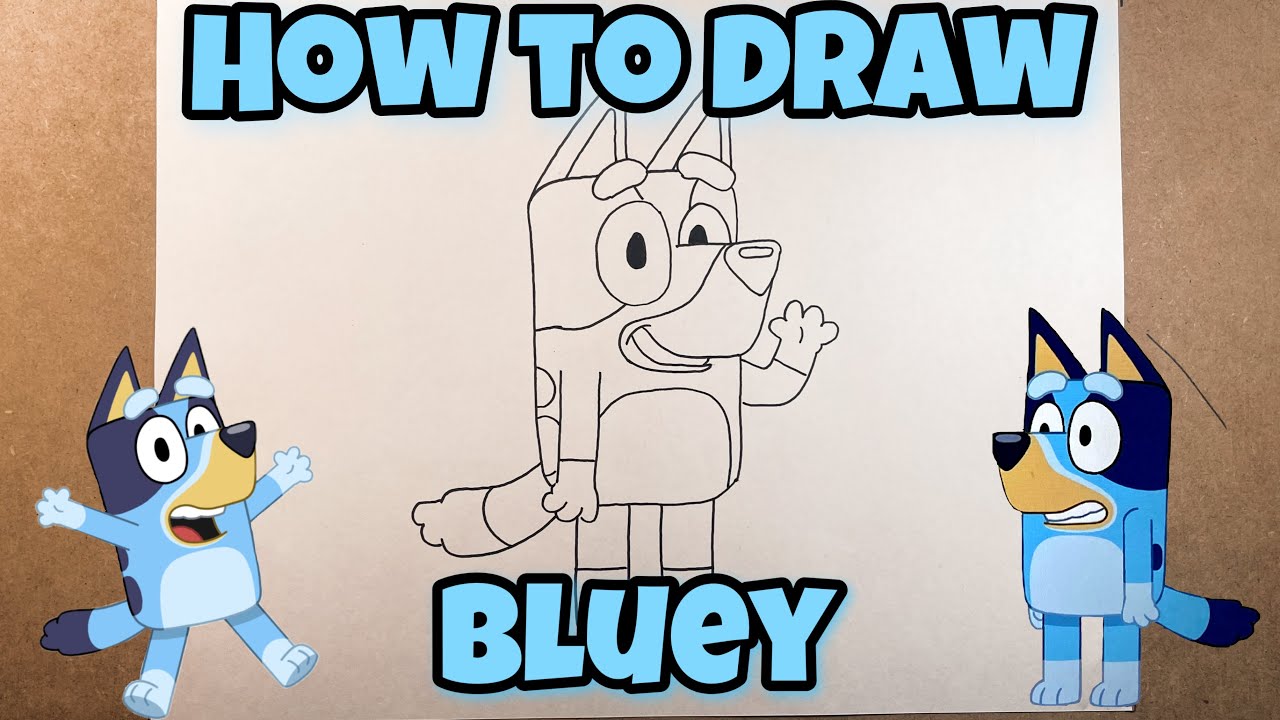
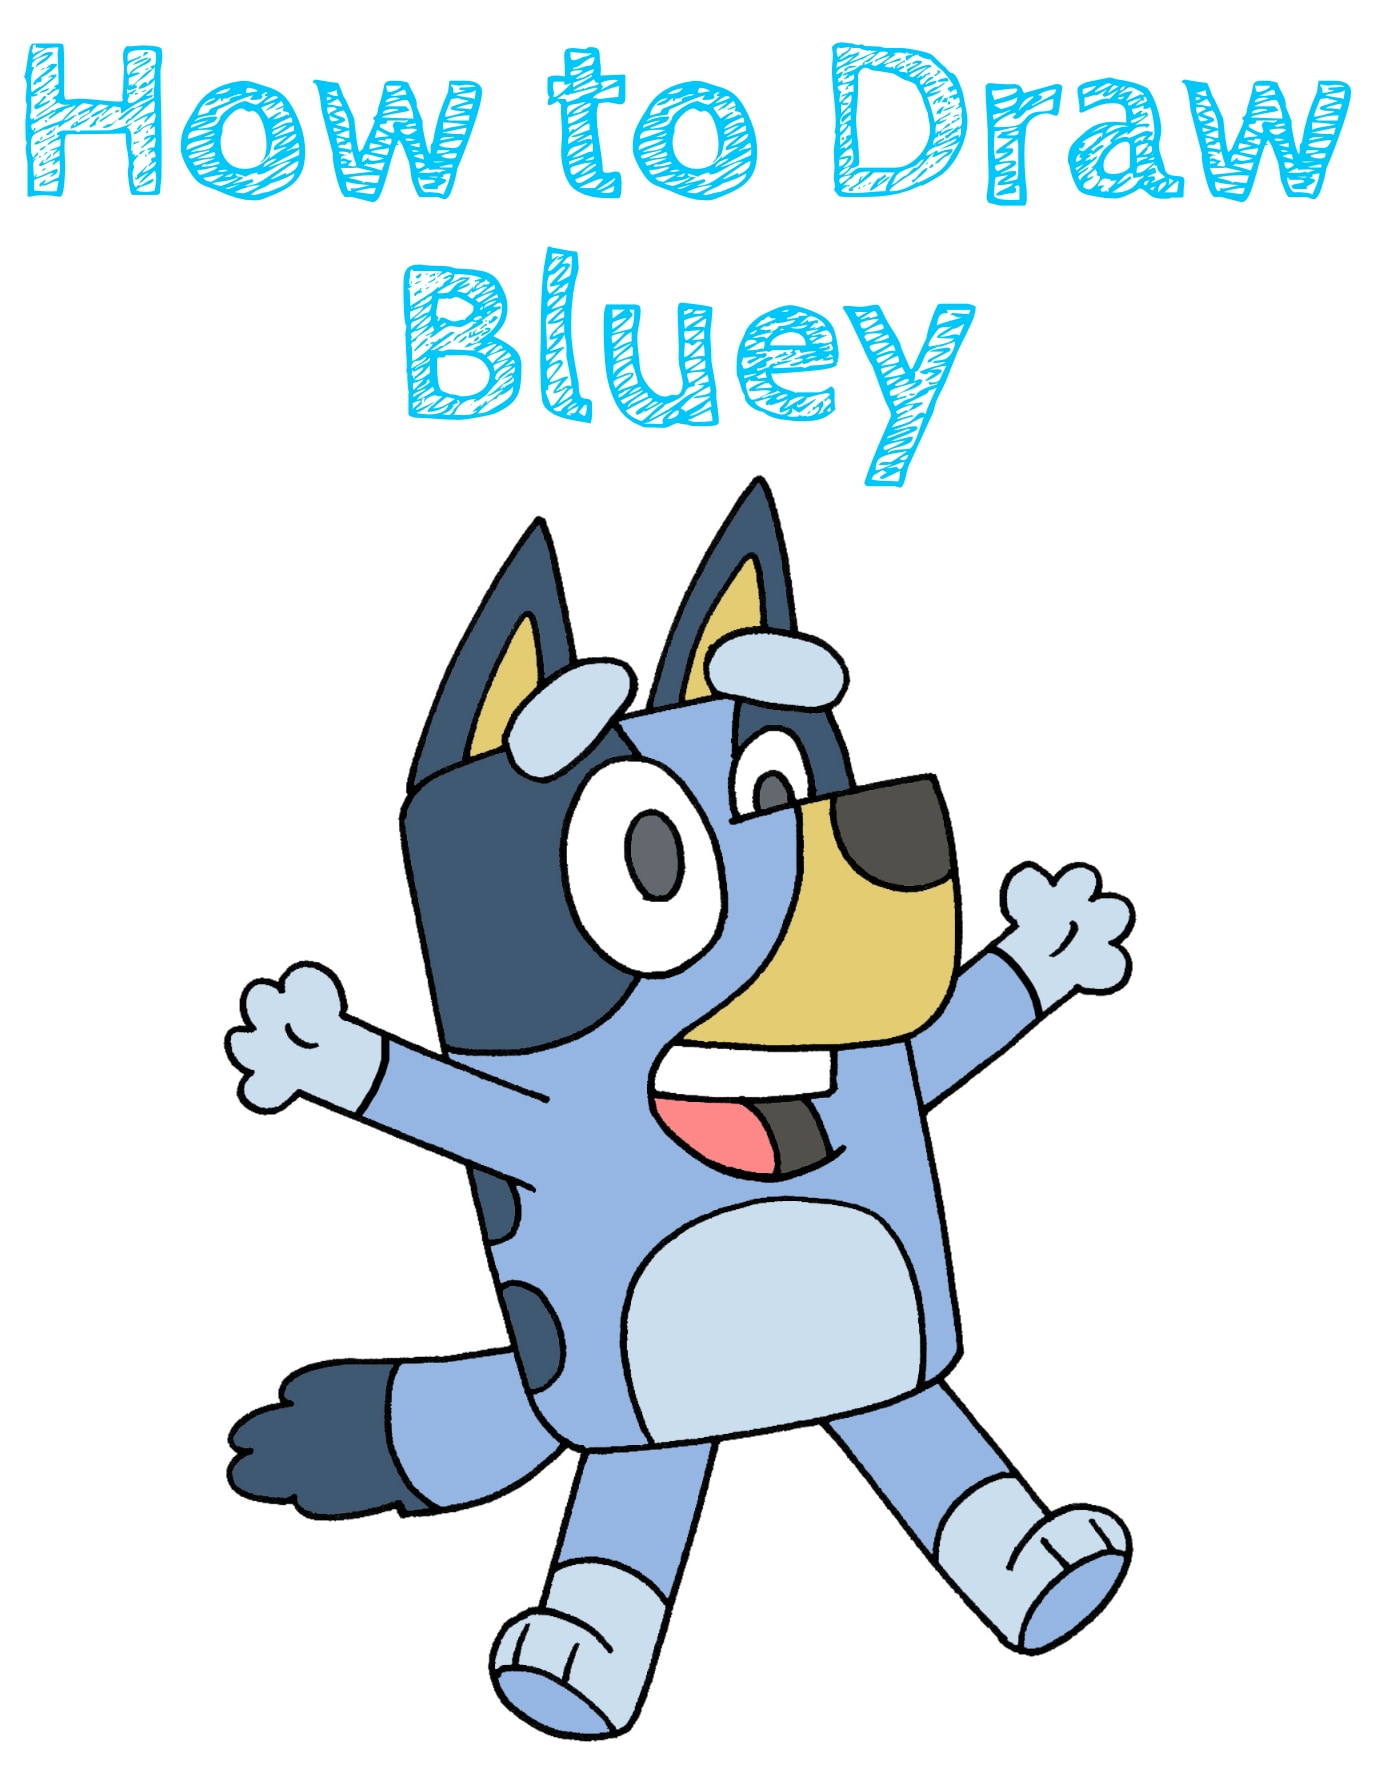
How To Draw Bluey Step By Step Easy
Okay, let’s talk Bluey. She's the adorable blue heeler pup that's stolen our hearts.
And let's be honest, we’ve all secretly wanted to draw her.
So, grab your pencils and paper! Here's the (supposedly) easy way to draw Bluey.
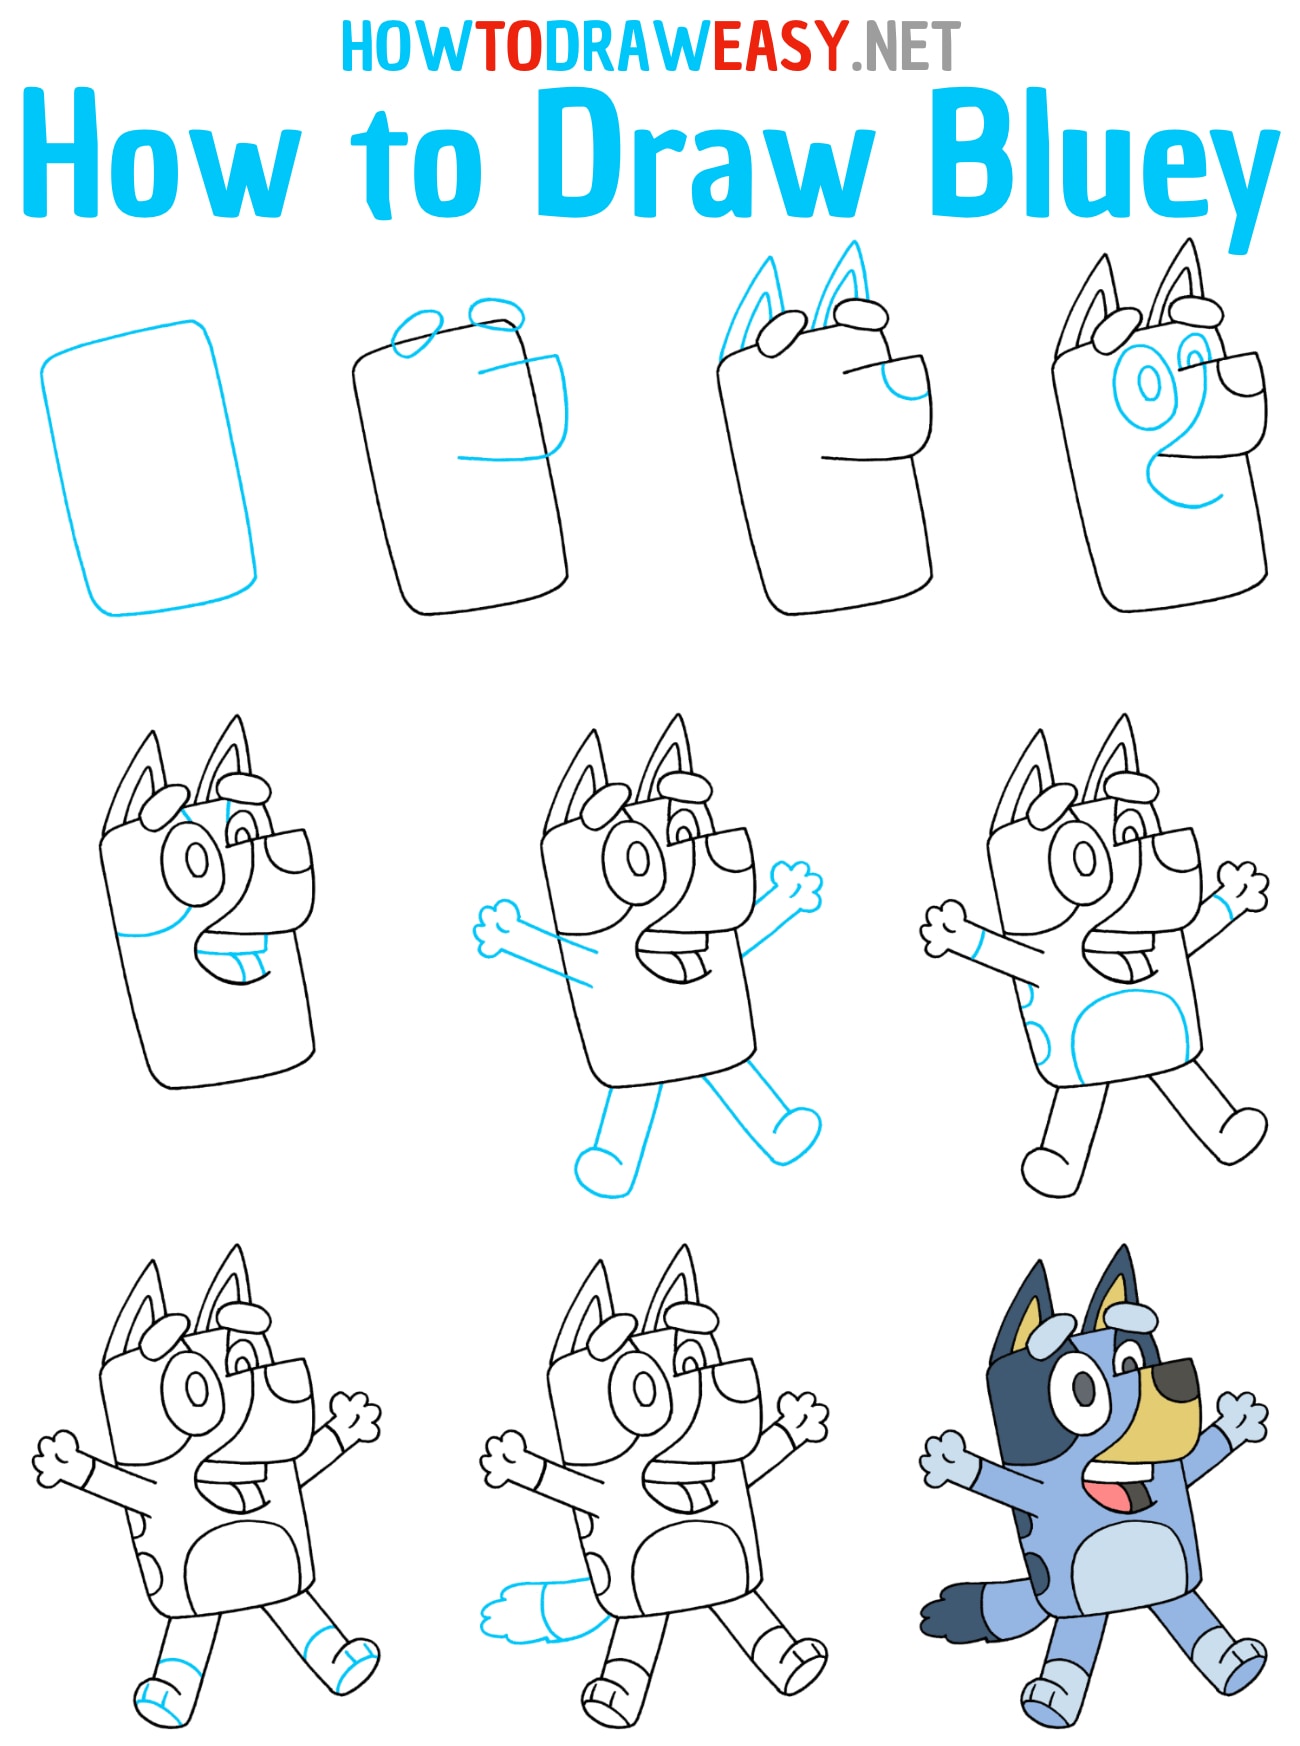
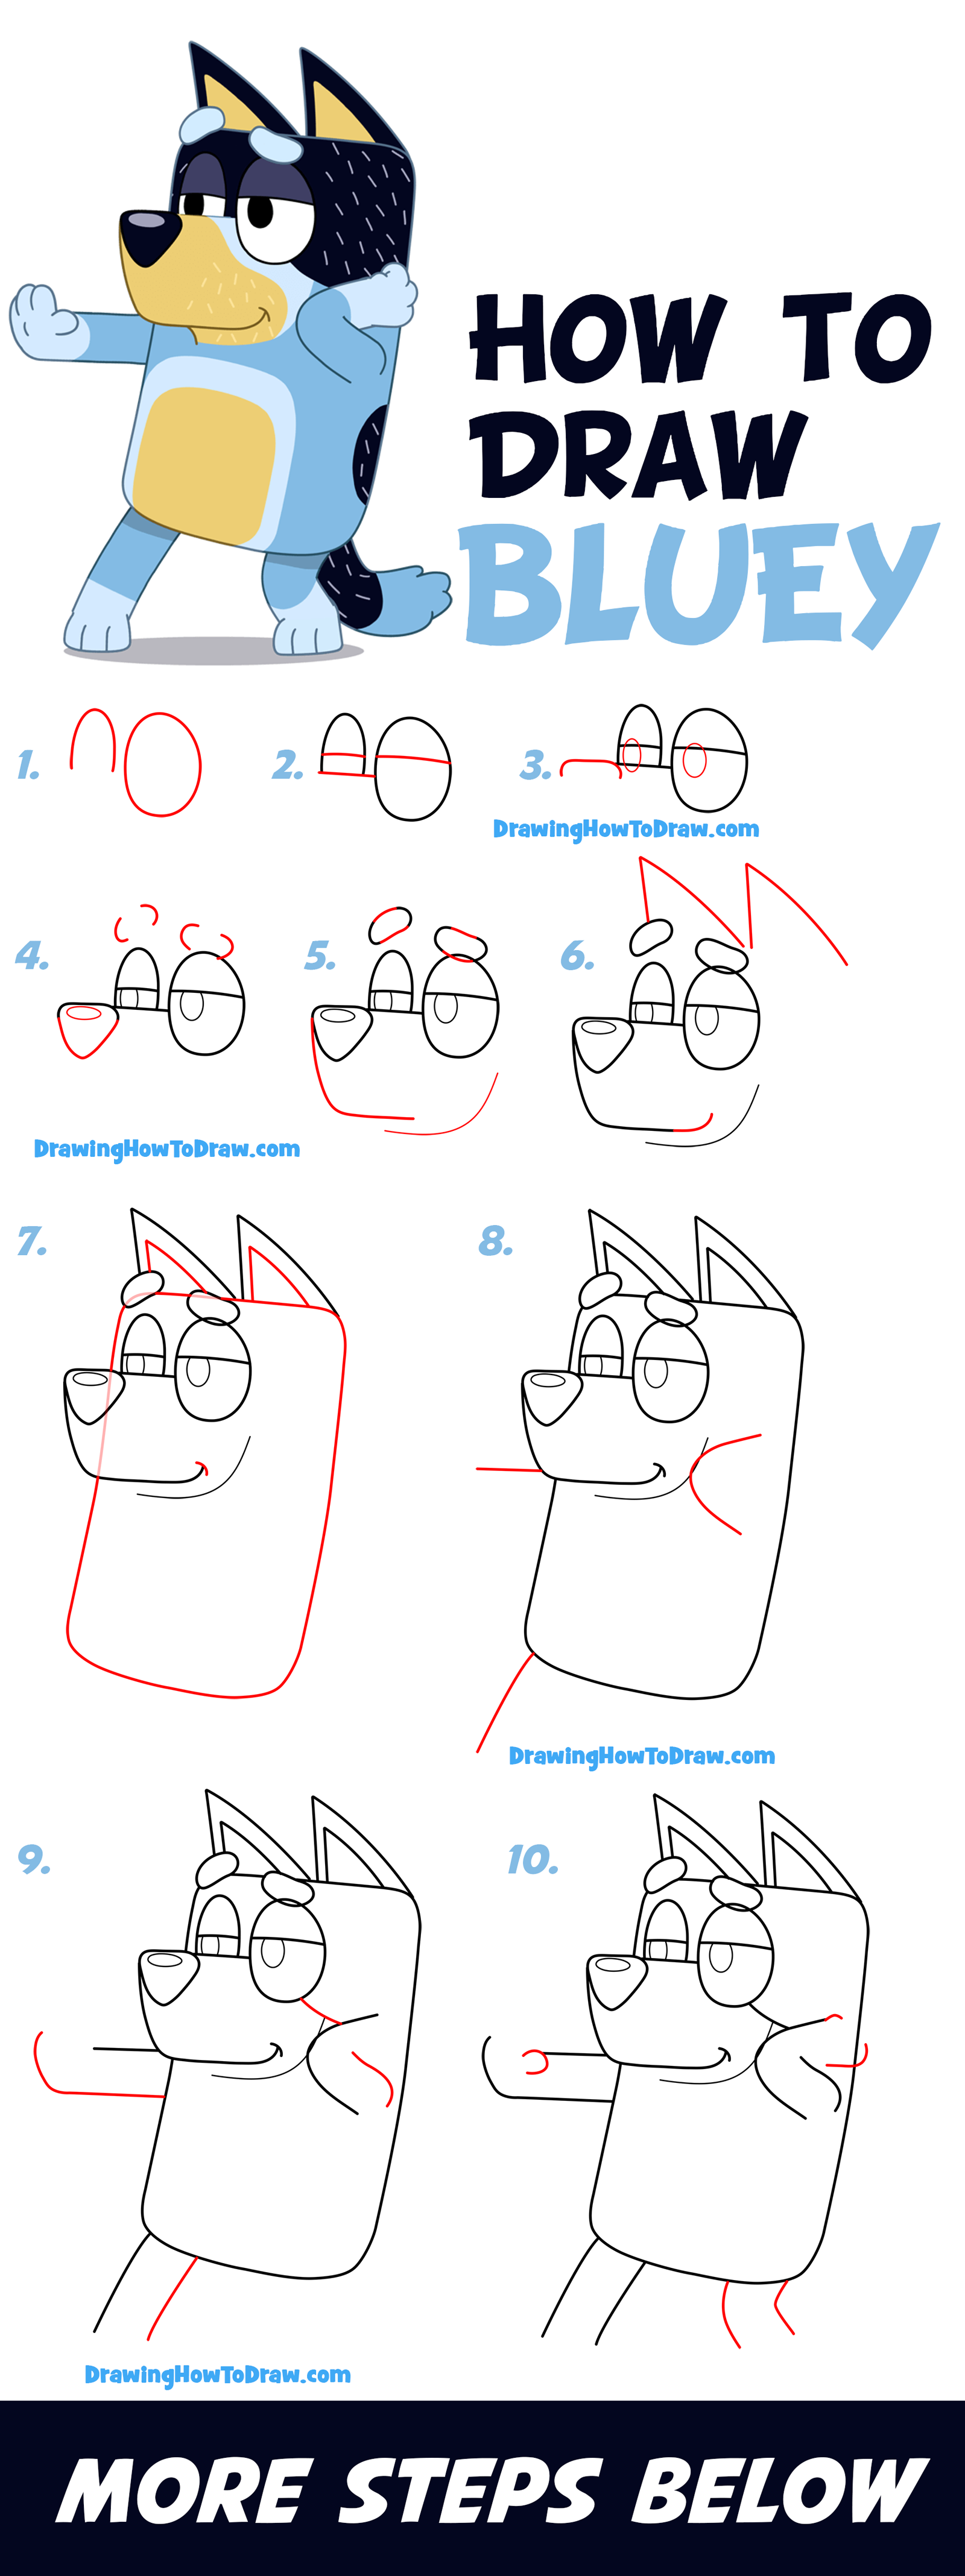
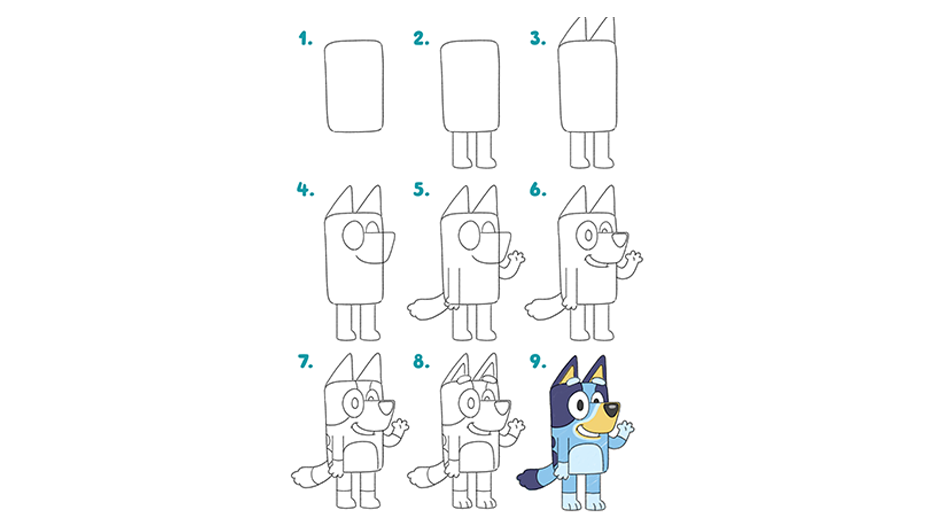
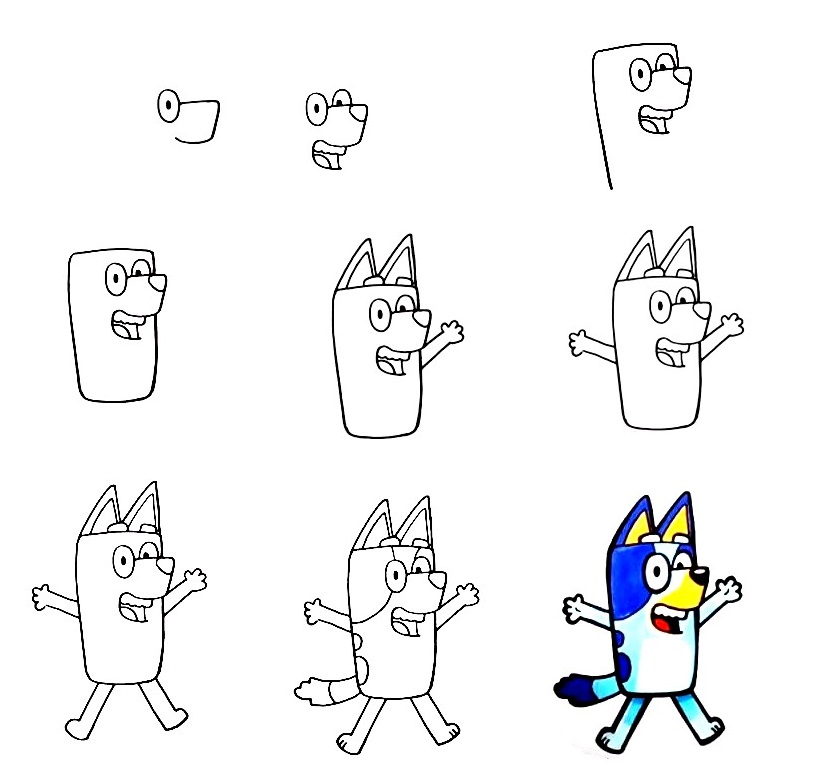
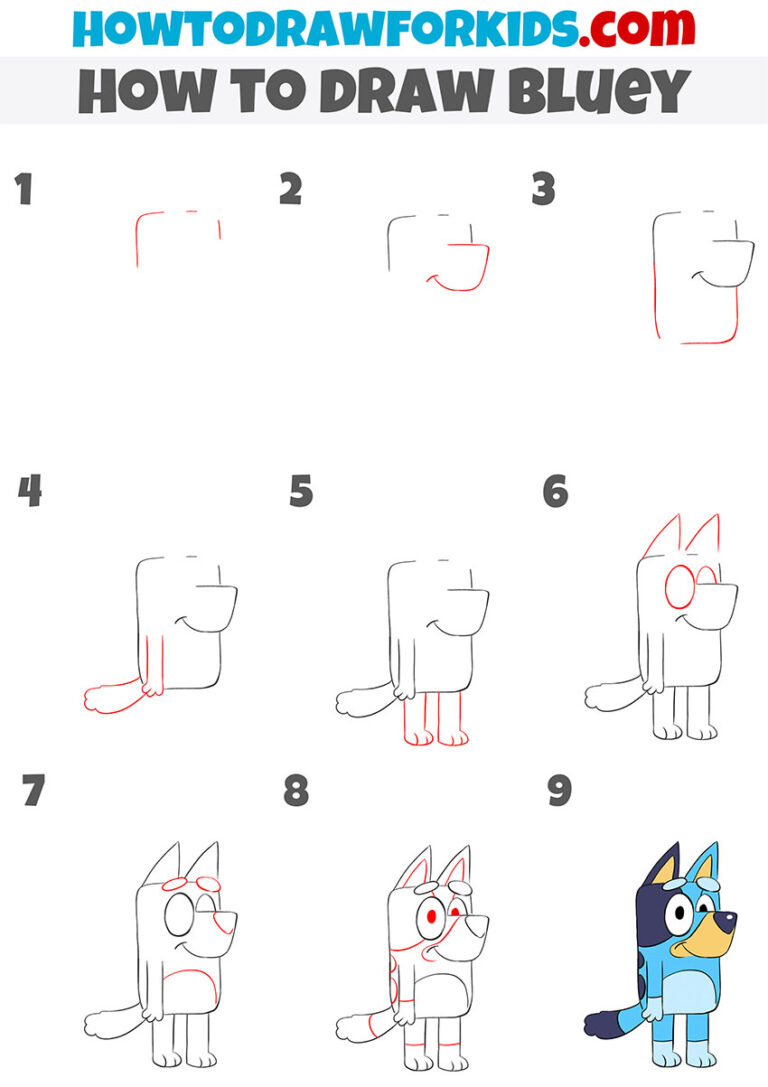
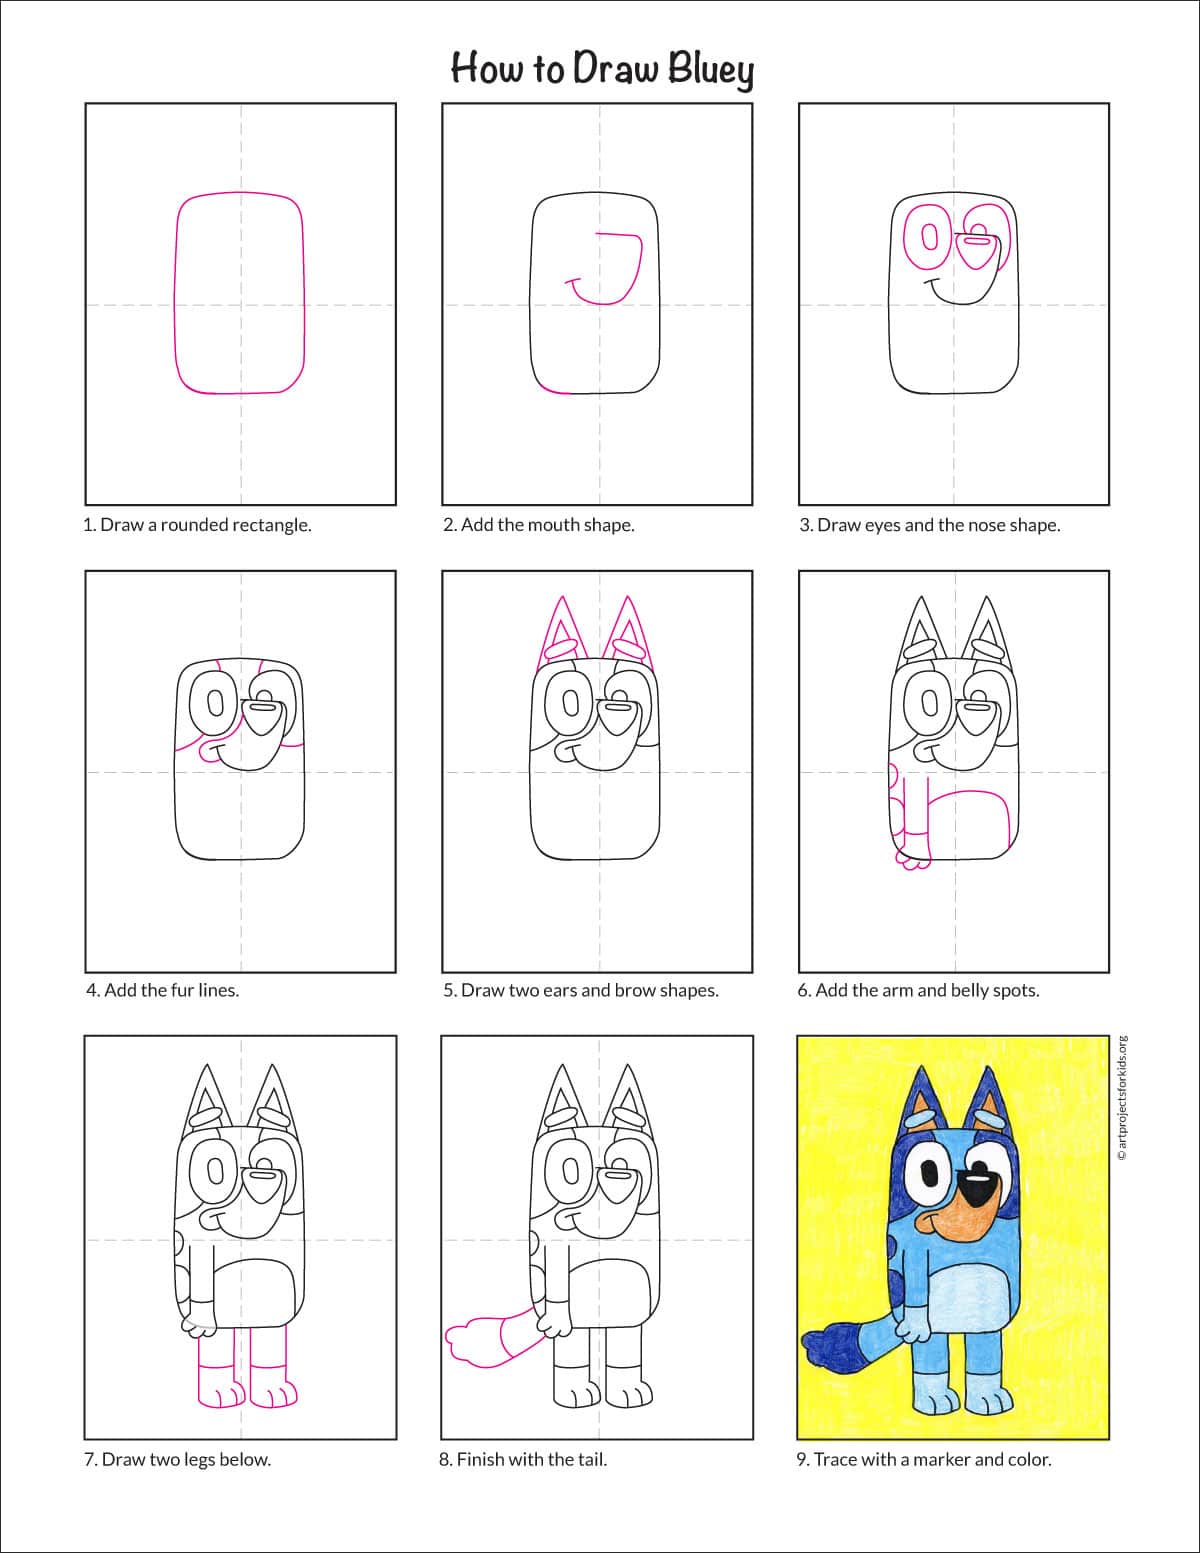
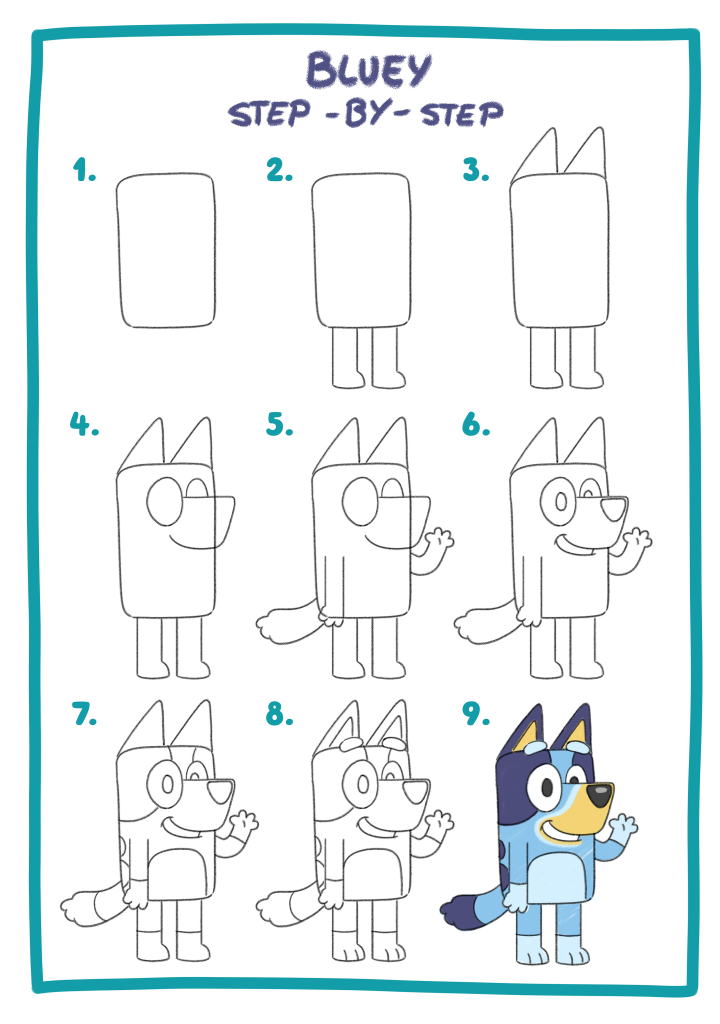
Step 1: The Head (aka The Potato)
Start with a slightly lopsided oval. I like to call it the potato shape. Don't stress about perfection. Potatoes aren't perfect either, right?
My unpopular opinion? Perfect circles are overrated. A little wonkiness gives Bluey character!
Step 2: The Snout (aka Another Potato)
Add a smaller, rounder potato shape overlapping the first one. This will be Bluey's cute snout.
Make sure it’s not too big, or she'll look like she stuck her face in a beehive.
Honestly, sometimes I think the snout is harder than the rest of her! Anyone else feel that?
Step 3: Ears! (Finally, Not Potatoes!)
Draw two floppy ears on top of the head potato. One ear can be slightly tilted.
Think of teardrops, but not sad ones. Happy teardrops, bouncing off Bluey's head.
These can be tricky to get symmetrical. But hey, who needs symmetry anyway? Bluey's still adorable even with mismatched ears.
Step 4: Eyes and Nose (Adding Personality!)
Time for the eyes! Two simple ovals inside the head. Make them big and expressive.
Add a small, black oval for the nose at the end of the snout. Bluey needs to smell all those fun games!
Pro-tip: the placement of the eyes is key! Get it wrong, and she might look a little... startled.
Step 5: The Body (A Slightly Squished Sausage)
Draw an oblong shape, like a slightly squished sausage, under the head. This is Bluey's body.
It doesn't need to be perfect, just roughly the same width as her head.
Don't make it too long, or she’ll look more like a dachshund than a heeler!
Step 6: Legs and Paws (Sticks with Little Beans)
Four simple lines for the legs. Add small, rounded shapes for the paws.
Think of little jelly beans at the end of each stick. Bluey is ready to run and play!
My unpopular opinion number two? Drawing paws is the WORST. They always end up looking like weird blobs.
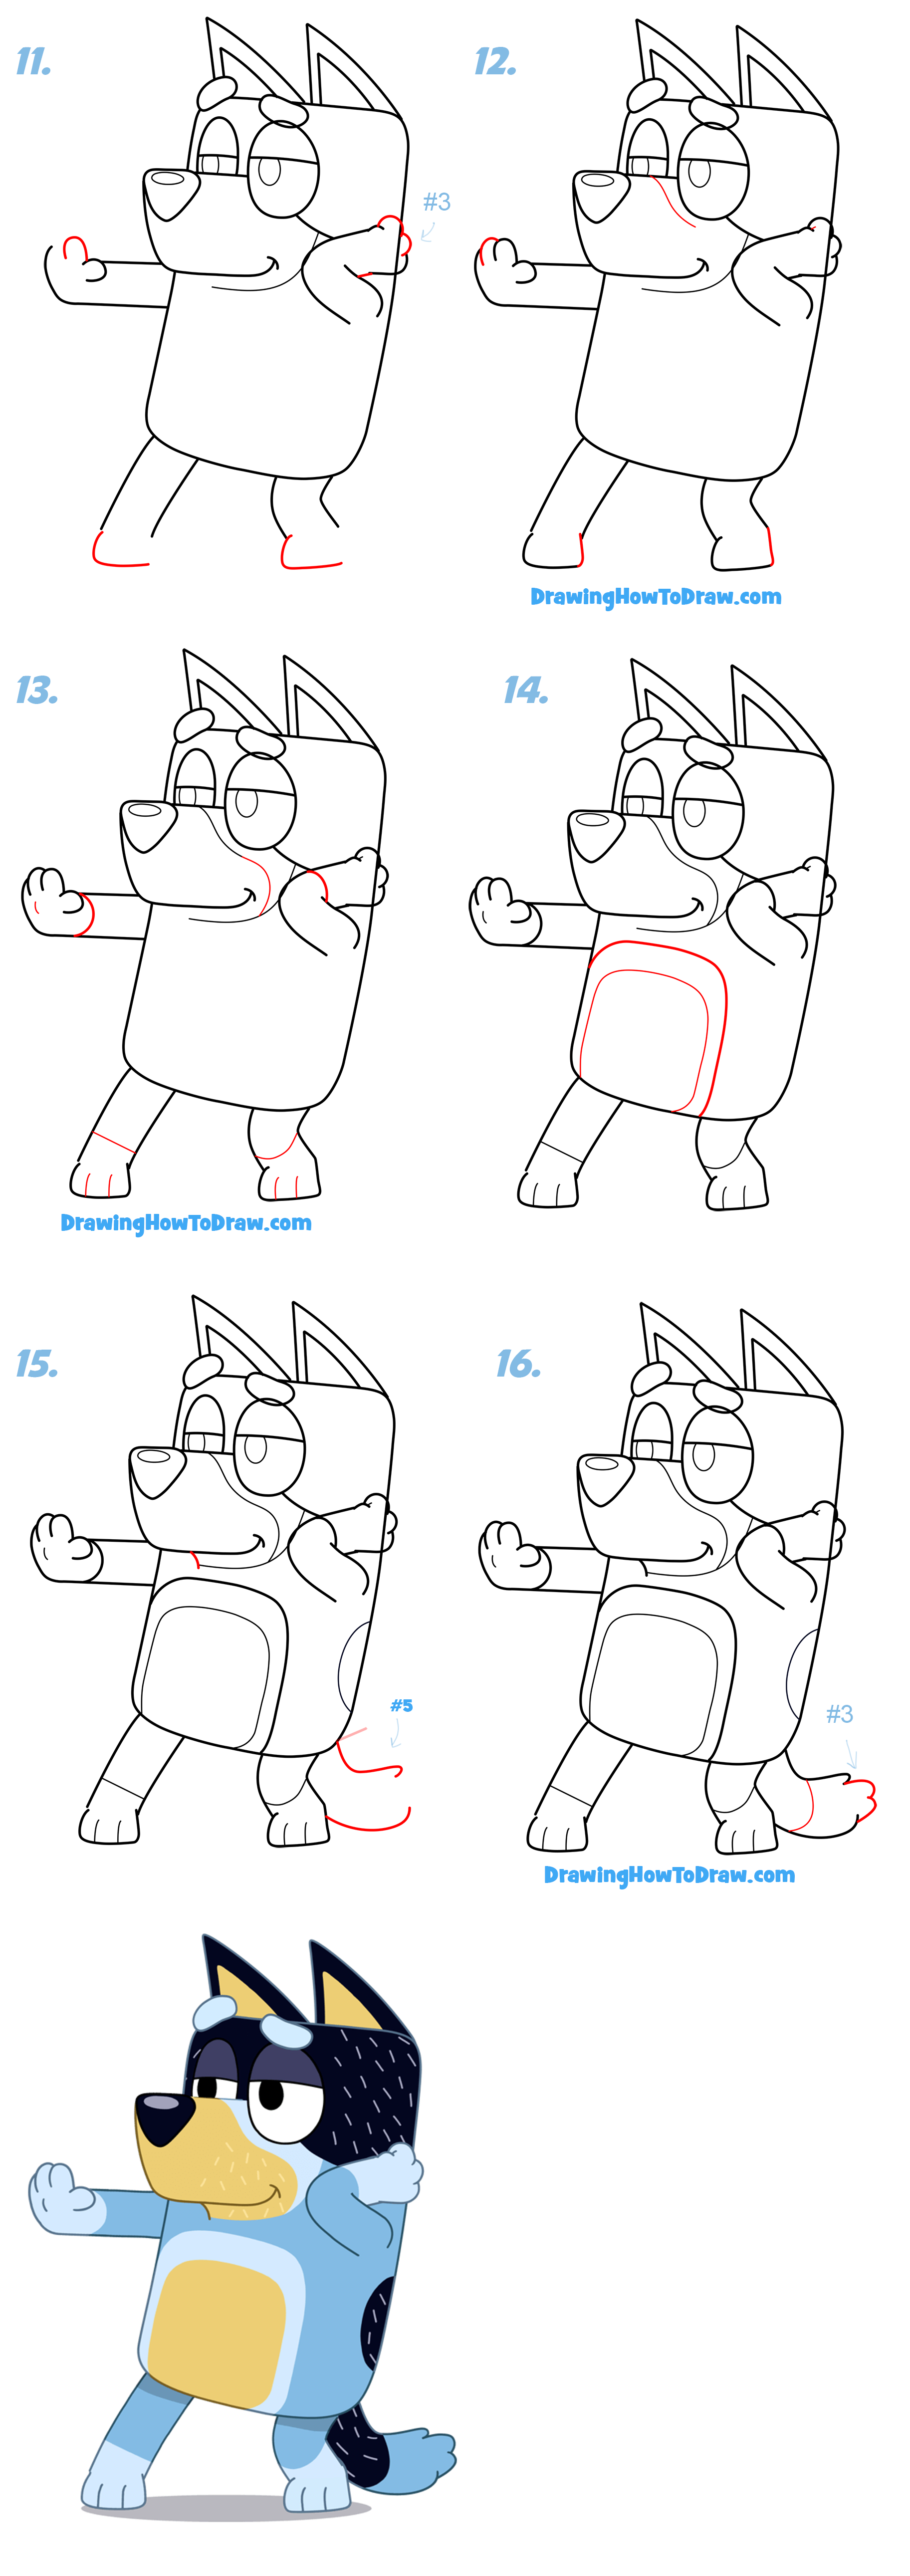
Step 7: The Tail (A Happy Wiggle)
Draw a small, curved tail wagging happily from the back of her body.
It doesn't have to be fancy. Just a simple curve will do.
A wagging tail shows that Bluey is happy!
Step 8: The Markings (Making it Bluey!)
Now comes the fun part! Add Bluey's unique markings.
Use curved lines to create the patches on her face, ears, and body.
Don't be afraid to get creative! Every Bluey drawing can be unique!
Step 9: The Outline and Erase (Cleanup Time!)
Go over your drawing with a darker pencil or pen. Then, carefully erase the guidelines.
This makes Bluey pop!
It's like giving Bluey a spa day, but with an eraser.
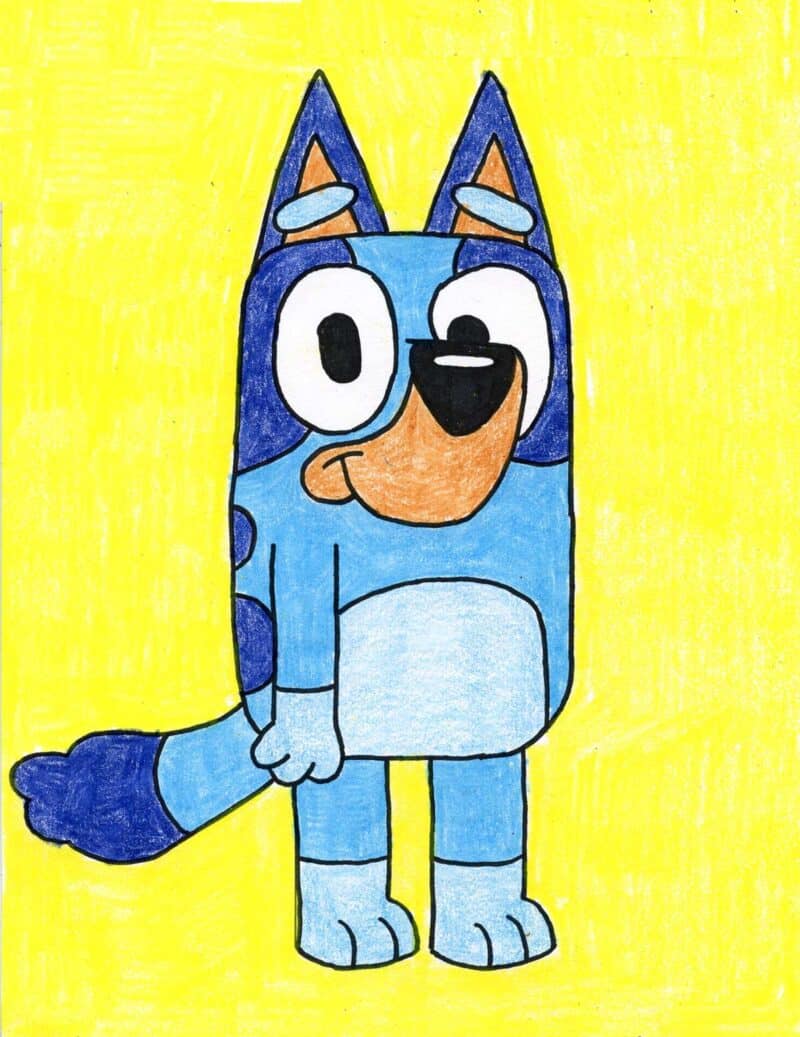
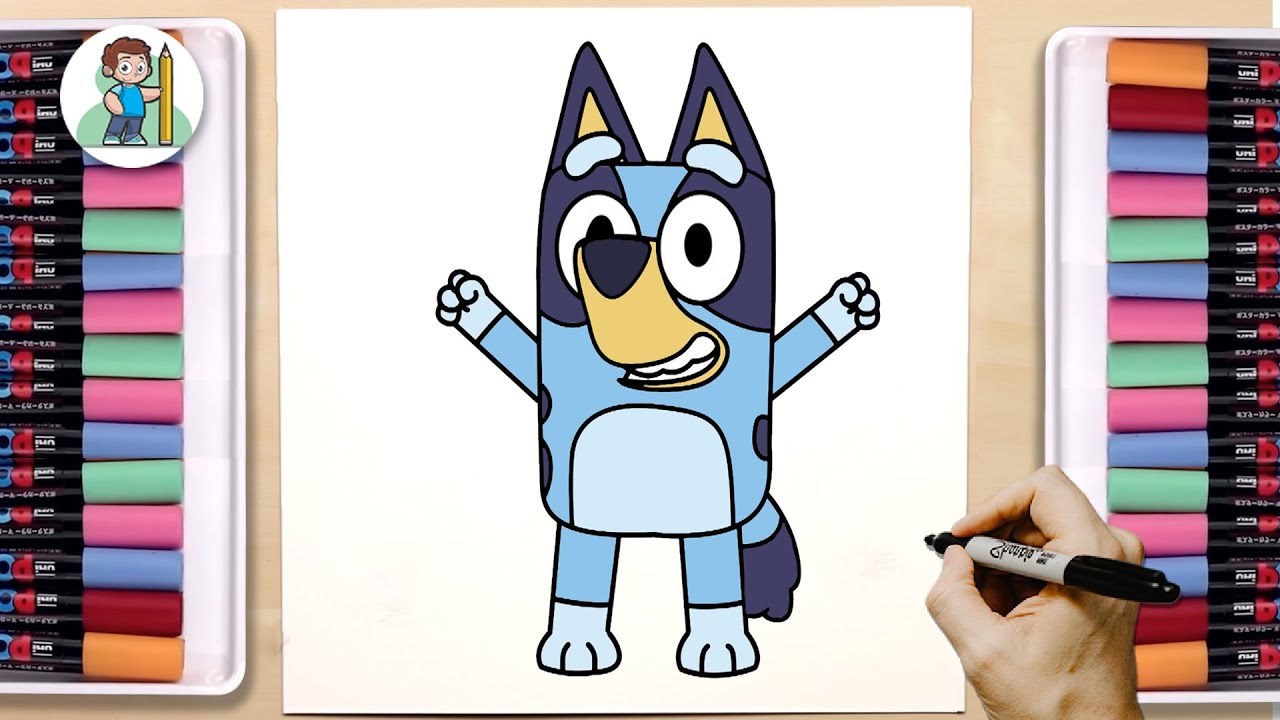
Step 10: Color! (Bring Bluey to Life!)
Color Bluey in with shades of blue and white. Use markers, crayons, or colored pencils.
Don't forget her brown patches! This is where she really becomes Bluey.
And there you have it! Your very own drawing of Bluey!
Okay, maybe it's not perfect, but who cares? You drew Bluey!
Now go forth and spread the Bluey love (and maybe practice those paws!).
And remember, even if your drawing looks a little wonky, Bluey would still think it's "for real life!"