How To Make A Cardboard Vending Machine

Want to be the coolest cat on the block? Forget building a spaceship (for now). Let’s build a cardboard vending machine!
Yeah, you heard right! It's easier than assembling that suspiciously wobbly bookshelf you bought last month.
Gather Your Gear
First, raid your recycling bin. We’re talking a sturdy cardboard box – think large cereal box or a small appliance box.
Grab some scissors (or a craft knife if you're feeling fancy, but be careful!), tape (packing tape is your best friend here), and a ruler.
Don't forget a pencil and maybe some markers or paint to jazz things up. Because who wants a boring vending machine?
Crafting the Structure
Okay, picture your vending machine. Decide which side will be the front. This is where the magic happens!
Now, cut a rectangular hole near the bottom of the front. This is where the goodies will magically appear.
Make sure it’s big enough for your chosen treasures. Unless you're vending watermelons, it should be doable!
The Dispensing System
Here's where things get interesting. We need to create a way for the treats to slide down.
Cut out several cardboard rectangles. These will be the shelves that hold your items.
Angle these shelves slightly downwards towards the front hole. Think of it like a tiny, cardboard ski slope for candy bars!
Attach the shelves to the inside of your box with tape. Sturdy tape is essential. We don't want a chocolate avalanche!
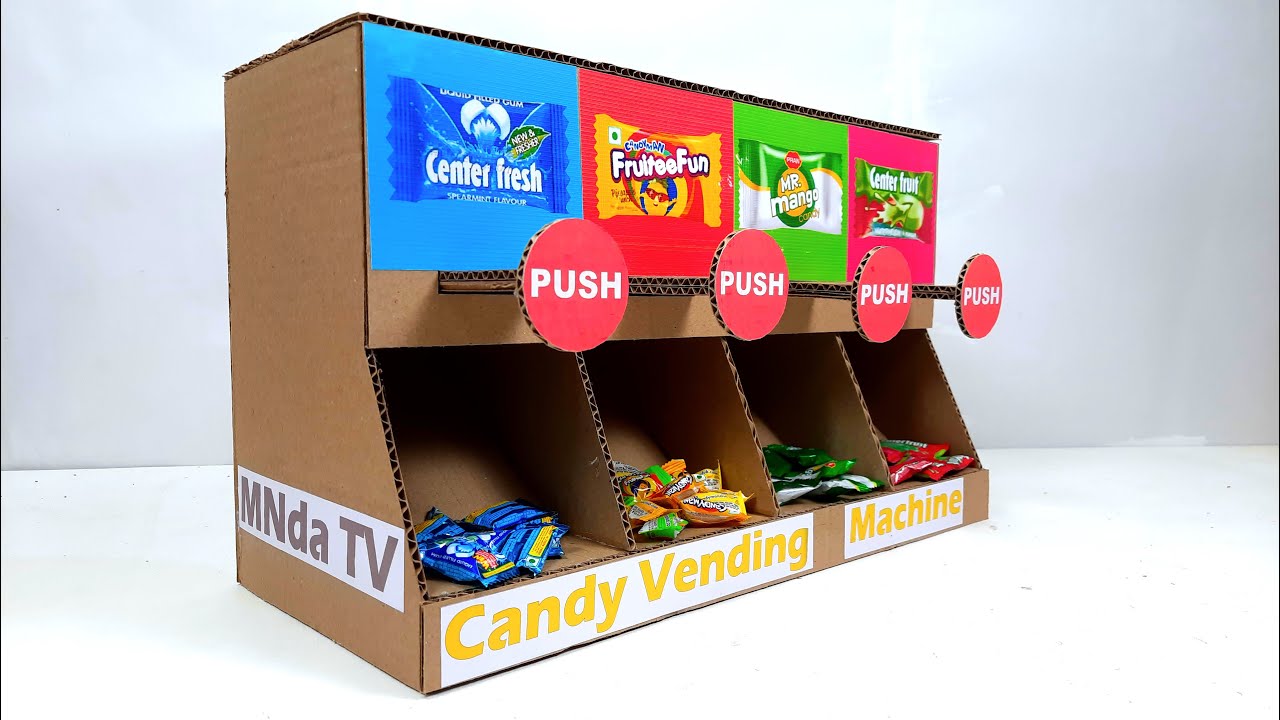
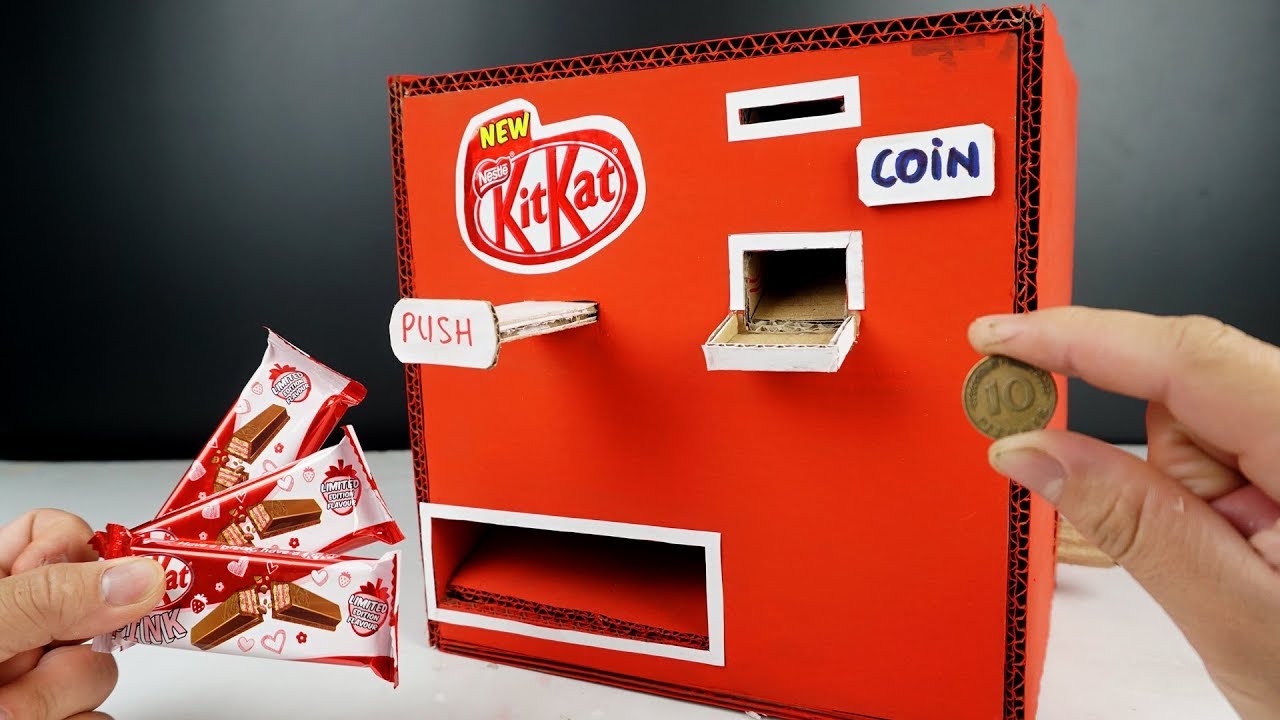
Creating the Selection Mechanism
Time for the genius part. Cut out some small squares or circles from cardboard. These will be your push buttons.
Above each shelf, make a small vertical slit in the front of the box. Wide enough for your push button to slide through.
Attach a small cardboard "pusher" to each button on the inside of the box. This pusher will gently nudge the items off the shelf. It’s like a gentle cardboard nudge of destiny.
Testing, Testing!
Before you declare victory, give it a test run. Load up your vending machine with small, lightweight treats. Candy, small toys, maybe even miniature rubber ducks!
Push each button and watch the goodies tumble out! If something gets stuck, adjust the angle of the shelf or the size of the pusher.
Persevere! Even NASA had a few launch delays, right?
Adding the Pizzazz
Now for the fun part – decoration! Paint it, draw on it, cover it in glitter (if you dare!).
Create a cool logo for your vending machine. "Snack Attack 5000" anyone?
Write the names of the items above each button. Maybe even include a fun description: "Cosmic Chocolate Chunk – Guaranteed to launch your taste buds into orbit!"
Operating Your Masterpiece
Congratulations! You’re the proud owner of a cardboard vending machine. Now what?
Set it up in your room, at a party, or even in the office (with permission, of course!). Charge a small "fee" for each item. Maybe a chore or two?
Refill it regularly and bask in the glory of being the coolest, most resourceful person around. You've earned it!
Just remember: with a little imagination and some cardboard, you can conquer the world… one candy bar at a time!
Bonus points for adding sound effects! A simple "ka-ching" sound when an item is dispensed? Pure genius!