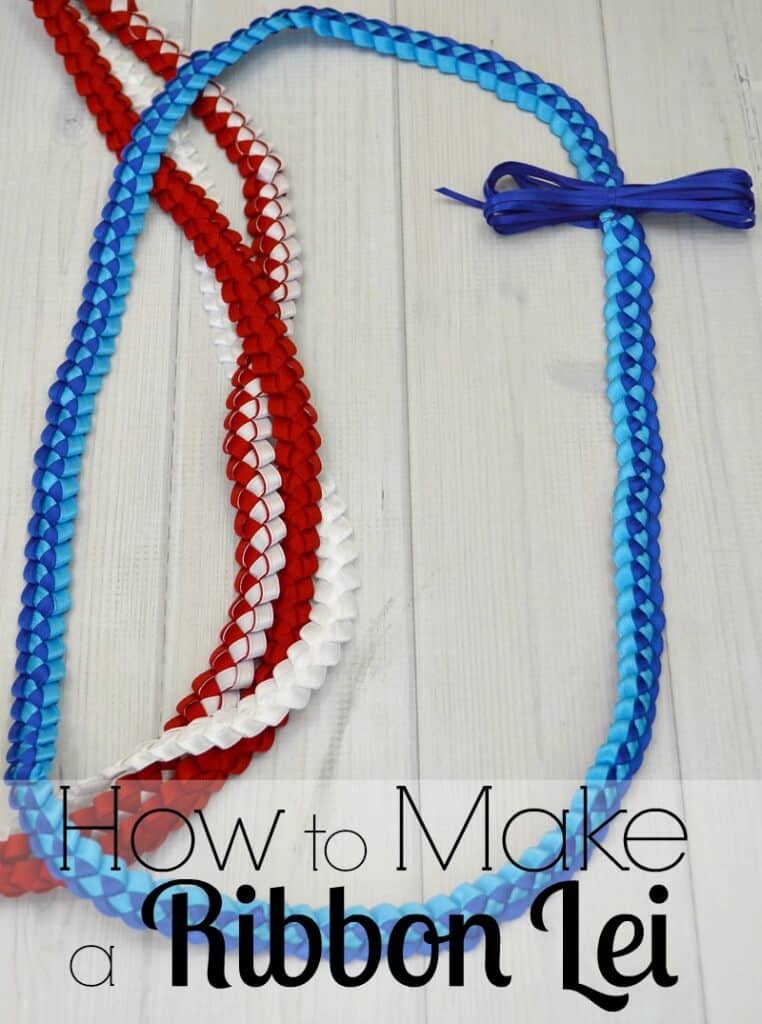
How To Make A Ribbon Lei With 2 Colors

Okay, friends, gather 'round! You're about to unlock some serious crafty magic: the art of the two-color ribbon lei. Seriously, this is so easy, even I – someone who once glued their fingers together trying to make a macaroni necklace – can do it. Let’s dive in!
What You'll Need: The A-Team of Lei-Making
First, you’ll need ribbon. Two colors, obviously! Think of your favorite combo – maybe sunshine yellow and ocean blue, or fiery red and elegant black. Get about 20-25 yards of each color. Trust me, you’d rather have extra than run out halfway through and have a lei that looks like it lost a fight.
Next up is some scissors. Not the rusty ones you use to open cereal boxes, okay? Treat yourself to a nice, sharp pair. And finally, you’ll need some thread. Any color will do, but clear fishing line is practically invisible, making your lei look super polished.
Getting Started: Prep Your Ribbon Pieces
Cut your ribbon into segments. We're going for roughly 4-inch long pieces. Don't worry about making them perfectly identical; a little variation gives it character! Imagine them as tiny dancers getting ready for the big show.
Now, the volume of ribbons you need to cut depends on the length of lei you want to make. For the sake of this exercise, let's aim for a lei that is roughly 30 inches long, so you will need a minimum of 200 ribbon pieces for each color.
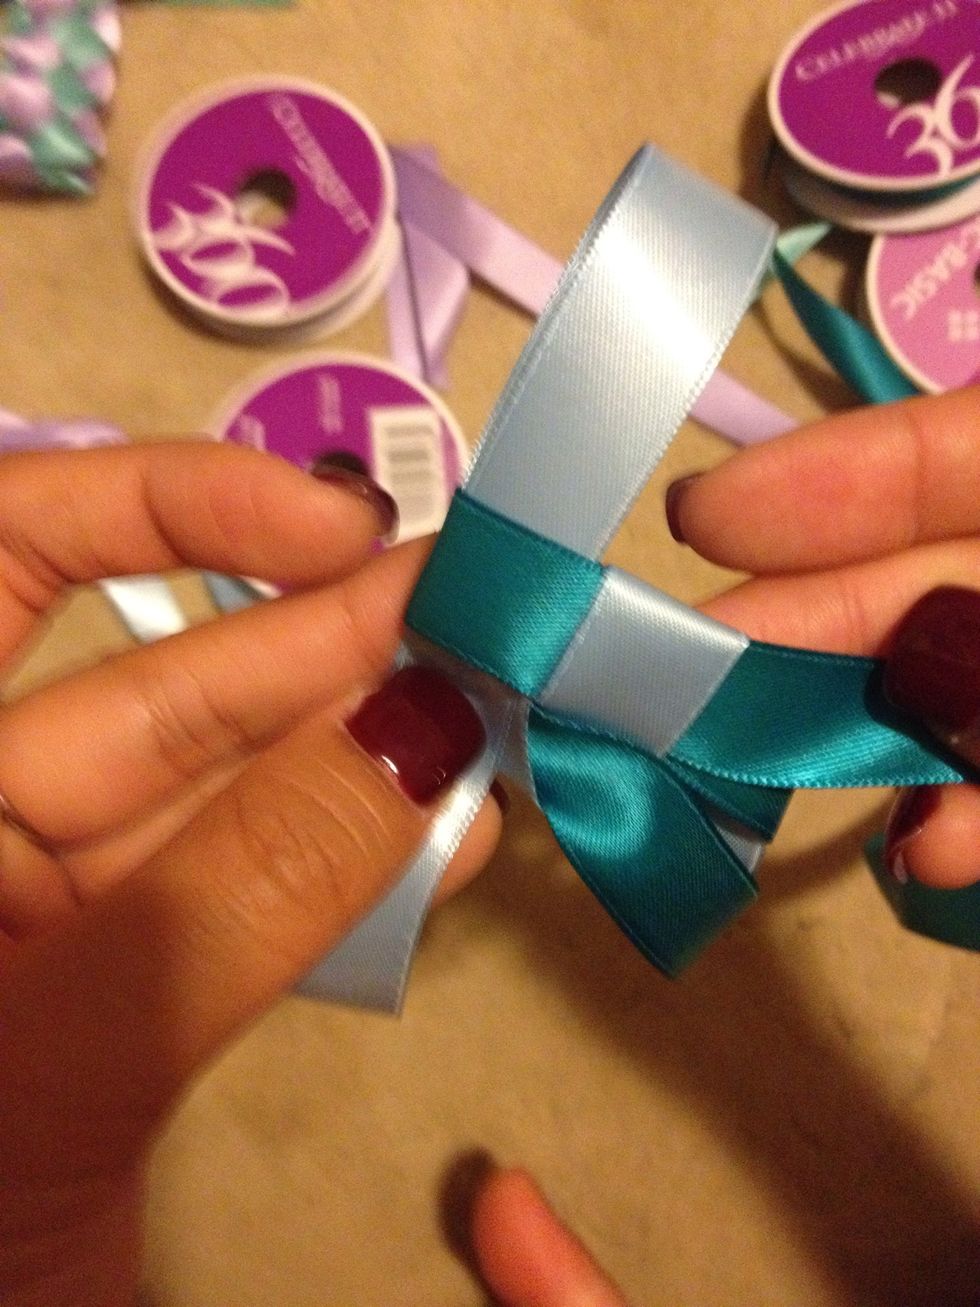
The Folding Fiesta
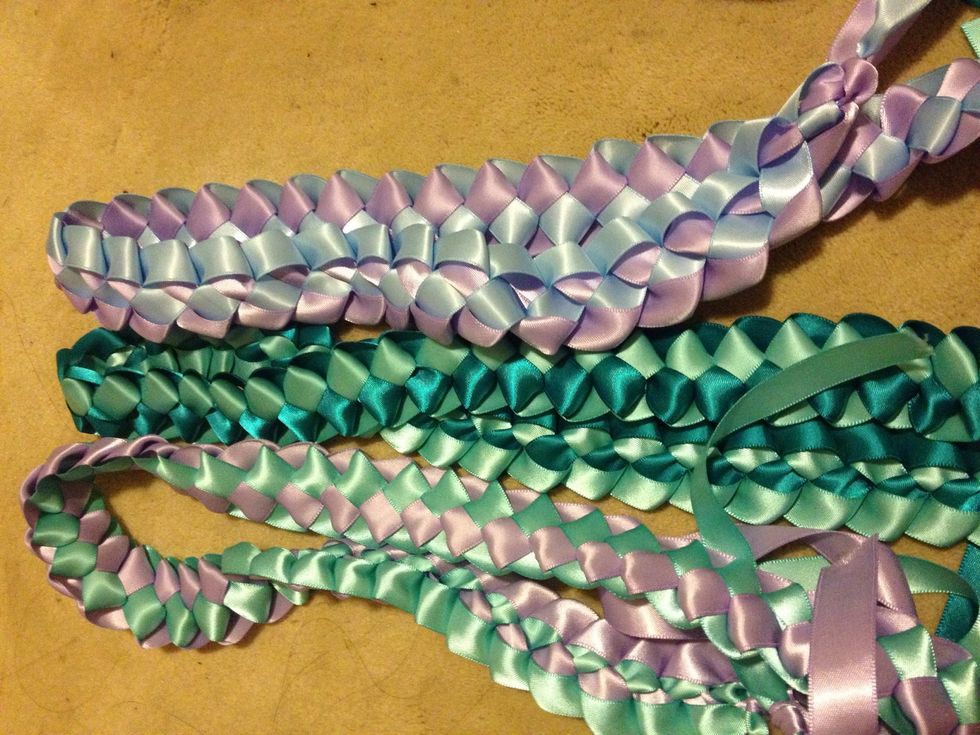
Grab one piece of each color. Lay the ribbon on top of each other. Make a 90-degree angle with both ribbons. It’s like they're getting ready for a high-five!
Now, fold the bottom ribbon over the top. Then fold the ribbon on the right over the folded ribbon and so on. Essentially, you're creating a simple over-under-over-under pattern. Think of it as weaving, but way simpler and cooler.
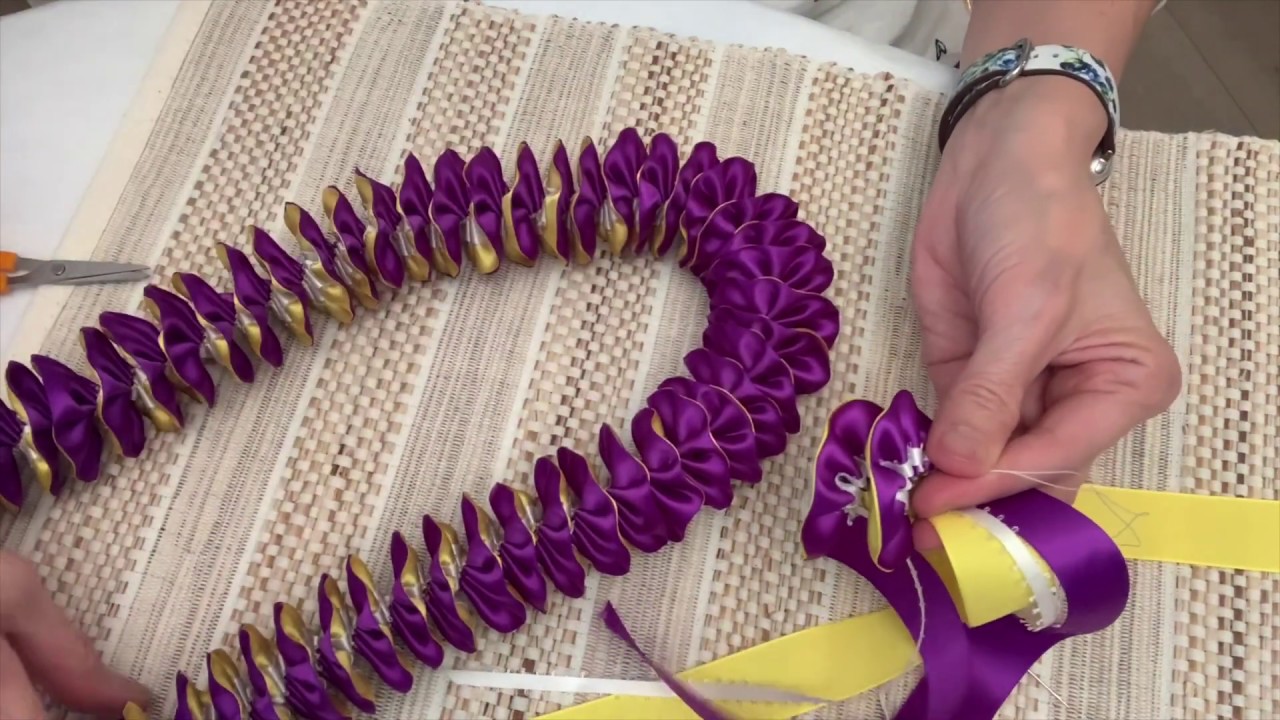
Stringing it All Together: The Heart of the Lei
Thread your needle and tie a knot at the end. Now, carefully poke the needle through the center of your folded ribbon square. If you can't find the center, don't sweat it; just aim for somewhere near the middle.
Slide the ribbon piece down the thread. Grab another set of ribbons. Repeat the folding and stringing process. Keep adding ribbon squares one after another.
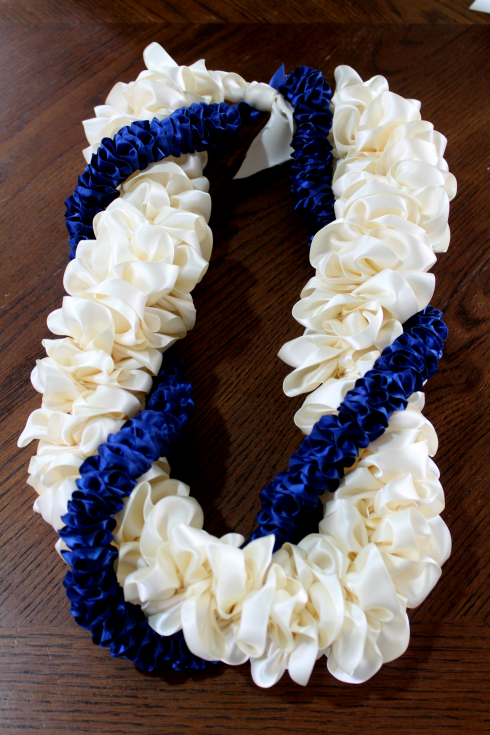
As you add more and more, you'll start to see your lei taking shape. Watch the colors twist and mingle, creating a vibrant spiral of joy. You can alternate colors, patterns or anything you desire.
Finishing Touches: Making it Official
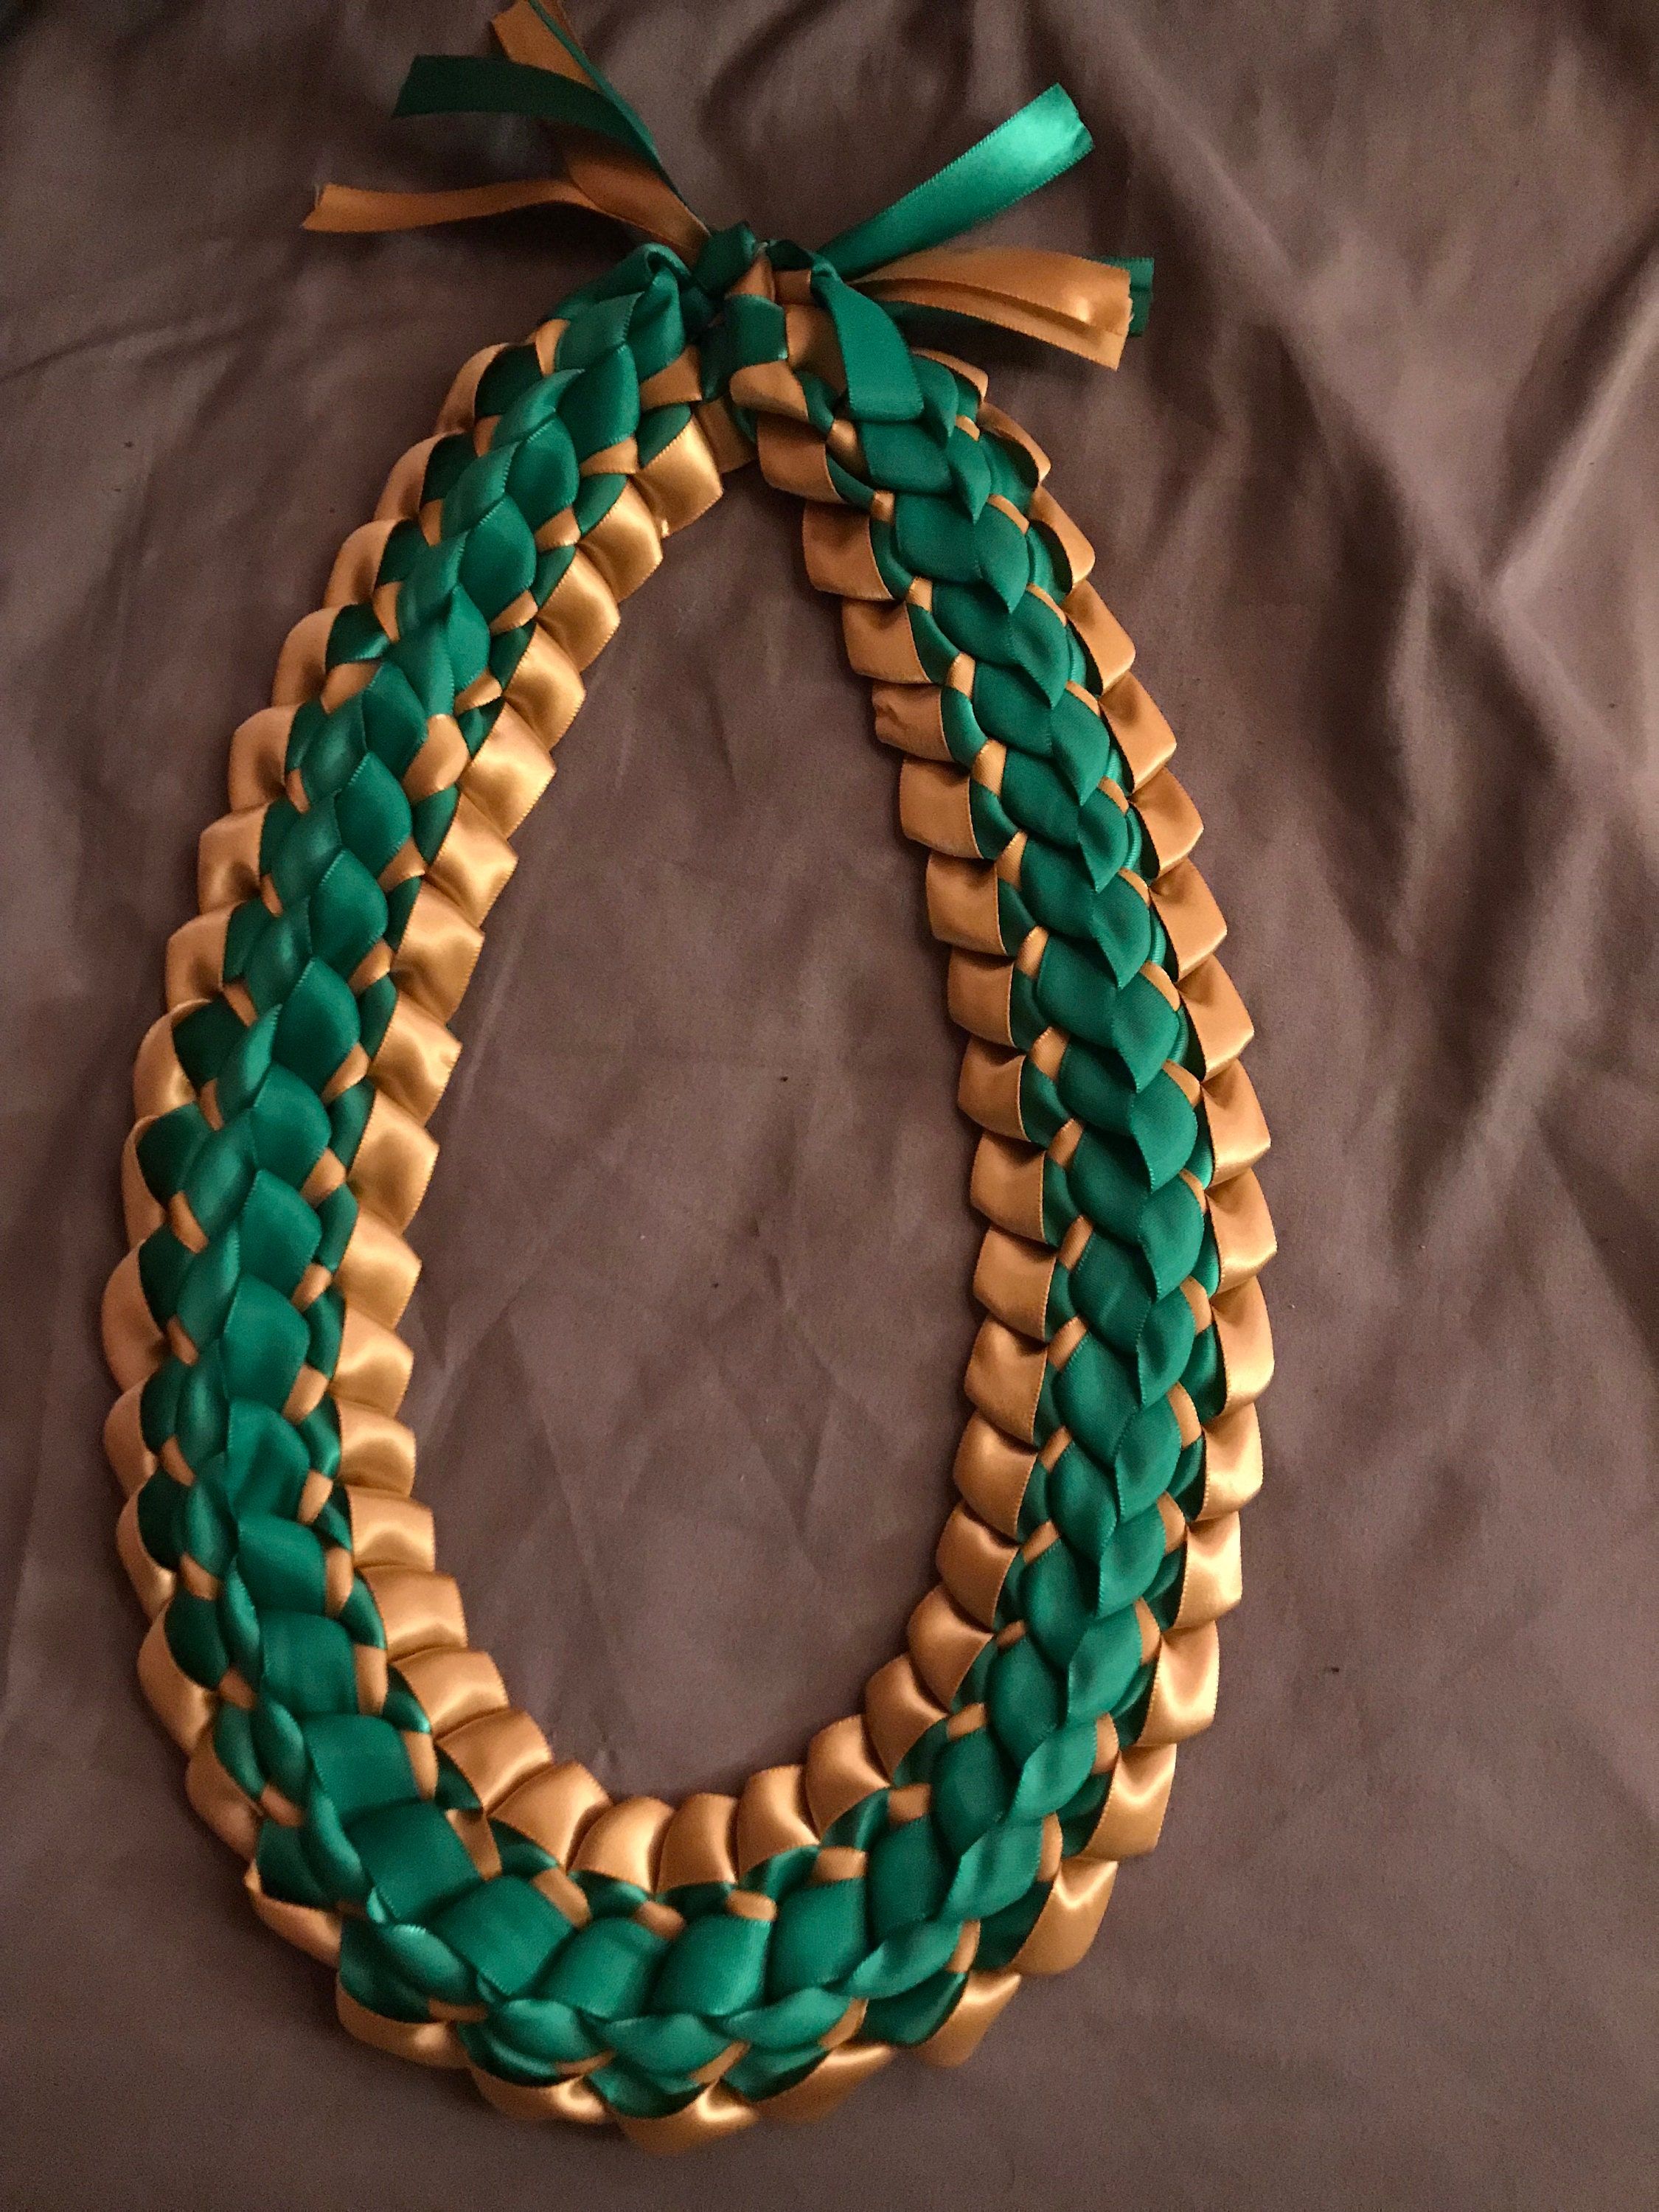
Once you've reached your desired length, it's time to tie off the lei. Remove the needle and tie a secure knot, or several, to lock everything in place. Trim any excess thread. Nobody needs a rogue string tickling their neck at graduation!
And that’s it! You’ve made a beautiful, handmade ribbon lei. Give yourself a pat on the back – you’re officially a lei-making superstar! Now go forth and spread the Aloha!
Extra Tips & Tricks (Because We're Friends Now)
Want to get fancy? Try using different types of ribbon! Satin, grosgrain, organza – the possibilities are endless. Imagine a lei made of shimmering organza ribbons – pure magic!
Add charms or beads! Thread them onto the string between the ribbon pieces for a little extra sparkle. Just make sure they don't weigh the lei down too much, or you'll end up with a saggy lei.
Most importantly, relax and have fun! Lei making isn't about perfection; it's about creating something beautiful with your own two hands. Put on some music, invite some friends over, and make it a party!
Seriously, that's all there is to it! Don't be intimidated; grab some ribbon, unleash your inner artist, and get lei'd (metaphorically, of course!).
Remember: making a ribbon lei is not just a craft; it's an act of love.
So go forth, create, and share the Aloha spirit with the world! You've got this!