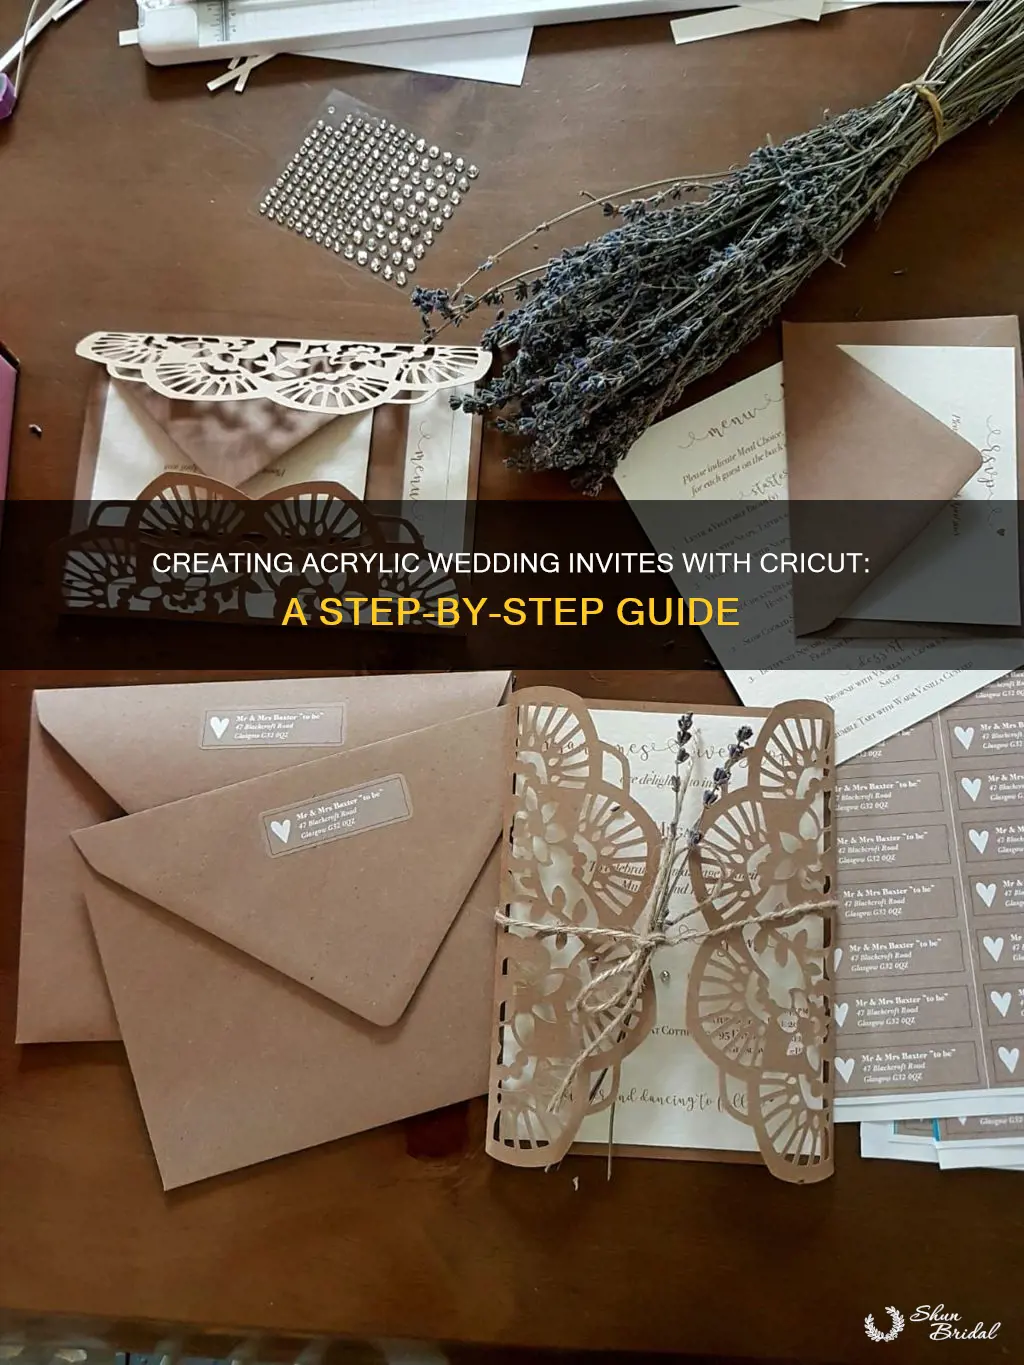
How To Make Acrylic Invitations With Cricut

Okay, picture this: You're throwing the party of the century! Or maybe just a super classy brunch. Either way, you need invitations that scream "sophistication" (but also whisper "I'm crafty"). Enter: Acrylic invitations made with your trusty Cricut!
Don't worry, it's way easier than assembling IKEA furniture after three glasses of wine. Trust me, if I can do it, anyone can!
Gather Your Glittery Arsenal
First, you'll need the star of the show: acrylic blanks! Think of them as tiny, transparent billboards waiting for your creative genius. You can find these little gems online or at craft stores.
Next, grab your Cricut machine (obviously!). Plus, some adhesive vinyl in your favorite colors. A weeding tool is a must-have, unless you enjoy wrestling tiny vinyl pieces with your fingernails.
And finally, transfer tape! This is your secret weapon for moving your delicate design from the vinyl backing to the acrylic.
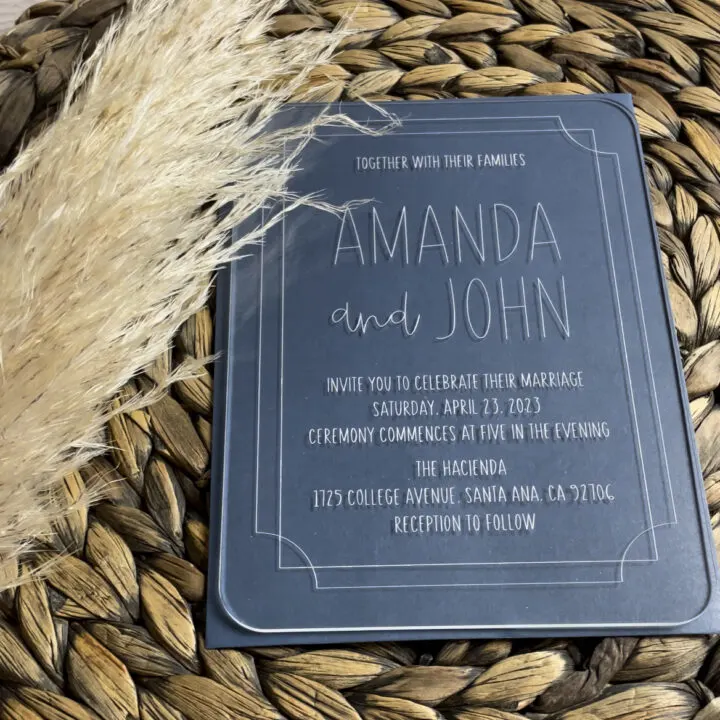
Design Like Da Vinci (Kind Of)
Fire up Cricut Design Space and let your imagination run wild! You can design your invitation from scratch, or use one of their pre-made templates. The possibilities are endless!
Maybe a fancy font with swirling flourishes? Or a minimalist design with clean lines? Just make sure it's legible – nobody wants to squint and guess what they're being invited to.
Once you're happy with your masterpiece, send it to your Cricut for cutting. It's like magic, watching that little blade dance across the vinyl.
Weed Out the Competition (and the Excess Vinyl)
This is where the weeding tool comes in handy. Carefully remove all the excess vinyl around your design. Pretend you're an archaeologist carefully excavating a priceless artifact.
Be patient! Rushing this step can lead to tears and tiny vinyl bits stuck everywhere. Speaking from experience, of course.
Transfer Like a Pro
Cut a piece of transfer tape slightly larger than your design. Peel off the backing and carefully apply the tape to the vinyl, smoothing it out with a scraper or credit card.
Flip it over and peel off the vinyl backing. Your design should now be stuck to the transfer tape like glue!
Carefully position the transfer tape (with your design attached) onto your acrylic blank. Smooth it out again, making sure everything is firmly adhered.
Now, slowly peel back the transfer tape. And voila! Your design is now permanently etched (well, vinyl-ed) onto the acrylic.
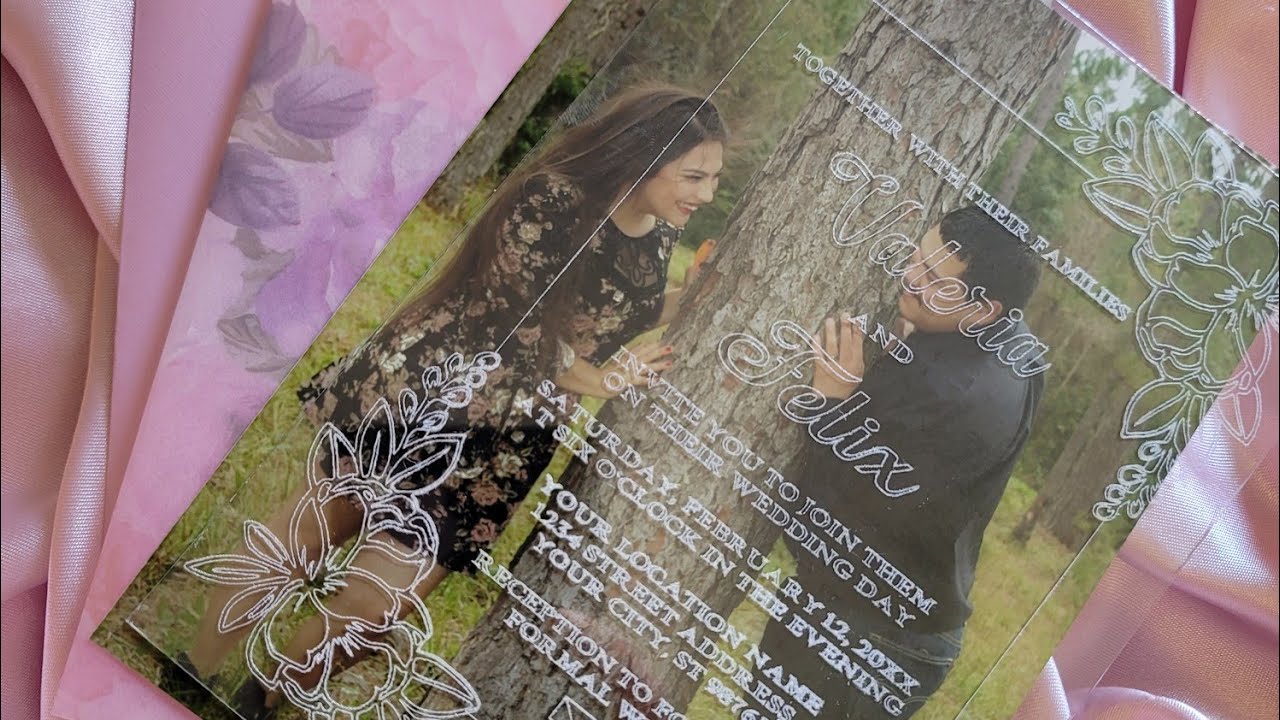
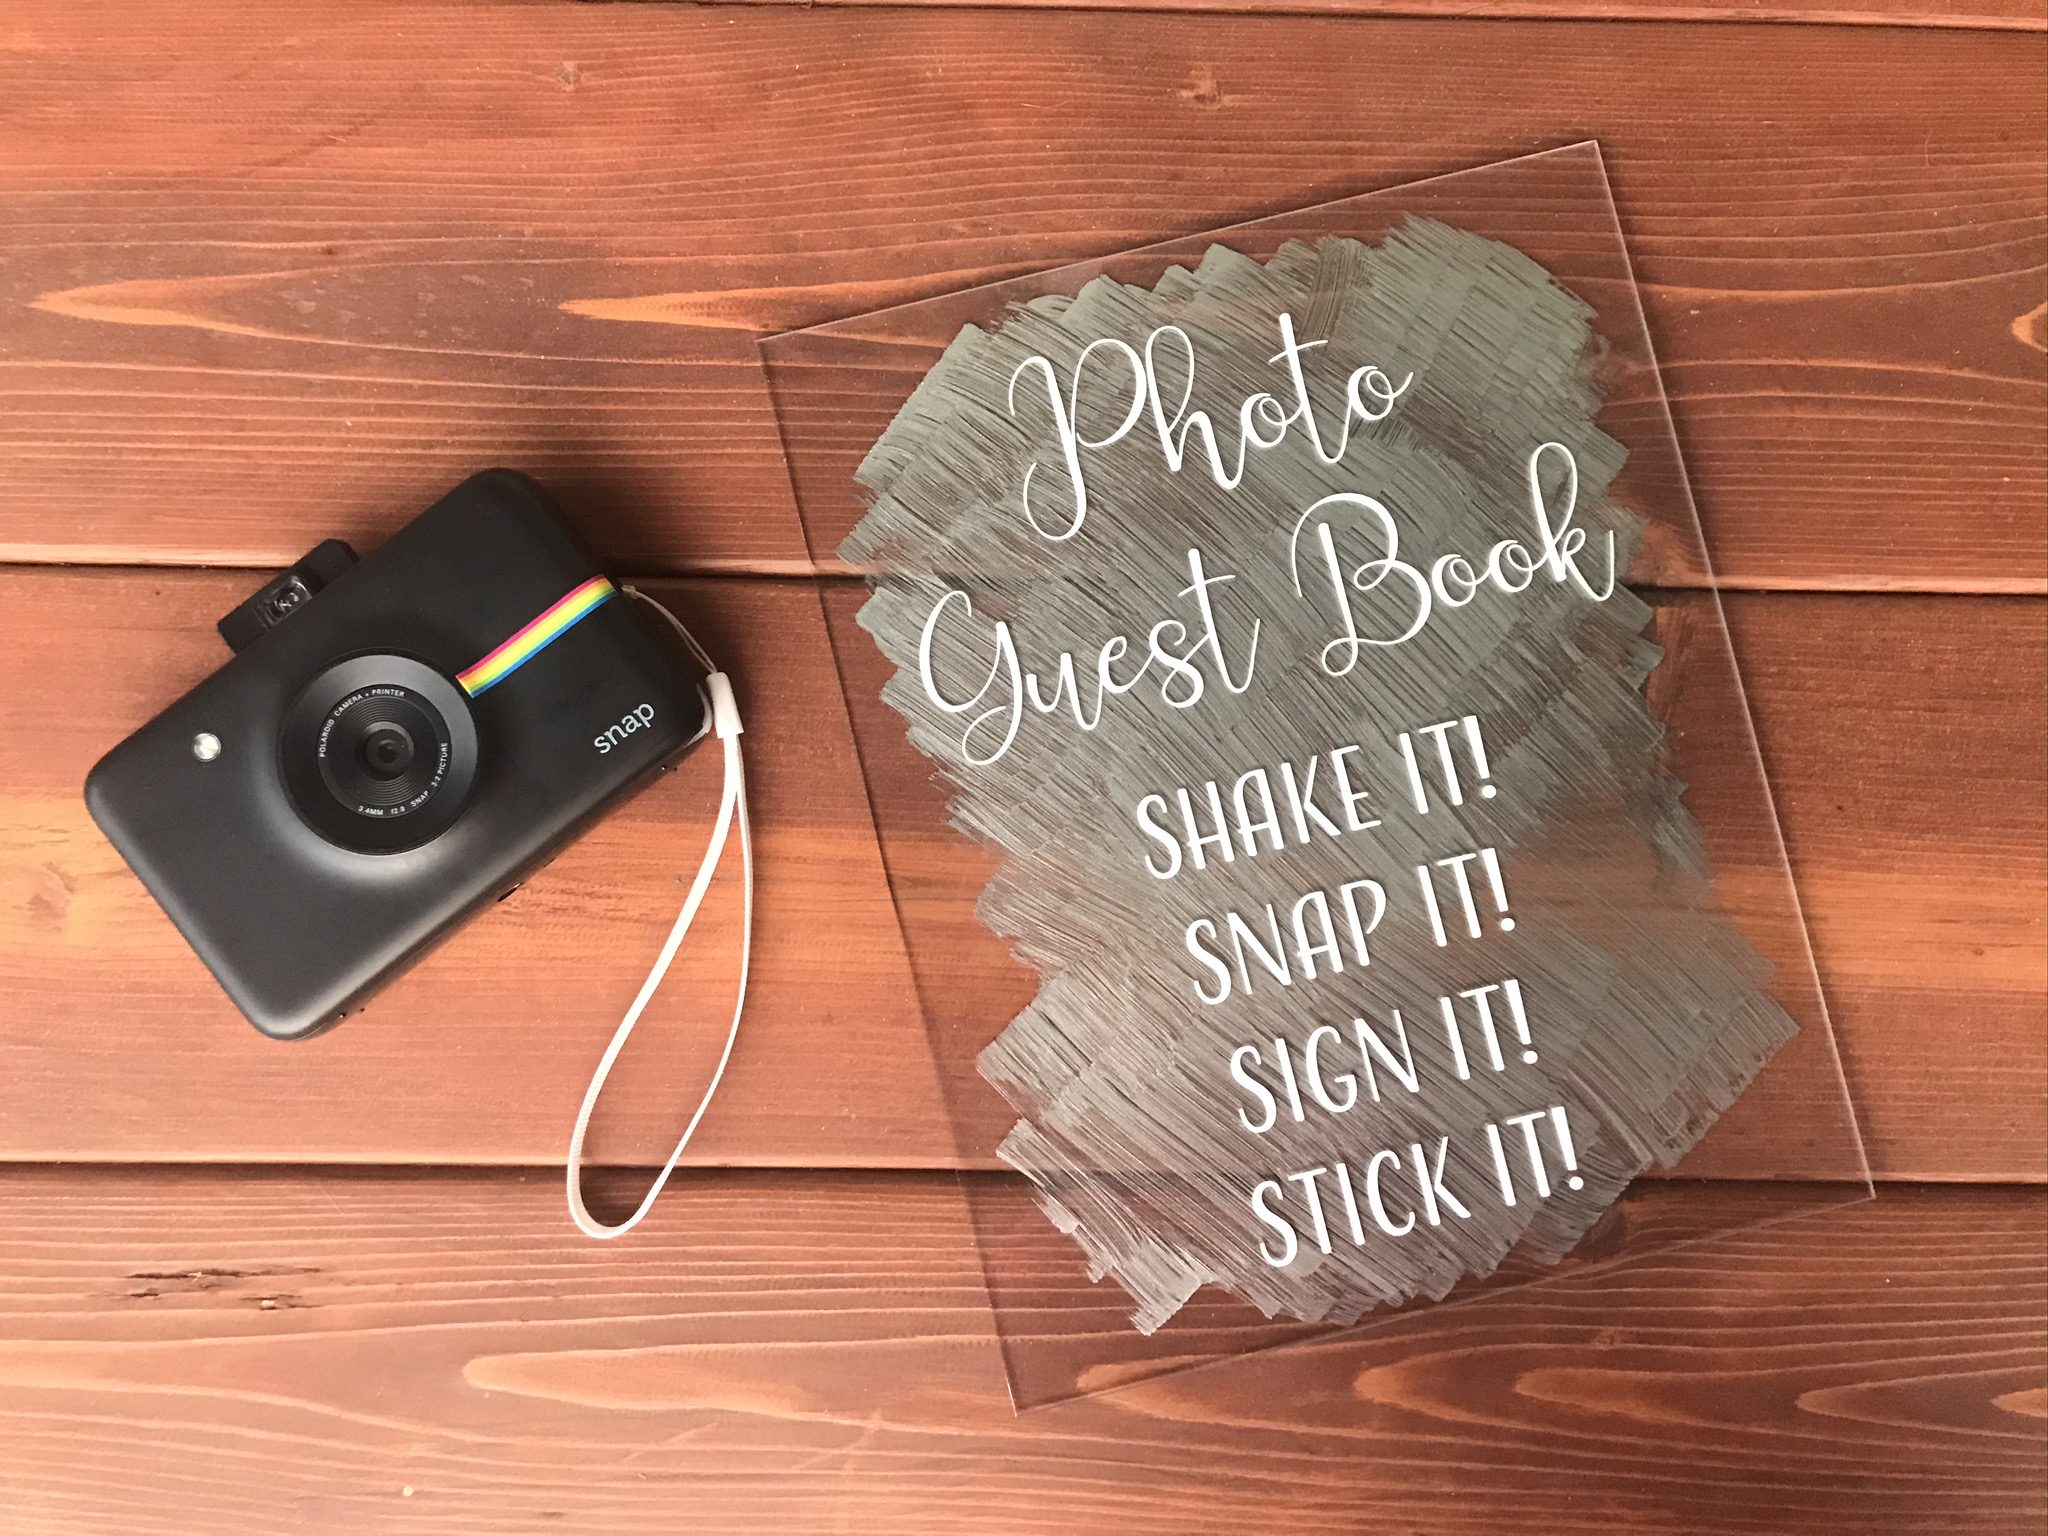
Accessorize and Amaze
Now for the fun part: embellishments! Add ribbons, tassels, or even tiny rhinestones. Okay, maybe not tiny rhinestones. That might be overkill.
But seriously, a little something extra can take your invitations from "nice" to "OMG, where did you get these?!"
And there you have it! You've just created stunning acrylic invitations that will make your guests feel like VIPs. Get ready for the compliments to roll in! You are now an official DIY invitation rockstar.
Remember to always test your vinyl on a scrap piece of acrylic first, to make sure it adheres properly. Nobody wants a sticky situation.
So, ditch the boring paper invitations and embrace the acrylic revolution! Your Cricut is your new best friend. Go forth and create!