How To Perform Needle Maintenance On Keurig

Alright, coffee comrades! Let’s talk about the unsung hero of your morning routine: your trusty Keurig. You rely on it, you love it (especially when that caffeine craving hits!), but are you giving it the TLC it deserves?
Probably not. Let's be honest.
Needle Nirvana: A Keurig Cleaning Caper
Think of the needle as the tiny, but mighty, portal to coffee bliss. But like any well-used portal, it can get a little… gunked up. It's like leaving your car unwashed for a year – not the prettiest sight!
Step 1: The Great Disassembly (Kind Of)
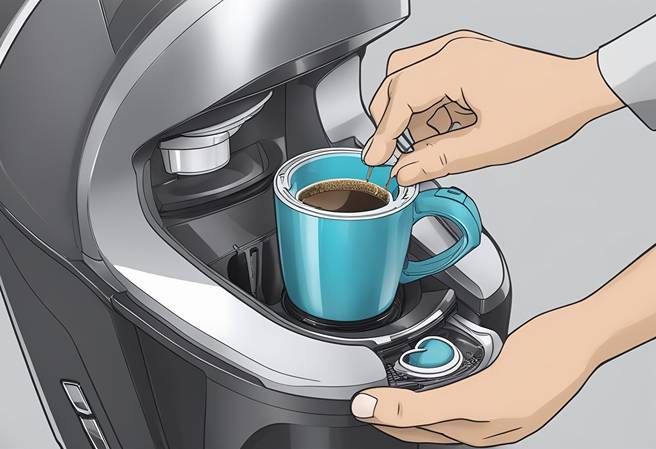
First things first, unplug your Keurig. We don’t want any shocking surprises! Remove the K-Cup holder. It usually just pops right out.
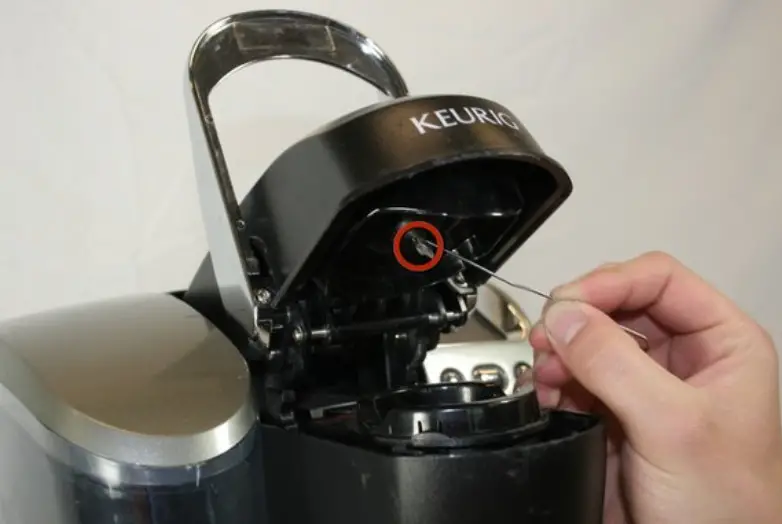
Now, grab a paperclip. Yes, the humble paperclip! Straighten it out – you’re about to become a coffee needle surgeon.
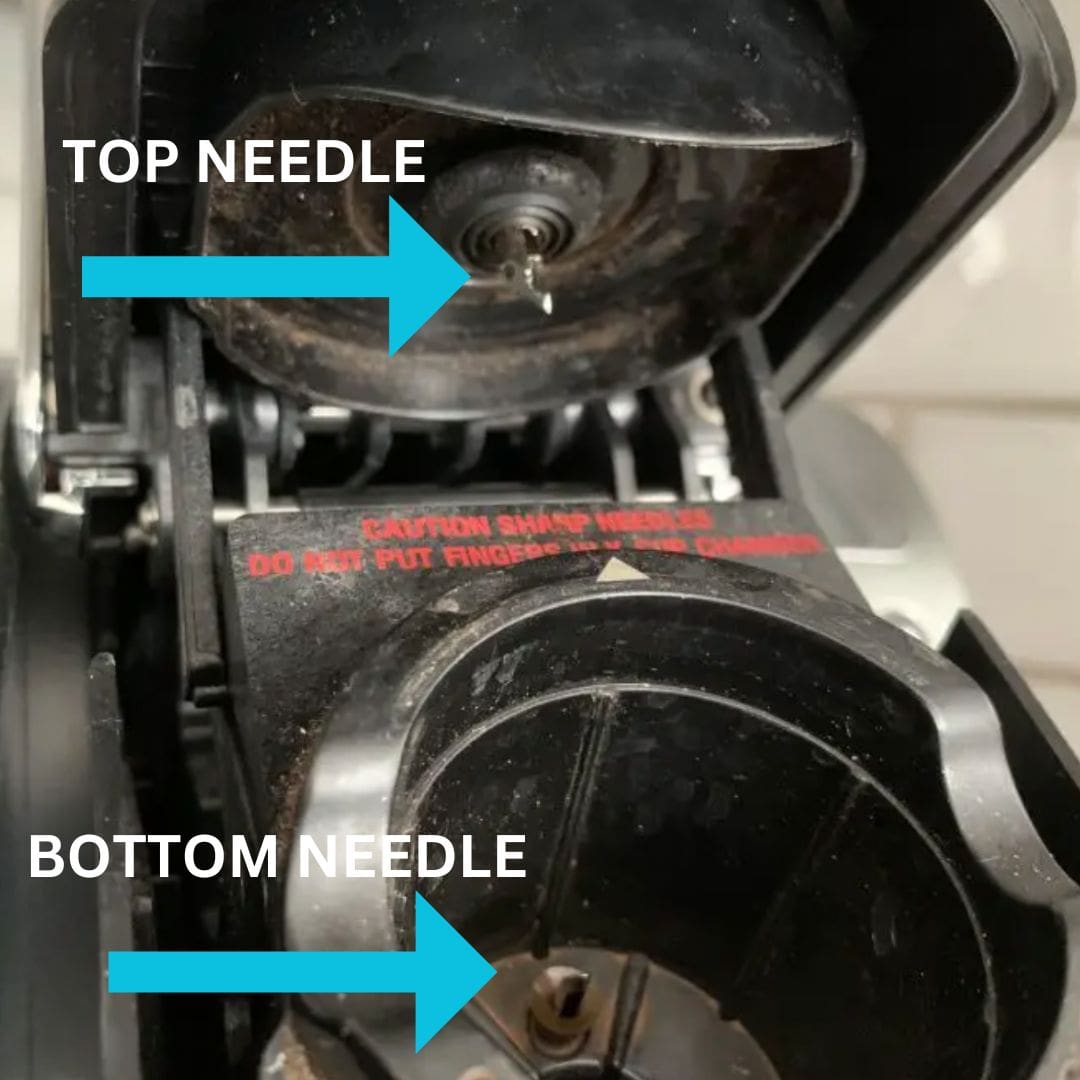
Step 2: The Poke-tential
See those little holes where the K-Cup sits? That’s where the magic (and potential blockage) happens. Gently insert the straightened paperclip into each hole.
Wiggle it around a bit. Imagine you're digging for coffee treasure. You might feel some resistance – that's just the build-up.
Keep wiggling and poking until it feels clear. This is your coffee destiny!
Step 3: The Waterfall Wash
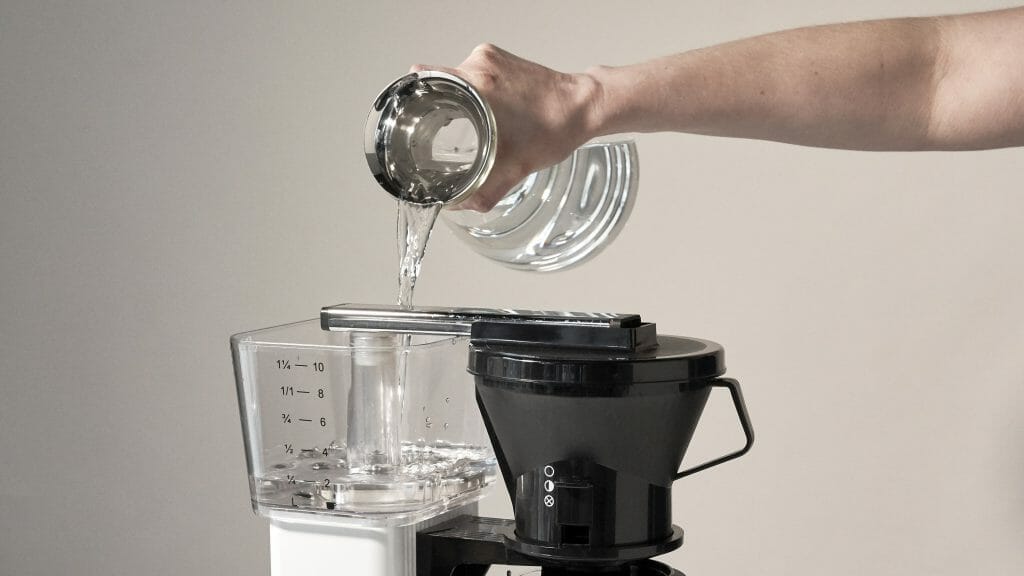
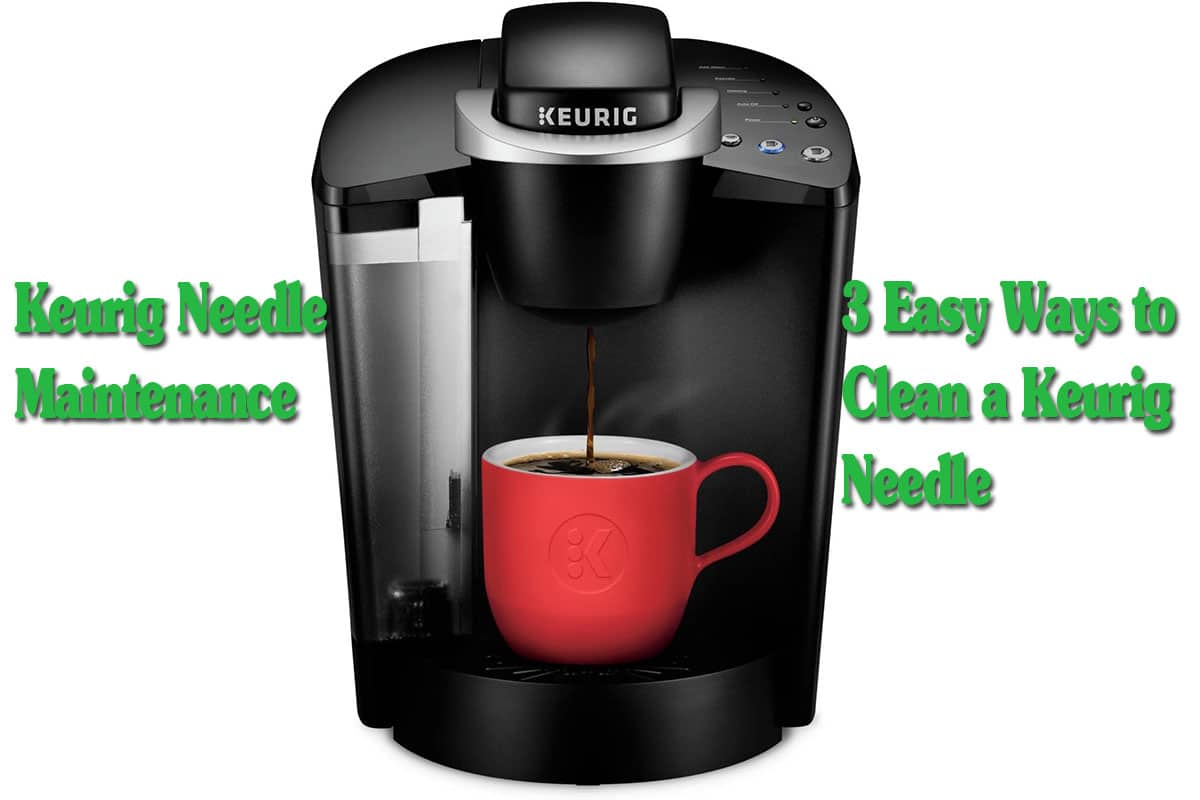
Put the K-Cup holder back in. Run a few brew cycles with just water. No K-Cup needed!
This will flush out any lingering coffee debris. Watch that beautiful, slightly-brownish water flow! It's like watching your Keurig breathe a sigh of relief.
Step 4: The Nozzle Noshing (Optional)
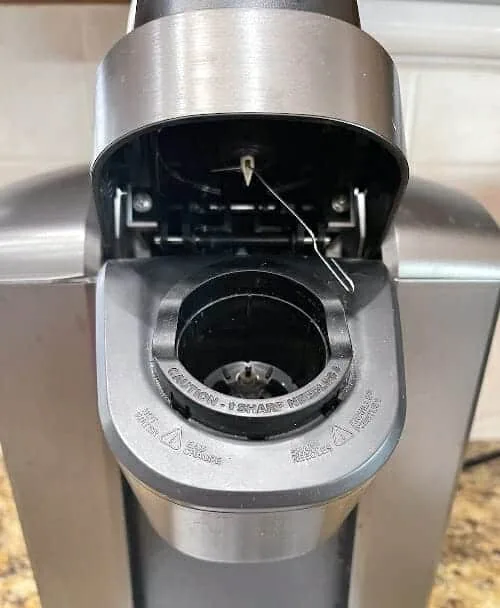
Some Keurigs have a removable exit needle – the one that punctures the bottom of the K-Cup. If yours does, you can remove it and give it a good scrub with a small brush.
Be gentle! This little nozzle is delicate. Treat it like you would a newborn coffee bean.
Rinse it thoroughly and pop it back in. You're practically a Keurig technician now!
Beyond the Needle: Bonus Keurig Love
Descaling! Don't forget to descale your Keurig regularly. Think of it as giving your Keurig a spa day. Use a descaling solution or even just plain white vinegar.
Clean the exterior. Wipe down your Keurig with a damp cloth. A sparkling Keurig equals a sparkling you (or at least, a less-jittery you).
Empty the drip tray. Don't let that drip tray become a science experiment! Empty it regularly to prevent unwanted coffee fossilization.
The Reward: Coffee Nirvana!
Congratulations! You've successfully performed Keurig needle maintenance. Your coffee will now flow smoother, taste better, and your Keurig will sing your praises (probably in coffee-scented melodies).
So go forth, brew with confidence, and enjoy the fruits (or rather, the coffee beans) of your labor! You deserve it, you Keurig cleaning champion!
Remember that routine maintenance is important. Keeping your Keurig clean, you save money in the long run.
Now, if you'll excuse me, I'm going to go brew a celebratory cup of coffee. Cheers to happy Keurigs and even happier coffee drinkers!
Enjoy your coffee!