How To Remove A Broken Threaded Pipe
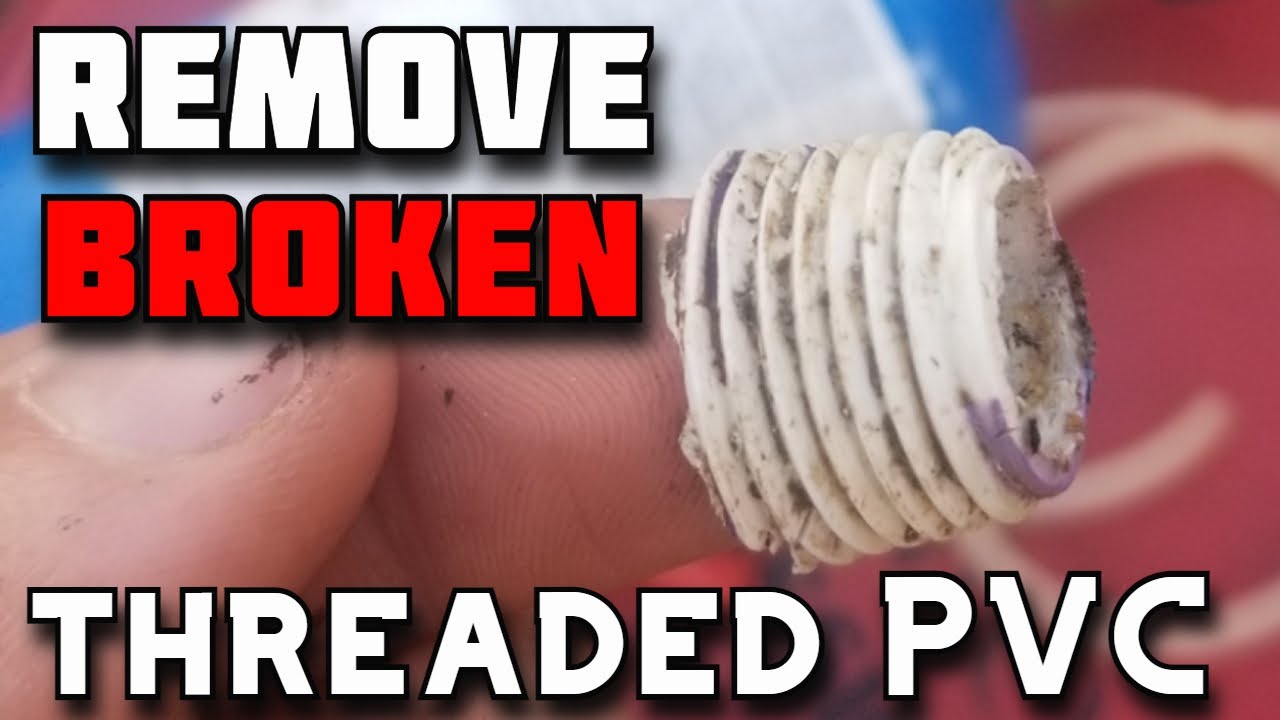
Okay, picture this: you're feeling like a DIY superhero, ready to tackle that leaky faucet. You twist, you turn, and BAM! Disaster strikes. The pipe snaps, leaving a jagged, threaded remnant stuck in the wall like a stubborn houseguest who refuses to leave.
Don’t panic! We've all been there. It feels like you've accidentally summoned the plumbing gods' wrath, but fear not, this little mishap is totally fixable. Think of it as a puzzle, a slightly frustrating, potentially knuckle-scraping puzzle, but a puzzle nonetheless!
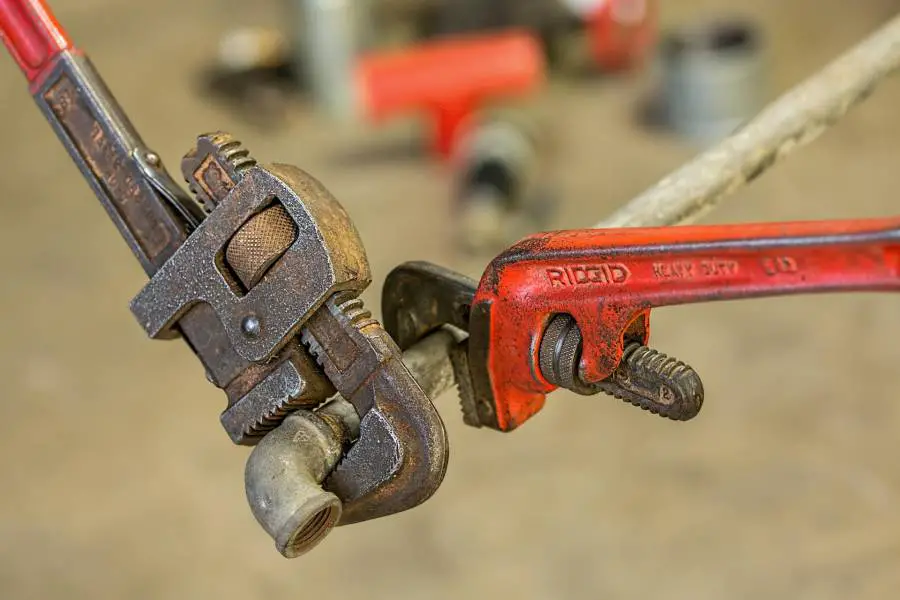
The Internal Pipe Wrench: Your New Best Friend
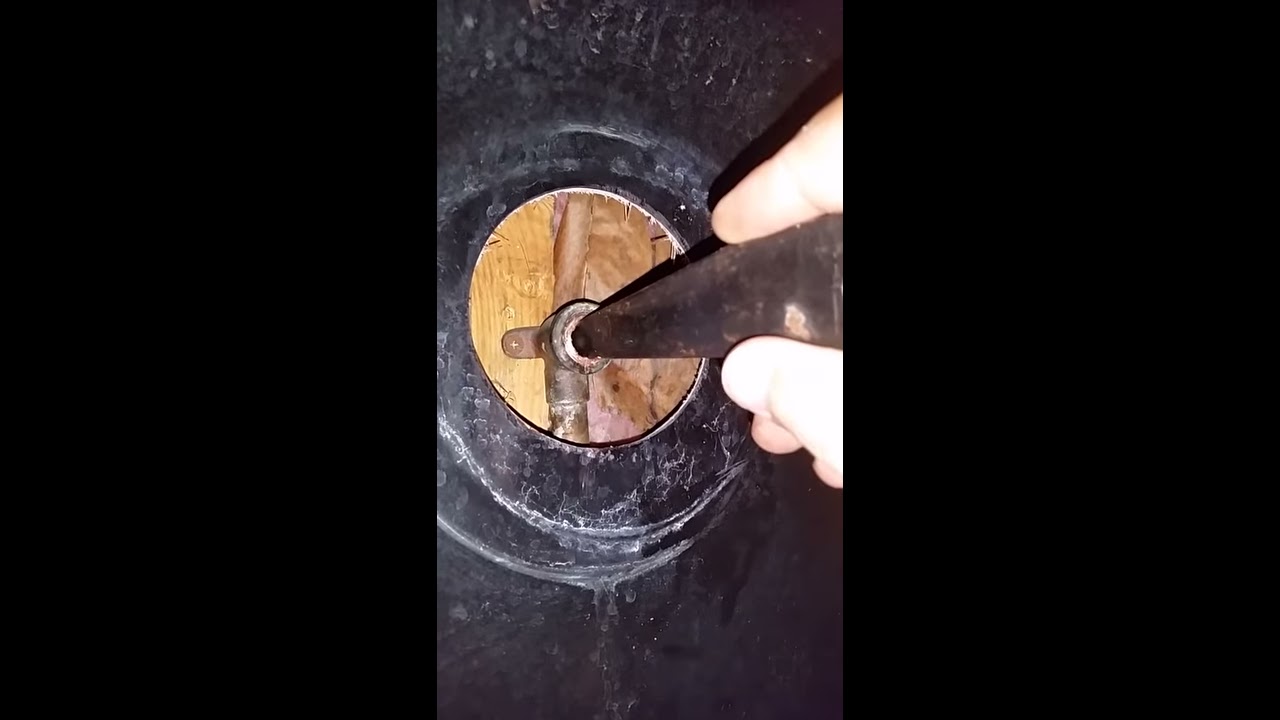
First up, let's talk about the internal pipe wrench. This nifty little tool is designed specifically for situations like these. It’s like a secret agent, infiltrating the broken pipe and extracting it from within.
You slide the wrench into the pipe, give it a twist to engage the teeth, and then apply some good old-fashioned elbow grease. Keep turning counter-clockwise (lefty-loosey, remember?), and with a bit of luck, the broken piece will start to unscrew.
Imagine you're opening a particularly stubborn jar of pickles. That's the level of determination we're aiming for here! If it’s being particularly difficult, try applying a little penetrating oil. Let it sit for a few minutes. This can help loosen things up.
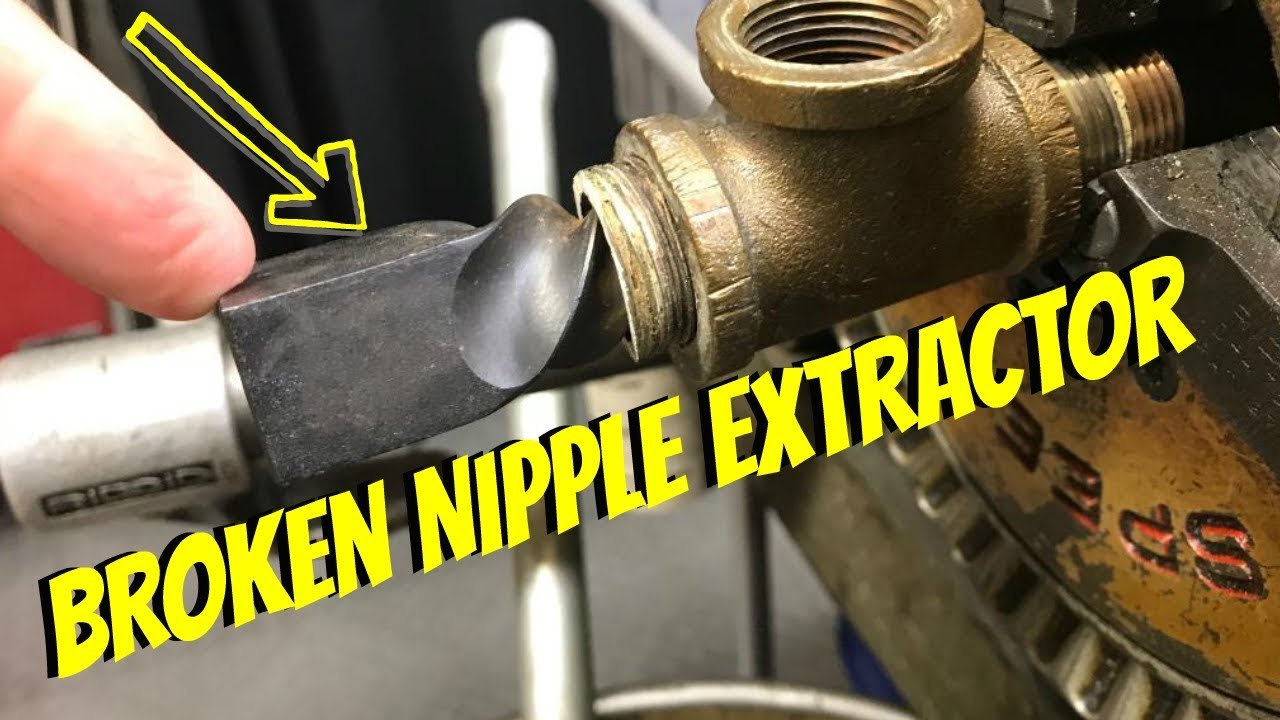
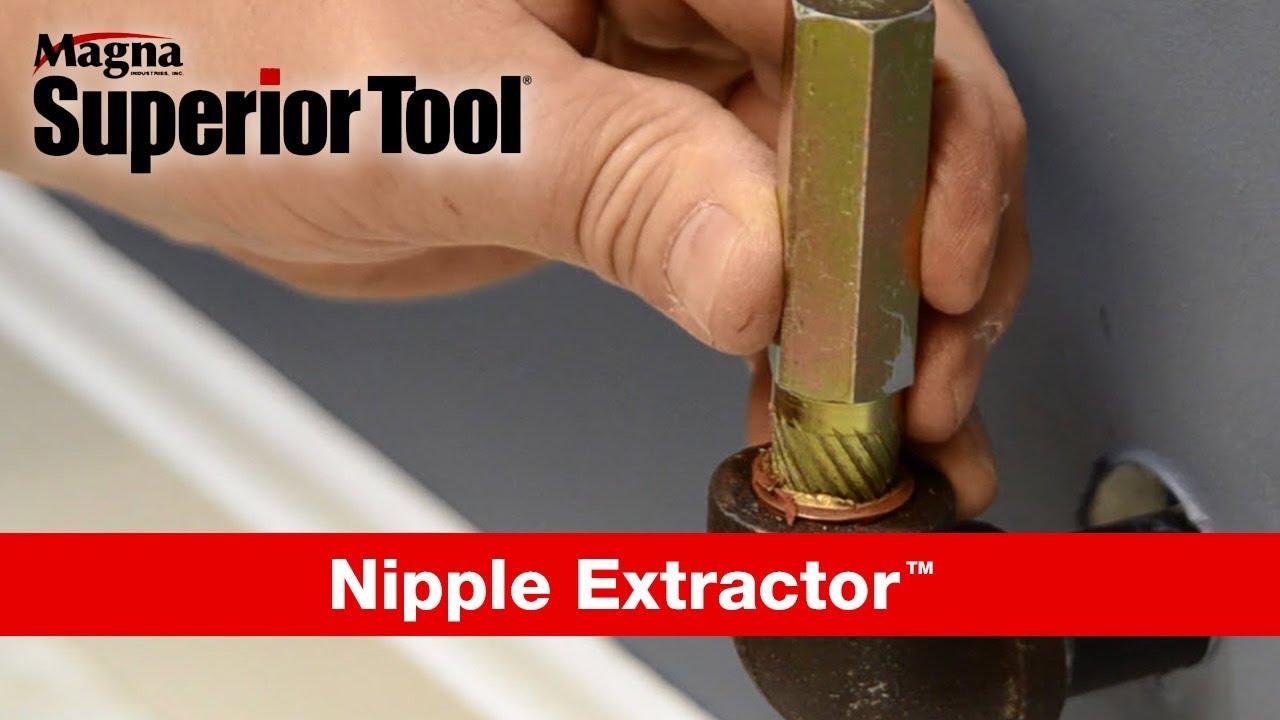
The Nipple Extractor: A Cousin of the Pipe Wrench
Next, we have the nipple extractor, a close relative of the internal pipe wrench but with a slightly different design. It's like comparing Batman to Robin – both fight crime, but they have their own styles.
The nipple extractor typically comes in a set of different sizes to accommodate various pipe diameters. Choose the one that fits snugly inside the broken pipe. Tap it in gently with a hammer to ensure a good grip.
Attach a wrench to the extractor and, you guessed it, start turning counter-clockwise. Feel the power of leverage as you slowly but surely coax the broken pipe out of its hiding place. Success!
The Chisel and Hammer: When All Else Fails
Alright, so the internal pipe wrench and nipple extractor are playing hard to get. No problem! We've got a plan C. It involves a chisel, a hammer, and a healthy dose of controlled aggression (emphasis on the controlled!).
Carefully position the chisel at an angle on the inside edge of the broken pipe. Gently tap the end of the chisel with the hammer. This creates a small notch. Now, move the chisel slightly and repeat the tapping process.
The goal is to gradually deform the pipe inward, effectively loosening its grip on the threads. This process requires patience and precision. It's like trying to defuse a tiny, metal bomb, but much, much less dangerous.
Keep working your way around the inside of the pipe, creating a series of small notches. As the pipe deforms, it will eventually become loose enough to unscrew by hand. Finally, victory is yours!
A Word of Caution (and a Sprinkle of Humor)
Remember to always wear safety glasses when working with tools, especially when hammering. You don't want a rogue piece of metal turning your DIY project into an impromptu trip to the emergency room. That would put a damper on your day, wouldn't it?
And please, for the love of all things plumbing, turn off the water supply before you start any of this! Unless you're aiming for an indoor water park experience, shutting off the water is crucial.
Removing a broken pipe can be a bit of a challenge, but with the right tools and a can-do attitude, you can conquer this plumbing puzzle. So grab your tools, channel your inner MacGyver, and get that stubborn pipe out of there! You've got this!
And if all else fails, there's no shame in calling a professional. Sometimes, the best DIY project is knowing when to say "I need help!" Plus, you'll have a great story to tell about the time you almost flooded your bathroom. Plumbing adventures are the best adventures, right?