How To Replace Corroded Battery Terminals In Toys

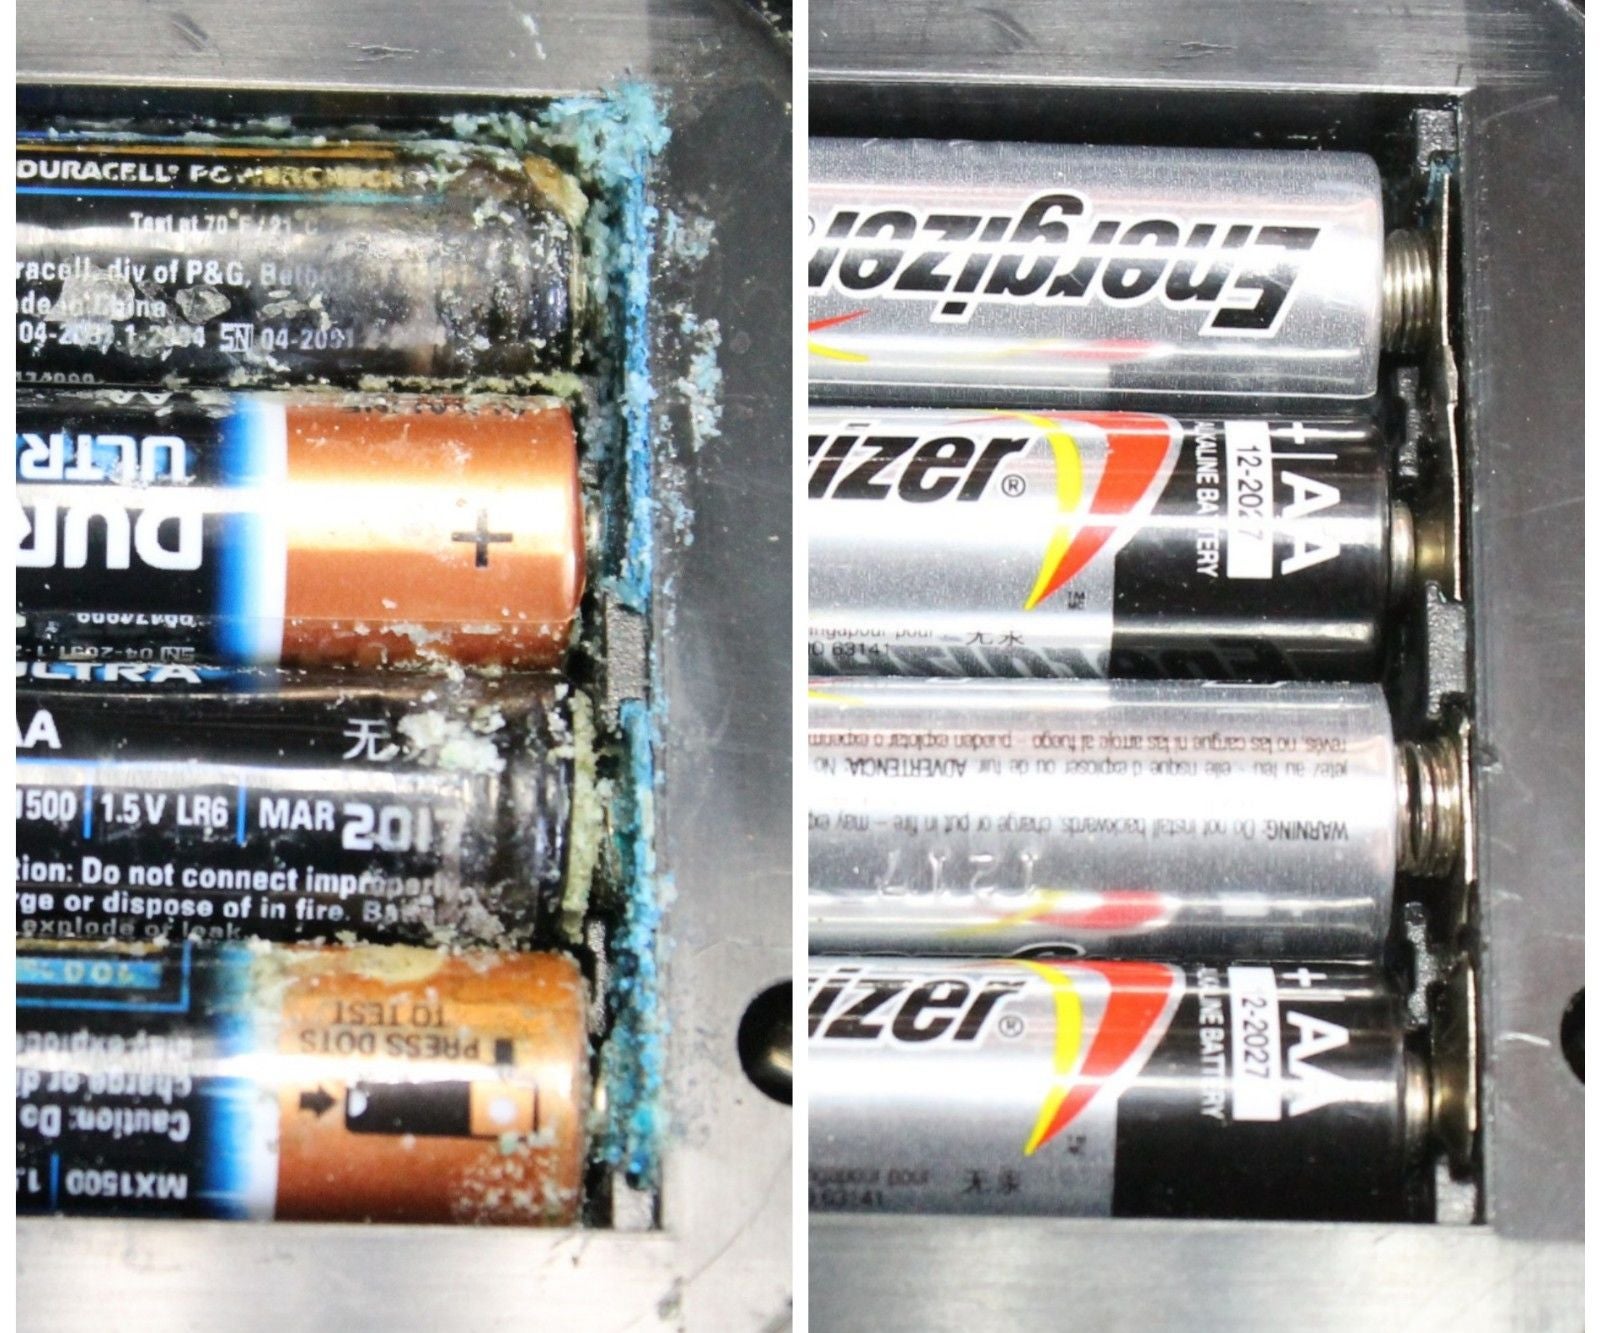
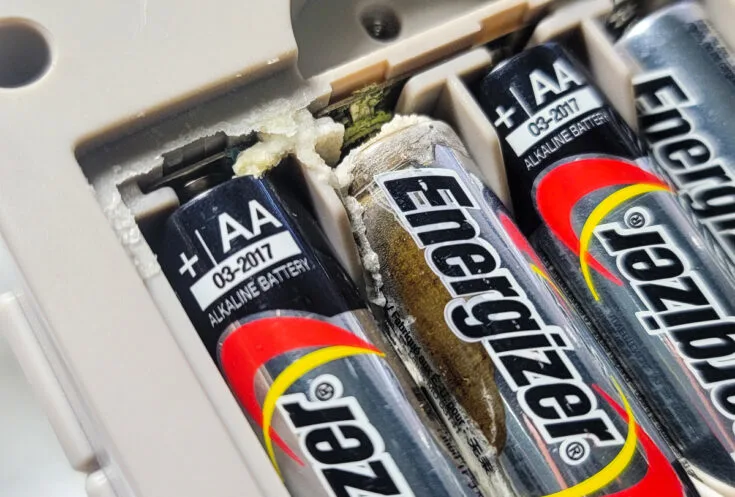
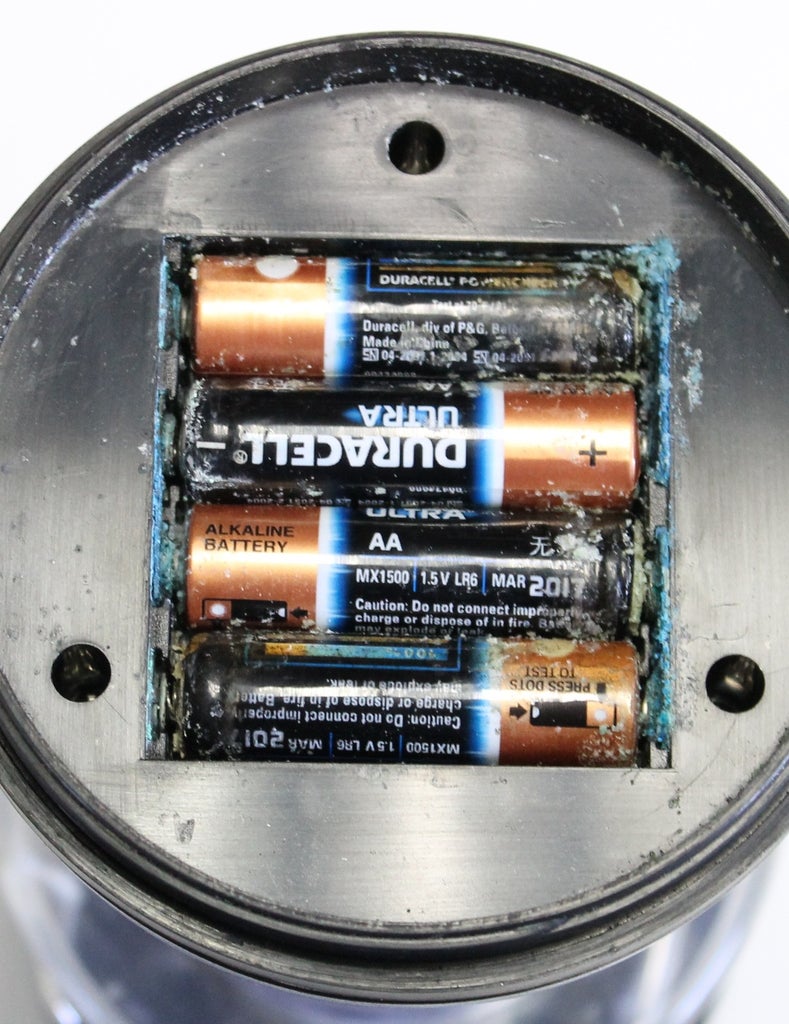
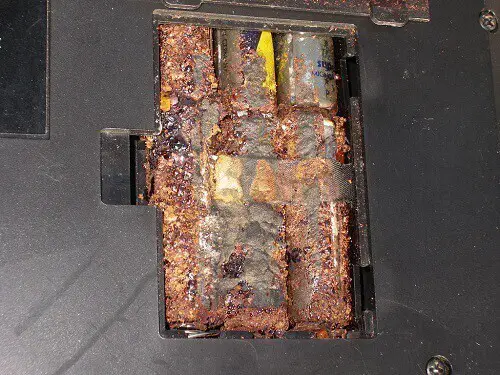
Oh, the horror! You reach for your kiddo's favorite talking dinosaur (the one that repeats EVERYTHING) and… silence. The batteries are new, but a glance inside reveals a crime scene: crusty, white-ish blue gunk clinging to the battery terminals like a sci-fi monster.
Fear not, brave parent! This isn't a reason to banish the dinosaur to the attic (yet). We're going to tackle this corrosion conundrum like the superheroes we are.
Gear Up!
First things first, gather your arsenal. You'll need a few simple tools – things you probably already have lurking in your junk drawer or toolbox.
Think of it as assembling your superhero utility belt. Let's check what's inside:
The Essential Toolkit:
Grab a small screwdriver (usually a Phillips head), some white vinegar or lemon juice (yes, really!), and cotton swabs or an old toothbrush. We're going all-natural on this corrosion, baby!
You might also want paper towels for mopping up any stray vinegar or lemon juice. Accidents happen, even to superheroes.
Lastly, grab some safety glasses or protective eyewear. Remember, safety first, always.
The Great Corrosion Cleanse
Now comes the fun part – attacking the corrosion! Dip your cotton swab (or toothbrush) into the vinegar or lemon juice. It's like giving the corrosion a tiny, acidic bath.
Gently scrub the corroded terminals. You'll see the gunk start to fizz and dissolve, which is incredibly satisfying. It's like watching the bad guys get zapped in a cartoon.
If the corrosion is REALLY stubborn, you might need to let the vinegar/lemon juice sit on the terminals for a minute or two. Give it time to work its magic!
After scrubbing, wipe the terminals clean with a paper towel. Make sure they're nice and dry before you pop in new batteries.
Dealing with the Battery Cover
Sometimes, the corrosion spreads beyond the terminals and onto the battery cover. Don't panic! More lemon juice or vinegar to the rescue!
Use a cotton swab or paper towel to clean off any visible corrosion on the cover. This ensures a good connection and prevents future outbreaks.
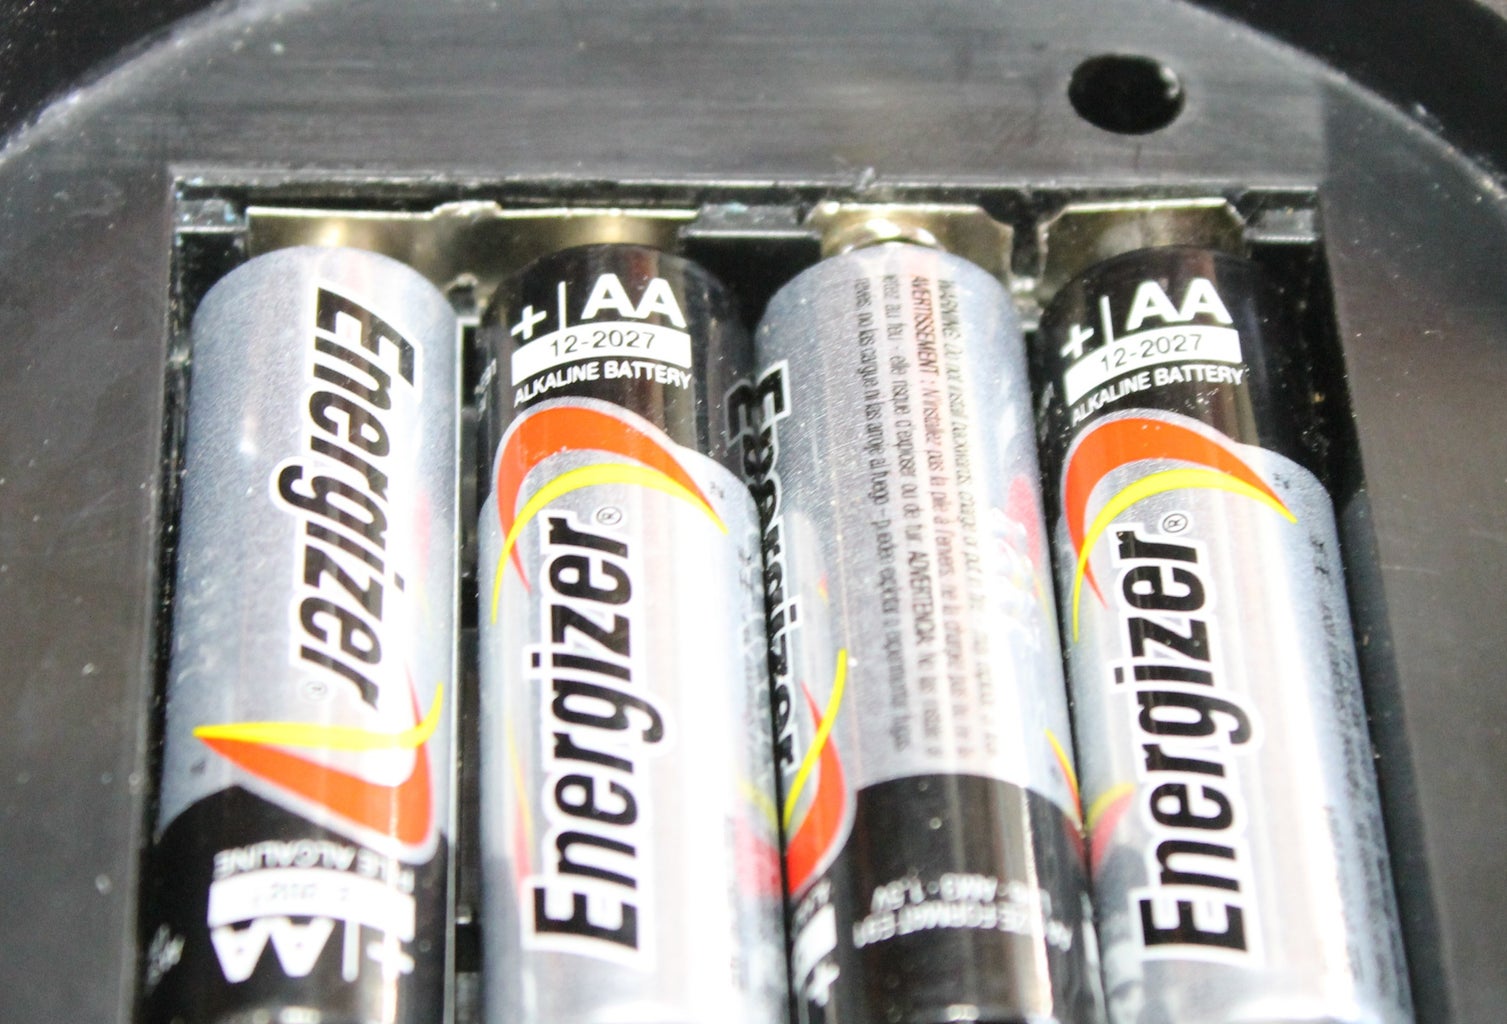
Operation: Battery Insertion!
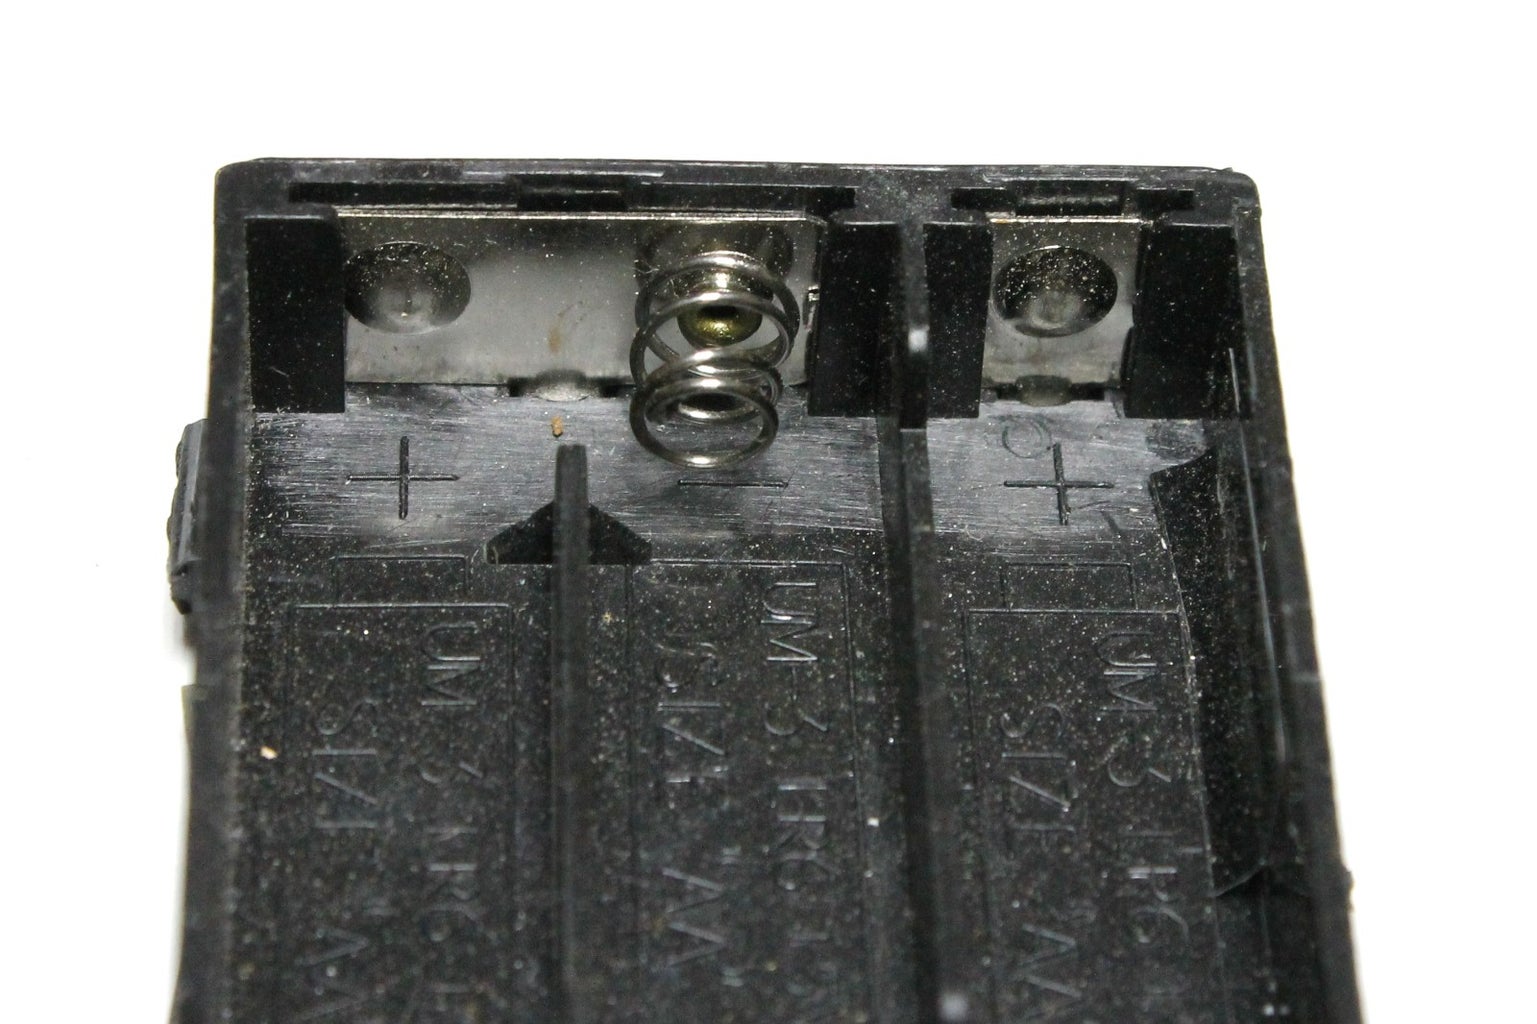
This is the moment of truth! Pop in those fresh batteries, making sure they're facing the right way (positive to positive, negative to negative).
You know, the way the little diagram inside the toy shows. Or, you can just guess, and then swear a bit before getting it right on the second try. We’ve all been there, right?
Close the battery cover and flip the switch. If you did everything right (and you totally did!), the dinosaur should roar back to life.
You Did It!
Congratulations, you've successfully battled battery corrosion and saved the day (or at least your kiddo's favorite toy). Give yourself a pat on the back!
Now, go forth and conquer other household challenges. You are now the Battery Terminal Cleaning Champion of your home. Wear that title with pride!
Remember, a little bit of elbow grease (and some vinegar or lemon juice) can go a long way. And hey, maybe check those other battery-powered toys while you're at it. Prevention is key, my friend, prevention is key.
This whole thing is a little bit like giving a sick pet the medicine they need. Except this sick pet is a toy. And the medicine is lemon juice. Okay, maybe it's not *exactly* like that, but you get the idea, right?
So, before you declare that beloved toy lost forever due to the dreaded battery corrosion, remember this article and give it one last shot. You might just surprise yourself!