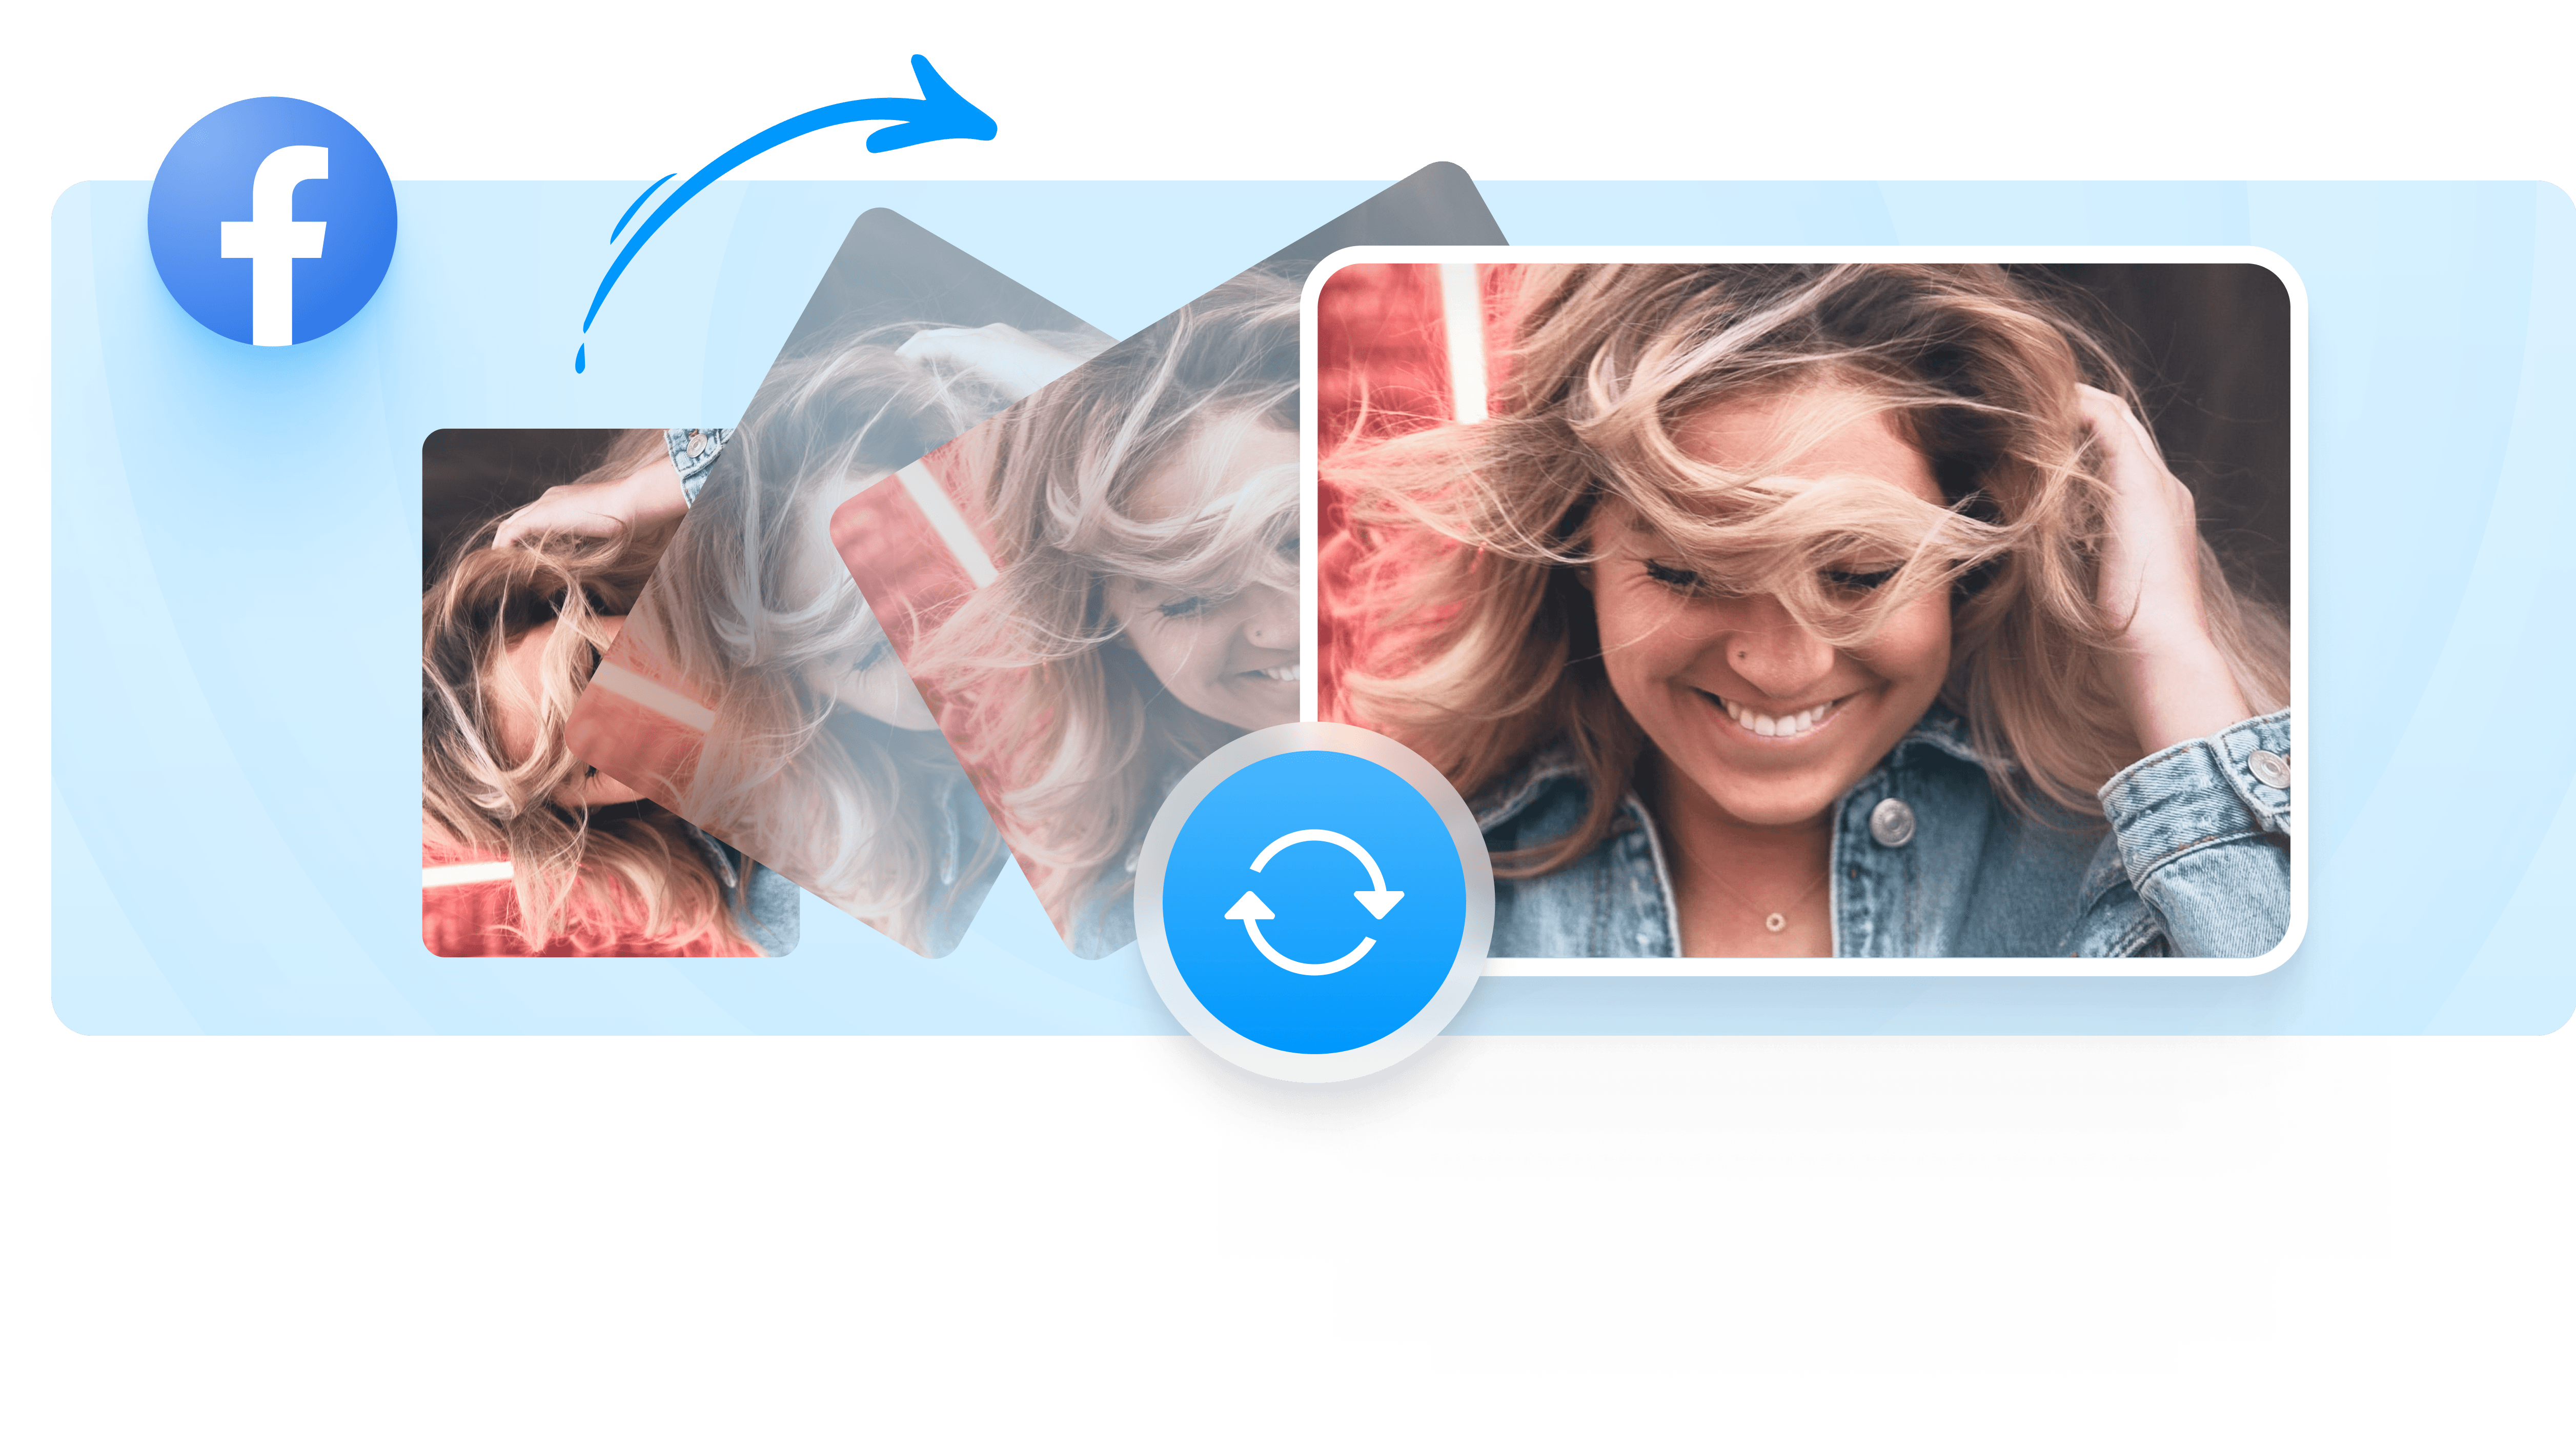
How To Rotate A Video On Facebook
So, you've captured the perfect moment on video. Little Timmy's first wobbly steps, Aunt Mildred's legendary salsa fail at the family reunion, or maybe just your cat doing something unbelievably ridiculous. You rush to share it with the world, specifically your Facebook friends, only to realize... it's sideways.
Panic sets in. Visions of your carefully curated online persona collapsing into a blurry, tilted mess fill your mind. Fear not! The social media gods (or rather, Facebook's developers) have smiled upon us. There's a way to fix this little problem. It's surprisingly easy, even if your tech skills are more "dial-up modem" than "artificial intelligence."
The Magical Rotation Button: A Step-by-Step Adventure
Step 1: The Uploading Saga
First, bravely upload your offending video to Facebook, just like you normally would. This is where the adventure begins. Don't let the initial sideways-ness deter you! Think of it as a challenge, a quest to restore order to your digital kingdom.
As the video uploads, keep a watchful eye. You’ll see various options appear alongside your masterpiece. Think of these options as the tools in your digital Swiss Army knife.
Step 2: Seeking the Edit Throne
Keep scanning, look for an "Edit" button (or something similar – Facebook loves to keep us on our toes with its ever-changing interface). Click this button. You're now entering the editing suite, a glamorous (okay, maybe not glamorous) space where you can perform digital miracles.
The "Edit" button is your gateway to power. Embrace it. It will lead you to the rotation promised land.
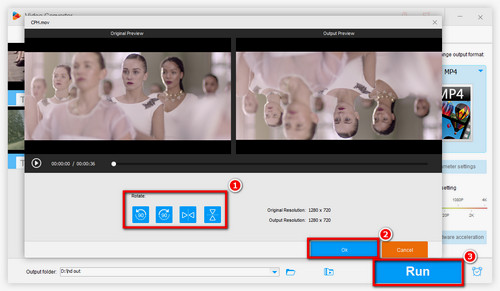
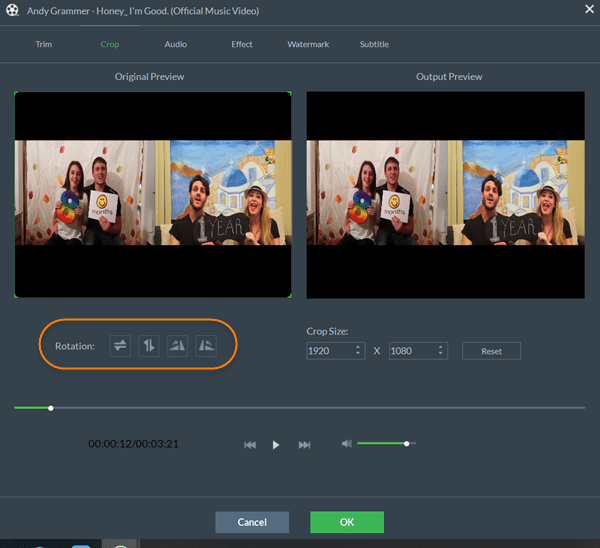
Step 3: The Grand Rotation Revelation
Within the editing options, you'll find a button that looks like a square with an arrow curving around it. This, my friends, is the Rotation Button. This is the button that will restore balance to your video, the button that will save your online reputation.
Click it. Keep clicking it until your video is facing the right way up. Each click usually rotates the video 90 degrees, so a few clicks should do the trick. It's like a digital dance, a slow, deliberate turn towards perfection.
Step 4: Saving the Day (and Your Video)
Once your video is perfectly aligned, hunt down the "Save" button. This is the final step, the moment of triumph. Click it with the confidence of a seasoned video editor.
Facebook will process your changes, and soon, your video will be upright and ready for viewing. No more sideways cats! No more tilted Timmy! Aunt Mildred’s salsa fail can now be appreciated from the correct perspective.
The Aftermath: Celebratory Reactions and Viral Fame?
Now, sit back and watch the likes and comments roll in. Your friends will be amazed by your technical prowess (even though you just clicked a button a few times). You might even go viral! Okay, maybe not. But at least your video is no longer a neck-straining exercise.
Remember, the next time you find yourself with a sideways video, don't despair. The Rotation Button is your friend. Embrace it, use it wisely, and never let a tilted moment ruin your Facebook fun!
And who knows, maybe you’ll even inspire someone else to conquer their own sideways video woes. You’ll be a digital hero, a champion of upright viewing!
“With great rotation power comes great responsibility.” – Someone, probably.

![How To Rotate A Video On Facebook How to Rotate A Video on Facebook Smoothly [Reliable Guide]](https://www.fonelab.com/images/video-converter-ultimate/facebook-rotate-video-on-facebook.jpg)


![How To Rotate A Video On Facebook How to Rotate Video on Facebook [Solved]](https://www.joyoshare.com/images/resource/rotate-video-on-facebook.jpg)


![How To Rotate A Video On Facebook How to Rotate Video on Facebook [Solved]](https://www.joyoshare.com/images/resource/rotate-facebook-video-imovie-on-iphone.jpg)