Low Fade Haircut Tutorial Step By Step

Okay, let's talk about the low fade. Are you ready? Because I'm about to unleash my (possibly) controversial take.
First. Let's pretend you're not afraid of buzzing your own head. Good. Now, grab your clippers!
Low Fade Haircut: A (Slightly Exaggerated) Tutorial
Here's the deal, a low fade is basically a gradient. It’s like hair color, but with…length? Anyway, let's get to it!
Step 1: The Guard Selection Game
This is where the magic (or potential disaster) happens. Choose your guard. The bigger the number, the longer the hair.
I'm going with a number 3 for the top. You do you.
Just remember, you can always take more off. Putting it back is a different story.
Step 2: Buzzing the Top (and Hoping for the Best)
Alright, buzz the top! Go with the grain. Don't overthink it.
Unless you're going for a specific style, keep it simple. Just try to keep it somewhat even.
Imagine you are mowing a lawn, but the lawn is your head. Sounds relaxing, right?
Step 3: The Fade Zone – Where the Fun Begins (Maybe?)
Now, for the fade! This is where you’ll need a smaller guard, like a number 2.
Start lower than you think. It's easier to blend up than down. Trust me.
Create a line around the head with the number 2 guard, like you are drawing a horizontal line with the clippers. You should be cutting the hair just above the ear.
Step 4: Blending the Lines (The Art of Illusion)
Take an even smaller guard, like a number 1. Go even lower now.
This is where the "fade" starts to appear. Flick the clipper outwards as you reach the line you created before.
You are basically tricking the eye. Congratulations, you are now a hair magician.
Step 5: The Detail Work (Mirror, Mirror on the Wall...)
Grab your smallest guard (or no guard at all!). Carefully trim around the edges.
This is where a steady hand comes in handy. Or a very forgiving friend with a good eye.
Do not go too high! Otherwise you will need to start again from step 1.
Step 6: The Mirror Test (And the Inevitable Second Guessing)
Okay, look in the mirror. What do you see? Hopefully, a low fade that's at least passable.
Don't be surprised if you find imperfections. We all do.
Unless you are a professional barber, it’s part of the charm. Or so I tell myself.
Step 7: The Clean Up (Because Hair Everywhere)
Vacuum. Shower. Question all your life choices. Repeat. You'll find hair clippings in weird places for weeks.
You may start questioning if you are turning bald, because of the amount of hair in the drain.
Embrace it. You are a DIY haircut champion now!
My Unpopular Opinion?
Here's the thing: the perfect low fade is a myth. Seriously. Embrace the asymmetry!
Who wants to look like everyone else anyway?
A slightly uneven low fade is way more interesting than a perfectly cookie-cutter one.
Plus, if you mess up, who cares? It's just hair! It'll grow back.
So, go forth and fade! Be brave! Be bold! Be prepared to wear a hat for a few days if needed.
And remember, the best haircut is the one you did yourself. (Even if it’s a little wonky.)


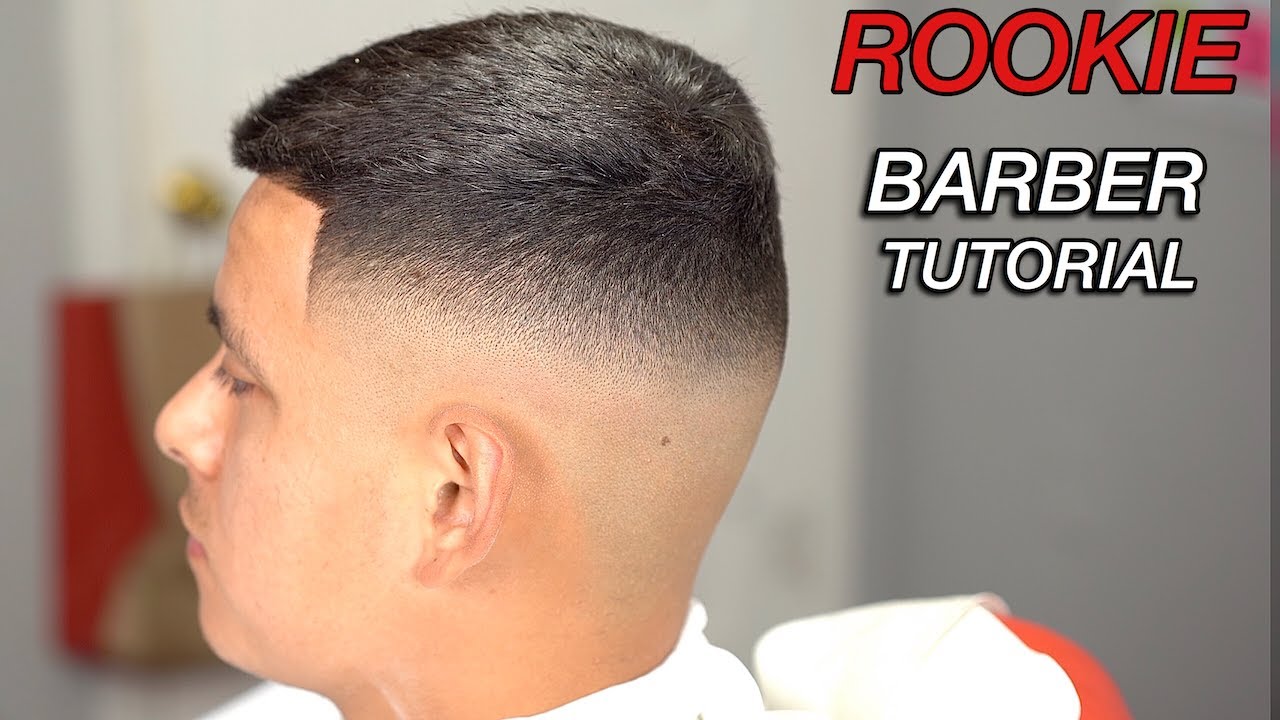
![Low Fade Haircut Tutorial Step By Step How to cut a LOW Fade Hairstyle | step by step [ TUTORIAL ] - YouTube](https://i.ytimg.com/vi/q2zqWJ50Olw/maxresdefault.jpg)