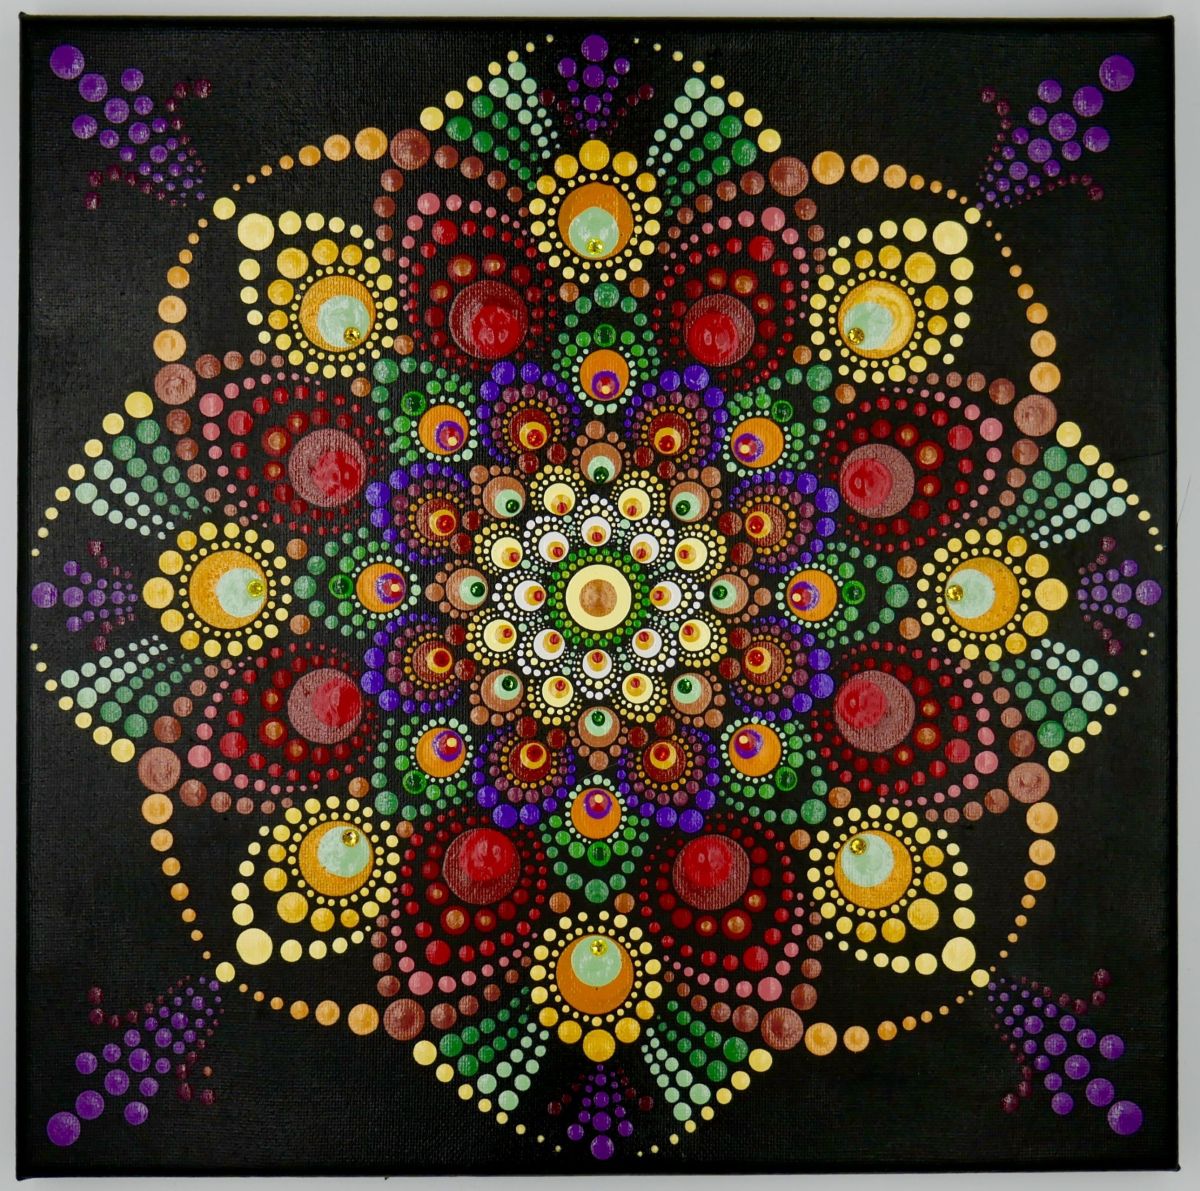
Step By Step Beginner Mandala Dot Painting

Okay, let's talk dot painting. Specifically, mandala dot painting. Don't let the fancy name intimidate you. It's basically just making dots...on purpose.
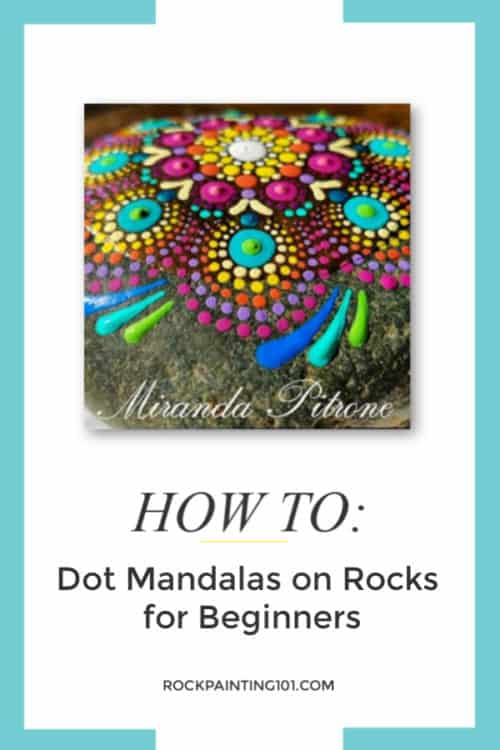
First, you'll need a surface. Rocks are trendy. So are canvases. I’ve even seen people use old records. My unpopular opinion? Use whatever you have lying around. A piece of cardboard? Excellent. A dusty tile? Even better.
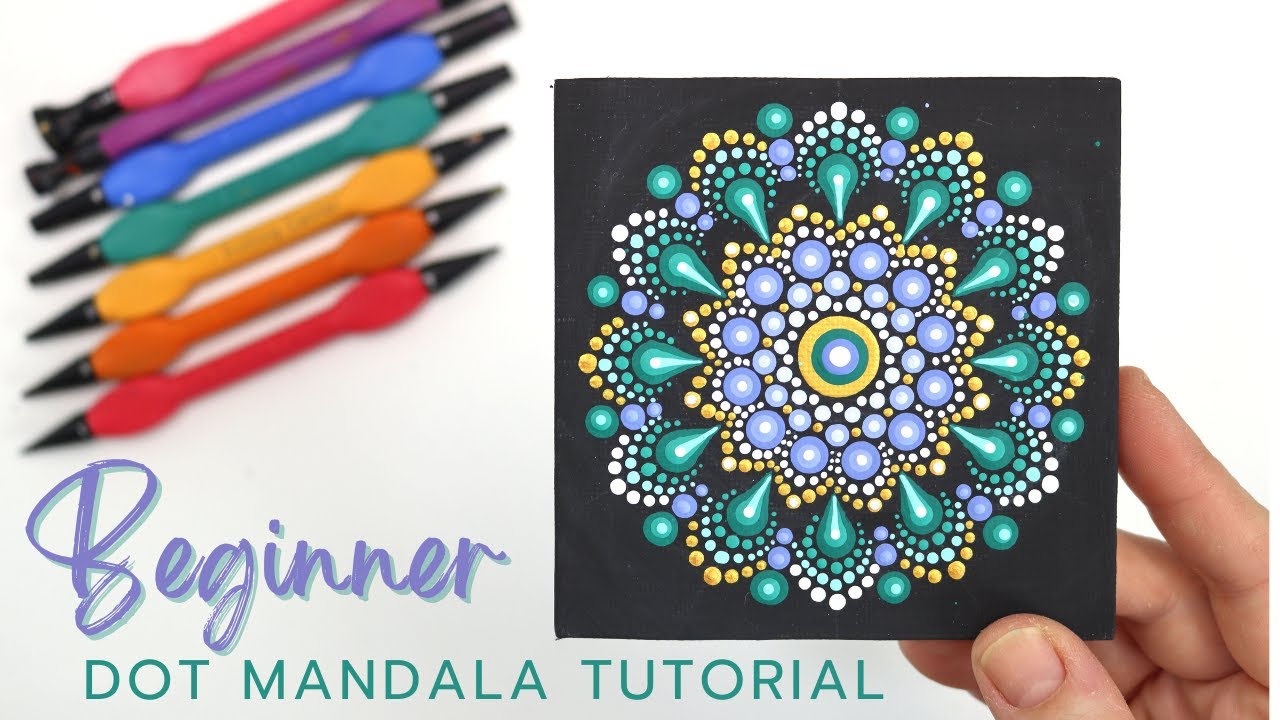
Gather Your Dotting Arsenal
Now for the tools. You'll need something to make dots. Professional dotting tools exist. They look like metal sticks with little balls on the end. But who needs those? Not you.
Cotton swabs are your friend. So are the ends of paintbrushes. Even pencils work in a pinch. My unpopular opinion? Toothpicks are the unsung heroes of the dotting world.
And paint, of course. Acrylic is your best bet. It's cheap, cheerful, and doesn’t require a kiln. Unless you really want to fire your dot art.
Step 1: The Base Coat
Paint your chosen surface a solid color. Dark colors make the dots pop. Light colors give a softer look. Honestly, just pick your favorite. Don't overthink it.
Let it dry completely. I repeat: completely. Nobody likes smudged dots. Trust me on this one.
Step 2: Finding Your Center
This is crucial. Find the middle of your surface. This is where your mandala journey begins. If you want to be super precise, measure it. I usually just eyeball it. My unpopular opinion? Imperfection is beauty.
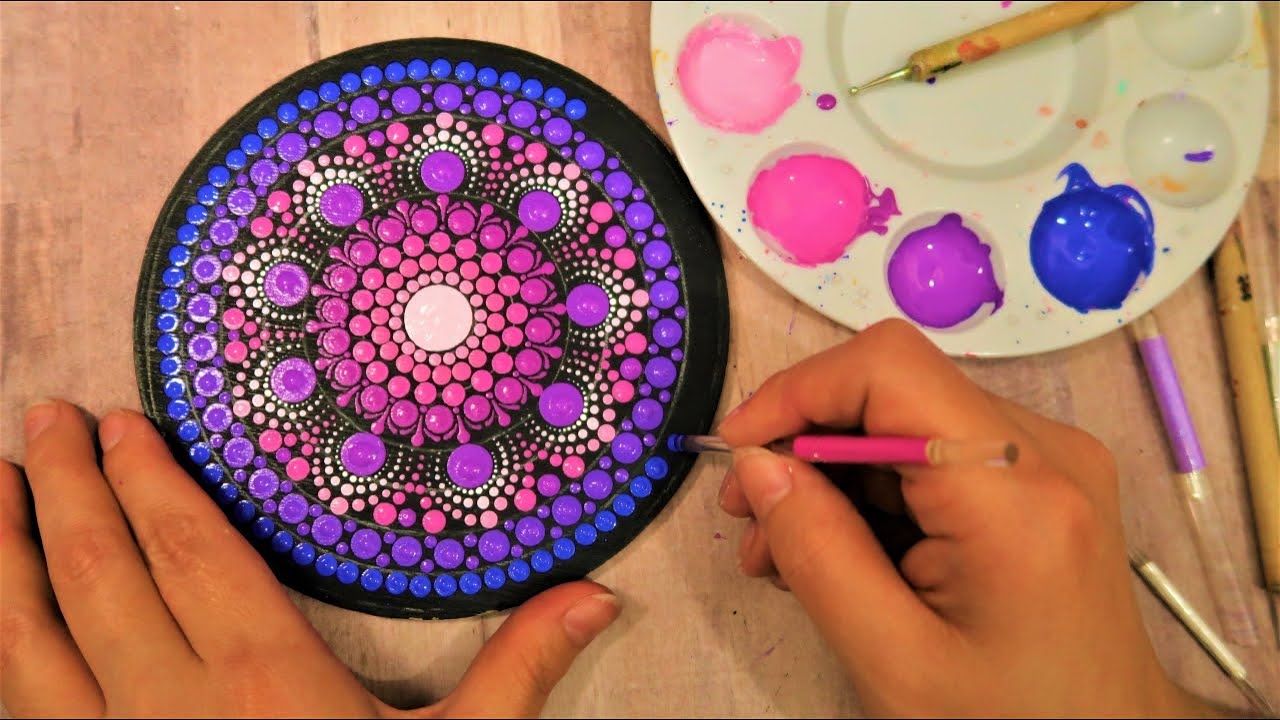
Step 3: Dotting Time!
Dip your dotting tool (aka toothpick) into your chosen paint color. Not too much! Less is more, people.
Place the dot right in the center. Congratulations! You've made your first dot. Wasn't that thrilling?
Now, make a ring of dots around the center dot. Keep them evenly spaced. Or don't. It's your mandala. There are no rules. Except maybe gravity.
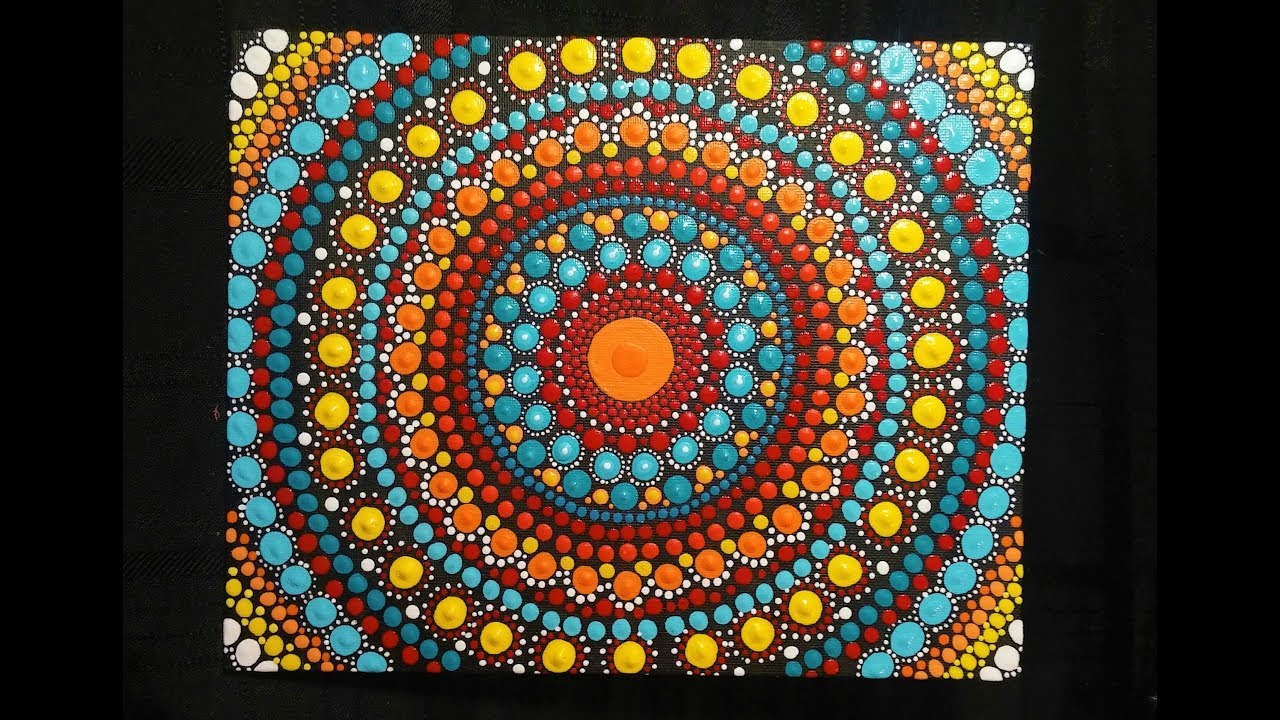
Step 4: Layers, Layers, Layers
This is where the fun begins. Change colors. Change dot sizes. Create patterns. The possibilities are endless.
Work your way outwards from the center. Each layer of dots builds on the last. It's like building a tiny dot-filled empire.
Don't be afraid to experiment. Try different techniques. Layer dots on top of each other. Create dot gradients. Embrace the chaos. My unpopular opinion? Symmetry is overrated.
Step 5: The Finishing Touches
Once you're happy with your creation, let it dry. Again, completely. Patience is a virtue, even in dot painting.
If you want, you can seal it with a clear coat. This will protect your masterpiece from dust and scratches. And curious pets.
Admire Your Dotty Creation
Step back and admire your work. You created something beautiful. Even if it's a little wonky.
Mandala dot painting is all about the process. It's relaxing, meditative, and surprisingly addictive. My unpopular opinion? It's cheaper than therapy.
Now go forth and dot! And remember, there are no mistakes, only opportunities for more dots. Happy dotting!
Go share your dot art! We want to see it! Find dot art inspiration from Master Dotters, or just dot-away! Either way it's all about expressing yourself!
"Dotting is a journey, not a destination. Embrace the dots!" - Some Random Internet Person