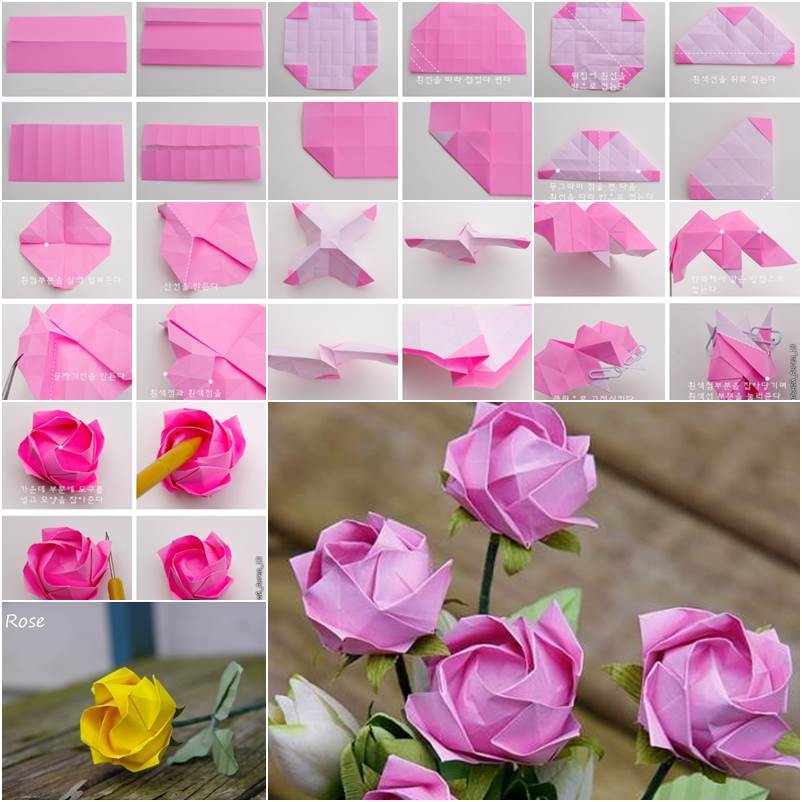
Step By Step Sticky Note Origami Flower

Ever feel like your desk is a bit...blah? Like it's missing that certain je ne sais quoi? Fear not, friend! Because I'm about to introduce you to a ridiculously easy way to brighten your day (and impress your colleagues) using the humble, yet mighty, sticky note.
We're diving headfirst into the wonderful world of sticky note origami flowers! Yes, you read that right. Flowers. Made of sticky notes. It's like a desk garden exploded in the best possible way.
Gather Your Supplies (aka Raid Your Desk)
Seriously, the supply list is shorter than my attention span on a Monday morning. All you need are sticky notes! Any color, any size – go wild! I'm partial to the neon pink because, well, why not?
Optional: A pen or pencil to make things extra precise (but honestly, who has time for that?). And maybe a paperclip or stapler if you're feeling particularly ambitious and want to bind your flower together.
Let's Get Folding!
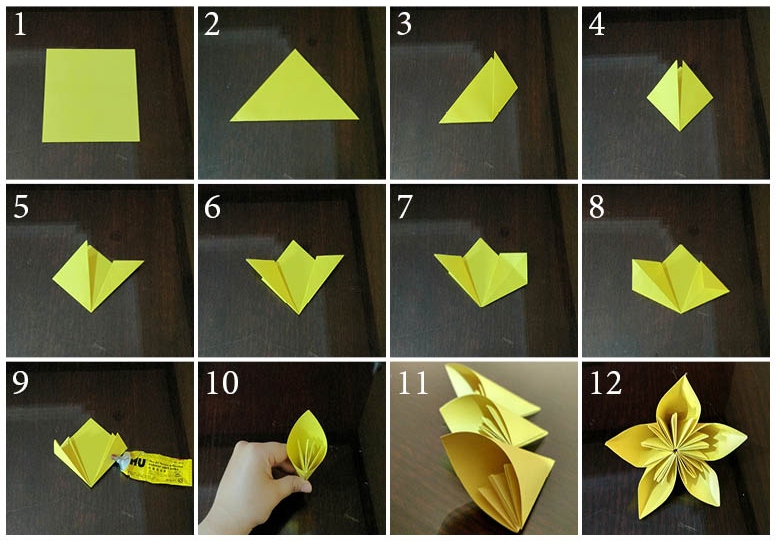
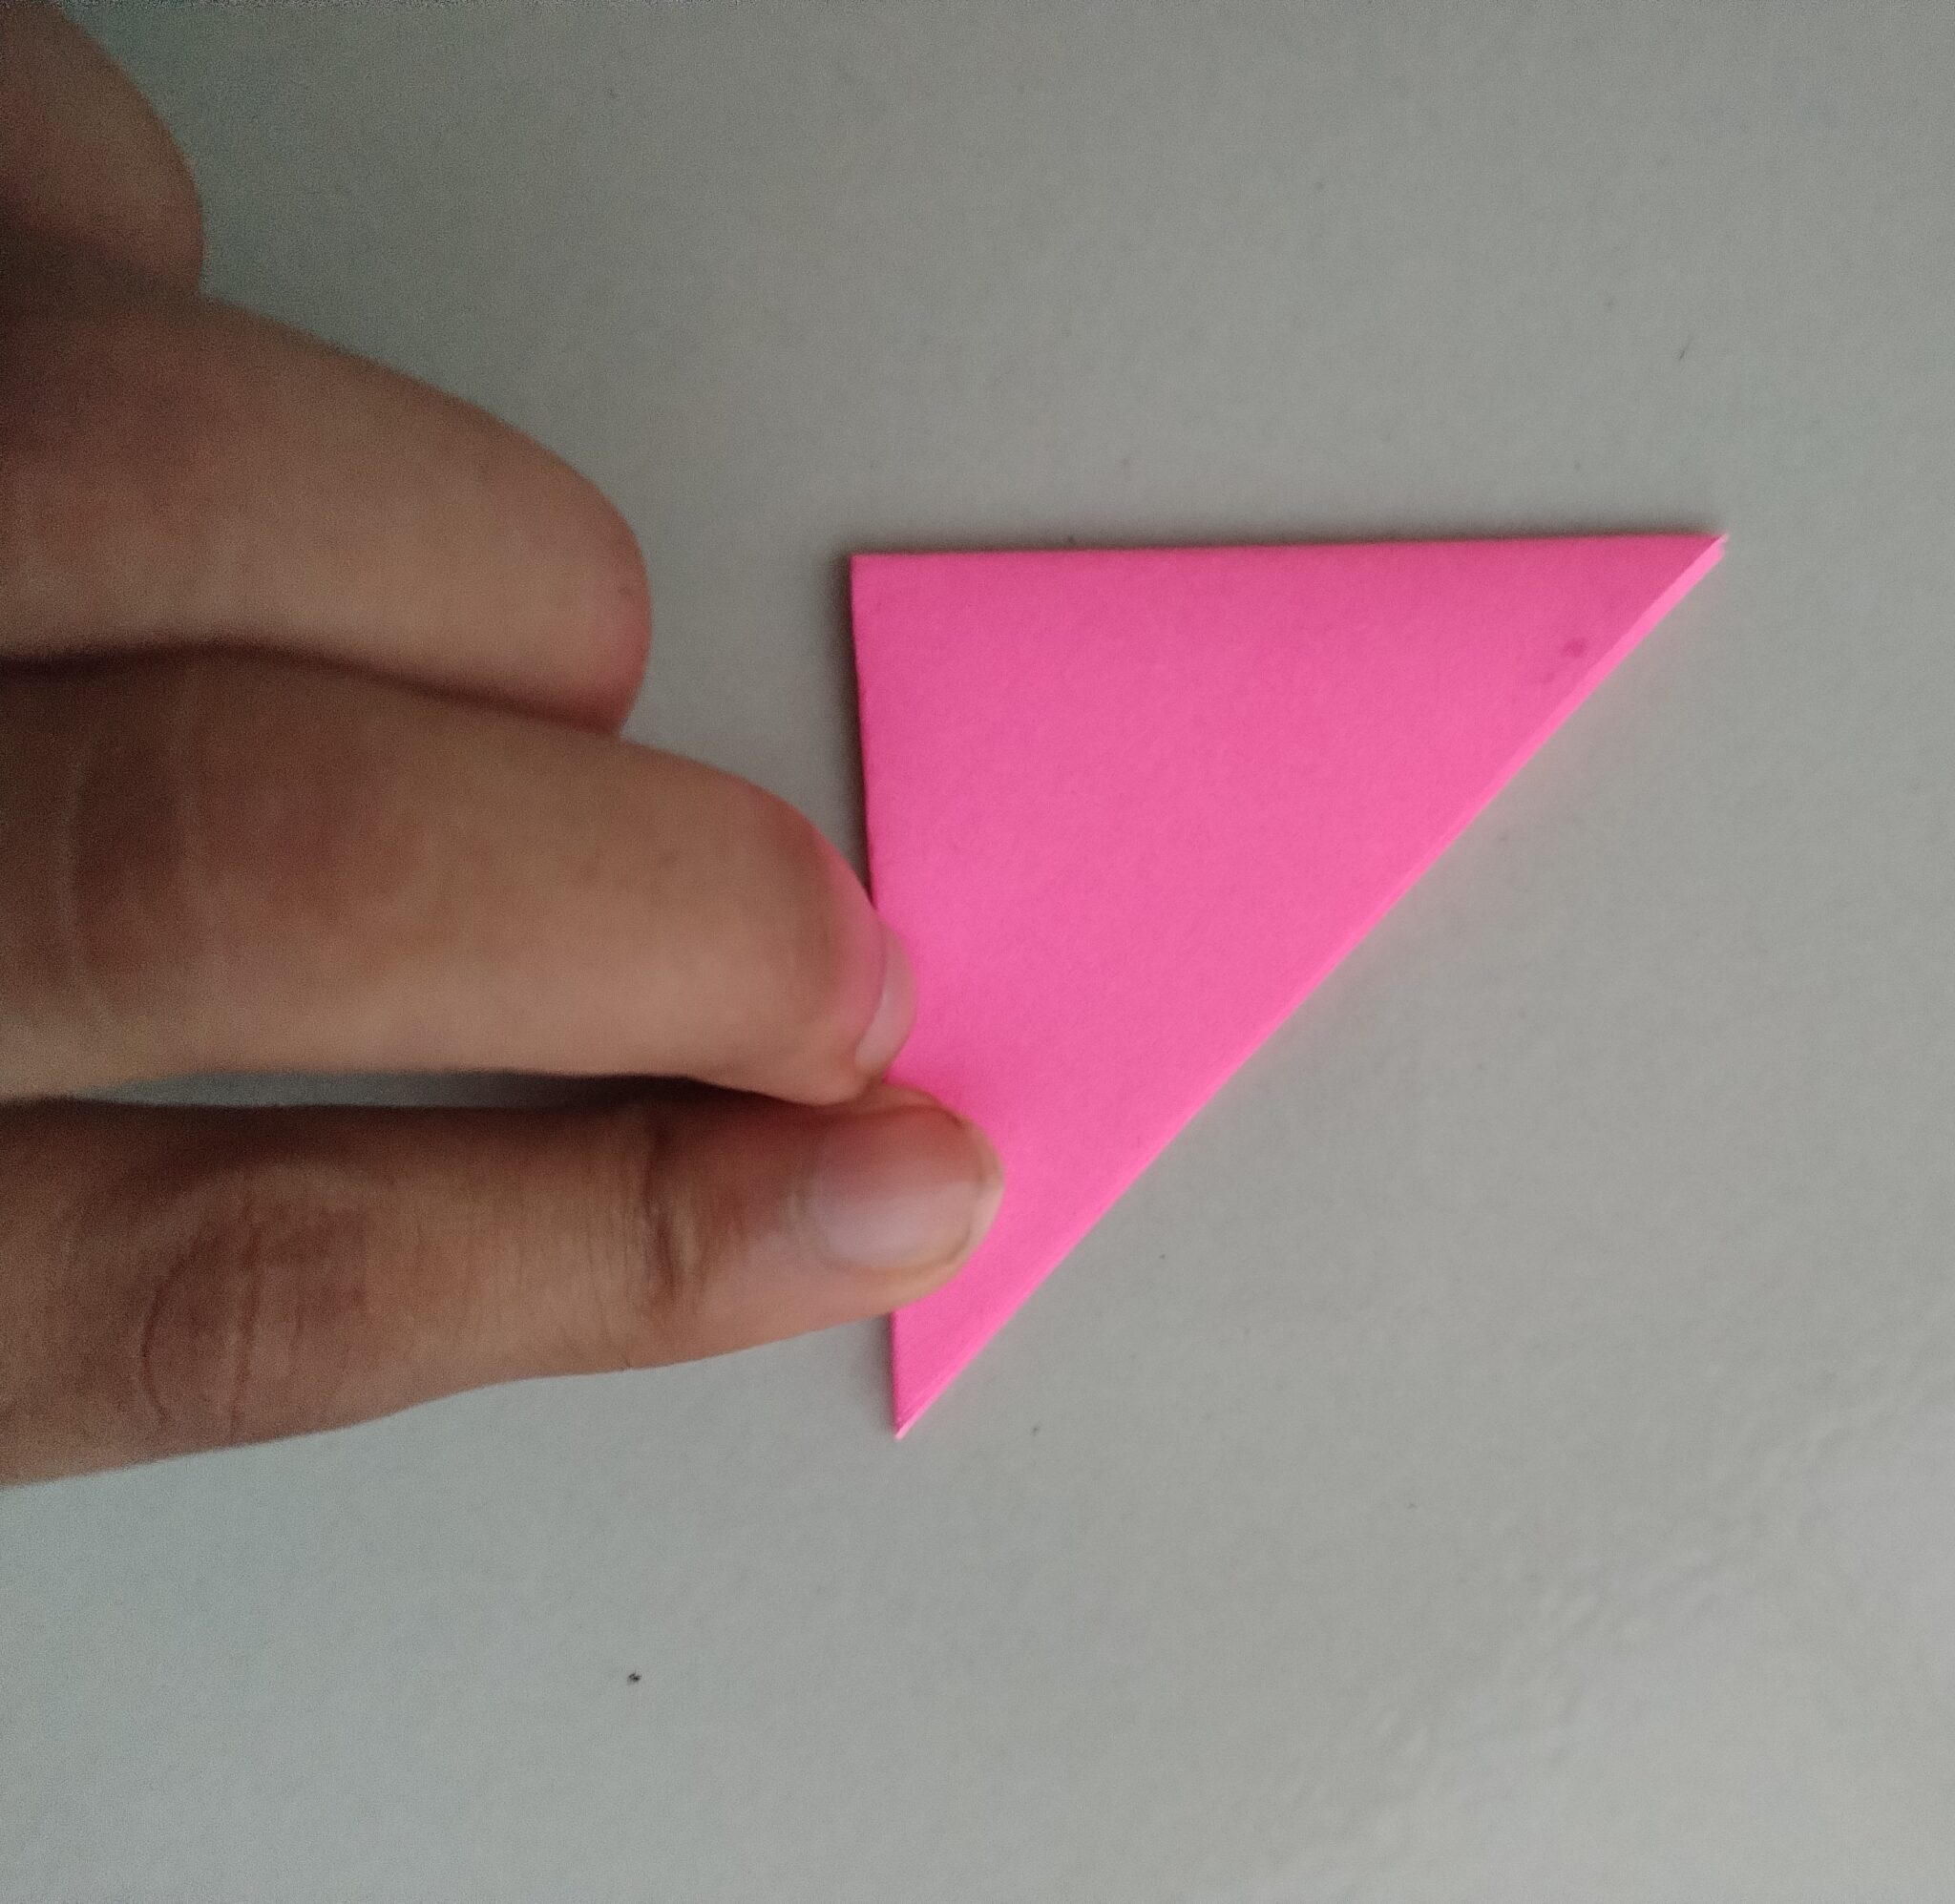
Step 1: The Triangle Tango
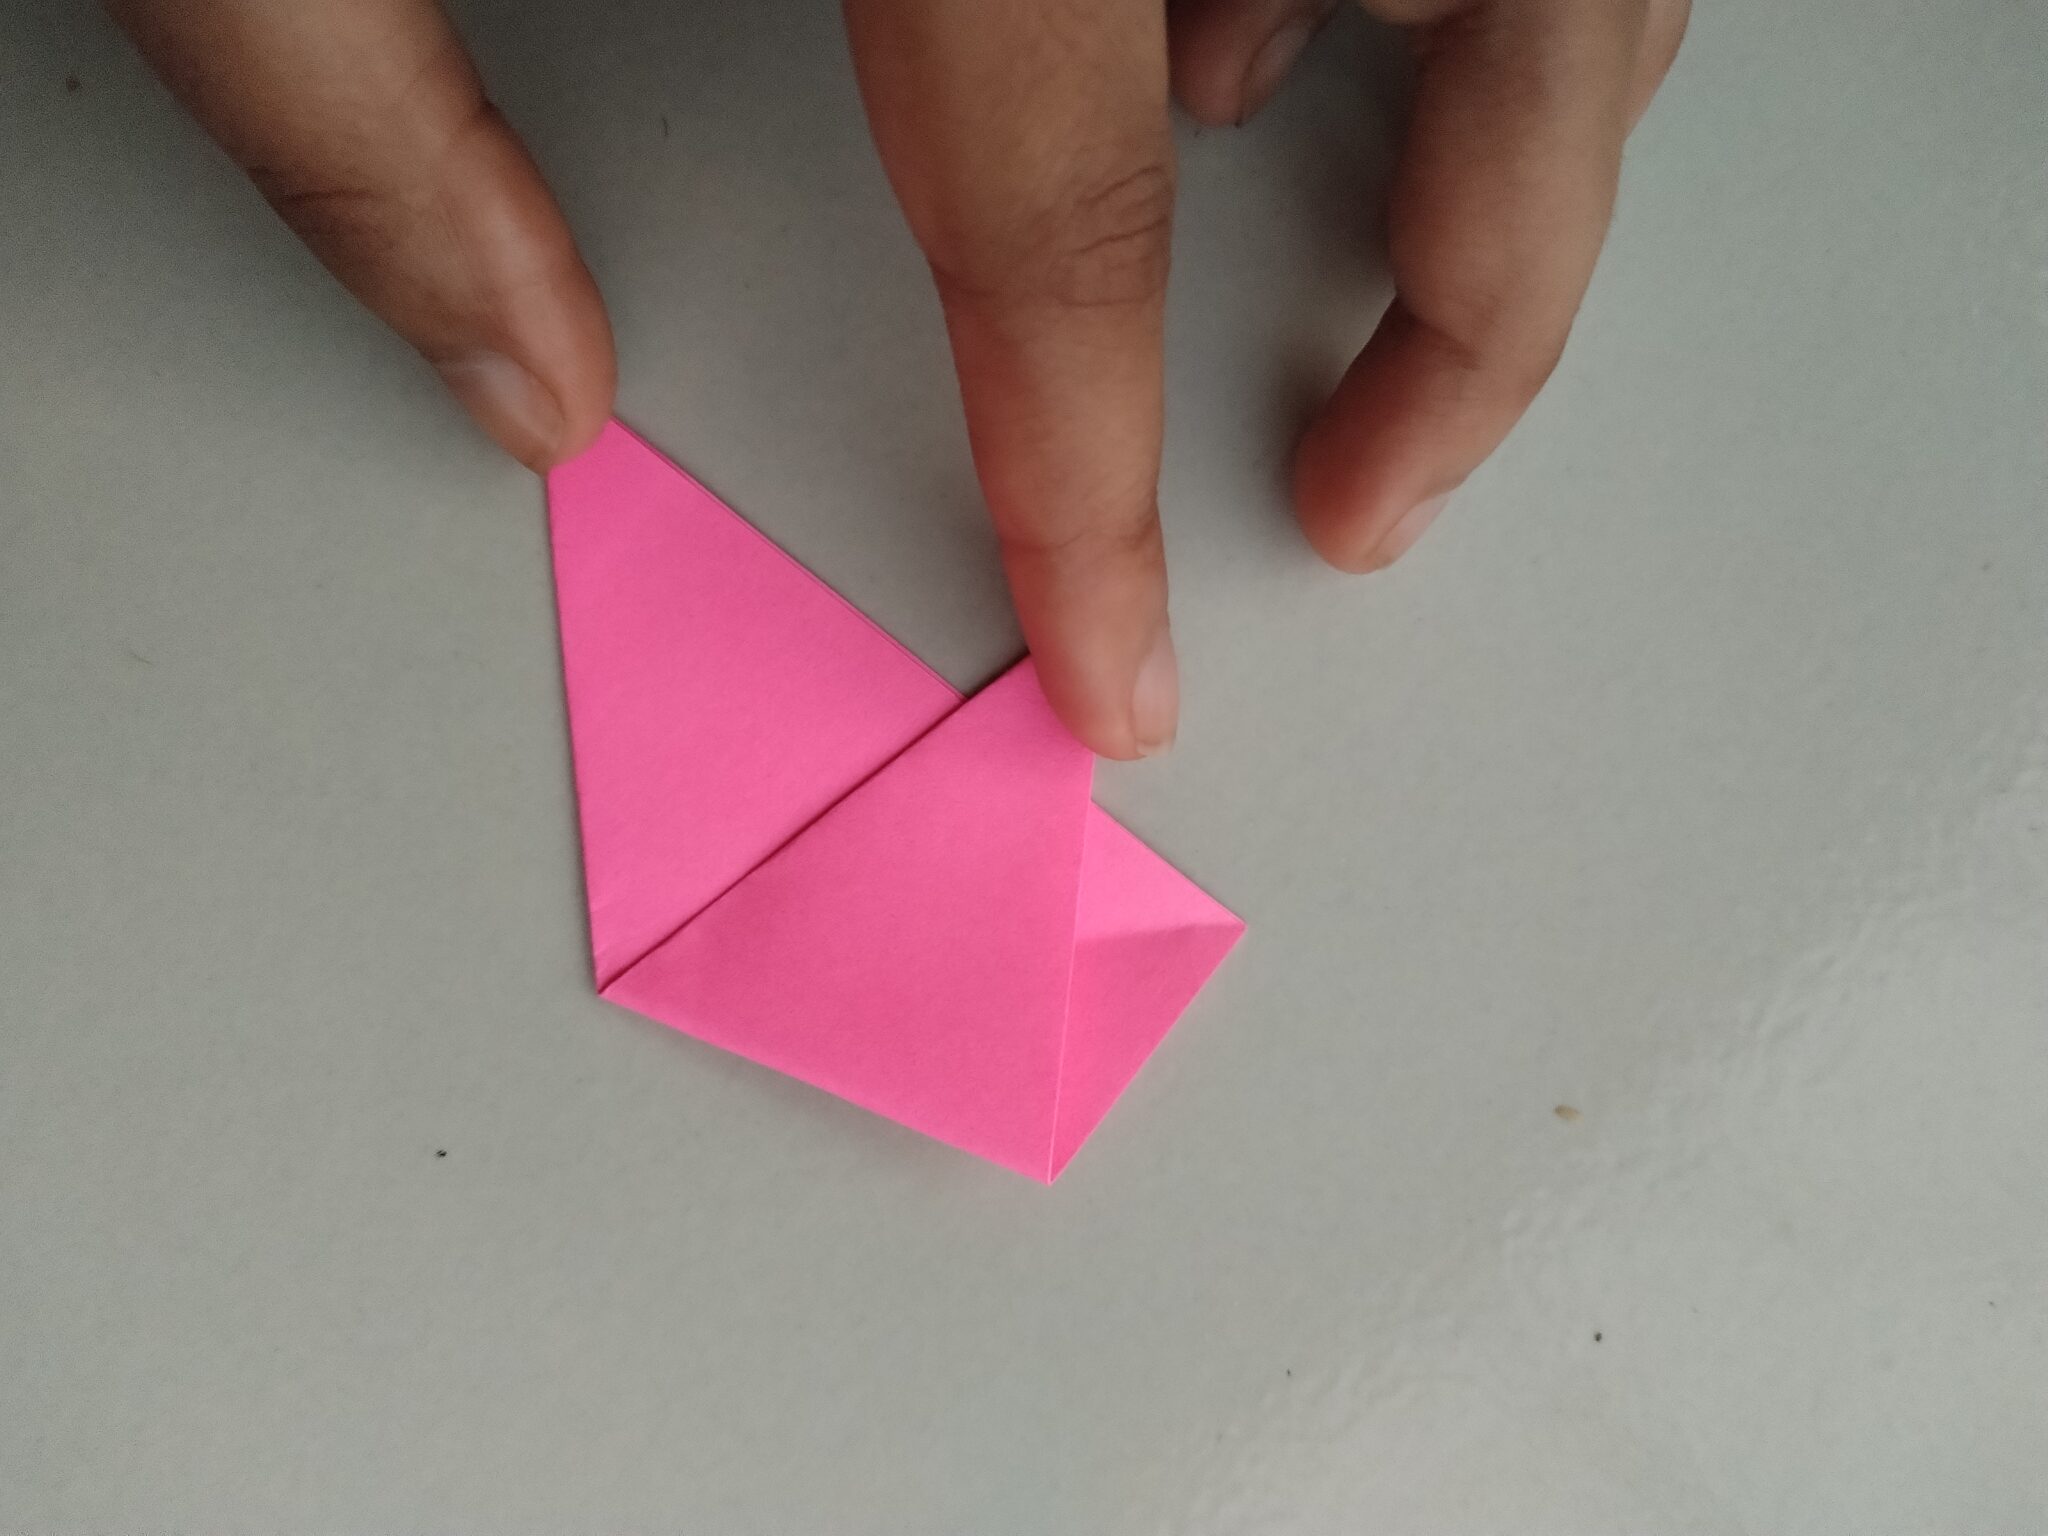
Grab a sticky note. Now, fold it diagonally in half to create a triangle. Make sure the sticky part is on the outside. It's like you're making a tiny sticky note tent for an ant that needs a serious pep talk.
Repeat this! You'll need at least five of these little triangles to make one flower. The more triangles, the fuller your flower will be. Think of it like adding petals to a real flower… but with way less pollen.
Step 2: Tucking and Rolling (Not the Food Kind)
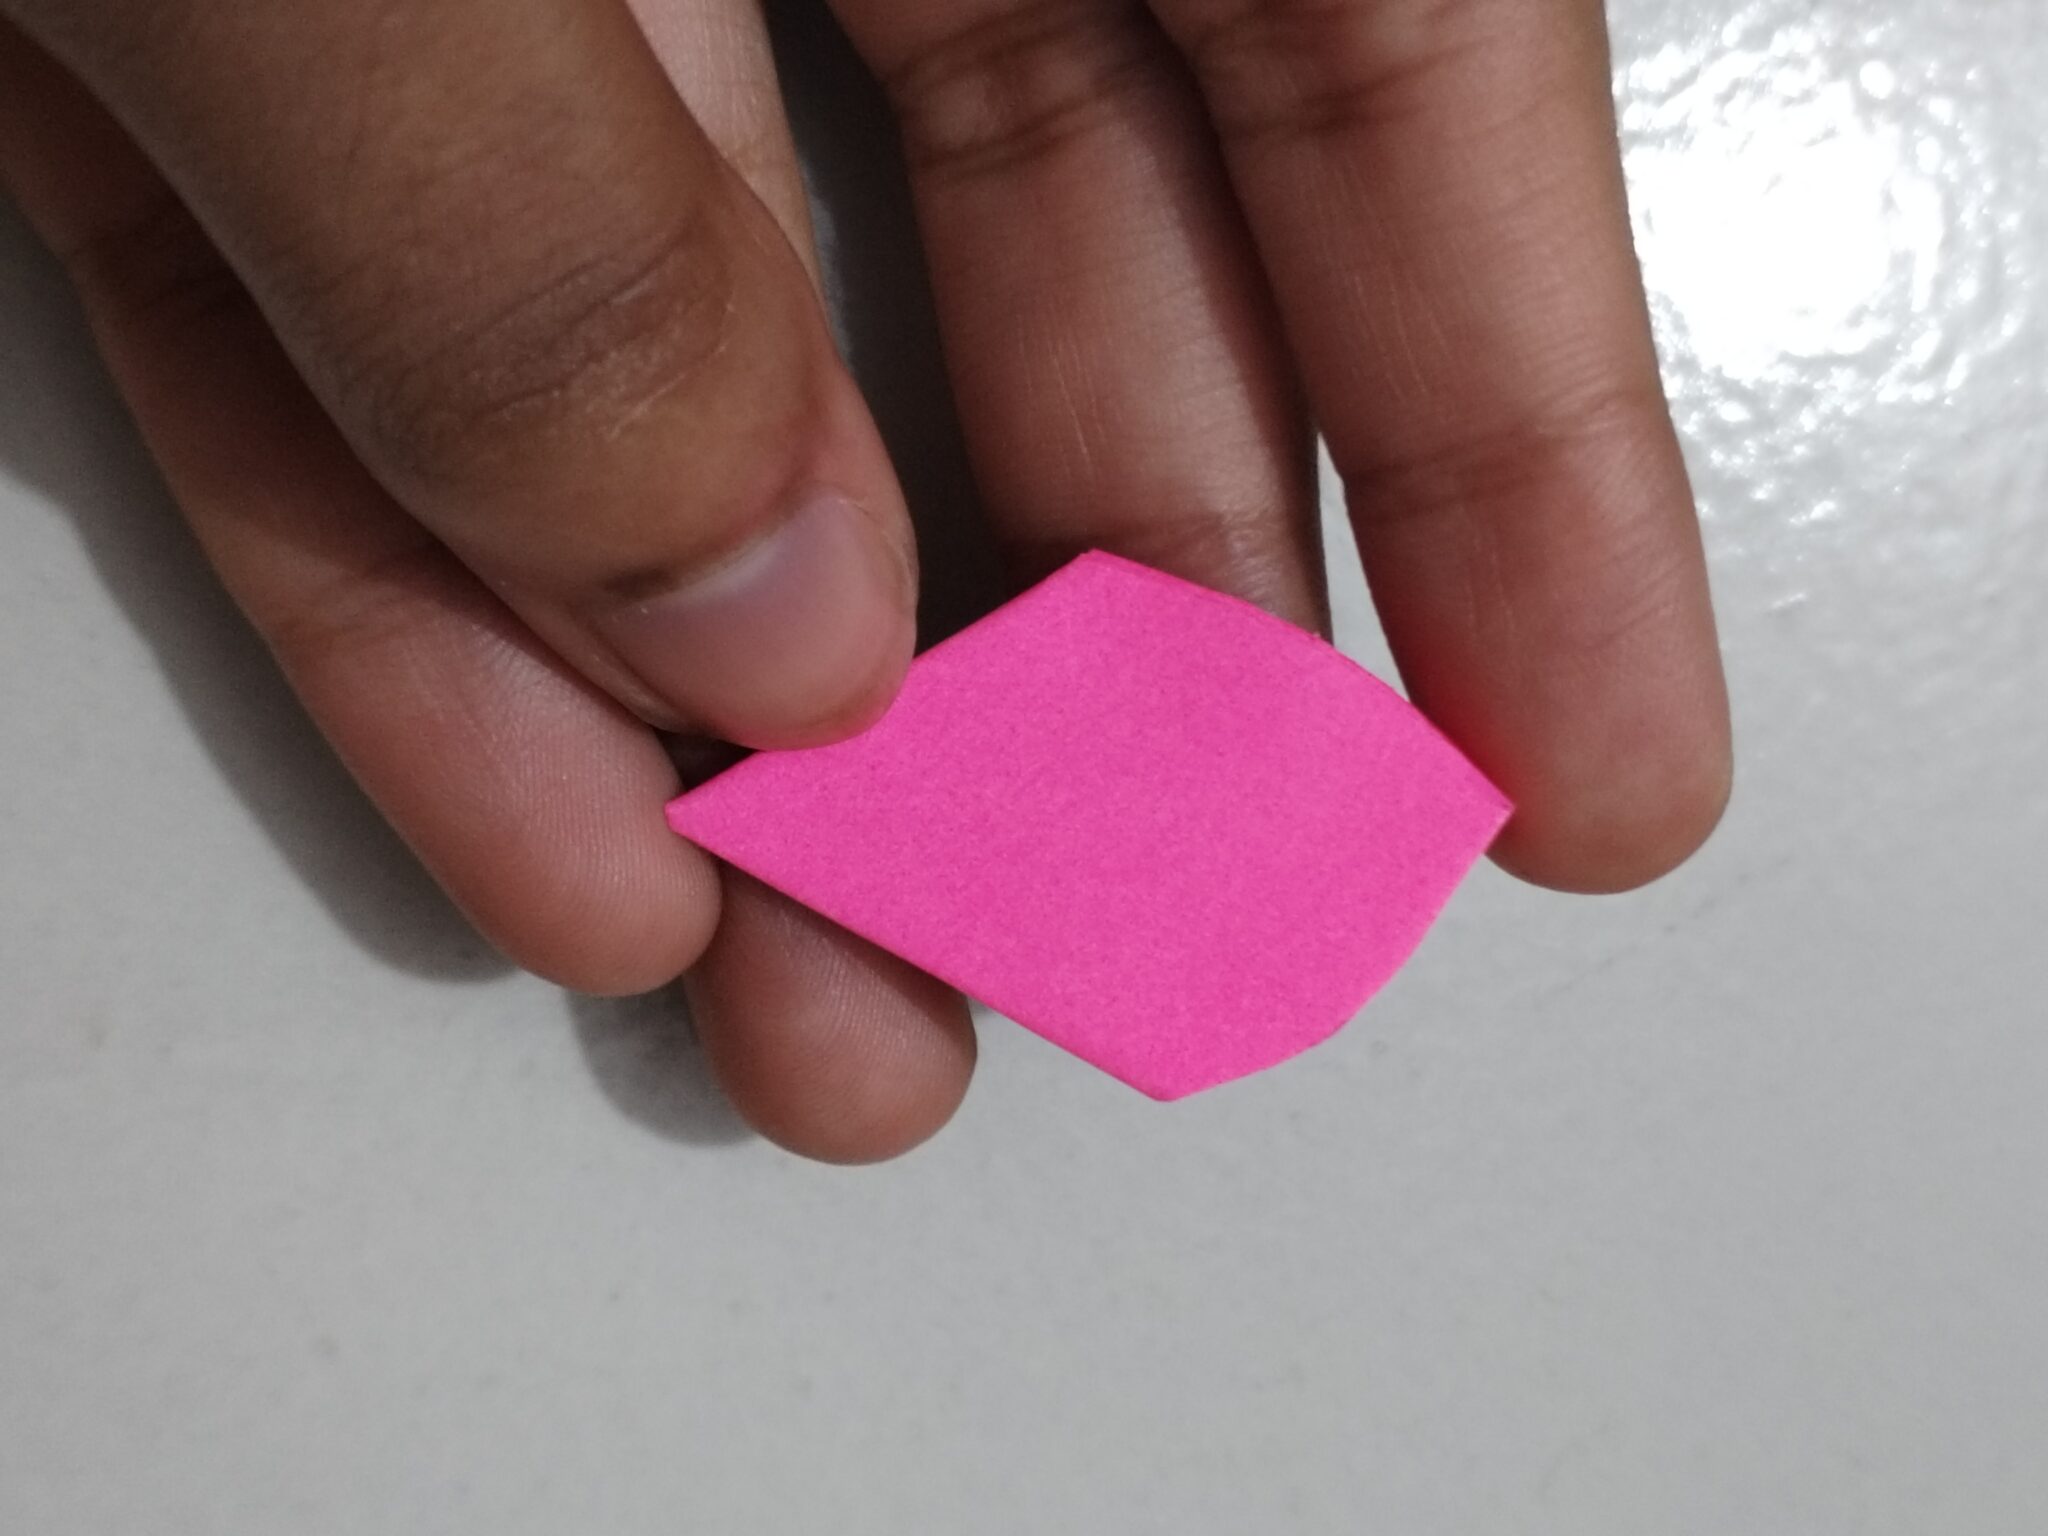
Take one of your sticky note triangles. Now, fold the top corner down to meet the bottom point. Do this on both sides.
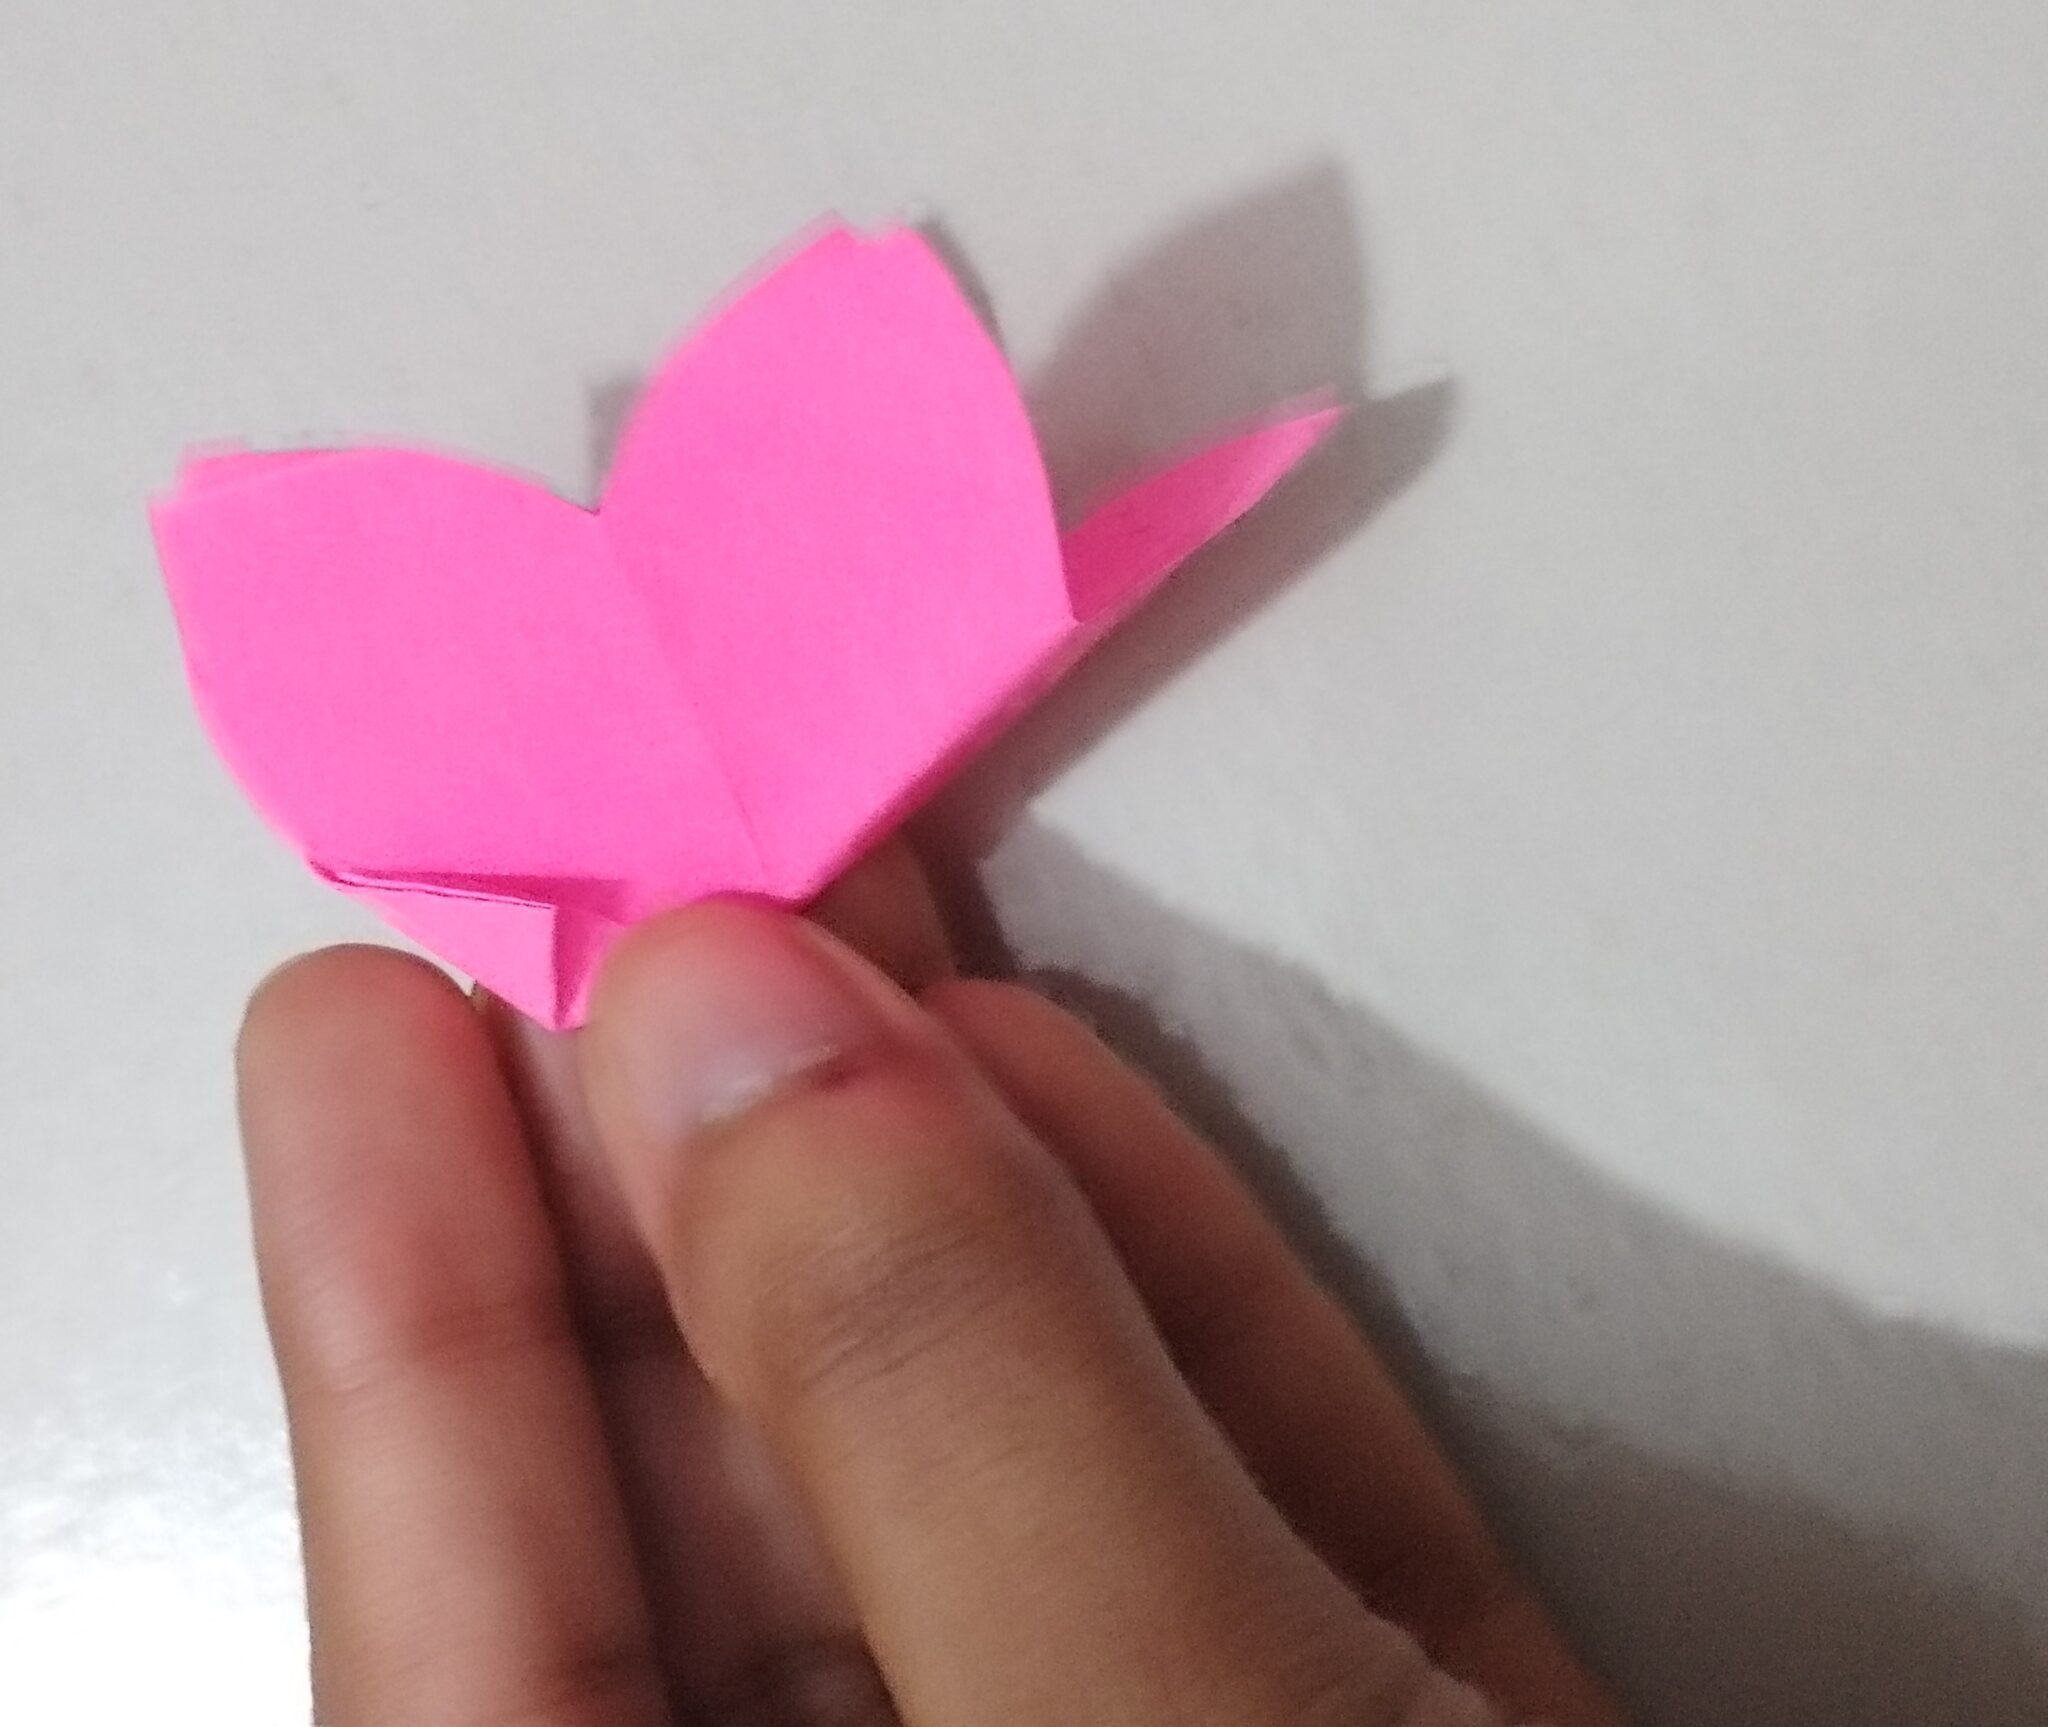
You now have what looks like a tiny diamond or a kite. If you accidentally made a paper airplane, don't worry, just refold! This step makes the "petals" of your flower.
Step 3: The Grand Assembly
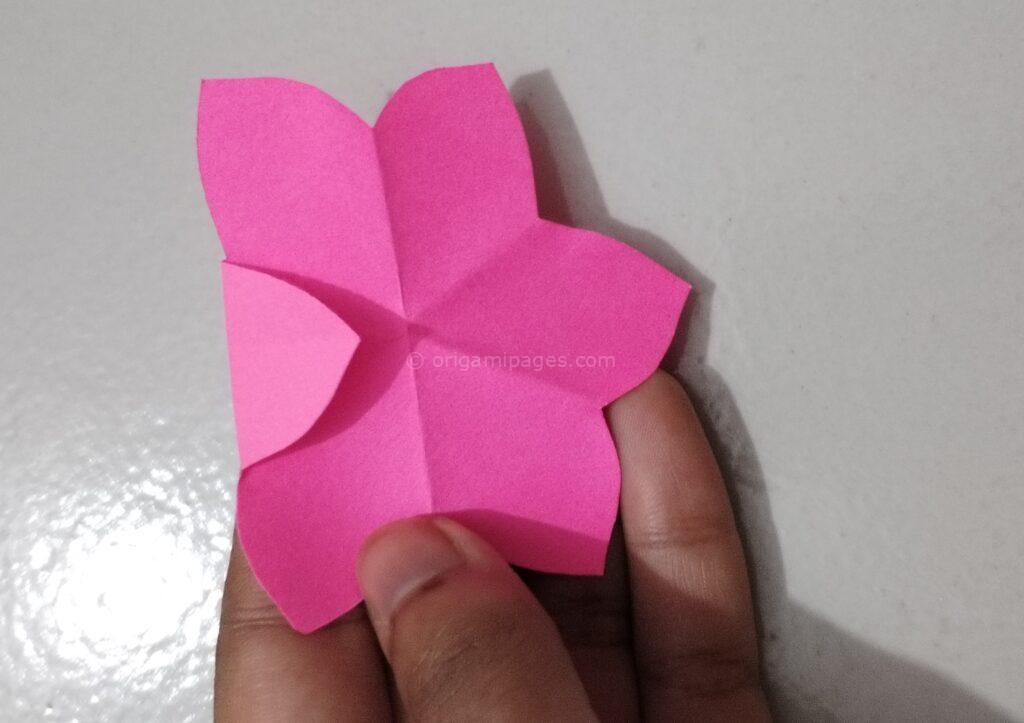
This is where the magic happens! Take two of your newly formed petal shapes. Now, slip one petal inside the other. So, it is like the two petals is giving each other a big hug.
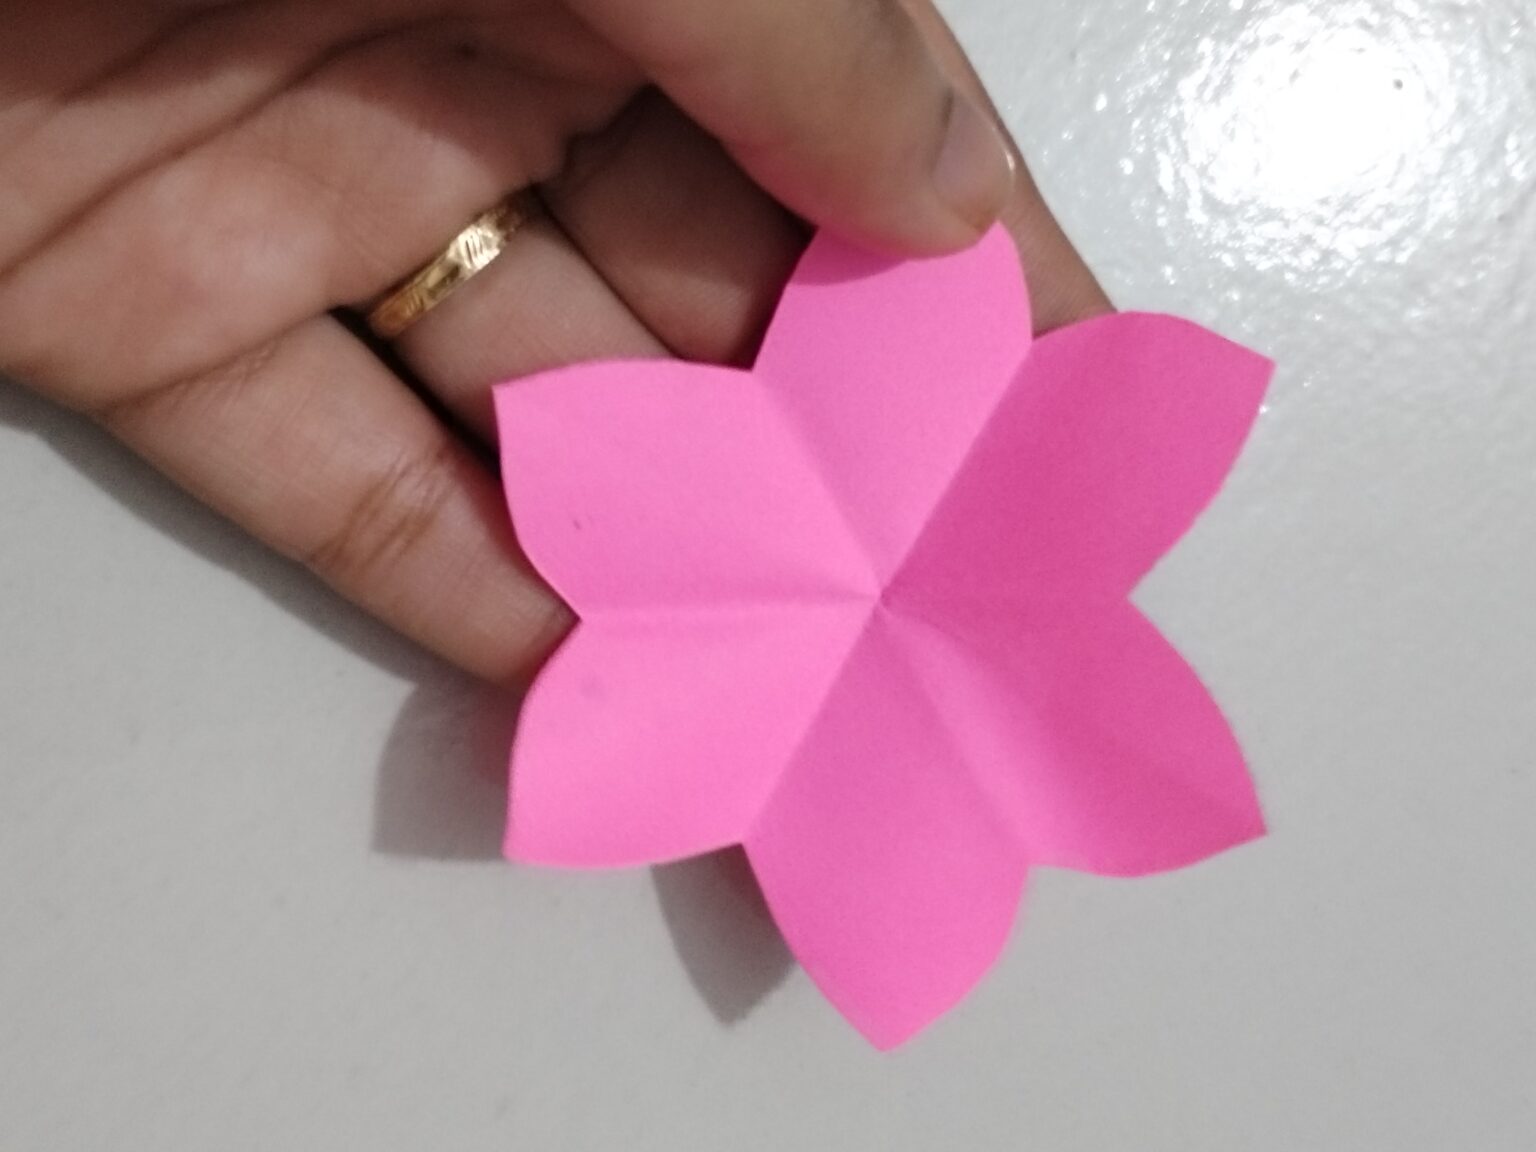
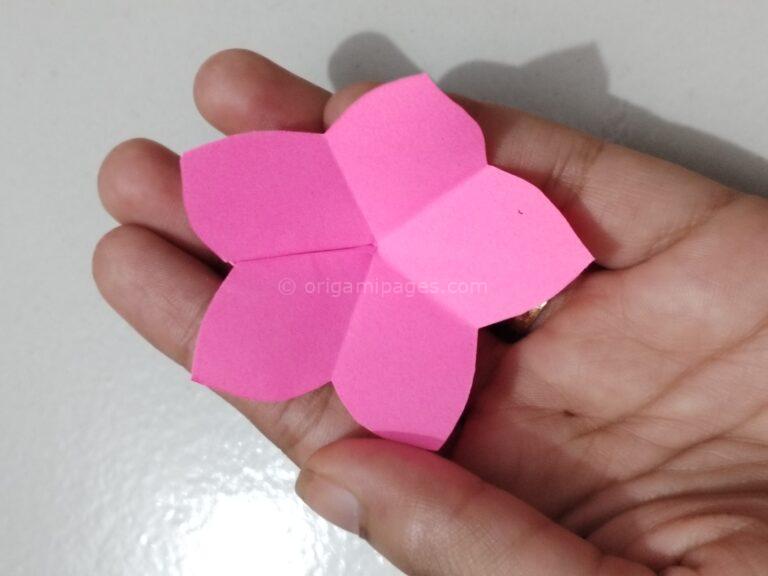
Repeat this process, adding more and more petals, until you've used all your triangles. Keep connecting them to create a circle. Now, it's starting to look like flower! Remember, you can always add more triangles to make it look fuller!
Step 4: Securing the Bloom (Optional, But Recommended)
Your flower petals may want to stage a dramatic escape. This is where your paperclip or stapler comes in handy. You can secure the last petal to the first one. Or don't! Embrace the chaos of a slightly unruly flower.
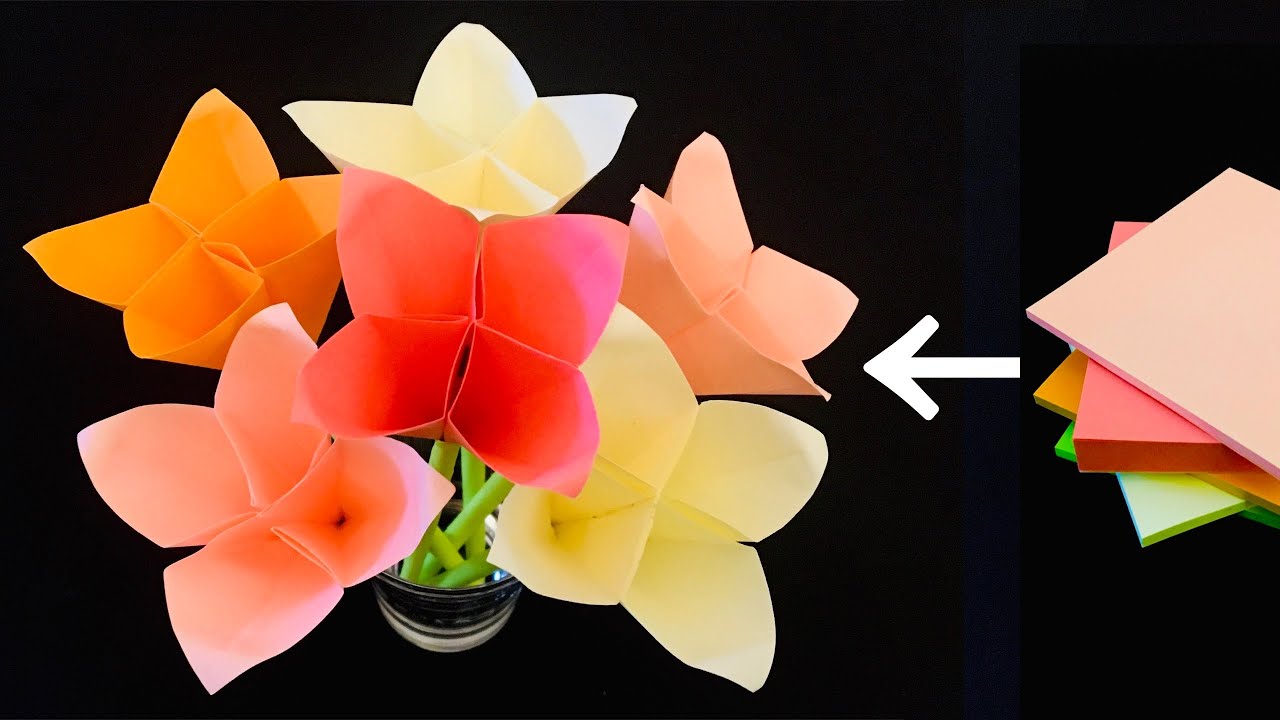
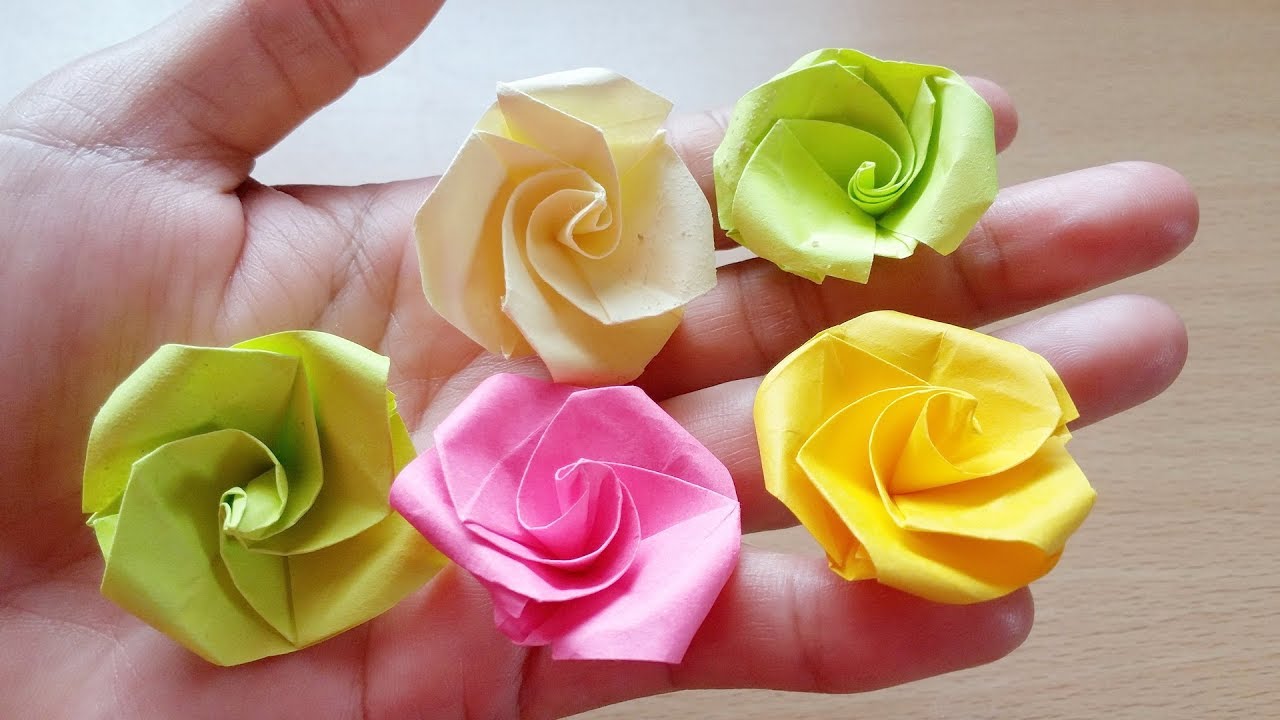
Behold! Your Sticky Note Masterpiece!
You did it! You've transformed ordinary sticky notes into a stunning origami flower. Or, at the very least, something vaguely flower-shaped that you can proudly display on your desk.
Now, go forth and create a whole bouquet! Decorate your workspace! Give them as gifts to your coworkers (they'll think you're incredibly thoughtful, or maybe just slightly eccentric). The possibilities are endless!
If your first attempt looks a bit… wonky, don't despair! Origami takes practice, even the sticky note kind. Plus, even a slightly lopsided sticky note flower is infinitely more interesting than a plain old desk.
And hey, if all else fails, you can always just stick them back on your desk and pretend it never happened. But I have a feeling you'll be too busy making more!
So, there you have it! A simple, fun, and surprisingly satisfying way to add a little bit of joy to your day. Happy folding!