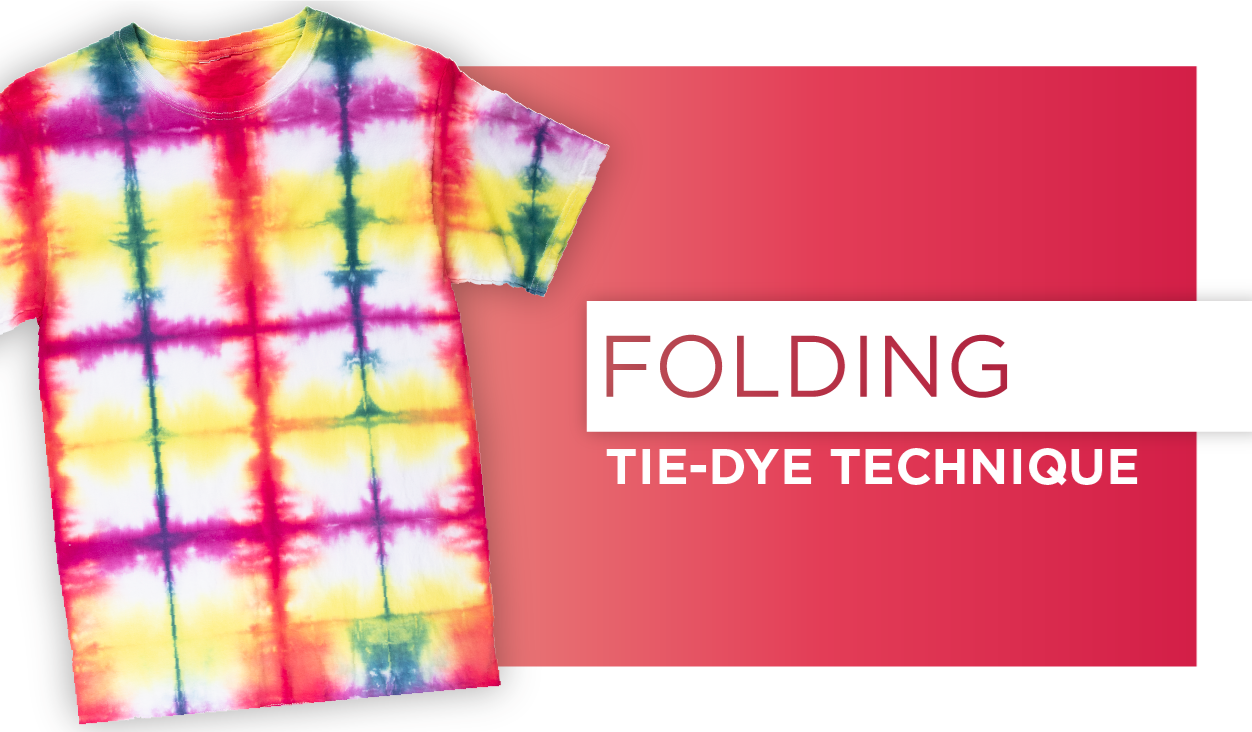
Wig Wag Tie Dye Folding Techniques With Pictures
Okay, buckle up buttercups! We're diving headfirst into the fantastically fun world of wig wag tie dye. I'm talking swirling colors, mesmerizing patterns, and enough DIY joy to make a unicorn spontaneously combust rainbows (in a good way, of course!).
Forget complicated origami folds, we're keeping it simple. Think 'yoga pretzel' easy, not 'advanced calculus equation' hard. Ready to unleash your inner tie dye artist?
Gather Your Gear
First things first, let’s raid your craft stash. You'll need your trusty tie dye kit, a plain t-shirt (or anything cotton-y you want to jazz up!), rubber bands tougher than a honey badger, and a smooth, flat surface to work on. Cover that surface too, unless you're aiming for a Jackson Pollock effect on your table.
And pro-tip: wear gloves! Unless you're going for the "I wrestled a Smurf" look.
The Basic Wig Wag: A Super Simple Swirl
Lay your damp (but not dripping!) fabric flat. Pinch a small section of fabric in the center where you want your design to start. This is ground zero for our explosion of color!
Now, slowly pleat the fabric back and forth, like you're making a tiny paper fan. Keep the pleats nice and even. Think accordion, not a crumpled wad of paper destined for the bin.
Continue until you've pleated the entire shirt into one long, glorious fabric sausage. Seriously, it should look a little ridiculous. But trust the process!
Next, gently fold your pleated fabric in half. Then in half again. You're essentially making a smaller, more manageable bundle of tie dye dreams.
Time for rubber bands! Wrap them tightly around your bundle, spacing them a couple of inches apart. The tighter the bands, the more white space you'll have in your final design.
Now, unleash the dyes! Pick your favorite colors (or all of them – I’m not judging!). Squirt the dye onto different sections of the bundle. Don't be shy, really saturate those folds. For a more dramatic effect, use contrasting colors next to each other. For a calmer look, use similar colors near one another.
Flip it over and repeat on the other side. Make sure everything is thoroughly covered in vibrant, glorious dye.
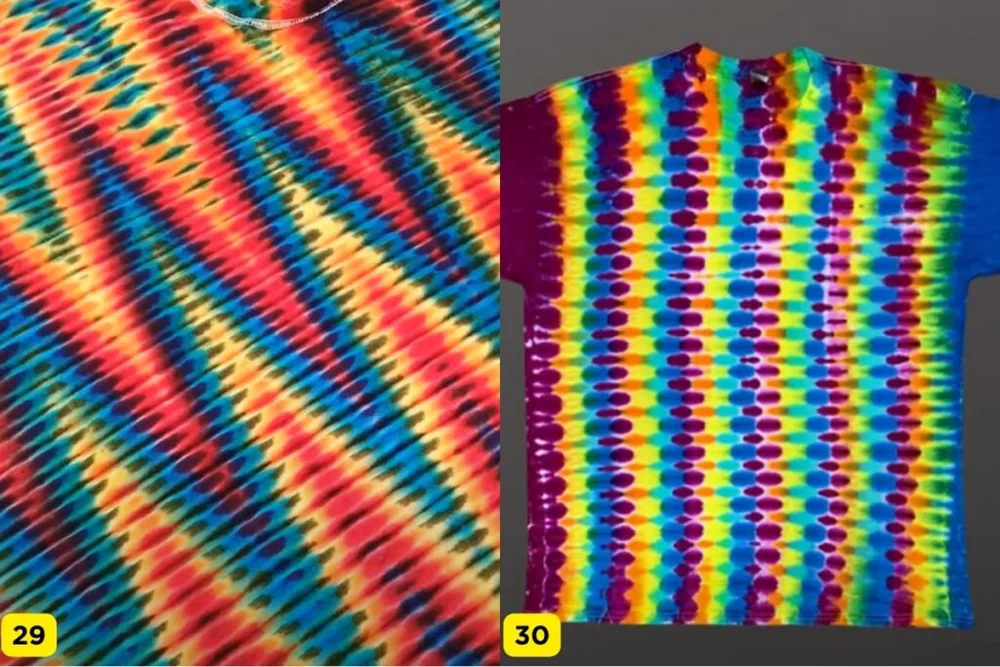
The Accordion Fold: A Slightly More Structured Swirl
This is a close cousin to the basic wig wag, just a tad more organized. Think of it as the wig wag's more sophisticated older sister.
Again, start with damp fabric. Instead of pinching, start at one edge and fold a small strip over. Then fold another strip, the same size, in the opposite direction. It’s like making a paper fan, but on a much grander scale!
Continue folding until you've pleated the entire shirt. This time, you want to keep the pleats as even and precise as possible. Channel your inner origami master.
Now, fold your pleated fabric like you are making an accordion. Fold in half, then fold in half again, and maybe even one more time depending on the shirt size.
Wrap tightly with rubber bands. Then add dye.
Wig Wag Variations: Get Creative!
Feeling adventurous? Try pleating diagonally across the shirt for a totally different effect! Or use multiple starting points to create a kaleidoscopic explosion of color.
Experiment with different color combinations. Neon and black? Pastel dreams? Go wild!
Remember, there are no mistakes in tie dye, only happy accidents. So embrace the chaos, get messy, and have fun! Tie dye is all about self-expression and individuality, so don't be afraid to experiment and create something truly unique.
Rinse and Reveal: The Big Moment
Follow the instructions in your tie dye kit for rinsing. This usually involves rinsing in cold water until the water runs clear, then washing in warm water with a mild detergent. Prepare for a burst of color!
And now, the moment you've been waiting for: the reveal! Carefully remove the rubber bands and unfold your masterpiece. Oohs and aahs are mandatory at this point.
Wear your creation with pride! You've just transformed an ordinary piece of fabric into a wearable work of art. Now go forth and spread some tie dye joy!
And remember, the most important ingredient in any tie dye project is a healthy dose of enthusiasm. Happy dyeing!