How To Add Solidworks Flow Simulation

Imagine the hum of your computer, the glow of the screen reflecting in your determined eyes. A complex design sits before you, a testament to hours of work. But will it perform as intended? Will the airflow be optimal? The thought of physical prototypes, time-consuming and expensive, looms. But there's another way, a digital wind tunnel waiting to be unleashed.
This article will guide you through adding SolidWorks Flow Simulation, a powerful tool that allows you to virtually test your designs and predict their fluid flow and thermal behavior, directly within the SolidWorks environment.
Understanding the Add-In Landscape
SolidWorks Flow Simulation isn’t always part of the default installation. It's often a separate add-in module. Understanding how SolidWorks manages add-ins is crucial before you begin.
Think of SolidWorks as a central hub, with specialized tools like Flow Simulation orbiting around it. These tools need to be activated to unlock their potential.
Activating the Add-In
The first step is to access the Add-Ins Manager within SolidWorks. You can usually find this under the "Tools" menu, then selecting "Add-Ins…"
A dialog box will appear, displaying a list of available add-ins. Scroll down until you find "SolidWorks Flow Simulation."
You'll notice two checkboxes next to the add-in. The one on the left, often labeled "Startup," ensures the add-in automatically loads whenever you launch SolidWorks. The checkbox on the right simply activates it for the current session.
Tick both boxes for SolidWorks Flow Simulation. This will make the module readily available whenever you start SolidWorks.
Verifying Installation
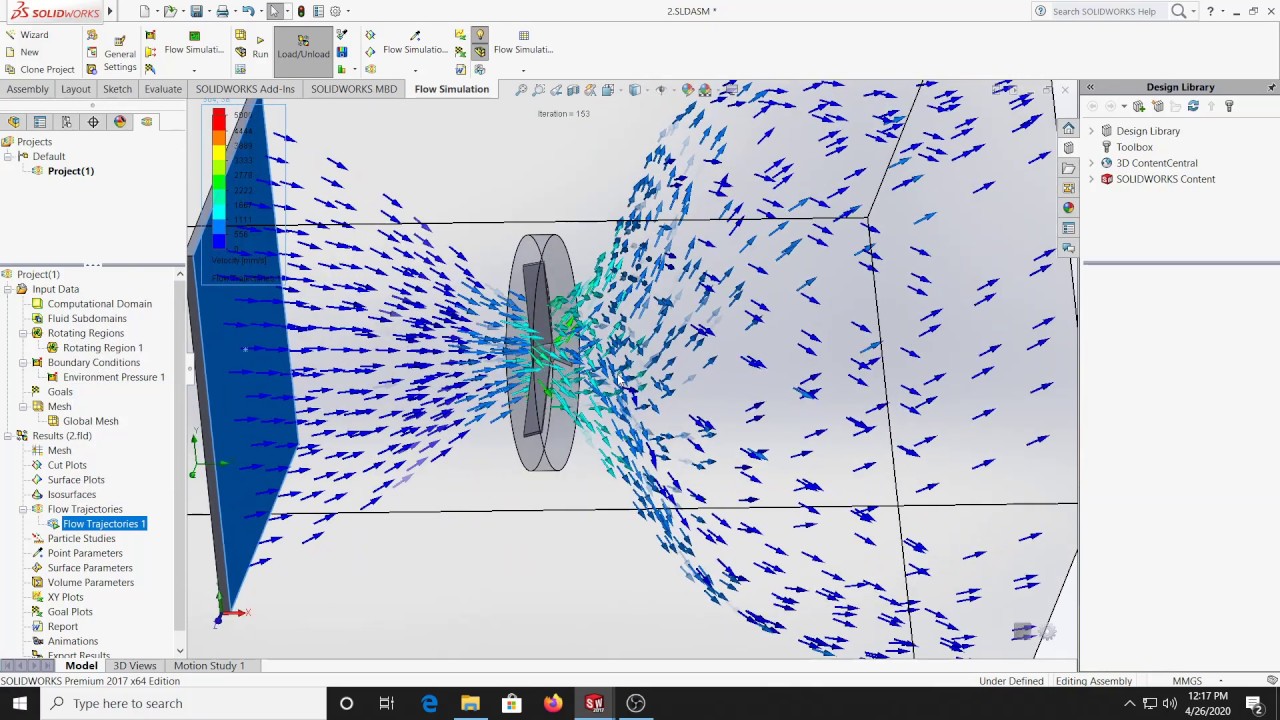
After activating the add-in, it's essential to confirm it's working correctly. Look for the "Flow Simulation" tab in the SolidWorks Command Manager.
If you see the tab, congratulations! The add-in is successfully installed. If not, double-check that you've ticked both checkboxes in the Add-Ins Manager.
Troubleshooting Common Issues
Sometimes, things don't go as smoothly as planned. One common issue is a missing license. SolidWorks Flow Simulation requires a valid license to function.
If you encounter a licensing error, contact your SolidWorks reseller or IT administrator to ensure your license is activated and up-to-date. Firewalls or network restrictions can also occasionally interfere with license activation.
Another potential issue is an incomplete or corrupted installation. If you suspect this is the case, consider running a repair installation of SolidWorks.
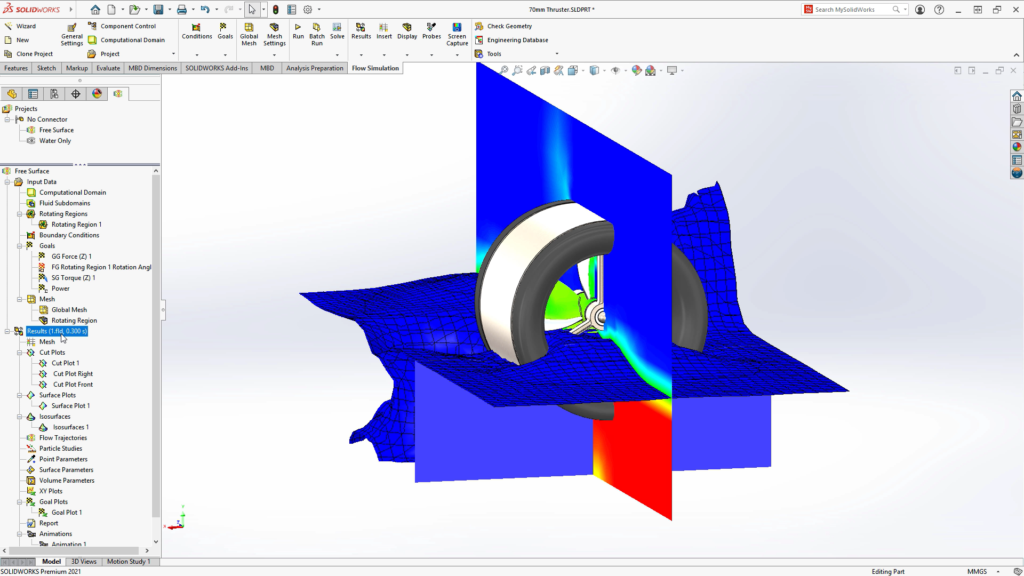
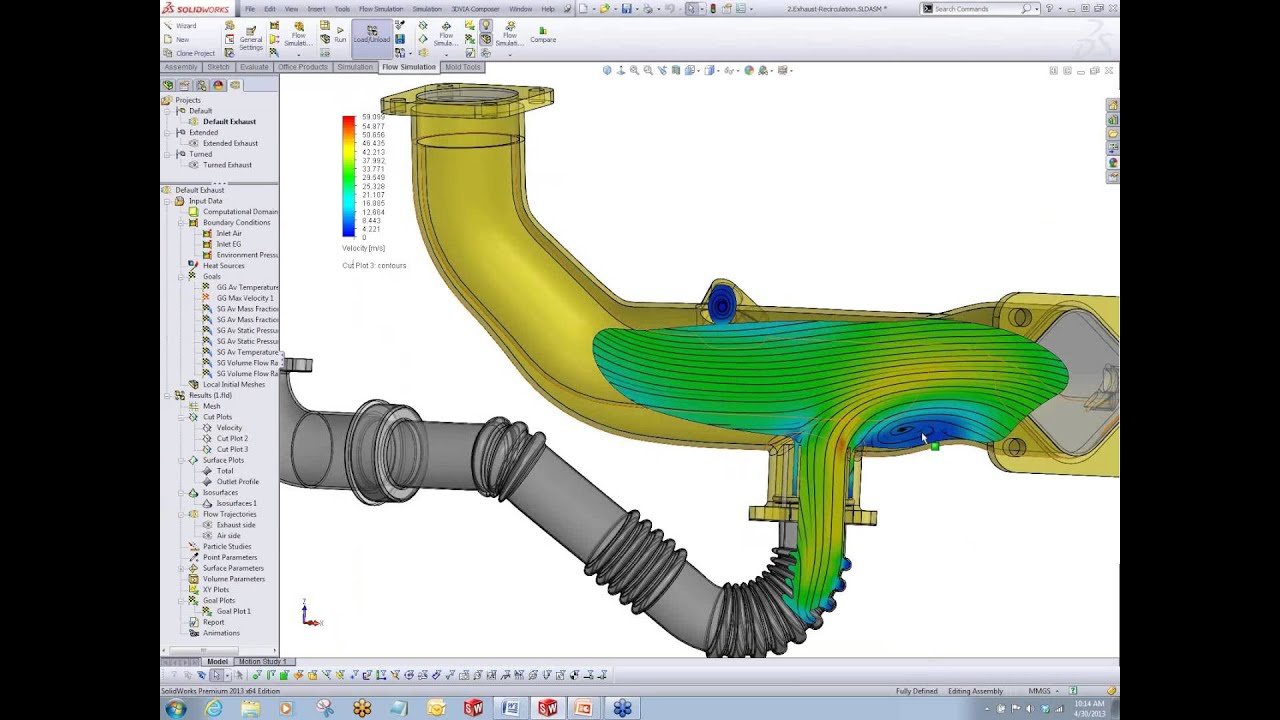
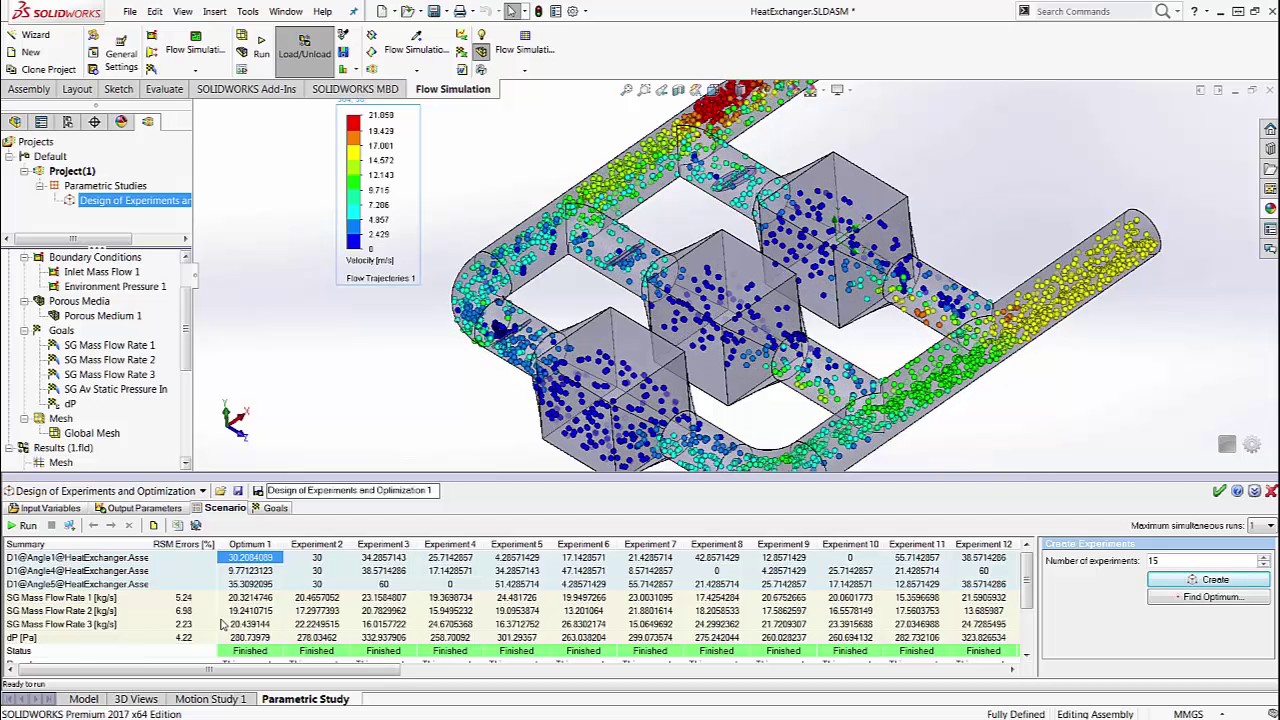
Exploring the Flow Simulation Interface
Once the add-in is active, you'll want to familiarize yourself with its interface. The "Flow Simulation" tab provides access to all the tools you need to set up and run simulations.
This includes options for defining the computational domain, specifying boundary conditions (like inlet velocity and outlet pressure), and setting up the solver parameters.
Don't be intimidated by the initial complexity. SolidWorks Flow Simulation offers a wealth of tutorials and documentation to guide you through the process.
Taking the Next Steps
Adding SolidWorks Flow Simulation is just the first step on a journey of virtual experimentation. Take advantage of the resources available to you.
Explore the SolidWorks online help, participate in forums, and consider attending training courses. The more you learn, the more effectively you can use Flow Simulation to optimize your designs.
By mastering this powerful tool, you can reduce reliance on physical prototypes, improve product performance, and accelerate your design process.
Remember, every expert was once a beginner. Embrace the learning curve and enjoy the process of discovery. The ability to predict and optimize fluid flow within your designs is within your grasp.