How To Code A 2d Platformer In Unity

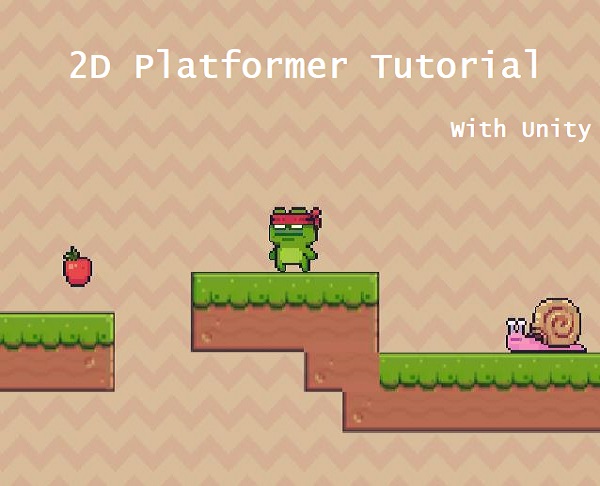
The allure of crafting interactive worlds has never been stronger, particularly in the realm of 2D platformers. With accessible tools like Unity, aspiring developers are increasingly eager to learn how to build their own games. Resources abound, but navigating the initial learning curve can be challenging.
This article aims to provide a digestible overview of the key steps involved in creating a 2D platformer using the Unity game engine. It will highlight the essential components and offer a roadmap for beginners seeking to bring their platforming visions to life. The goal is to empower individuals to embark on their game development journey with confidence.
Setting Up Your Project
The first step involves launching Unity and creating a new project, selecting the 2D template. This template configures the project for 2D development, streamlining the setup process. Name your project descriptively, reflecting the game's concept.
Next, importing necessary assets such as sprites for the player character, environment tiles, and background elements is critical. These visual elements are the building blocks of your game's world. Consider using free asset packs or creating your own using graphics software.
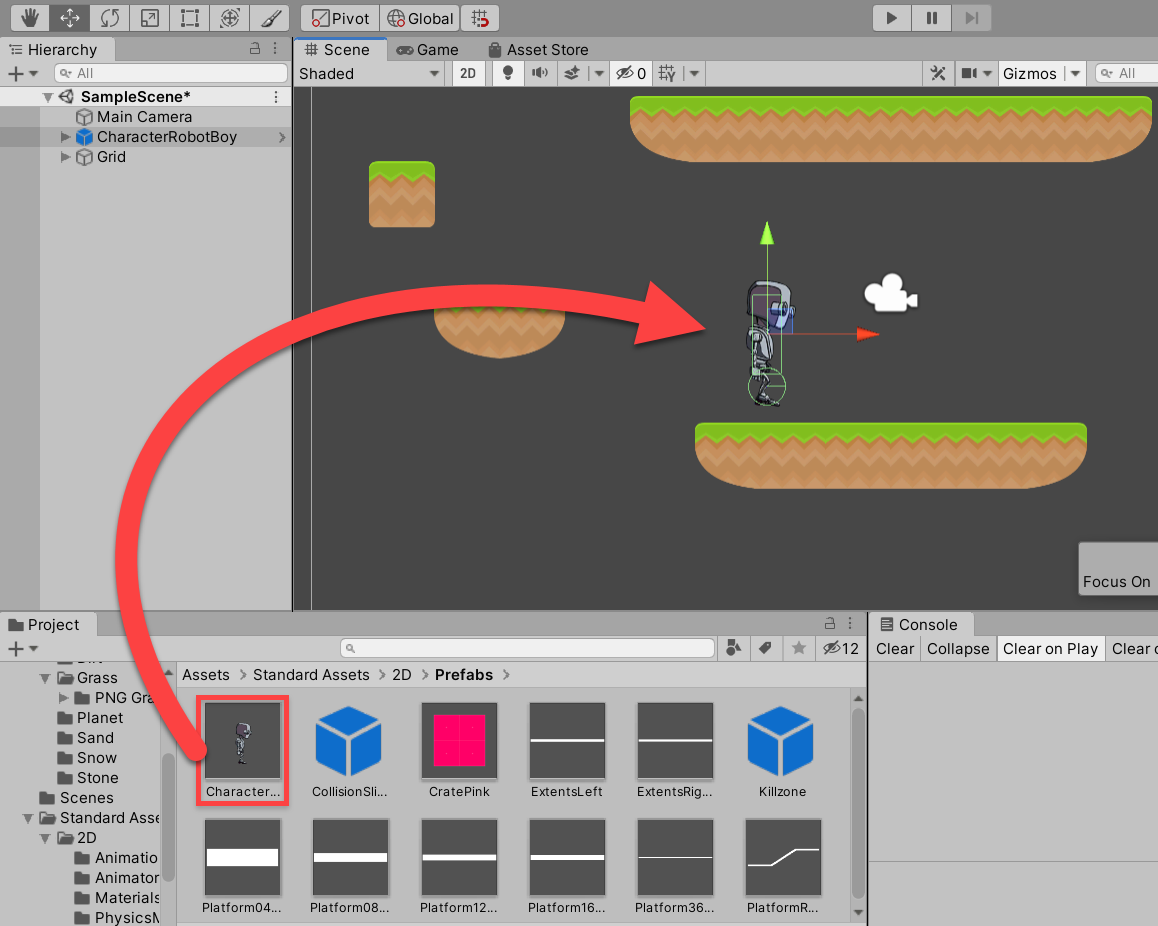
Player Character
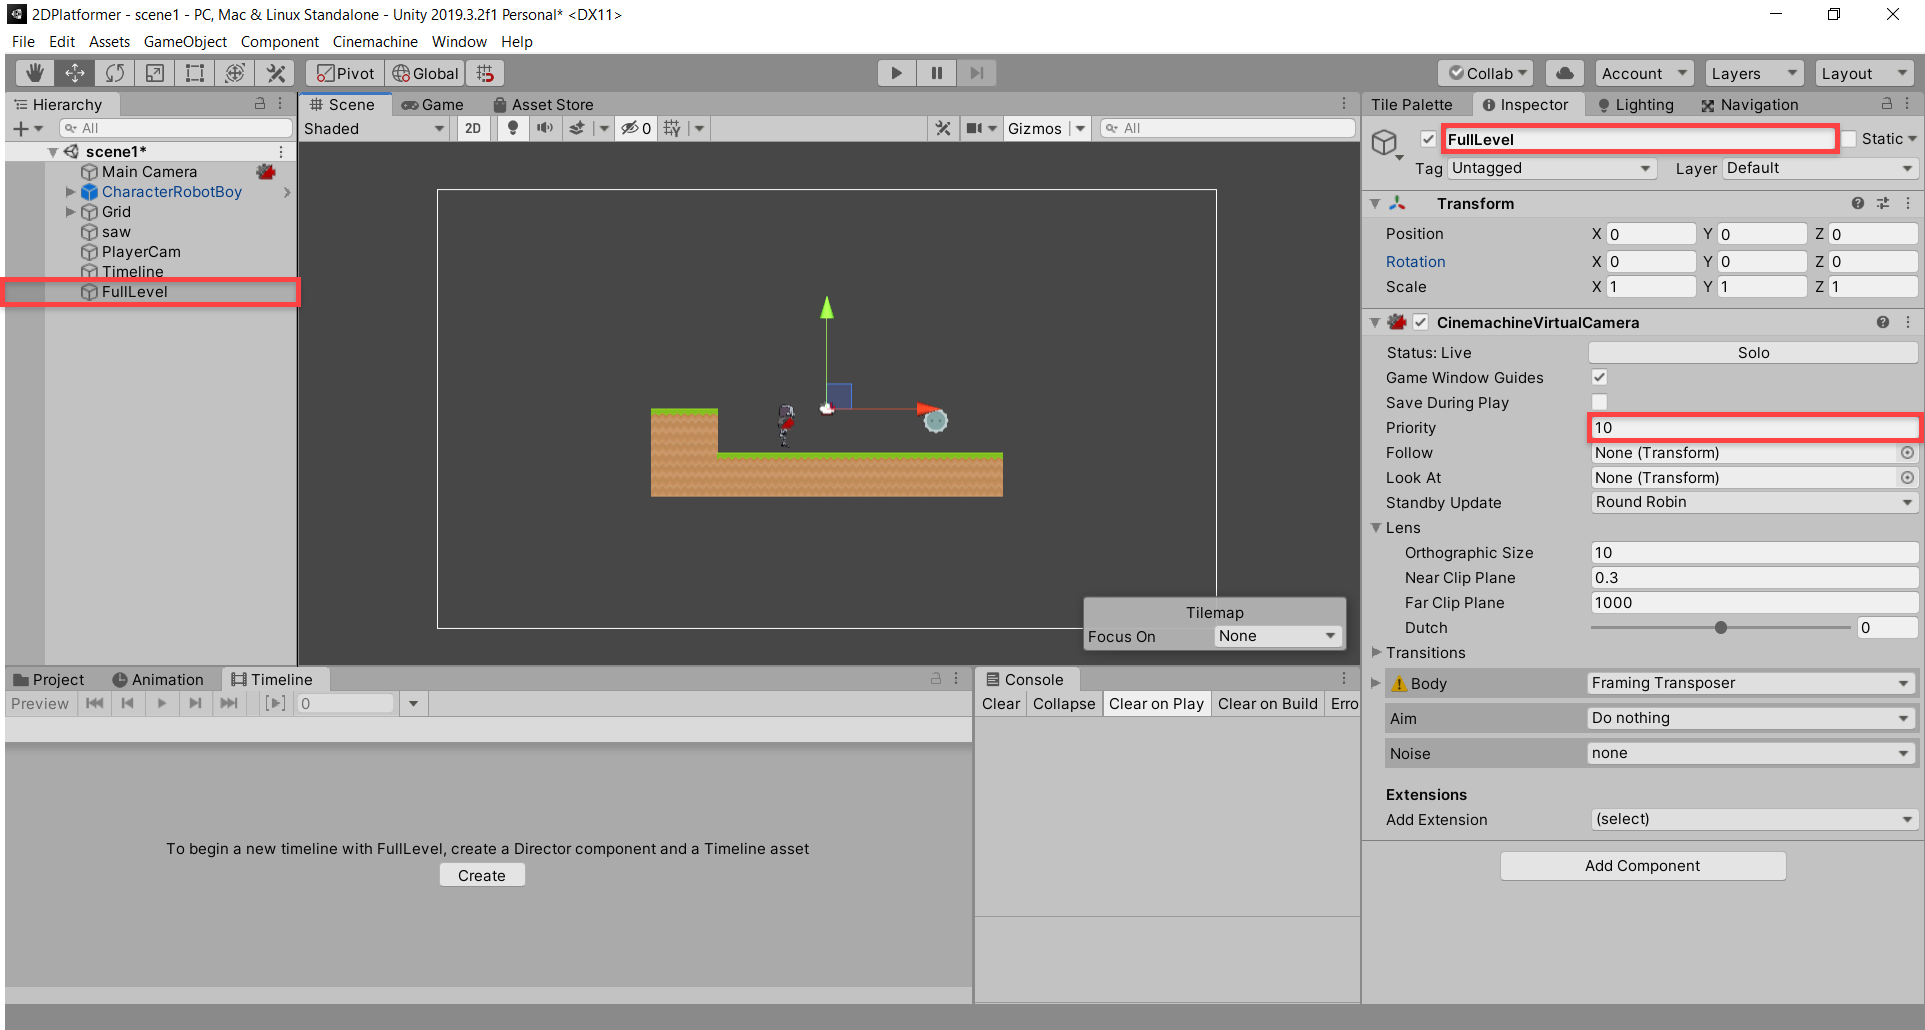
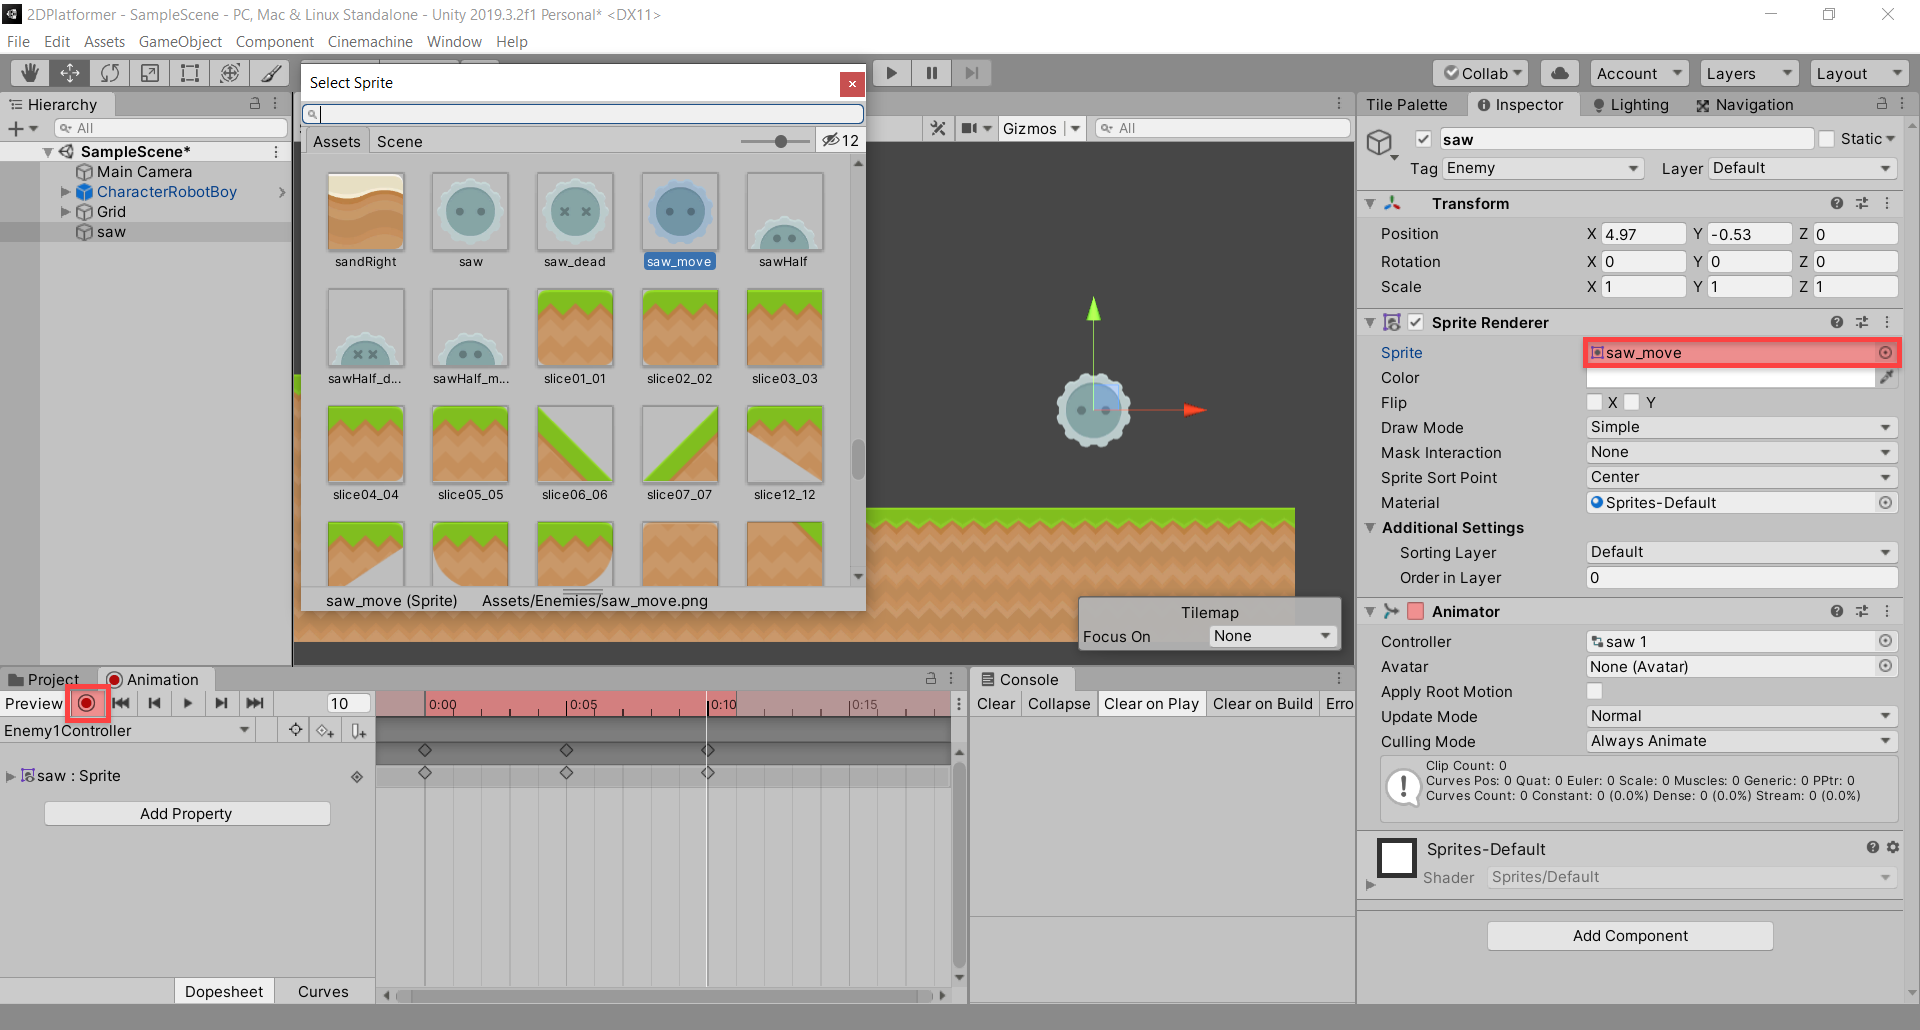
Creating the player character involves adding a Sprite Renderer component to a GameObject. The Sprite Renderer displays the character's sprite on the screen. Adjust the sprite's position and scale to fit within the game environment.
Movement is achieved through scripting, utilizing Unity's scripting language, C#. Create a new C# script and attach it to the player GameObject. The script will handle player input, such as keyboard presses or gamepad controls, to control movement.
Implement basic movement logic within the script, allowing the player to move left, right, and jump. Experiment with different movement speeds and jump heights to achieve the desired feel.
Level Design
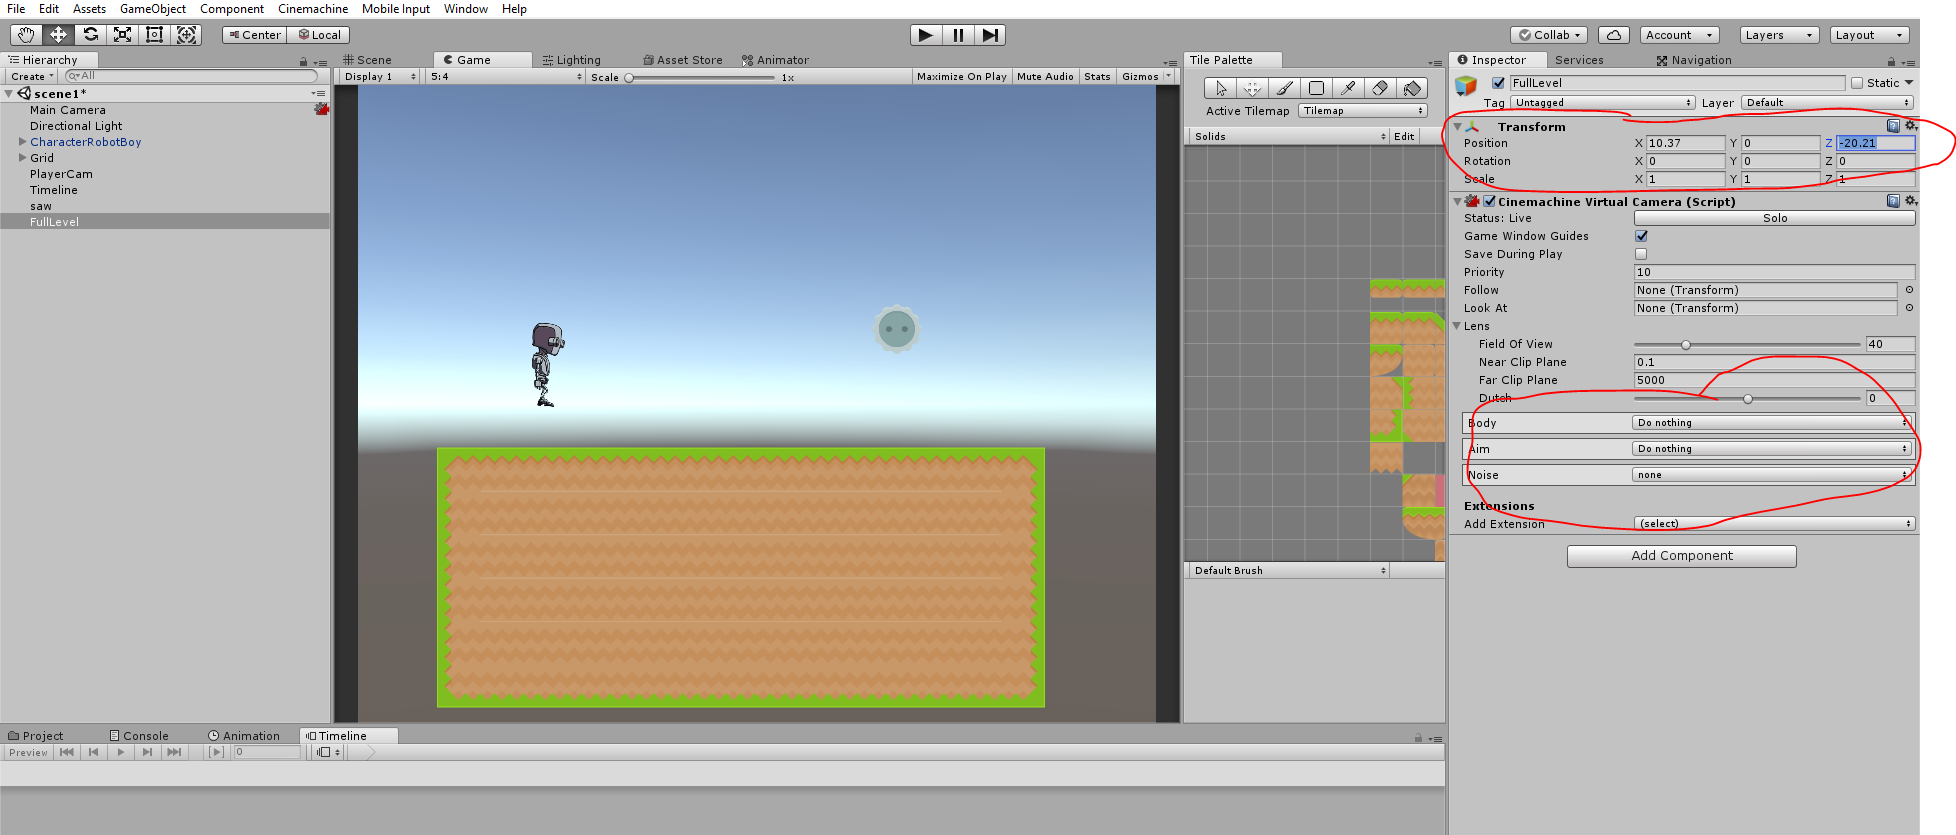
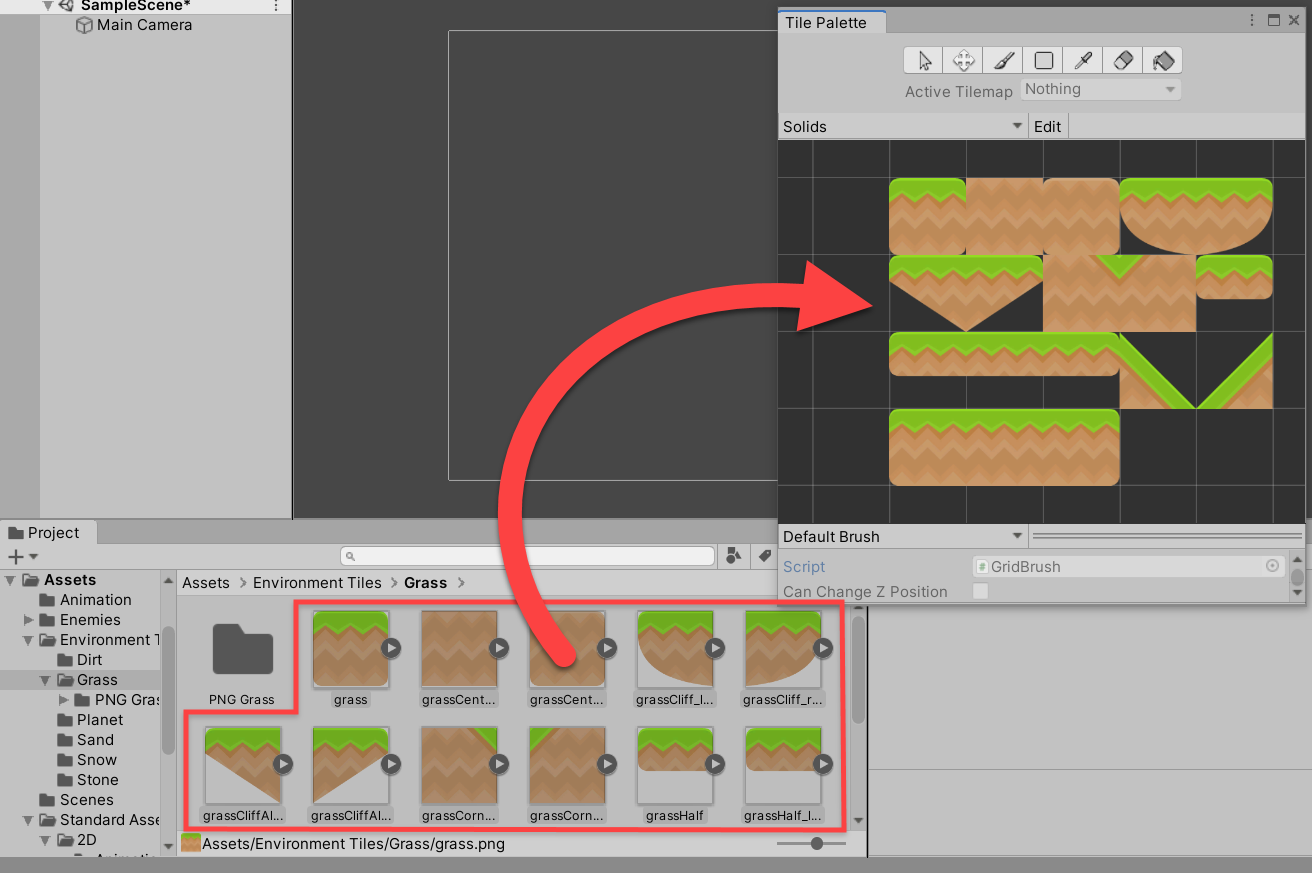
Designing the level involves creating tilesets and arranging them to form platforms, obstacles, and pathways. Unity's Tilemap system is a powerful tool for efficient level creation. Import your tileset into Unity and create a new Tilemap GameObject.
Use the Tile Palette window to select tiles and paint them onto the Tilemap. This allows for rapid and intuitive level design. Consider incorporating elements such as gaps, moving platforms, and collectibles.
Collision Detection
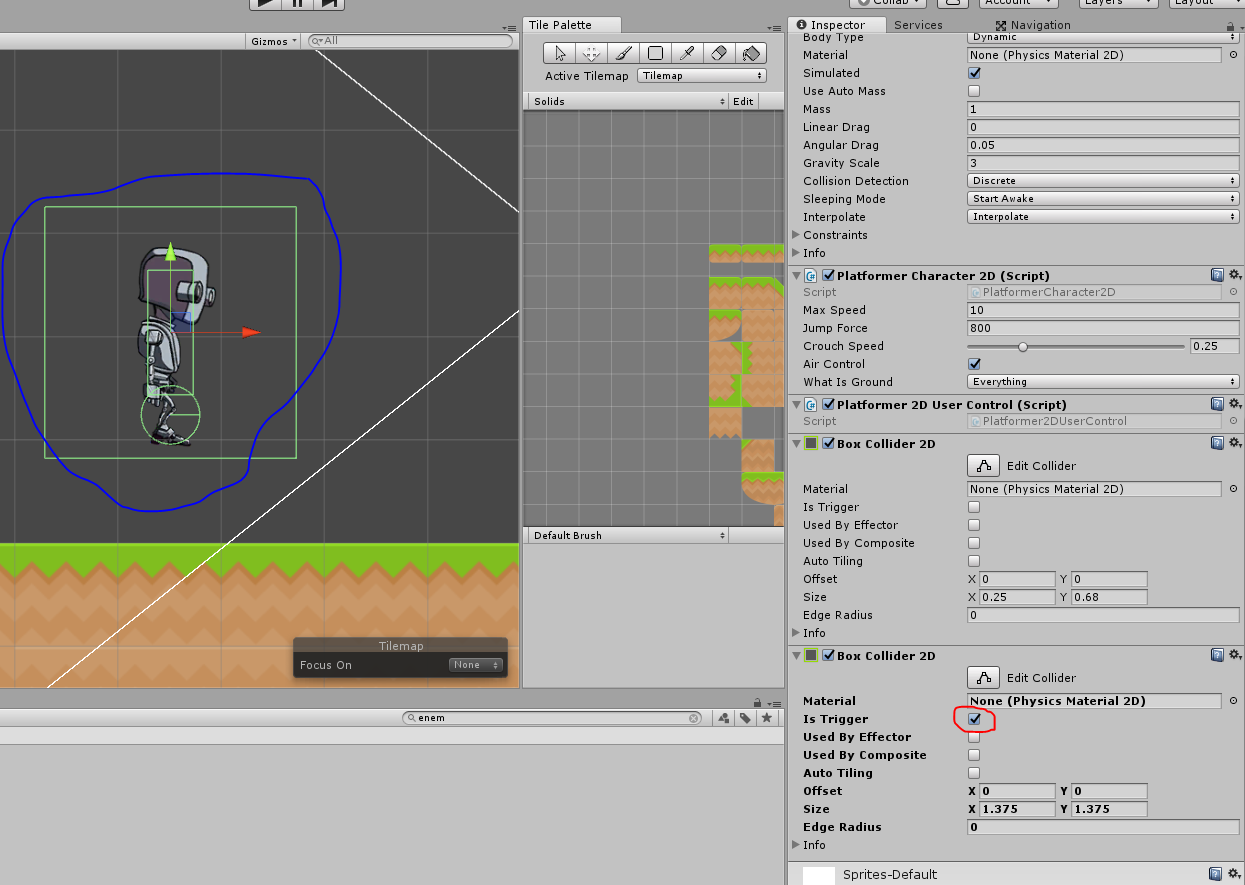
Implementing collision detection is crucial for preventing the player from passing through walls and floors. Unity's Collider components are used to define the physical boundaries of game objects. Add a Collider component to the player GameObject and to all relevant level elements.
Experiment with different types of Colliders, such as Box Colliders or Circle Colliders, to achieve the desired collision behavior. Carefully adjust the size and position of the Colliders to accurately represent the object's boundaries. The RigidBody2D component will allow the player to react to the environmental physics.
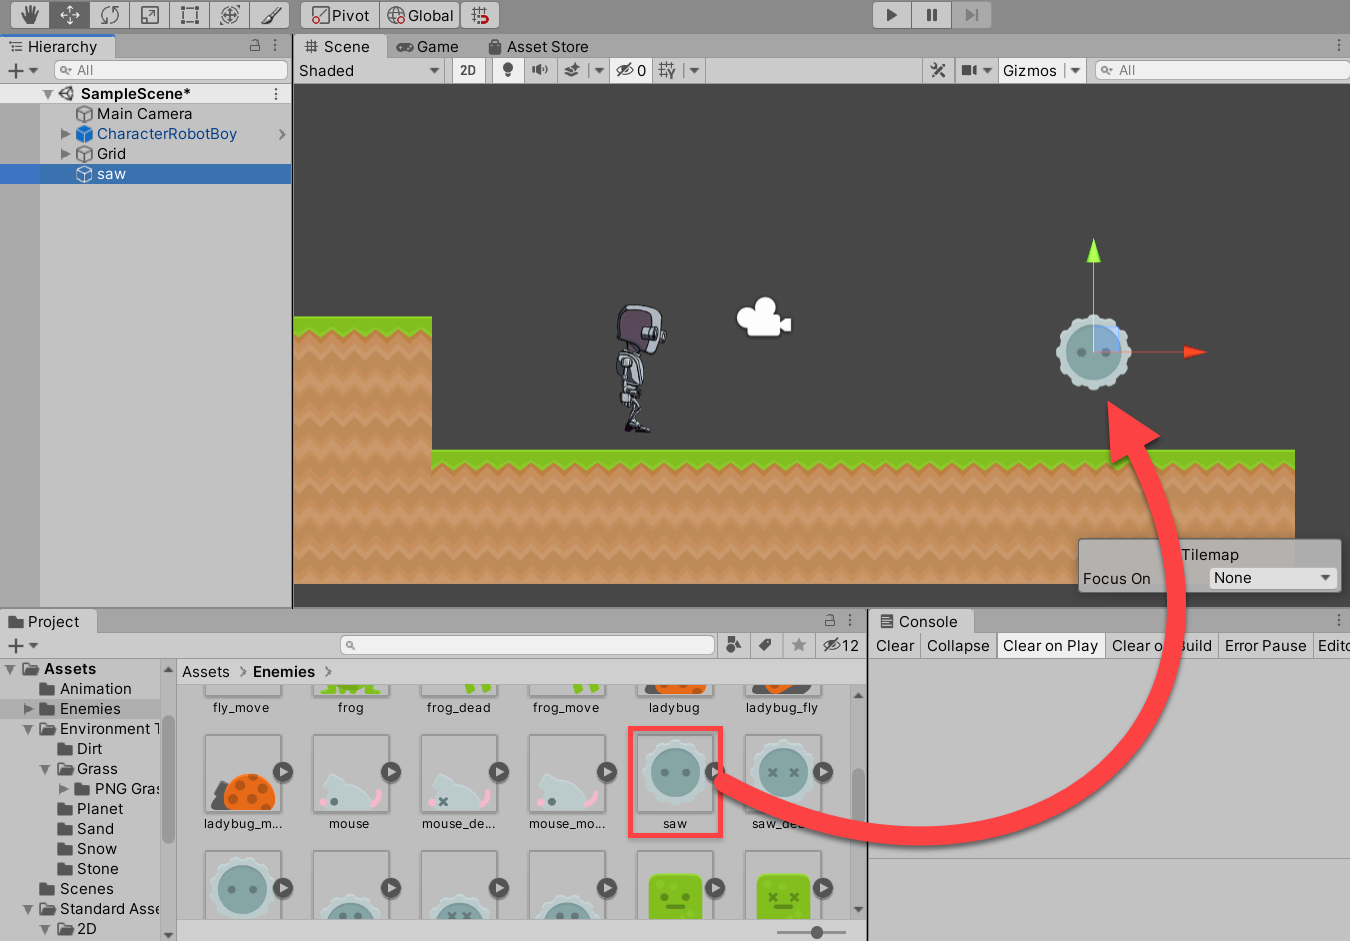
Adding Enemies
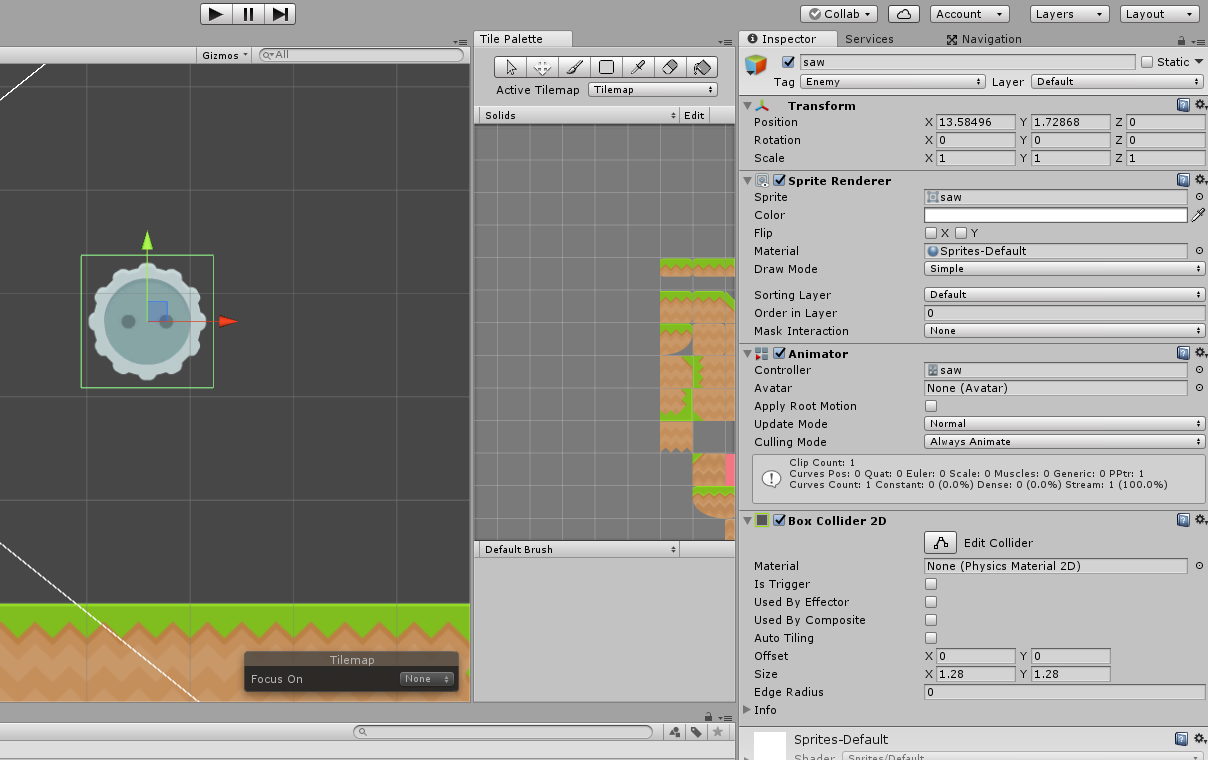
Introducing enemies adds challenge and excitement to the game. Create enemy GameObjects with Sprite Renderers and Colliders, similar to the player character. Write scripts to control enemy movement and behavior.
Implement simple AI patterns, such as patrolling back and forth or chasing the player. Experiment with different enemy types, each with unique abilities and weaknesses.
Iterative Development
Game development is an iterative process. Continuously test and refine your game, addressing bugs and improving gameplay. Gather feedback from others to identify areas for improvement.
Don't be afraid to experiment with different mechanics and ideas. The best way to learn is by doing. Remember that many free tutorials and assets are available on the Unity Asset Store.
Developing a 2D platformer in Unity is a rewarding endeavor. By following these steps and dedicating time to learning and experimentation, aspiring developers can bring their creative visions to life. The indie gaming scene continues to see a rise of unique titles crafted by small teams and individuals. This is partially due to how accessible the tools have become.