How To Configure Network Printer Hp Laserjet P2055dn

Imagine the gentle hum of a printer, poised and ready, awaiting your command. The satisfying click as a document finally emerges, crisp and clear. But before this harmonious collaboration can begin, the HP LaserJet P2055dn needs to be properly connected to your network.
This guide will walk you through the process of configuring your HP LaserJet P2055dn network printer, ensuring seamless integration and effortless printing from any device on your network.
Understanding the HP LaserJet P2055dn
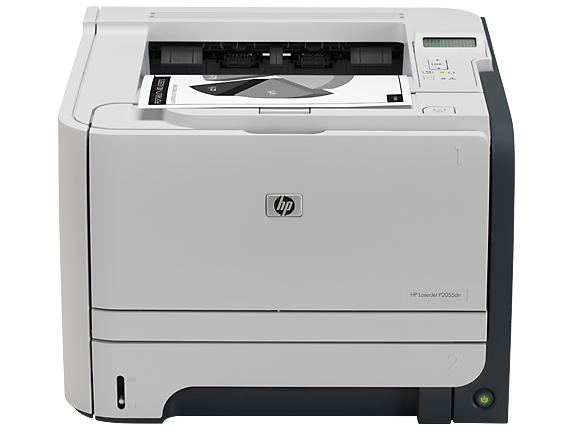
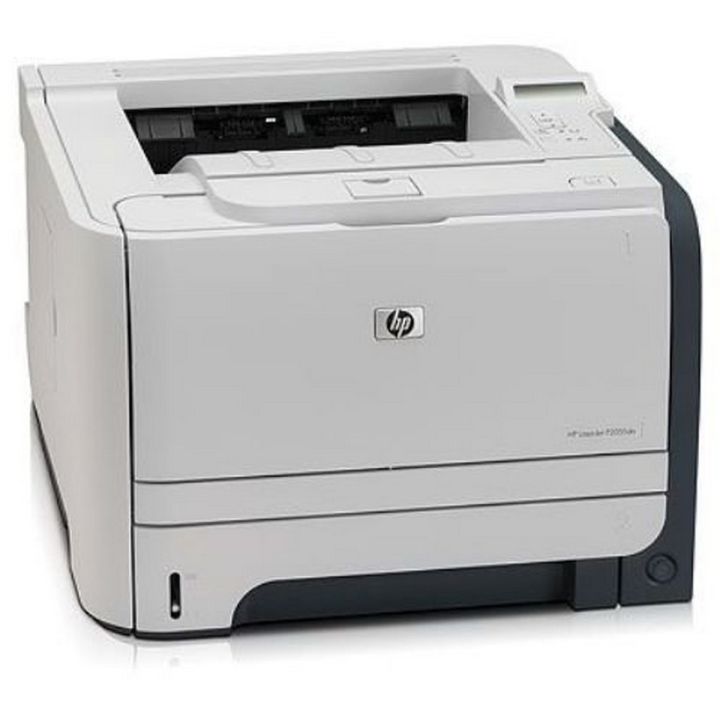
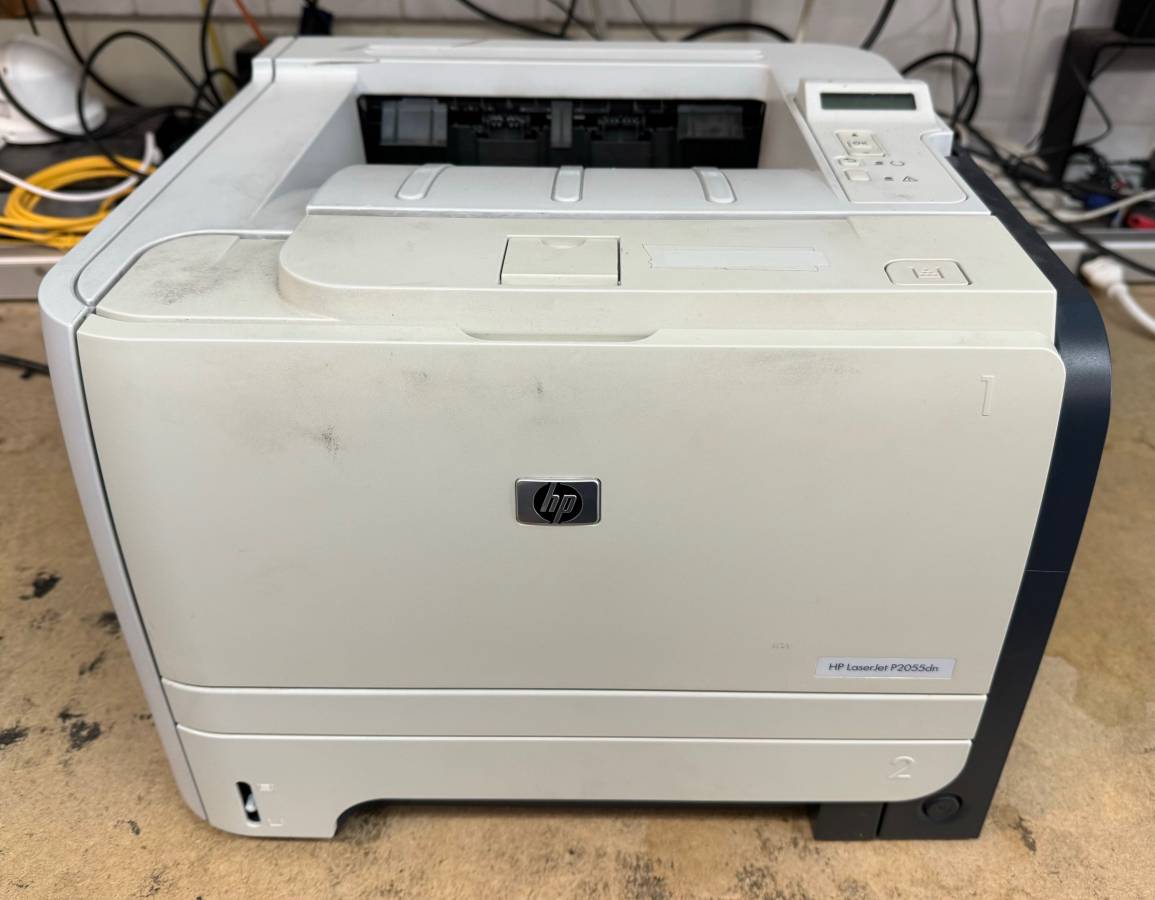
The HP LaserJet P2055dn is a reliable and efficient monochrome laser printer, known for its speed and durability. It's a popular choice for both home offices and small businesses, offering a balance of performance and affordability.
One of its key features is its network connectivity, allowing multiple users to share the printer without needing direct USB connections to individual computers.
Pre-Configuration Checklist
Before you begin, make sure you have the following:
- The HP LaserJet P2055dn printer.
- A network cable (Ethernet cable).
- A computer connected to the same network as the printer.
- The printer's IP address (if already configured) or the ability to access your router's settings.
Configuration Methods
There are several ways to configure your HP LaserJet P2055dn for network printing:
Method 1: Using the Printer's Control Panel
If your printer has a display screen, you can configure the network settings directly from the printer's control panel.
Navigate to the network settings menu (usually found under "Setup" or "Network"). Then, select "TCP/IP Configuration" and choose either "Auto IP" (DHCP) or "Manual IP".
If you choose "Auto IP," the printer will automatically obtain an IP address from your router. If you choose "Manual IP," you'll need to enter the IP address, subnet mask, and default gateway manually.
Method 2: Using HP Web Jetadmin (If Applicable)
HP Web Jetadmin is a software tool that allows you to manage and configure HP printers on your network.
If you have HP Web Jetadmin installed, you can use it to discover the printer on your network and configure its network settings remotely.
Method 3: Using the Embedded Web Server (EWS)
The HP LaserJet P2055dn features an Embedded Web Server (EWS), which you can access through a web browser.
First, you need to know the printer's IP address. Print a configuration page from the printer's control panel to find it.
Once you have the IP address, type it into your web browser's address bar. The EWS page will load, allowing you to configure various settings, including network settings.
Installing the Printer Driver on Your Computer
After configuring the printer's network settings, you need to install the printer driver on each computer that will be using the printer.
Download the latest driver from the HP website and follow the installation instructions. When prompted, select "Network Printer" and follow the on-screen prompts to locate and add the printer to your computer.
Troubleshooting Common Issues
Problem: Printer not found on the network.
Solution: Ensure the printer is powered on, connected to the network, and has a valid IP address. Verify that your computer is connected to the same network.
Problem: Unable to print.
Solution: Check the printer queue for errors. Ensure the correct printer driver is installed and selected as the default printer. Restart both the printer and your computer.
By following these steps, you should be able to successfully configure your HP LaserJet P2055dn for network printing. Enjoy the convenience of shared printing across your home or office network.