How To Get A Transparent Background On A Picture
Imagine you’re crafting the perfect social media post, a stunning website banner, or even a whimsical digital greeting card. The image is vibrant, the subject is captivating, but… there’s that pesky background, stubbornly clinging on like an unwanted guest. It clashes with your design, obscuring the message you’re trying to convey.
Fear not, aspiring digital artists! Achieving a transparent background on your images, once a skill reserved for graphic design professionals, is now accessible to everyone. This article will guide you through the simple steps and various tools available to liberate your subjects from their backgrounds, unlocking a world of creative possibilities.
The Magic of Transparency: A Digital Necessity
The ability to create images with transparent backgrounds has become increasingly vital in our visually-driven world. From e-commerce product photos seamlessly integrated into websites to personalized stickers and logos, transparency allows images to be layered and adapted to any design with ease.
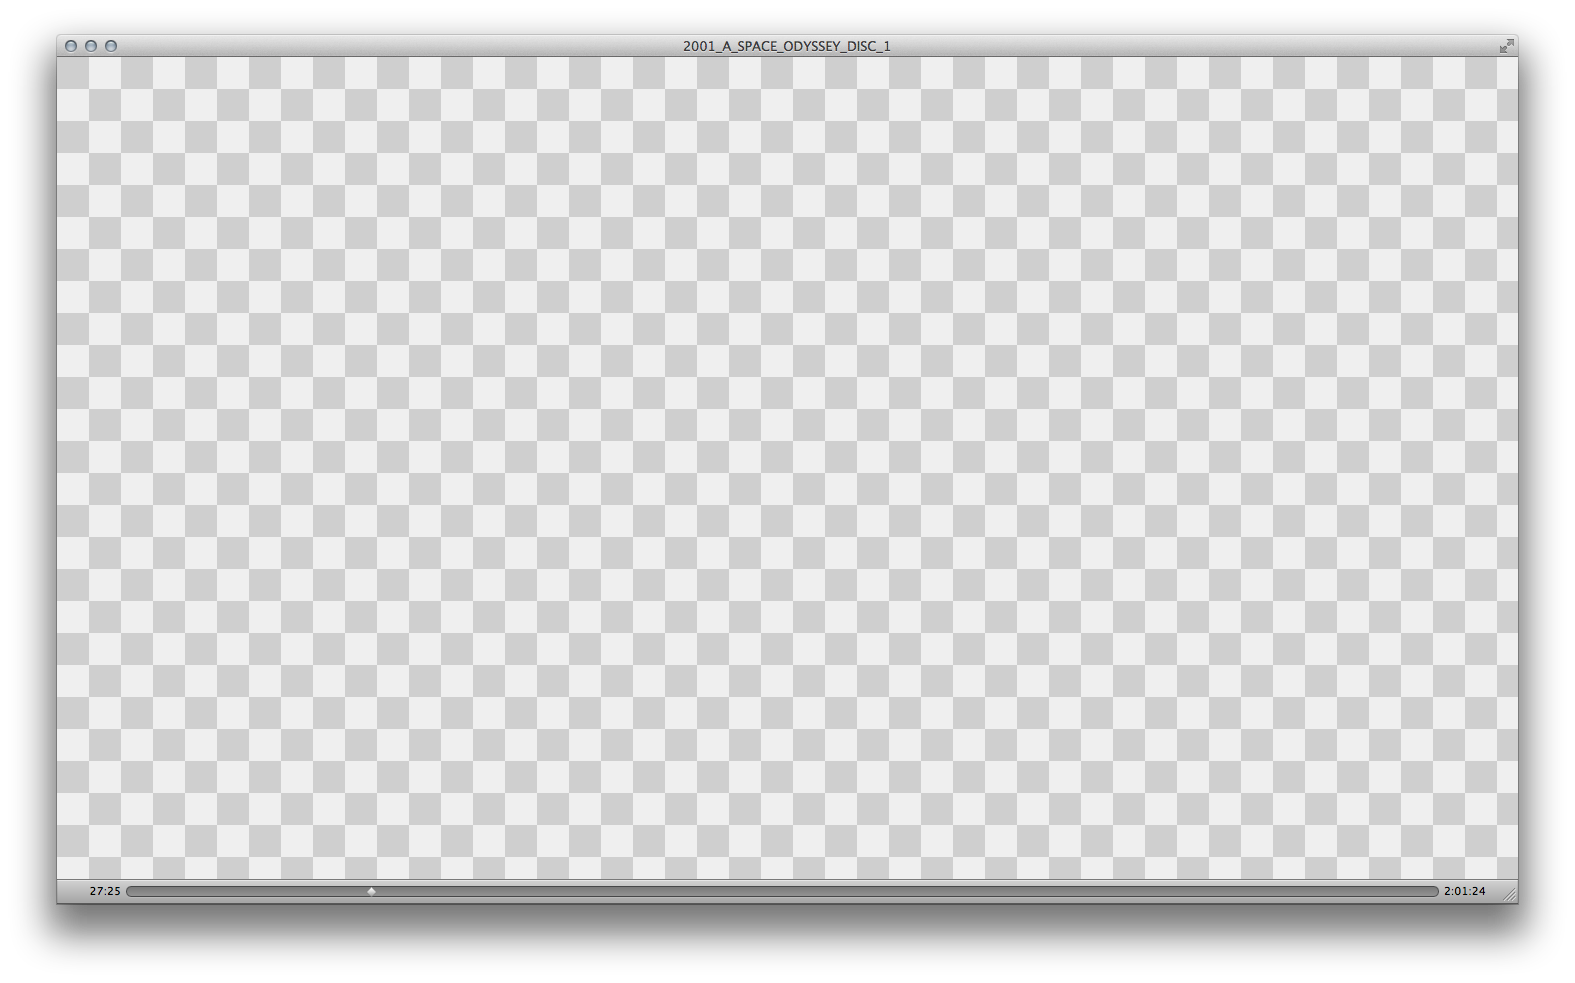
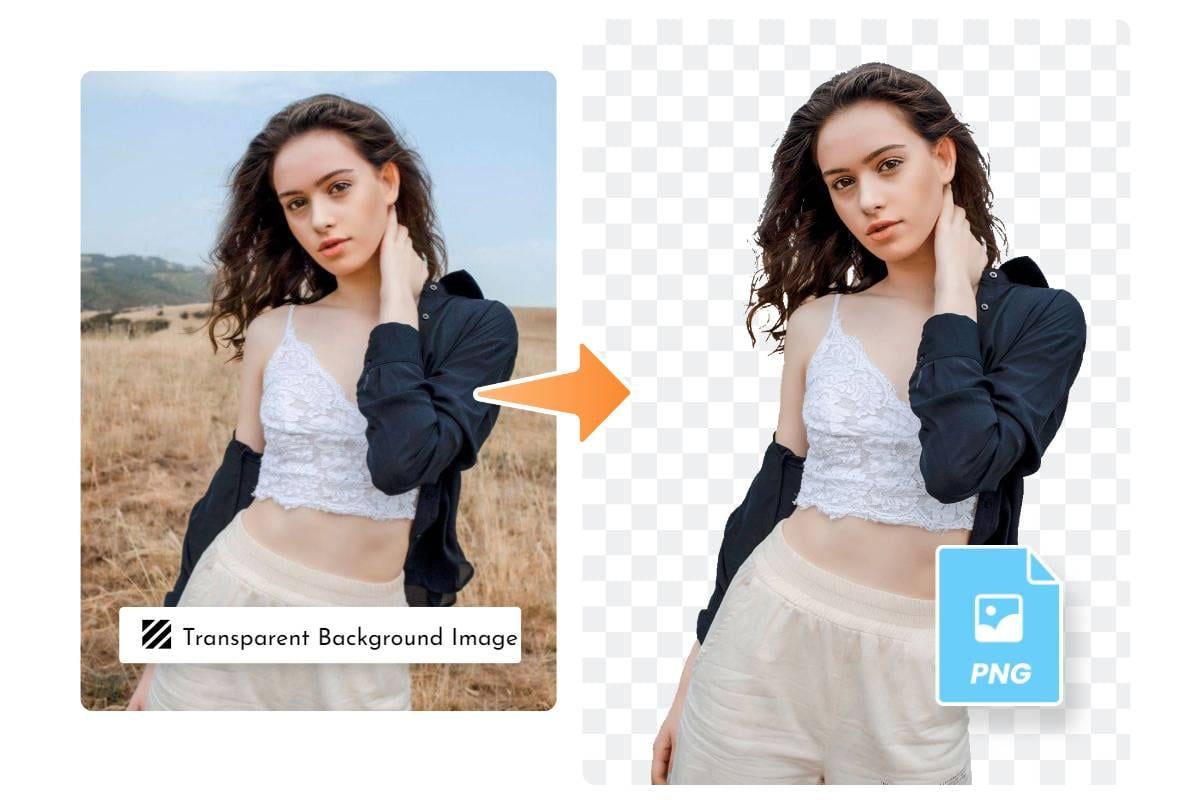
In essence, a transparent background means that the image has no color pixels in the background area. The background is effectively "invisible", allowing whatever is behind the image to show through.
Understanding File Formats: PNG vs. JPEG
Before diving into the "how-to," it’s crucial to understand the different file formats. JPEG (Joint Photographic Experts Group) is a commonly used format for photographs, prized for its small file size. However, JPEGs do not support transparency.
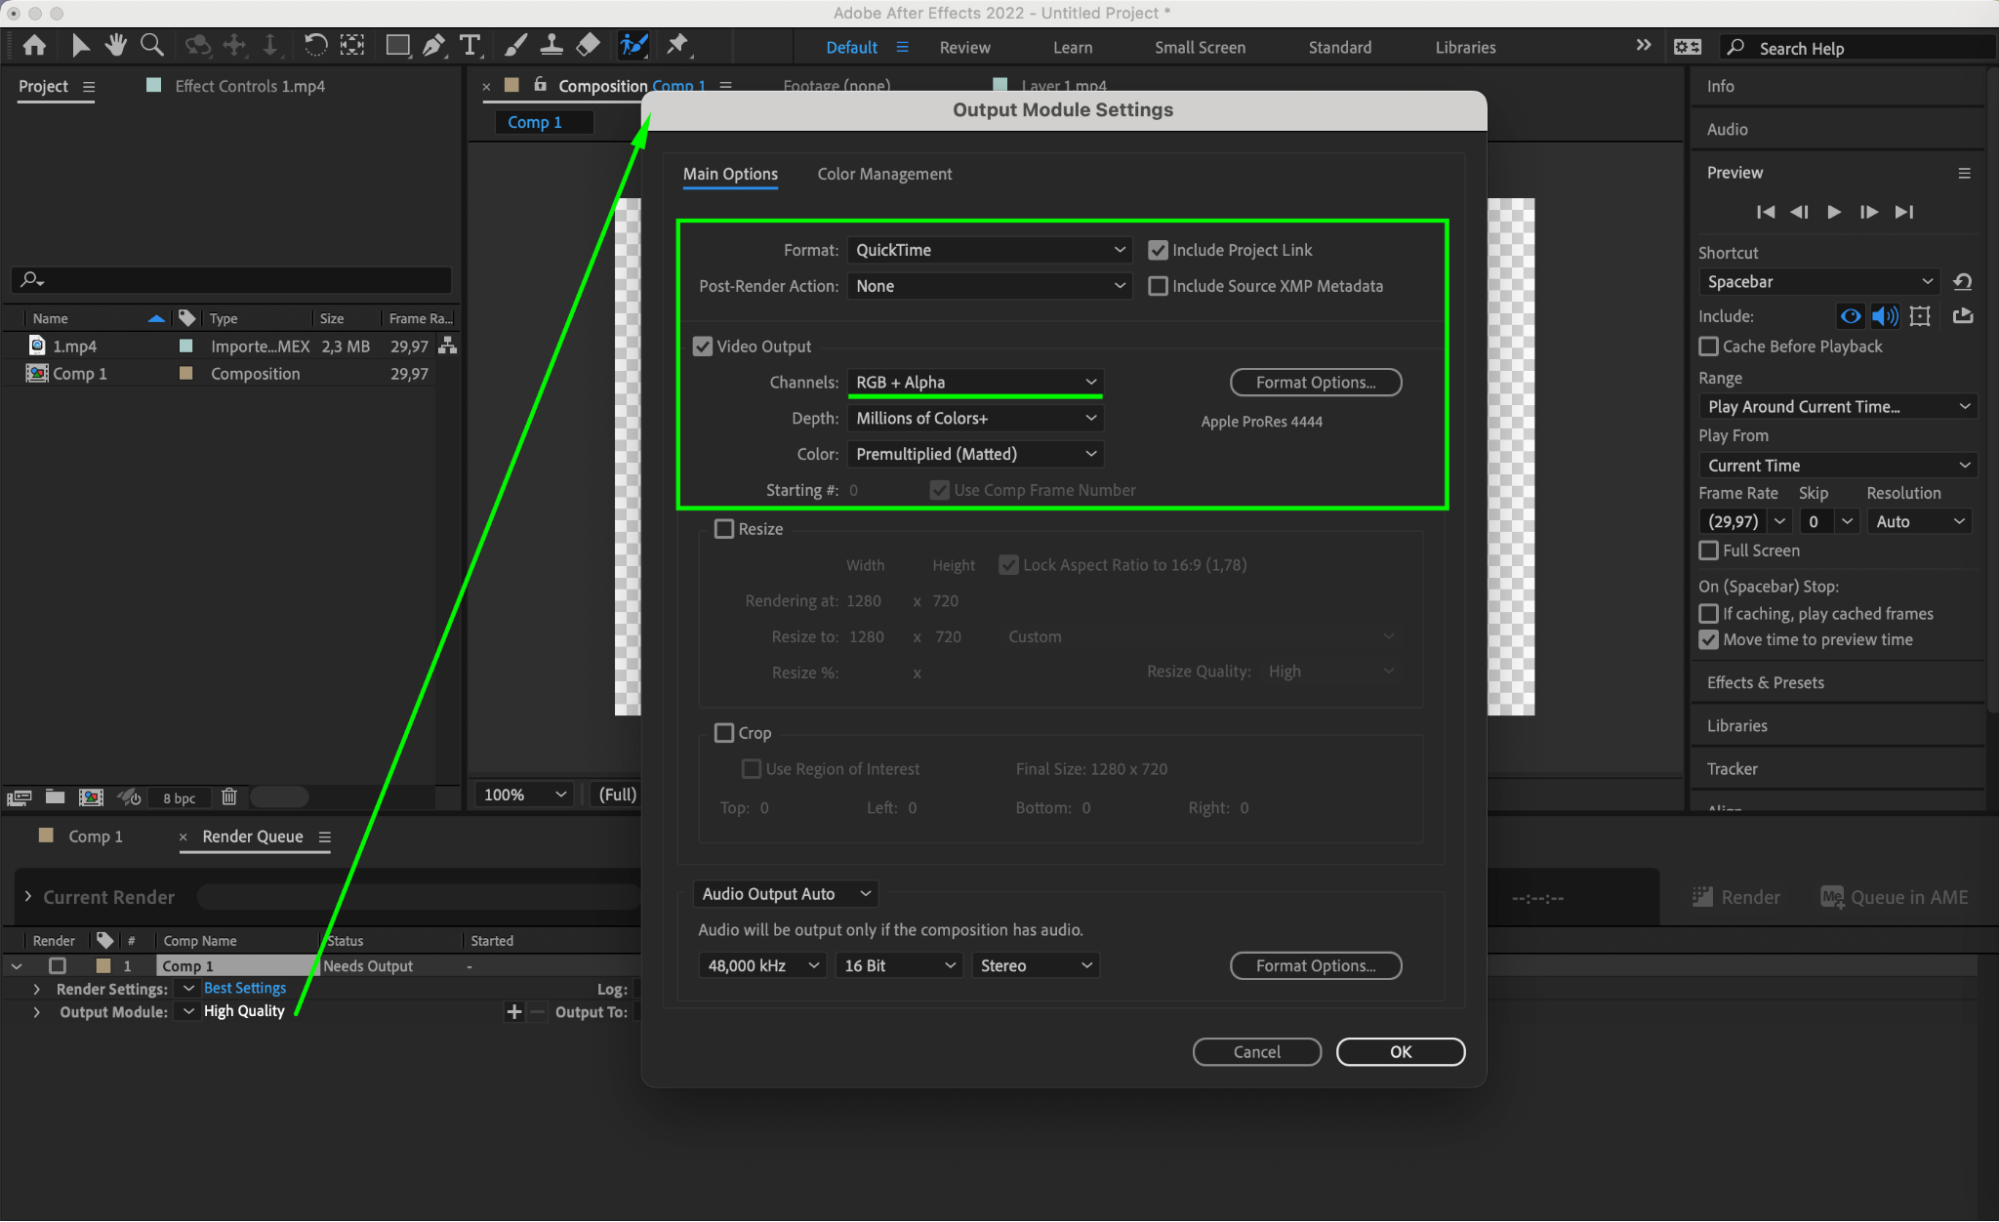
The champion of transparency is the PNG (Portable Network Graphics) format. PNG files can store images with transparent backgrounds, making them ideal for logos, icons, and any image that needs to be overlaid on other content.
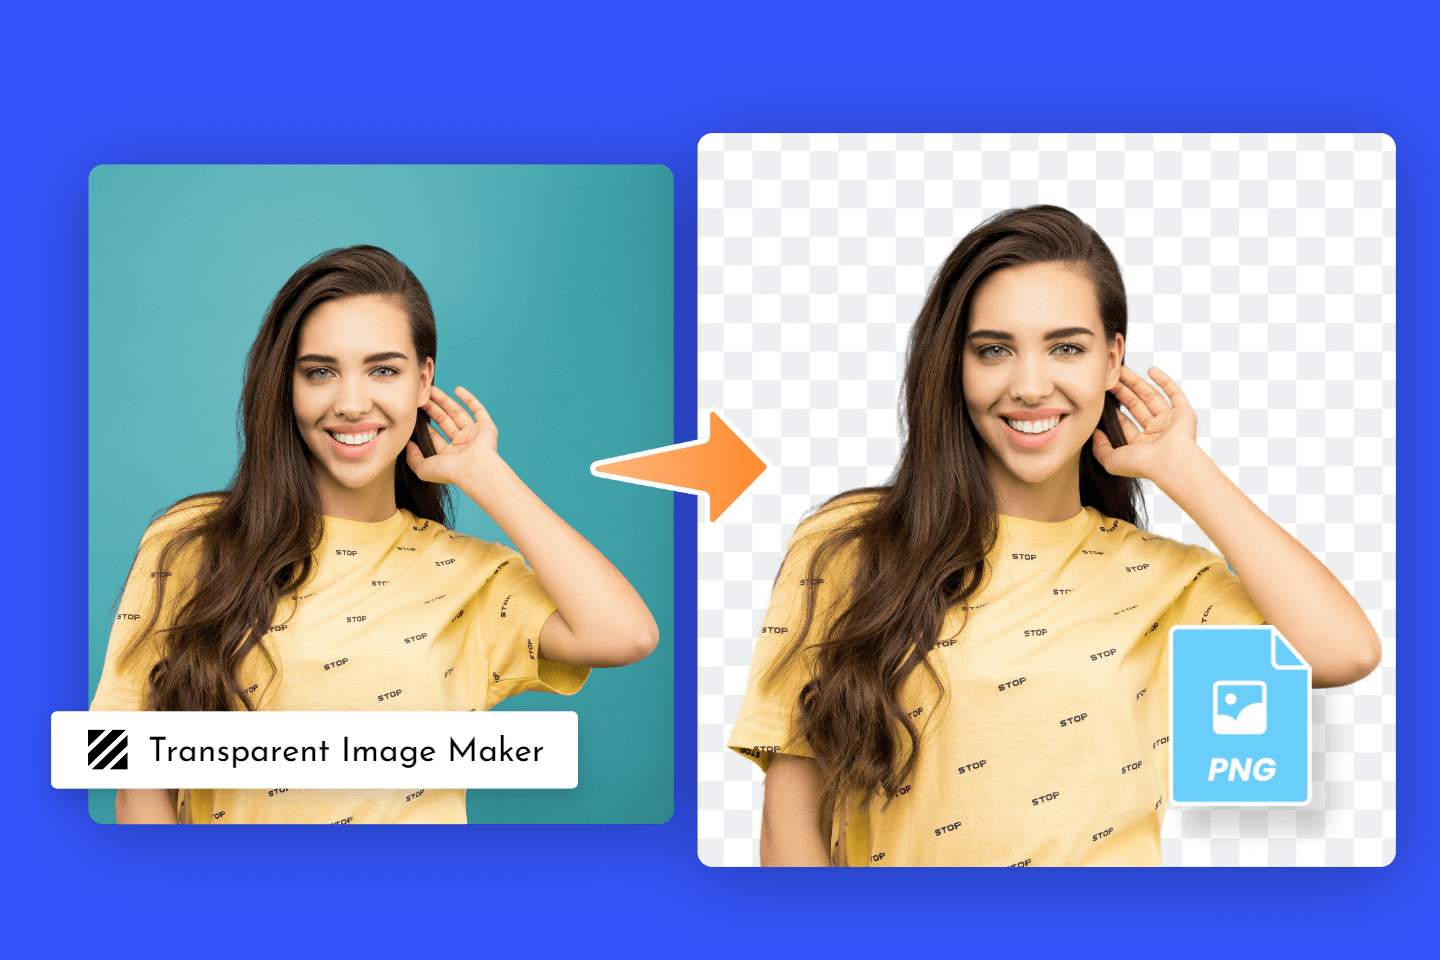
Method 1: Online Background Removal Tools
Numerous free and paid online tools offer remarkably effective background removal with just a few clicks. These tools utilize artificial intelligence and machine learning algorithms to identify and isolate the subject of your image, automatically removing the background.
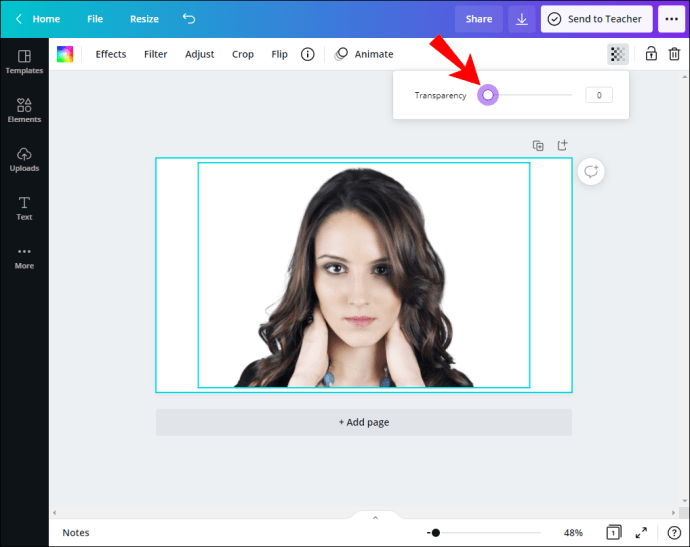
Popular options include Remove.bg, Adobe Express, and Clipping Magic. Simply upload your image, and the tool will process it, offering a preview of the result. Usually, you have the option to refine the selection manually, addressing any areas the AI might have missed.
Adobe Express and similar platforms often include additional editing features, allowing you to add shadows, outlines, or even replace the background altogether.
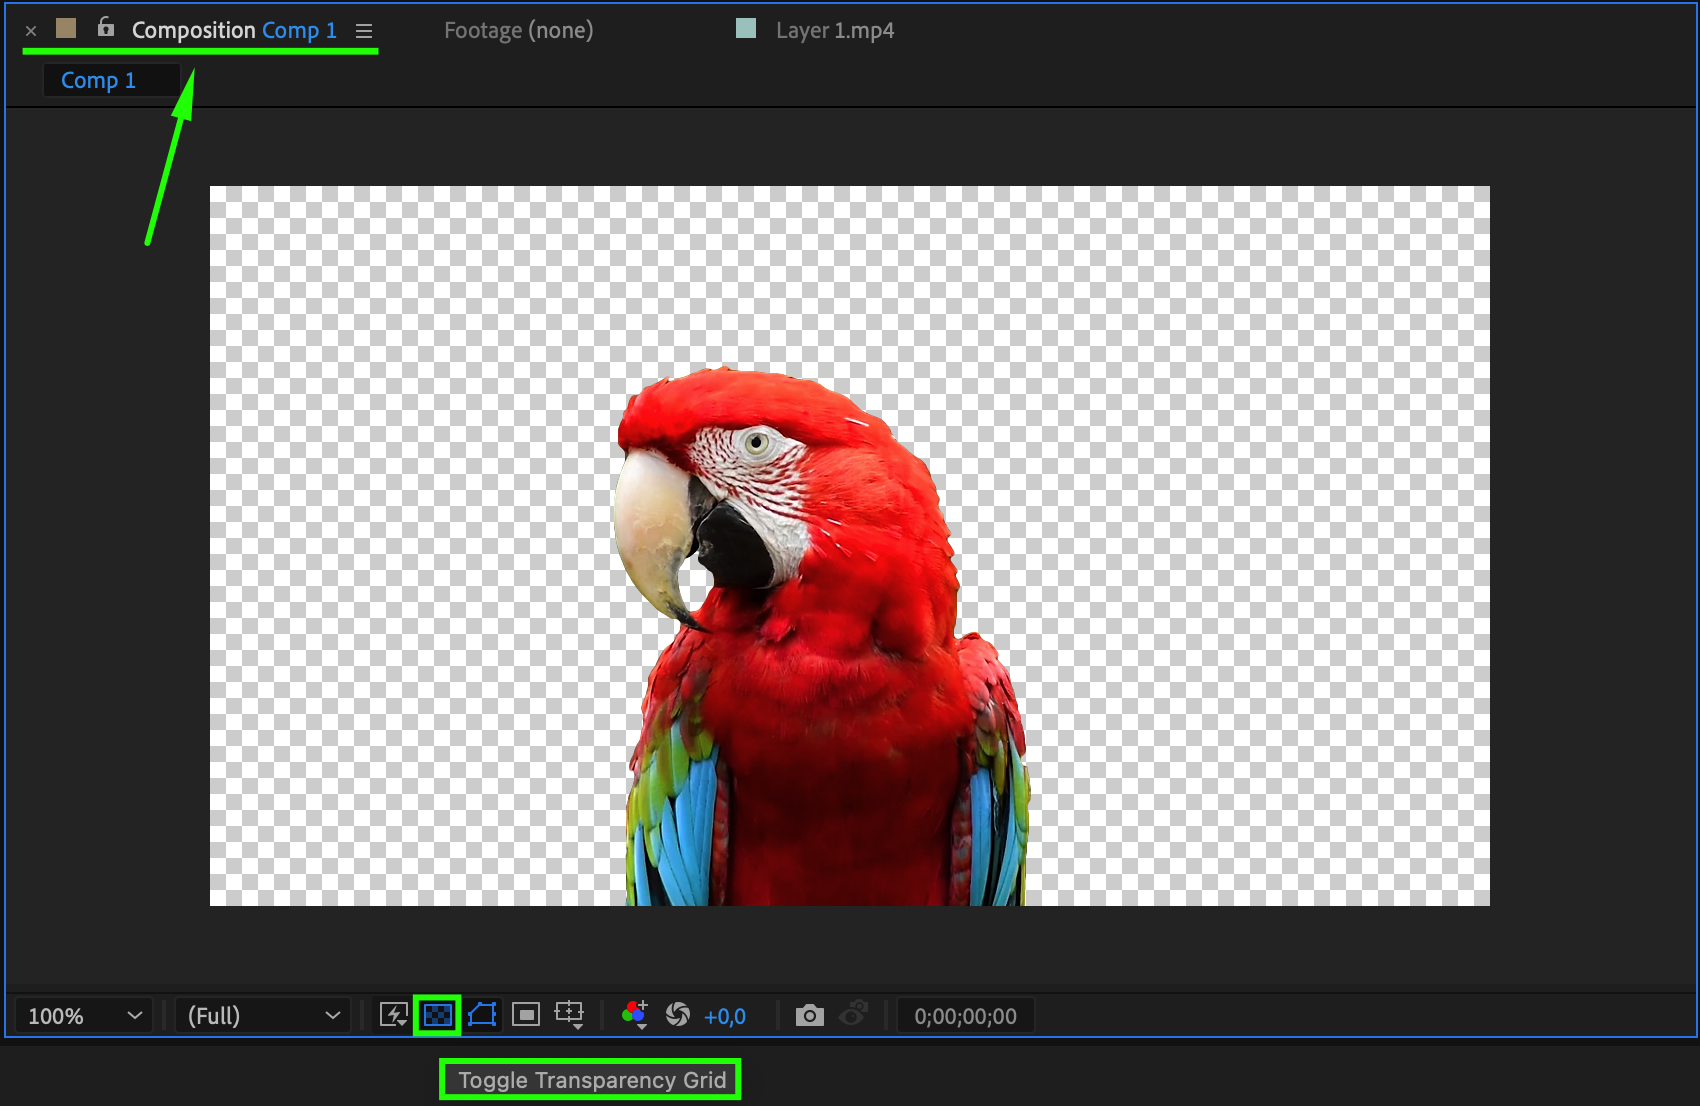
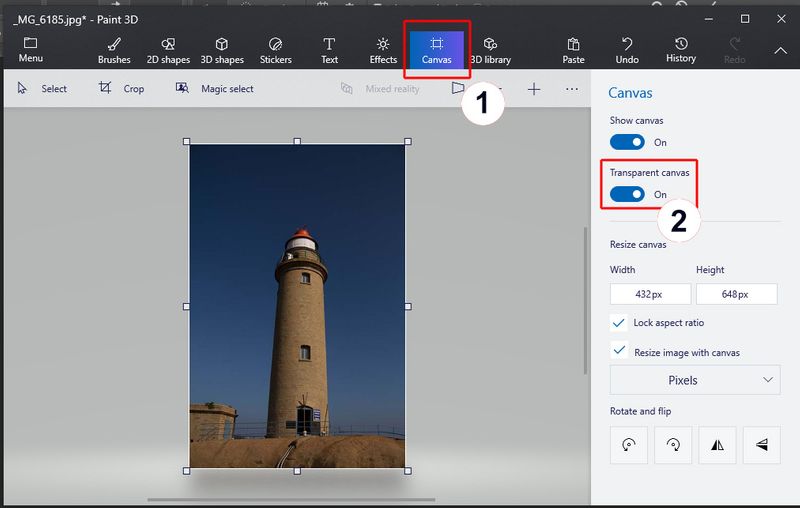
Method 2: Using Desktop Photo Editing Software
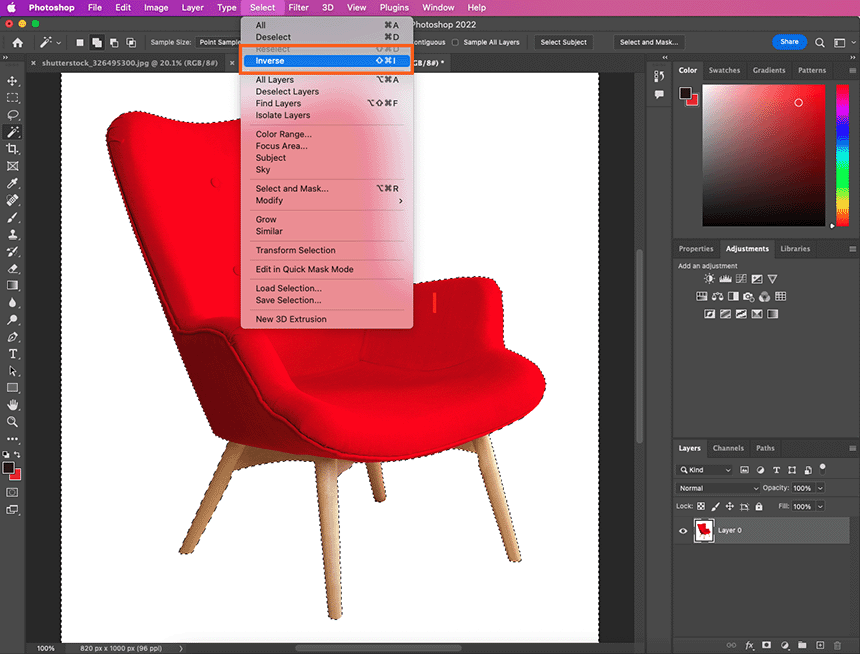
For more precise control and advanced editing capabilities, desktop photo editing software like Adobe Photoshop, GIMP (a free and open-source alternative), and Affinity Photo are excellent choices. These programs offer a range of selection tools, allowing you to meticulously define the area you want to remove.
In Photoshop, the "Magic Wand" tool, the "Lasso" tool, or the "Quick Selection" tool can be used to select the subject. Once selected, you can invert the selection and delete the background, leaving a transparent canvas.
GIMP offers similar tools, including the "Fuzzy Select" tool and the "Scissors Select" tool, providing flexibility for various image complexities.
Method 3: Mobile Apps for On-the-Go Editing
For quick edits directly on your smartphone, several mobile apps offer background removal features. Apps like Background Eraser, PhotoRoom, and PicsArt provide user-friendly interfaces and surprisingly accurate results.
These apps typically offer both automatic and manual selection tools, allowing you to quickly remove backgrounds while on the move. They are perfect for creating social media content or editing product photos for online marketplaces.
Tips for a Seamless Result
Achieving a truly seamless transparent background often requires a bit of finesse. Ensure that the subject of your image has clear edges and good contrast against the background.
When using manual selection tools, zoom in and carefully refine the edges to avoid jagged or unnatural-looking results. Remember to save your final image as a PNG file to preserve the transparency.
Experiment with different tools and techniques to find what works best for your specific image and desired outcome.
Ultimately, mastering the art of transparent backgrounds empowers you to create visually stunning and versatile content. Whether you're designing a professional logo, crafting a personalized meme, or simply enhancing your online presence, the ability to isolate and showcase your subjects will undoubtedly elevate your creative endeavors. So, dive in, experiment, and unlock the magic of transparency!