How To Install Antares Autotune In Fl Studio 20

Achieving that perfect, polished vocal sound often hinges on precise pitch correction. Antares Autotune, an industry-standard plugin, is a go-to solution for many producers. While powerful, installing and configuring it within a Digital Audio Workstation (DAW) like FL Studio 20 can sometimes present a challenge.
This guide provides a comprehensive, step-by-step walkthrough on integrating Antares Autotune into your FL Studio 20 workflow. We'll cover installation, plugin scanning, setting up your mixer track, and basic configuration for optimal performance. Understanding these steps is crucial for producers aiming for professional-sounding vocals within their projects.
Installation and Plugin Scanning
First, ensure you've downloaded the latest version of Antares Autotune from the official Antares website (or authorized reseller) for your operating system (Windows or macOS). Locate the downloaded installer file and double-click to begin the installation process. Follow the on-screen prompts, paying close attention to the installation directory selection.
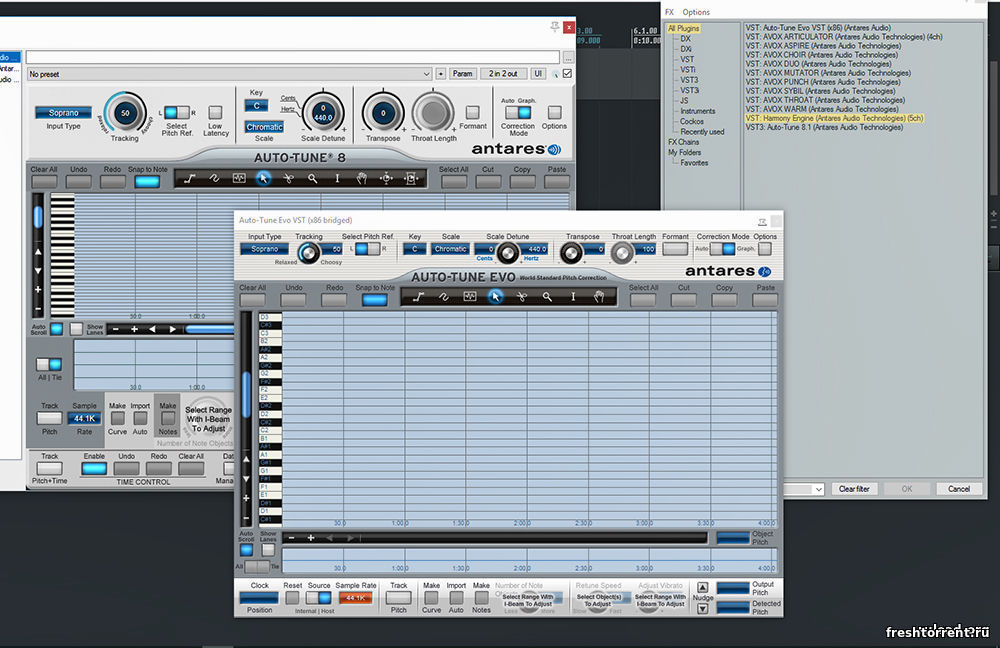
After the installation completes, it's essential to ensure FL Studio 20 recognizes the newly installed plugin. Open FL Studio 20 and navigate to "Options" in the top menu bar. Select "Manage Plugins" to open the plugin manager window.
In the plugin manager, click the "Find plugins" button to initiate a scan of your system. Ensure the "Verify plugins" option is enabled. This process will search for any newly installed plugins, including Antares Autotune.
If Antares Autotune doesn't appear automatically, manually specify the VST plugin folder. The default location on Windows is typically "C:\Program Files\Vstplugins". On macOS, it's usually "/Library/Audio/Plug-Ins/VST".
Once the scan is complete, Antares Autotune should appear in the plugin list. Ensure the box next to its name is checked to activate it. You may need to restart FL Studio 20 for the changes to take effect.
Setting Up the Mixer Track
After installation and scanning, prepare your FL Studio 20 mixer for Autotune. Route the vocal track you want to process to a specific mixer track. This provides a dedicated channel to apply the plugin and control its settings.
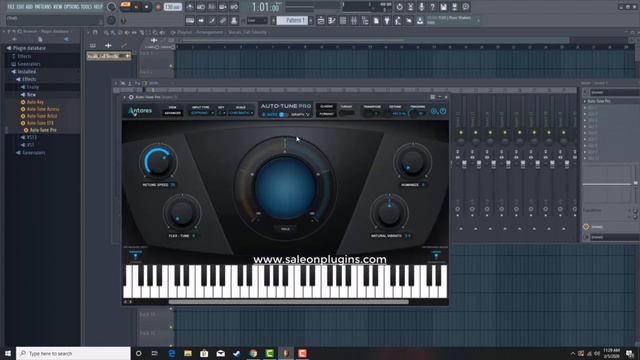
Select the desired mixer track, and click on one of the empty effect slots. From the dropdown menu, navigate to "Select a plugin" and then choose Antares Autotune from the list of installed plugins. Autotune will now be inserted as an effect on that mixer track.
Open the Autotune plugin window by clicking on its name in the effect slot. This will reveal the plugin's interface, where you can adjust its parameters and settings. At this point you can use the vocal track settings inside Autotune to improve the tuning accuracy.
Basic Configuration for Optimal Performance
Configuring Antares Autotune requires understanding its key parameters. The "Retune Speed" setting controls how quickly Autotune corrects pitch deviations. Lower values create a more robotic, artificial sound, while higher values allow for more natural-sounding corrections.
The "Key" and "Scale" settings are crucial for accurate pitch correction. Select the key and scale of your song to ensure Autotune corrects notes towards the correct musical context. Inputting the wrong key will result in unwanted artifacts and incorrect pitch adjustments.
The "Humanize" parameter adds subtle variations to the corrected pitch, making the result sound more natural. Experiment with this setting to find a balance between precise pitch correction and organic vocal performance. Many producers also use the "bypass" button to quickly compare with/without Autotune.
Finally, it's vital to monitor the input gain of your vocal track. Ensure the signal isn't clipping, as this can negatively impact the performance of Autotune. Adjust the input gain on the mixer track to optimize the signal level before it reaches the plugin.
Troubleshooting Common Issues
Sometimes, Autotune may not function correctly after installation. A common issue is incorrect plugin scanning. Double-check that you've scanned the correct VST plugin folder and that the plugin is enabled in the plugin manager.
Another problem can be related to CPU usage. Autotune can be processor-intensive, especially with multiple instances. Increase the buffer length in FL Studio 20's audio settings to reduce CPU load and prevent audio dropouts.
If you encounter persistent issues, consult the Antares website for their official troubleshooting guides and FAQs. Their support team can provide assistance with more complex installation or configuration problems. Keep in mind Antares Autotune is constantly updated with new features.
Looking Ahead
Integrating Antares Autotune effectively into FL Studio 20 unlocks powerful vocal processing capabilities. By following these steps and understanding the plugin's core parameters, producers can achieve polished, professional-sounding vocals. Regularly updating both FL Studio 20 and Antares Autotune is key to maximizing performance and staying current with new features.
As technology evolves, Antares Autotune will continue to develop. Producers should stay informed about upcoming versions, learning resources, and best practices to stay competitive. Mastering the art of vocal production requires continuous learning and adaptation.


![How To Install Antares Autotune In Fl Studio 20 How to use Antares AutoTune in fl studio [EASY] - YouTube](https://i.ytimg.com/vi/Sqf81gV6p1Q/maxresdefault.jpg)