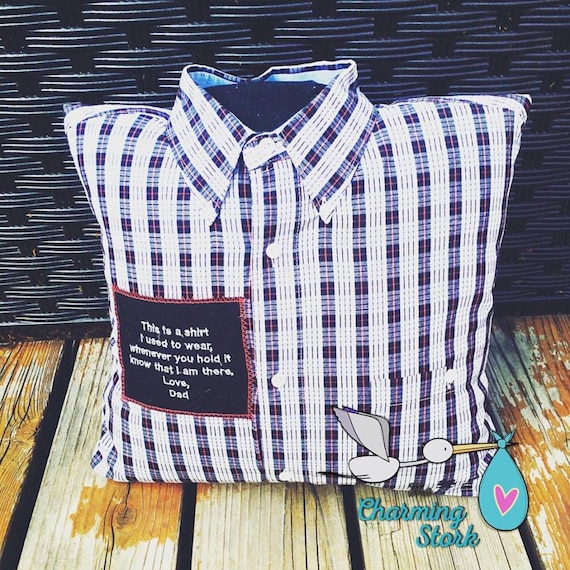
How To Make A Memory Pillow

Time is of the essence. Transform cherished memories into a tangible keepsake by creating your own memory pillow.
This guide provides a straightforward, step-by-step process to craft a personalized pillow using fabric scraps, photos, or any meaningful materials. Let's preserve your precious moments!
Gather Your Supplies
First, assemble the necessary materials. You will need fabric for the pillow cover – approximately 1/2 yard for a standard size.
Gather your chosen memory items: photos, fabric scraps, old clothing, letters, or any items you want to incorporate. Purchase pillow stuffing or use an old pillow's filling.
Additional tools include a sewing machine (optional but recommended), scissors, pins, a measuring tape or ruler, iron, and thread.
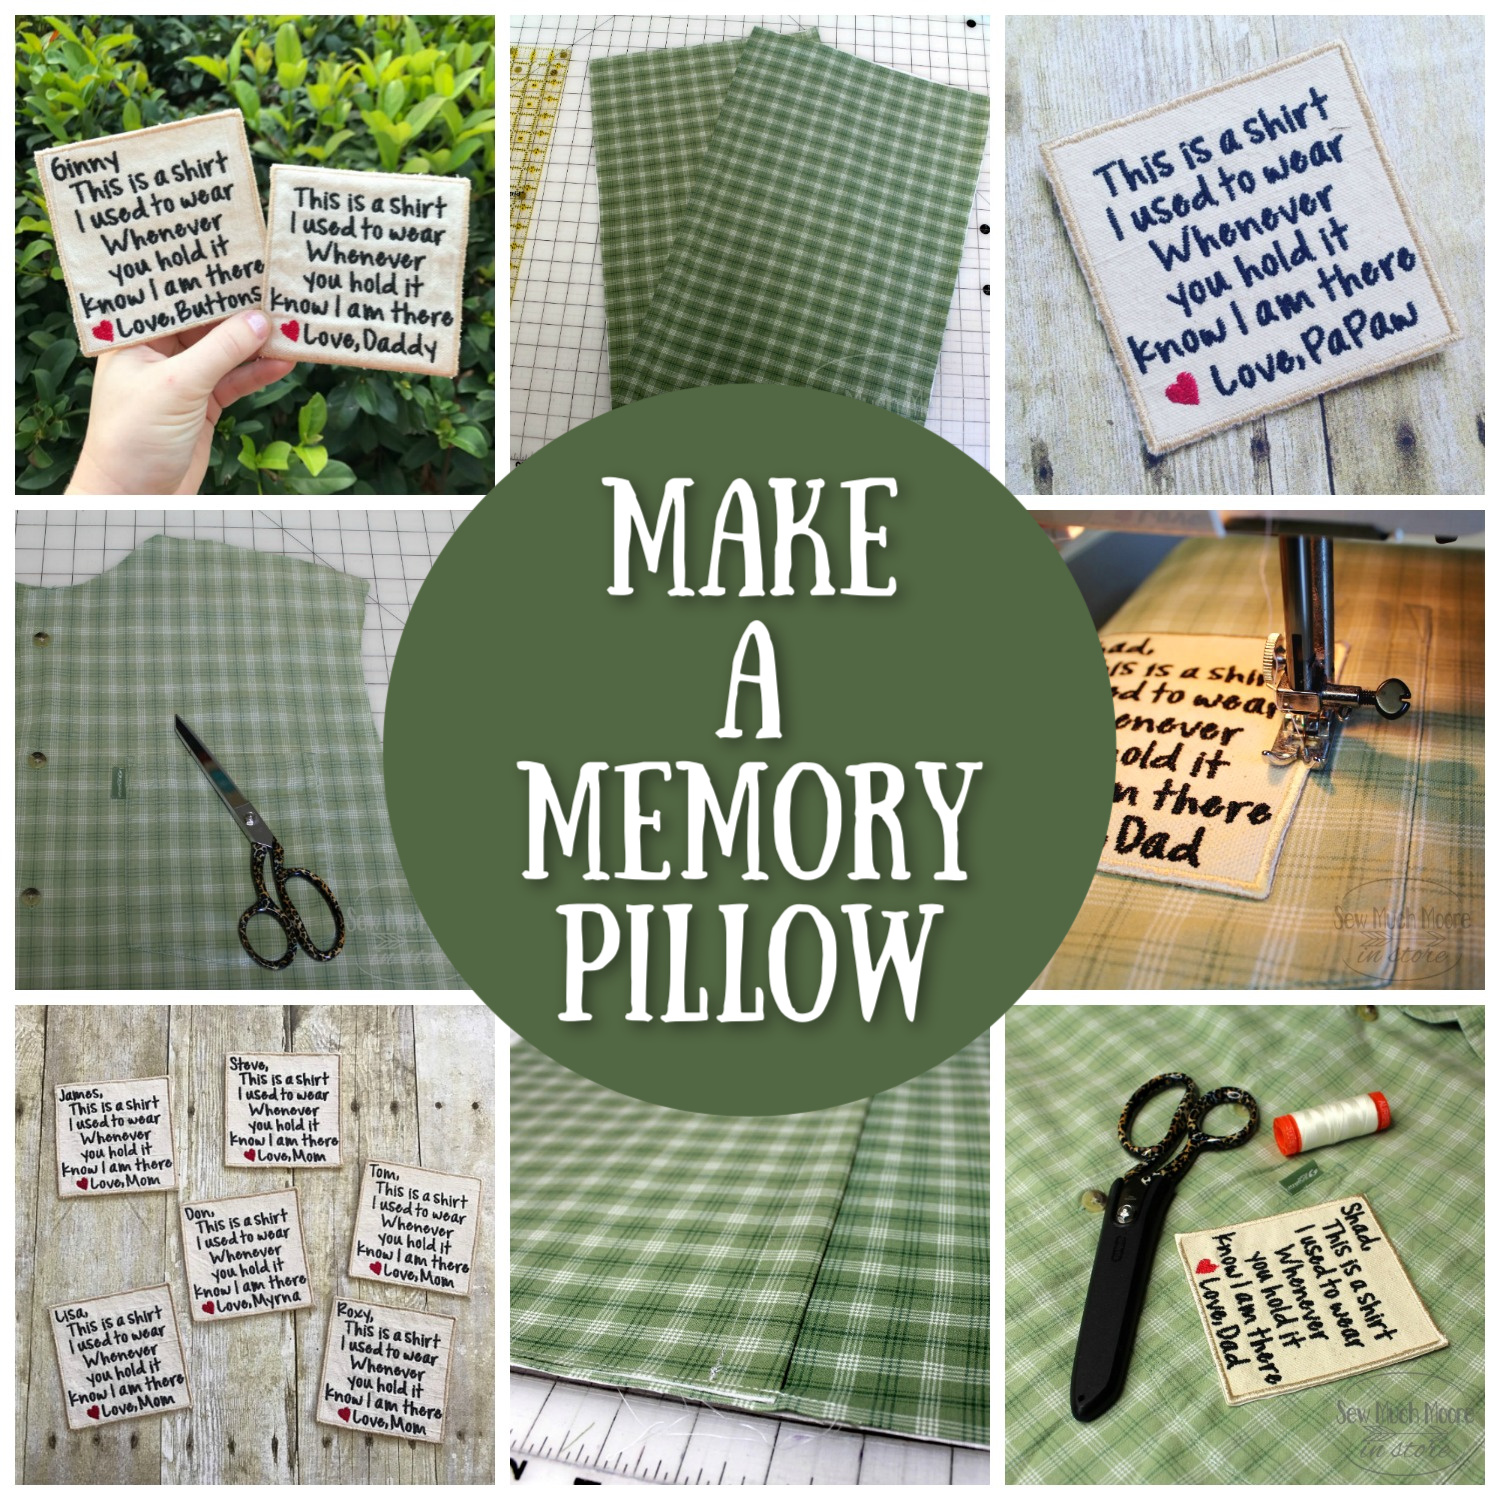
Prepare the Memory Items
If using photos, print them on fabric transfer paper. Ensure they are appropriately sized for your pillow.
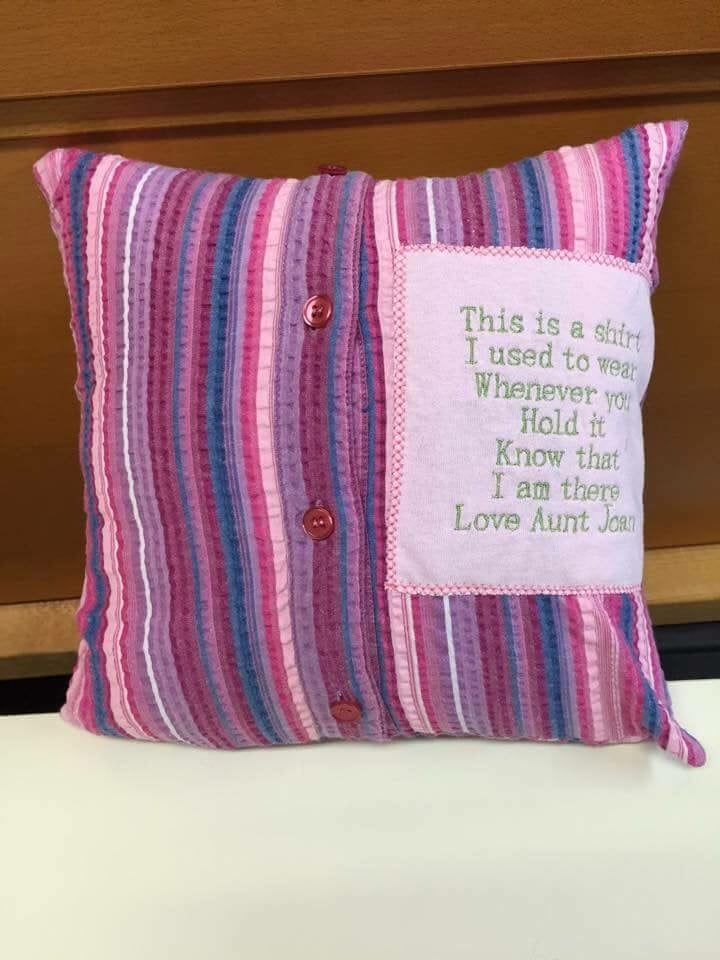
For fabric scraps or clothing, cut them into desired shapes or sizes. Consider the overall design and arrangement on your pillow.
If using delicate items like letters, protect them by laminating or encasing them in a clear fabric overlay.
Create the Pillow Front
Arrange your prepared memory items on one piece of fabric. This will be the front of your pillow.
If using fabric transfers, follow the manufacturer's instructions to iron the photos onto the fabric. Ensure proper adhesion to prevent peeling.
For fabric scraps, pin them securely onto the fabric, creating your desired design. Overlap the edges to ensure a secure hold while sewing.
Sew the Pillow Front
Using a sewing machine or hand-sewing, stitch the memory items onto the fabric. Use a straight stitch or a decorative stitch for added visual appeal.
Reinforce the edges of each item to prevent them from detaching. A zig-zag stitch can be helpful for securing irregular shapes.
If you're using delicate or irreplaceable items, consider hand-sewing them for greater control and precision.
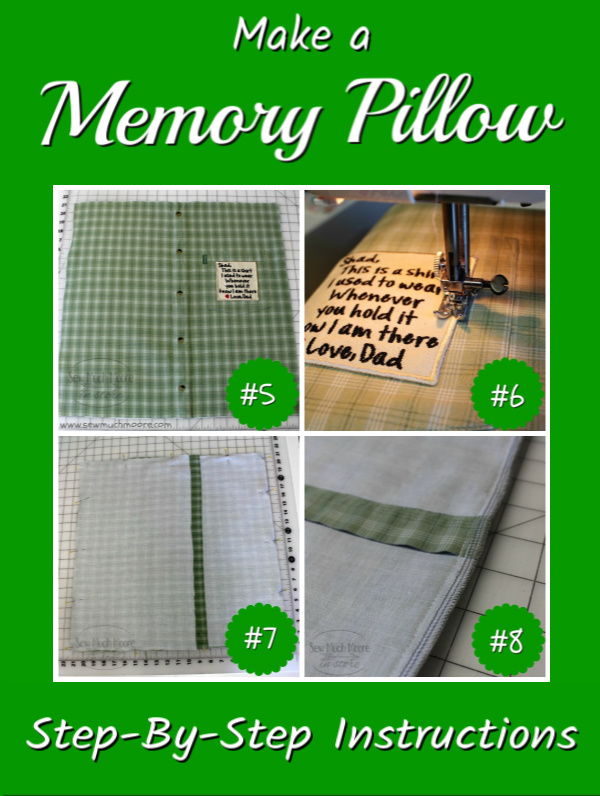
Construct the Pillow Cover
Cut the second piece of fabric to the same size as the pillow front. This will be the back of your pillow cover.
Place the pillow front and back with their right sides together. Pin the edges together, leaving a 6-inch opening on one side.
Sew around the perimeter of the pillow, using a 1/2-inch seam allowance. Remember to leave the opening unstitched.
Turn and Stuff the Pillow
Carefully turn the pillow cover right side out through the opening. Use a blunt object to push out the corners and ensure a neat finish.
Begin stuffing the pillow with your chosen filling. Add small amounts at a time, ensuring even distribution throughout the pillow.
Once the pillow is filled to your desired firmness, fold in the edges of the opening. Pin the opening closed.
Close the Opening
Using a needle and thread, hand-stitch the opening closed. Use a blind stitch for an invisible finish.
Ensure the stitches are secure to prevent the filling from escaping. Reinforce the corners for added durability.
Iron the finished pillow to smooth out any wrinkles. Admire your personalized memory pillow!
Alternative Methods
Consider a no-sew option using fabric glue. This method is quicker but may not be as durable as sewing.
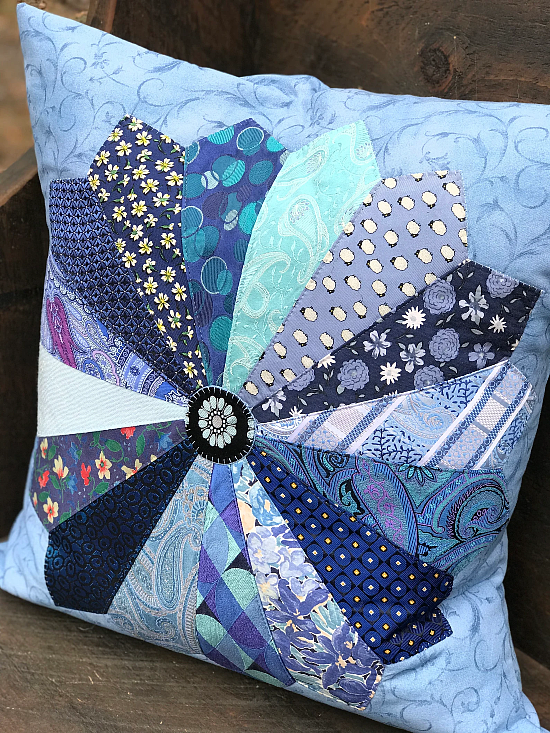
Another alternative is creating a patchwork pillow. Sew together small squares or rectangles of fabric to create a unique design.
Experiment with different embellishments such as buttons, ribbons, or embroidery for added personalization.
Additional Tips and Considerations
Wash fabrics beforehand to prevent shrinkage after the pillow is completed. This is particularly important for old clothing items.
Use a sharp needle and high-quality thread for best results. A dull needle can damage the fabric and make sewing difficult.
Consider adding a zipper or envelope closure to the pillow cover for easy removal and washing. This is especially useful if you plan to use the pillow frequently.
For pillows containing irreplaceable items, consider placing the completed pillow inside a decorative pillowcase for added protection.
Ongoing Developments
Numerous online resources and tutorials offer inspiration and guidance. Explore platforms like Pinterest and YouTube for design ideas and sewing techniques.
Local craft stores often offer workshops and classes on sewing and fabric crafts. Consider attending one to improve your skills and learn new techniques.
Share your completed memory pillow projects online and inspire others to create their own cherished keepsakes.