How To Make Crown From Paper

In an era dominated by digital distractions and mass-produced goods, the simple act of crafting something with one's own hands offers a grounding antidote. Few projects embody this accessible creativity quite like the creation of a paper crown, a universally recognized symbol of authority and celebration, achievable with minimal materials and maximum imagination.
This article serves as a comprehensive guide to crafting a paper crown, detailing several methods from the simplest construction for impromptu play to more intricate designs suitable for festive occasions. We'll explore the necessary materials, step-by-step instructions, and creative embellishments to transform ordinary paper into a regal masterpiece.
Essential Materials
The beauty of paper crown creation lies in its accessibility. Most of the required materials are likely already available in your home or classroom.
- Paper: Cardstock provides durability, while construction paper offers vibrant colors. Printer paper can also be used, though it may require reinforcement.
- Scissors: A sharp pair of scissors is crucial for clean cuts and intricate designs.
- Adhesive: Glue sticks, tape, or liquid glue can be used to secure the crown's structure.
- Measuring Tools: A ruler or measuring tape will help ensure the crown fits comfortably.
- Embellishments (Optional): Markers, crayons, glitter, sequins, stickers, and faux gems can add a personalized touch.
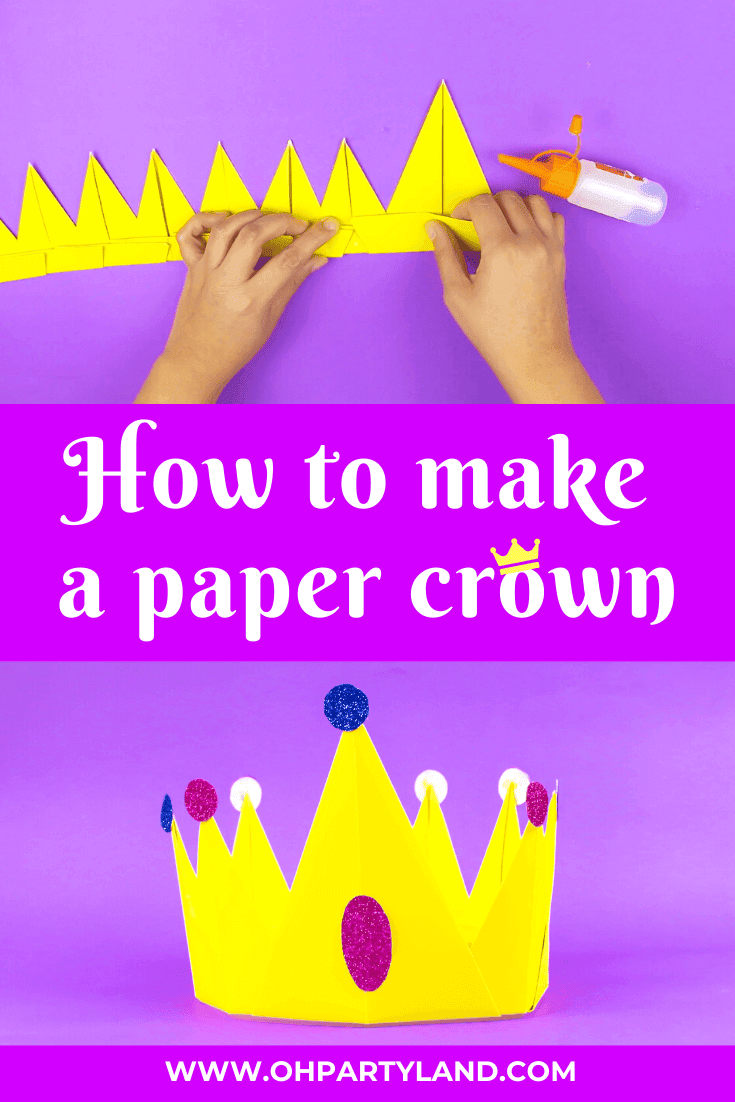
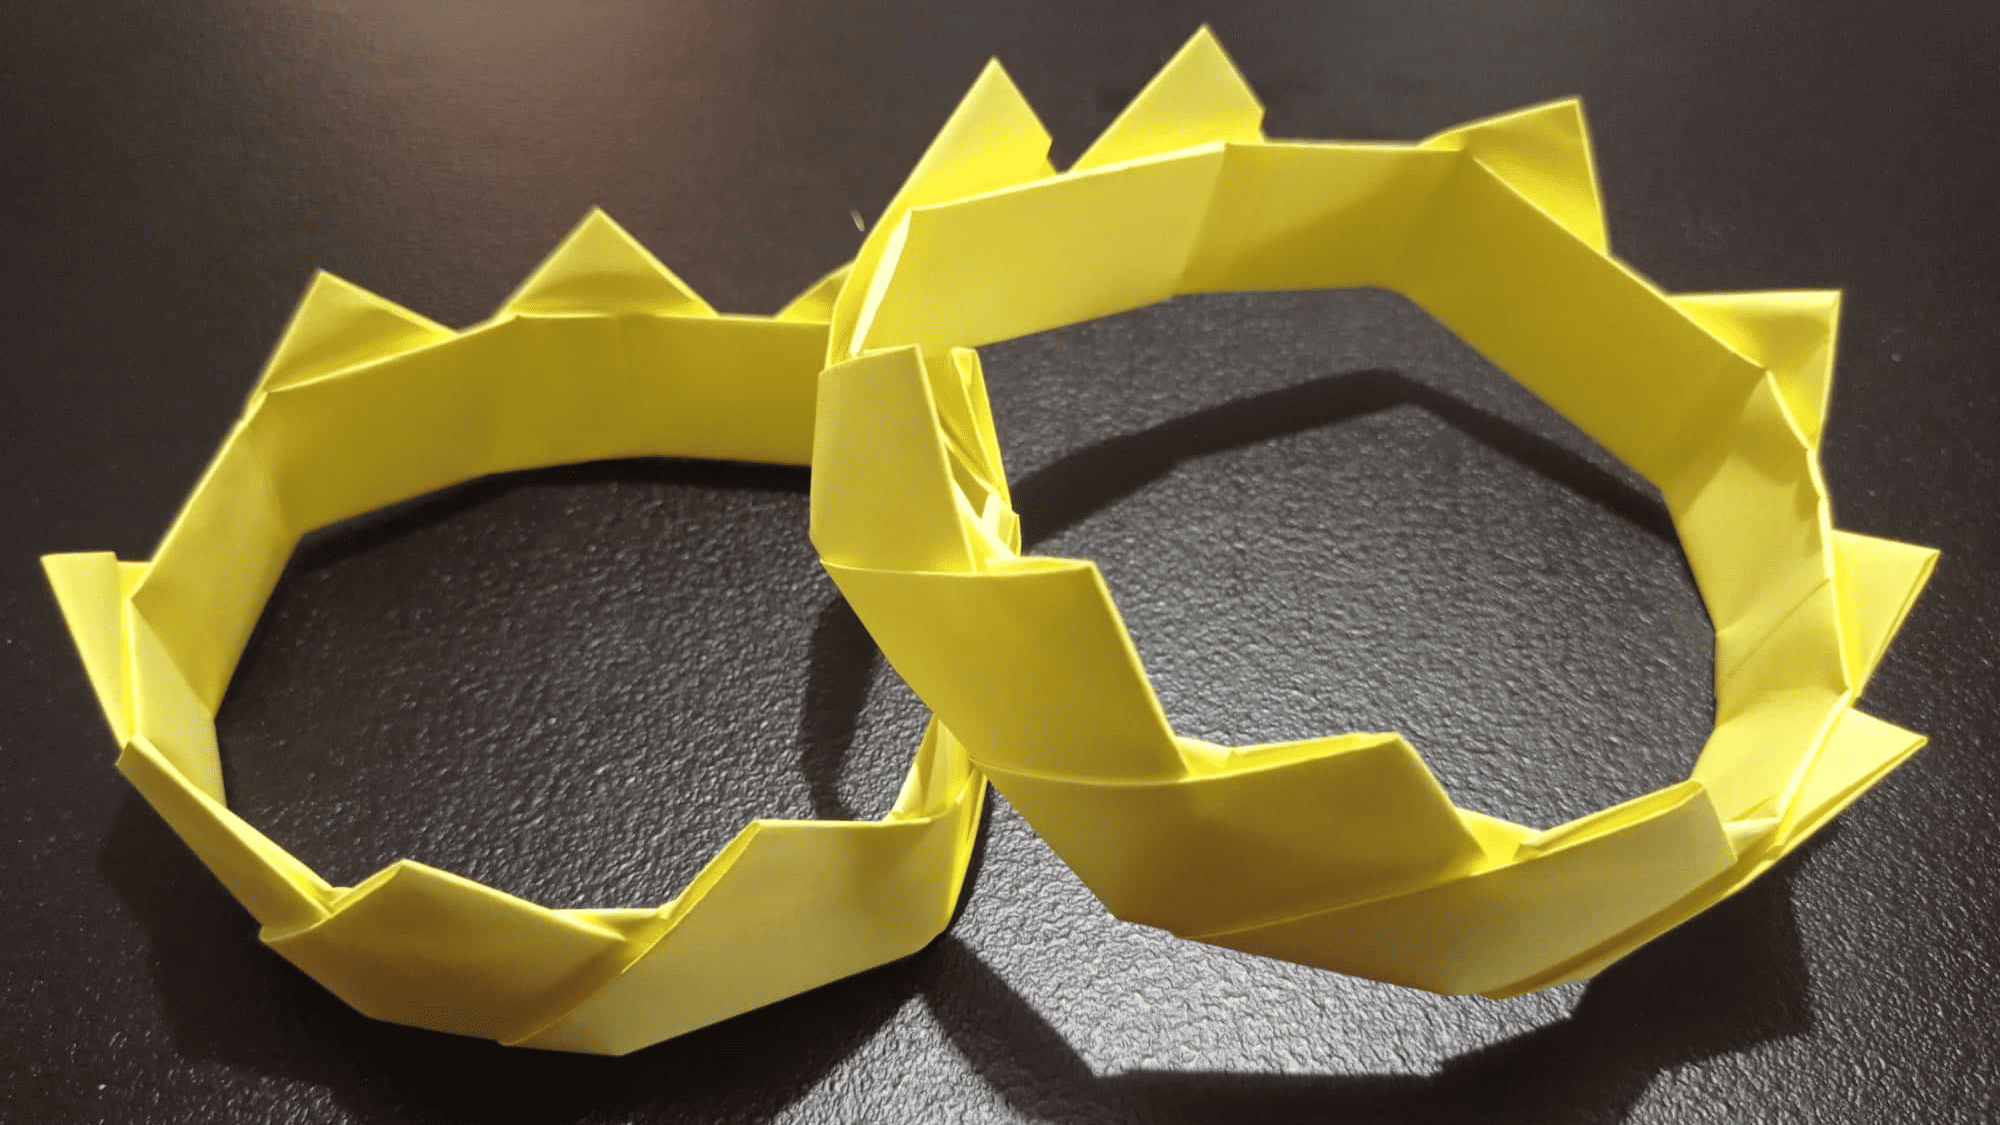
Method 1: The Classic Strip Crown
This method is perfect for beginners and children due to its simplicity and speed. It involves creating a strip of paper with crown-shaped cutouts along the top edge.
Step 1: Measure and Cut the Strip
Measure the circumference of the wearer's head with a measuring tape. Add an extra inch or two for overlap and securing the crown.
Cut a strip of paper to the appropriate length and desired width (typically 2-4 inches).
Step 2: Create the Crown Points
Fold the strip in half lengthwise to create a crease. This will serve as a guide for the crown points.
Cut triangular or rectangular shapes along the folded edge to form the crown's points. Experiment with different shapes and sizes.
Step 3: Secure the Crown
Wrap the strip around the wearer's head to determine the overlap. Apply glue or tape to secure the ends together.
Allow the adhesive to dry completely before wearing.
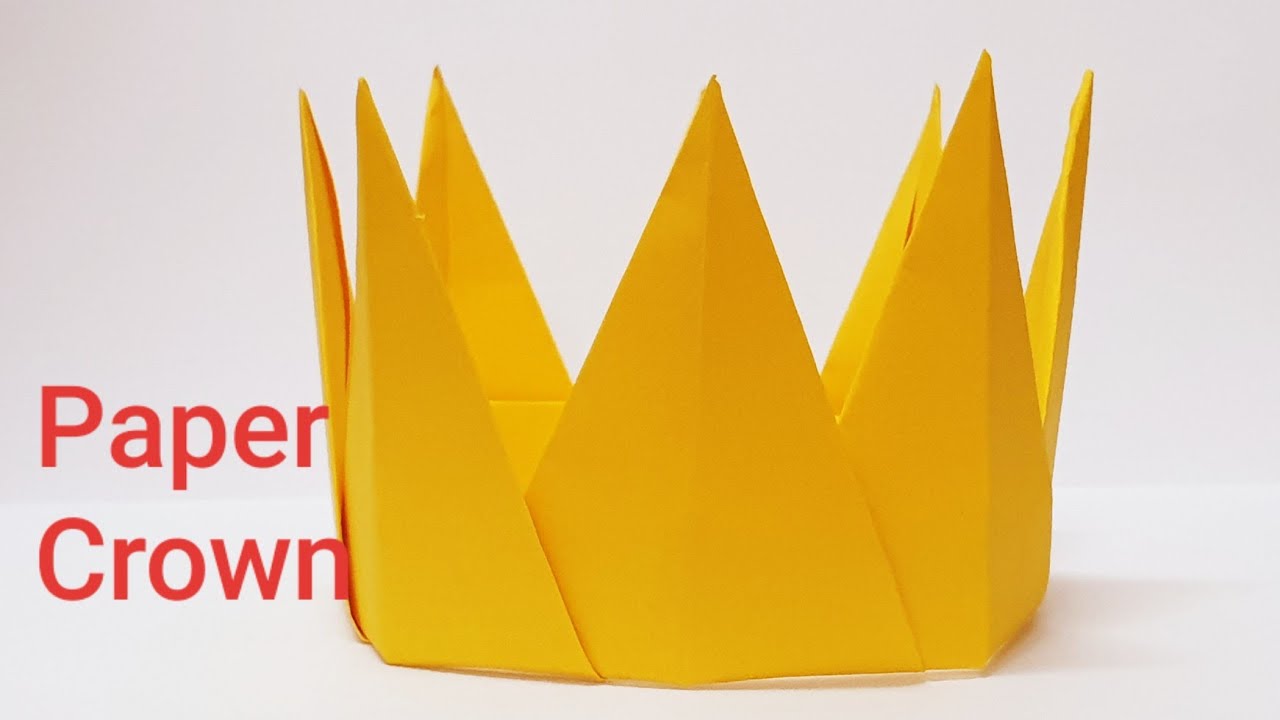
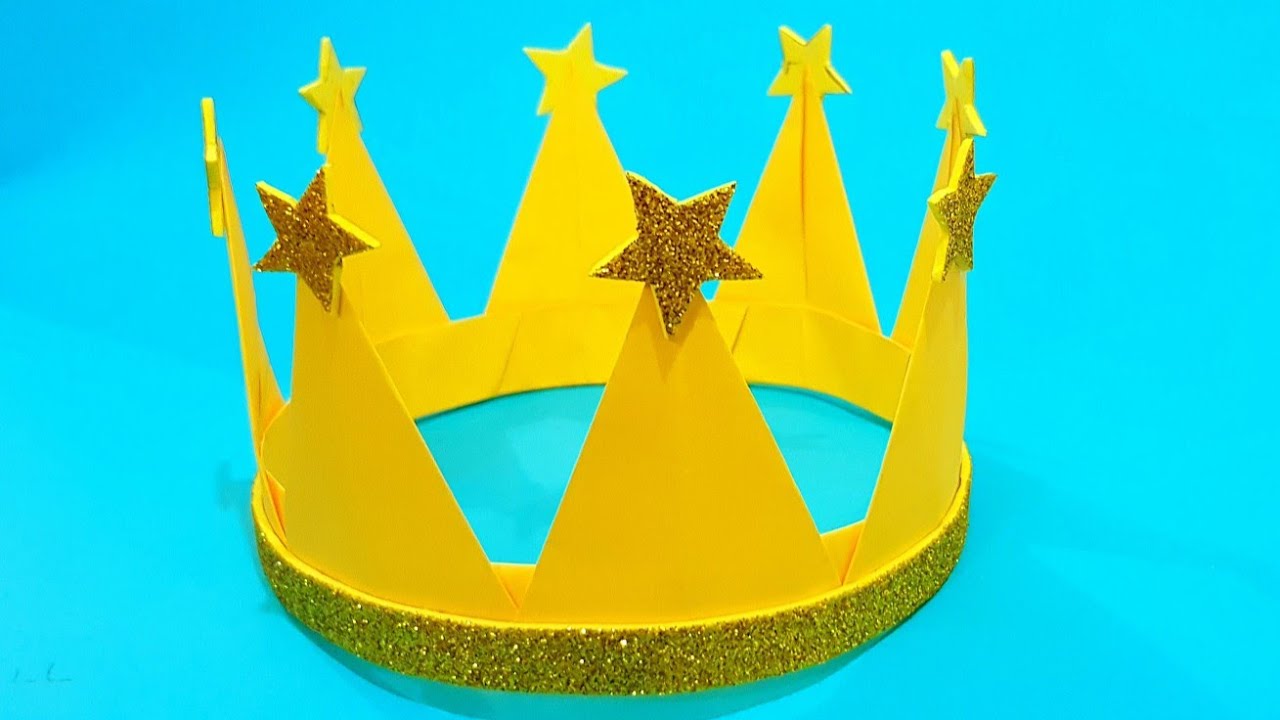
Method 2: The Cone Crown
The cone crown offers a more three-dimensional appearance. It is constructed from a paper cone with decorative edges.
Step 1: Create the Cone Shape
Start with a square or rectangular piece of paper. Roll the paper into a cone shape, adjusting the size to fit the wearer's head.
Secure the overlapping edges with glue or tape.
Step 2: Trim the Base and Create the Crown Points
Trim the base of the cone to create a level edge. This will ensure the crown sits comfortably.
Cut decorative shapes along the top edge of the cone to create the crown points. Be creative with the shapes you choose.
Step 3: Reinforce and Embellish (Optional)
Reinforce the base of the crown with an additional strip of paper glued around the inside. This will add durability.
Decorate the cone crown with markers, glitter, or other embellishments as desired.
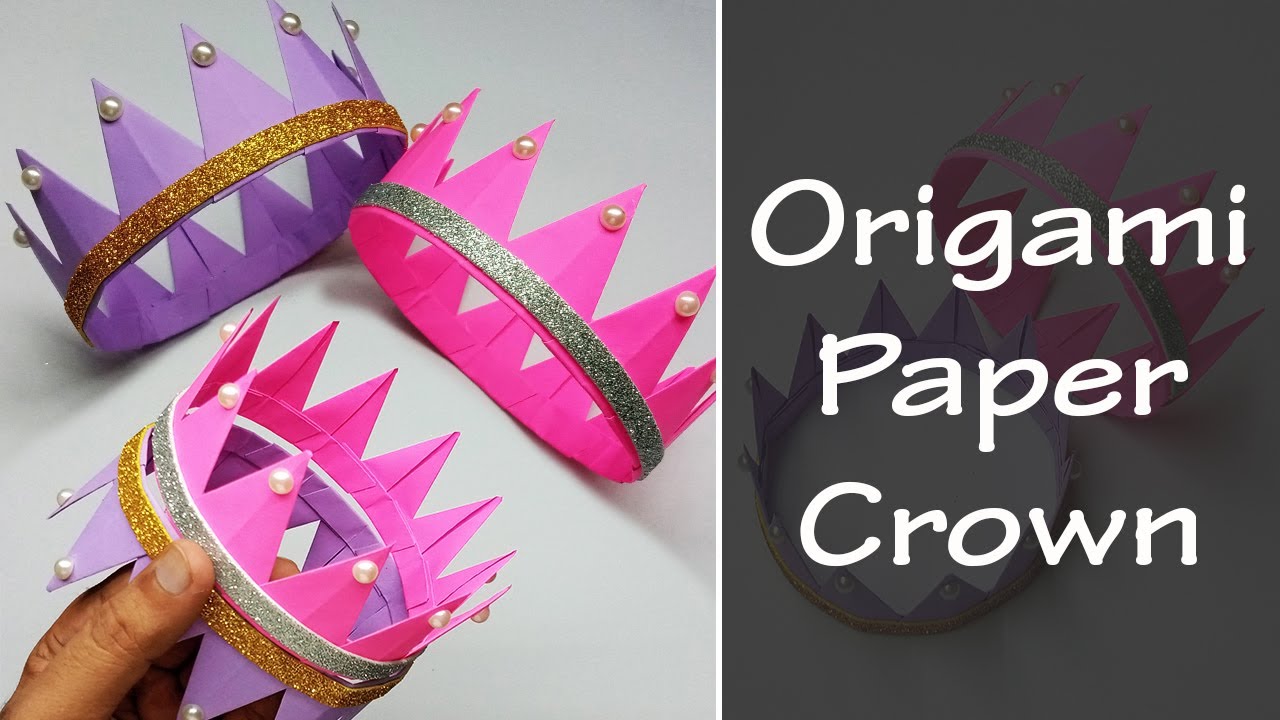
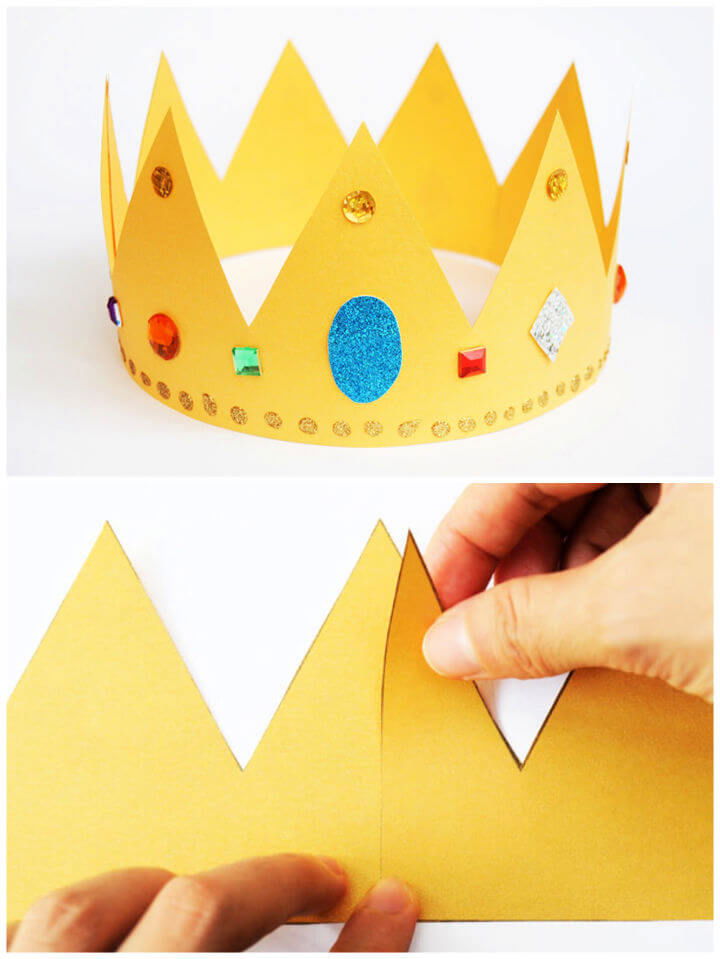
Method 3: The Intricate Cut-Out Crown
This method requires more patience and precision, but the results are stunning. It involves cutting intricate patterns and shapes into a wider band of paper.
Step 1: Prepare the Paper Band
Cut a wide band of cardstock or heavy paper. The width should be at least 4 inches to allow for detailed cutouts.
Measure the circumference of the wearer's head and add an extra inch or two for overlap.
Step 2: Design and Cut the Patterns
Draw or trace a design onto the paper band. Consider geometric patterns, floral motifs, or personalized symbols.
Carefully cut out the design using scissors or a craft knife. A cutting mat can protect your work surface.
Step 3: Secure and Embellish
Wrap the cut-out band around the wearer's head and secure the ends with glue or tape. Be sure the edges are aligned properly.
Embellish the crown with glitter, gems, or paint to enhance the intricate details.
Creative Embellishments and Personalization
Beyond the basic construction, the true magic of paper crown creation lies in the embellishments. This is where individual creativity can truly shine.
Consider adding glitter for a touch of sparkle, sequins for a regal shimmer, or faux gems for a truly royal appearance. Markers and crayons can be used to add color and personalized designs.
Stickers, feathers, and even fabric scraps can be incorporated to create unique and personalized crowns. Don't be afraid to experiment and let your imagination guide you.
The Enduring Appeal of Paper Crafts
In an increasingly digital world, the tangible act of creating something with one's hands offers a unique sense of accomplishment. Paper crafts, like making paper crowns, provide an accessible and affordable outlet for creativity, suitable for all ages and skill levels.
Beyond the immediate enjoyment of the craft, creating paper crowns can foster creativity, problem-solving skills, and fine motor development, especially in children.
The simple act of transforming ordinary paper into a symbol of royalty and celebration can bring joy and a sense of empowerment to both the creator and the wearer, proving that sometimes the simplest things are the most rewarding.