How To Print All Layouts In Autocad

CAD professionals face constant pressure to deliver, and wasting time on repetitive tasks is unacceptable. Automating the printing of all layouts in AutoCAD is crucial for efficiency and meeting deadlines.
Streamline Your AutoCAD Workflow: Batch Printing All Layouts
This guide provides a step-by-step approach to printing all layouts in AutoCAD, saving you valuable time and minimizing errors.
The Essentials
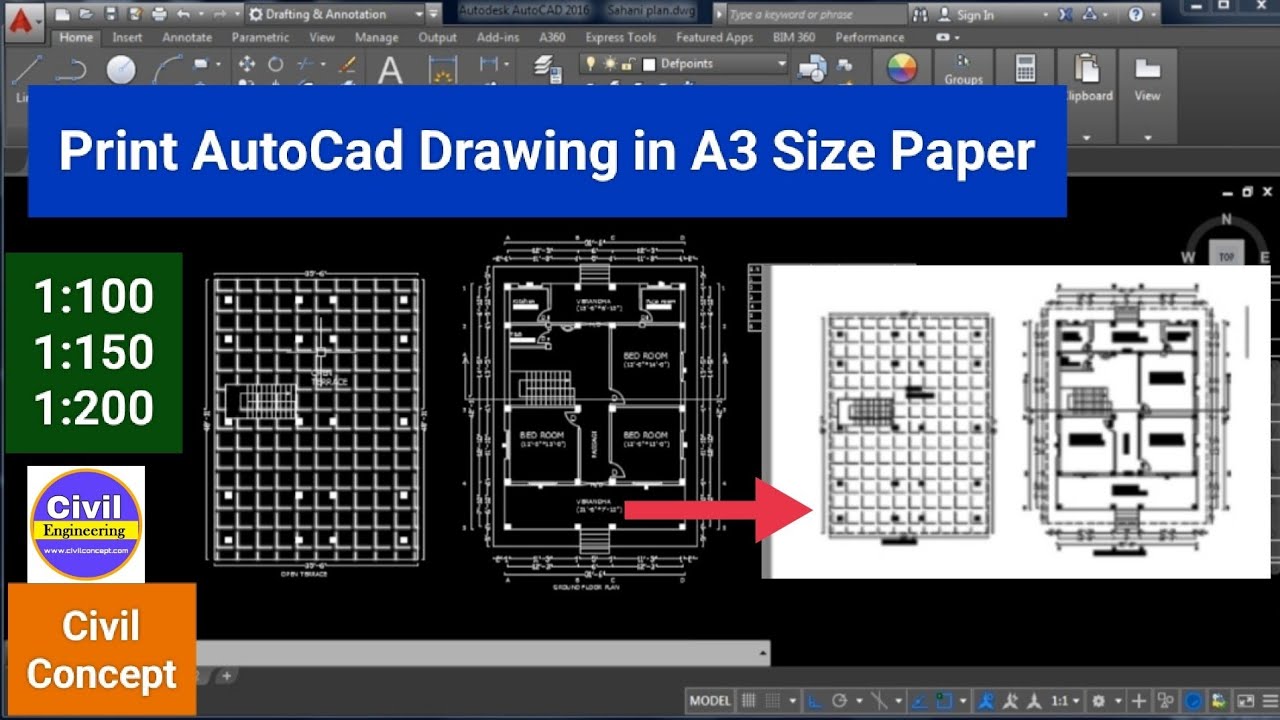
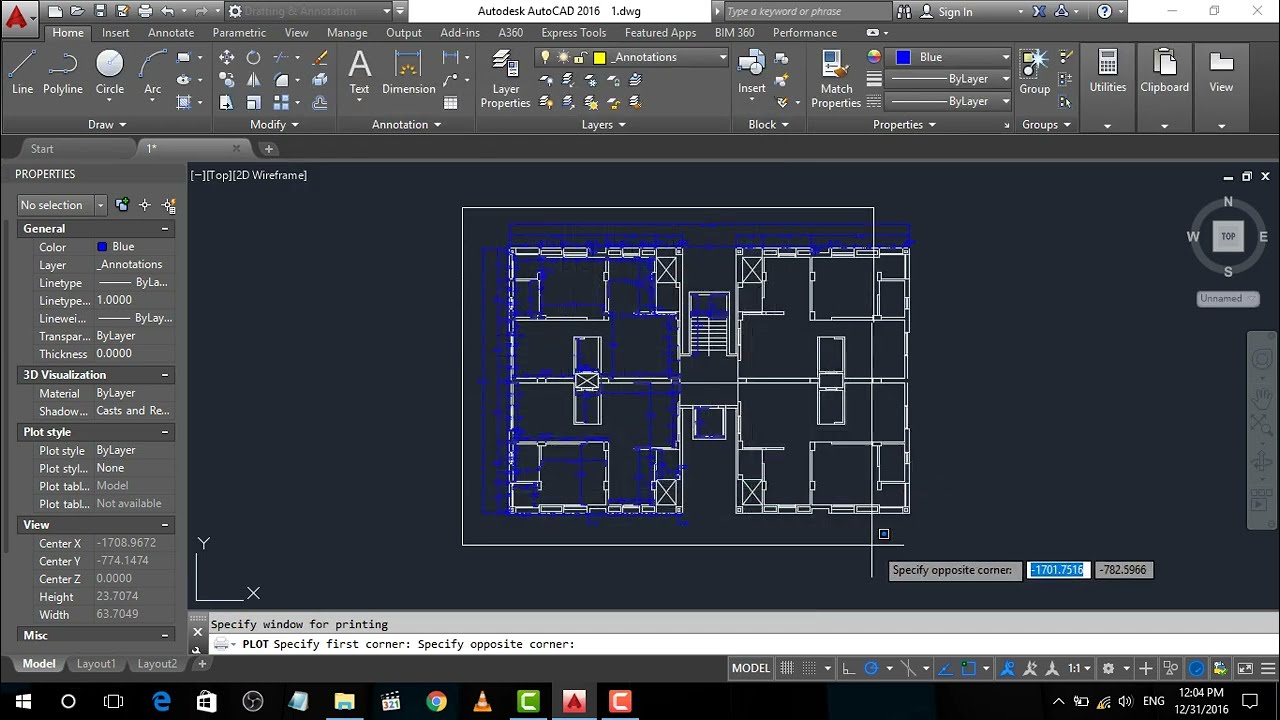
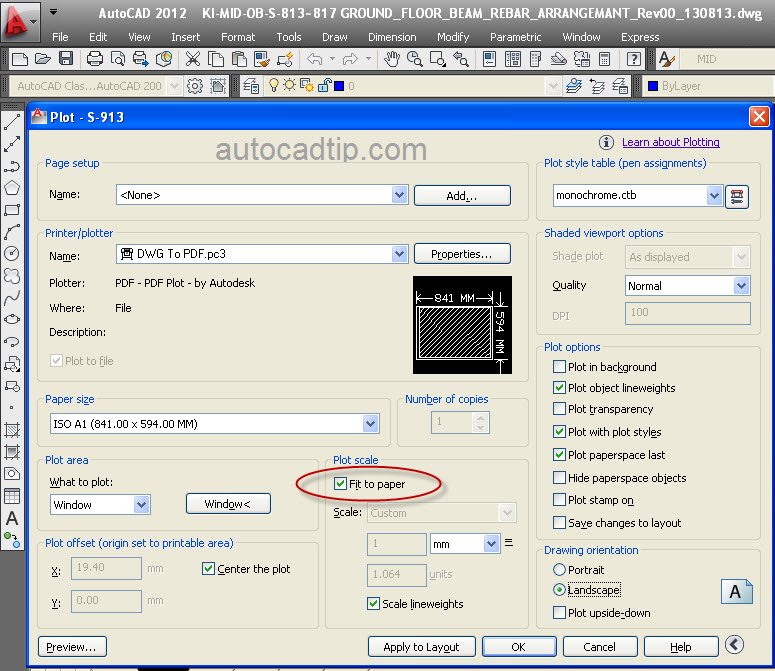
Before diving in, ensure your printer is properly configured within AutoCAD. Verify that the correct drivers are installed and that the paper size and orientation are set according to your needs.
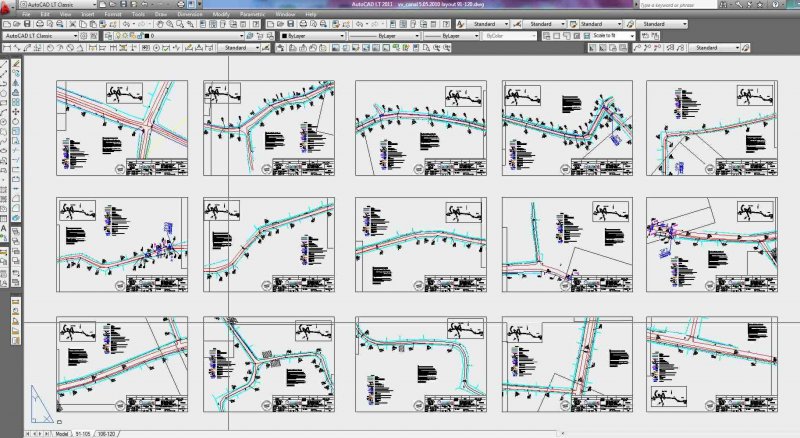
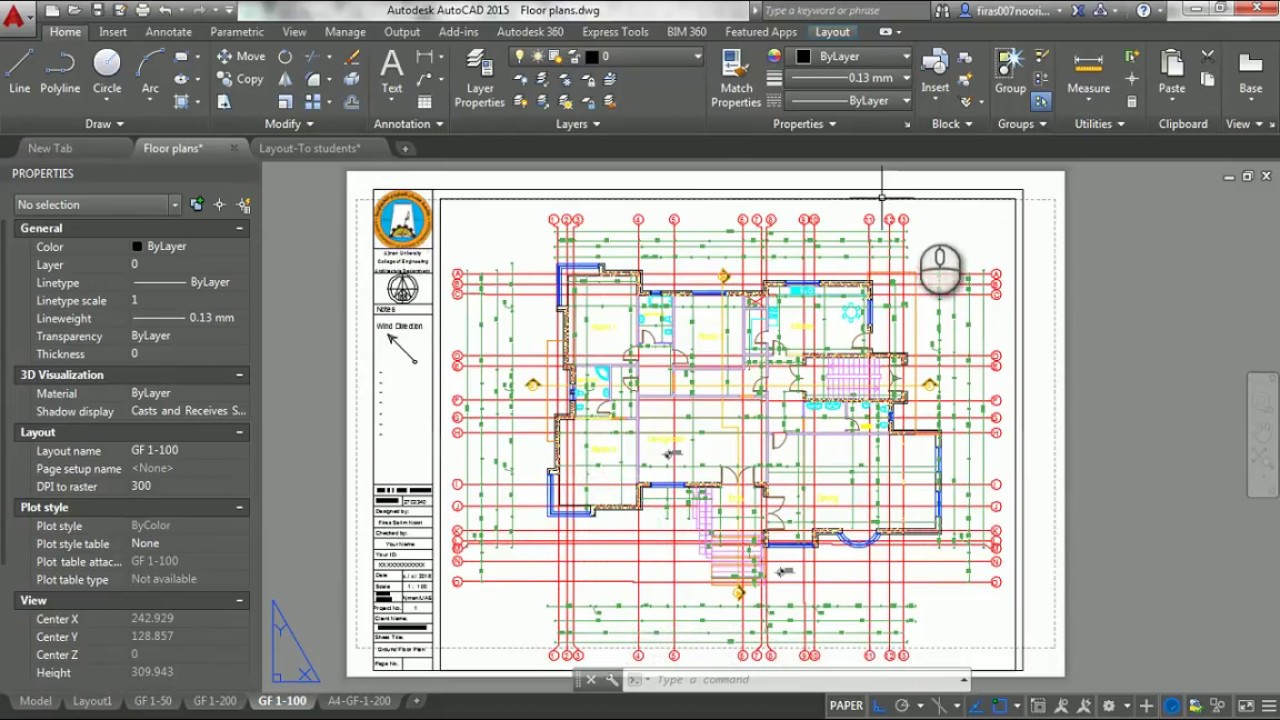
Method 1: Using the PUBLISH Command
The PUBLISH command is AutoCAD's built-in tool for batch plotting. It's powerful and efficient, allowing you to define a set of layouts for printing.
To use it, type PUBLISH in the command line and press Enter. The Publish dialog box will appear.
In the Publish dialog box, click the "Add Sheets" button. Select the layouts you wish to include in the batch print. You can select all layouts at once by holding down Ctrl/Cmd + A.
Arrange the layouts in the desired printing order. Use the "Move Up" and "Move Down" buttons to adjust the sequence.
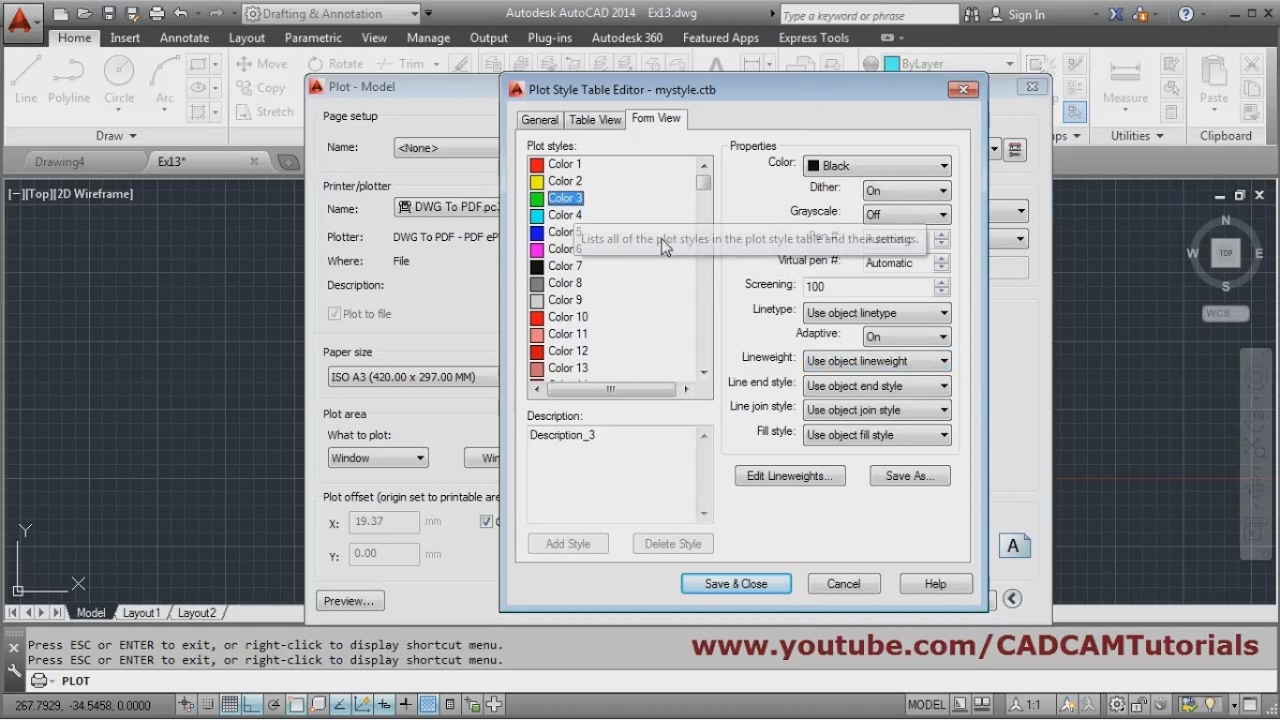
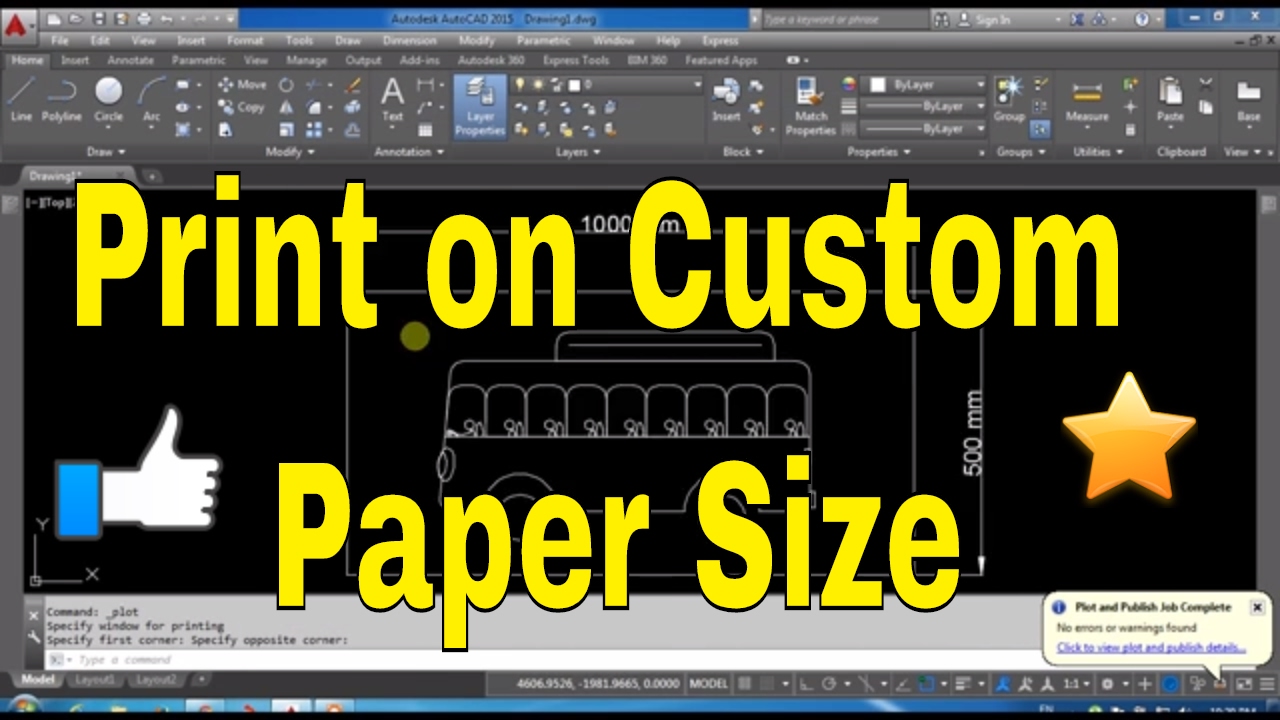
Select your desired plot settings. These include printer name, paper size, plot style table, and other plot options. You can select an existing plot configuration file (.pc3) or adjust the settings manually.
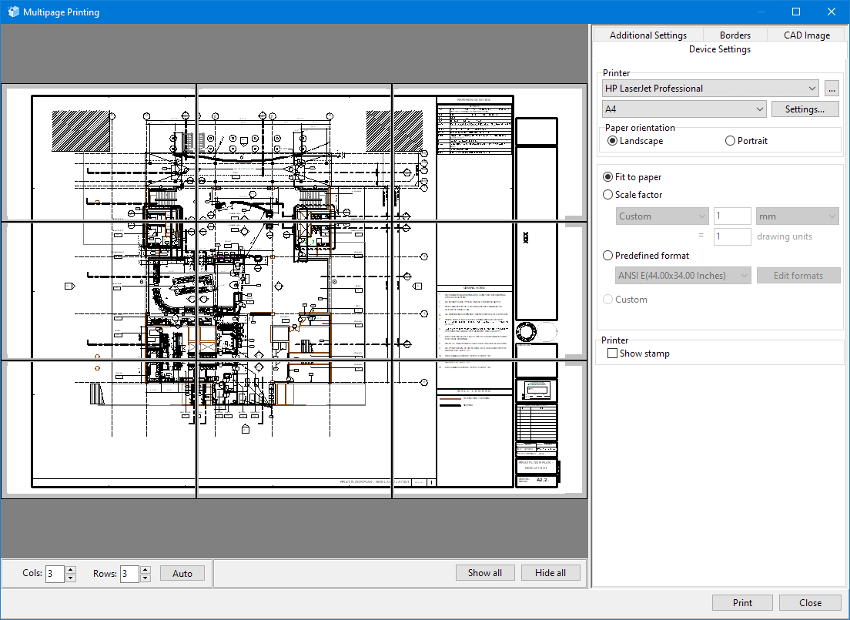
Choose an output location for the printed files. You can either print directly to the printer or create a multi-page PDF file.
Click the "Publish" button. A prompt will appear asking if you want to save the current list of sheets. Saving the list allows you to quickly repeat the publishing process in the future.
Method 2: Using the Batch Plot Utility
AutoCAD also offers a dedicated Batch Plot utility. This provides a more streamlined interface specifically for batch printing tasks.
Access the Batch Plot utility by going to the Application Menu (the AutoCAD logo in the top-left corner), then selecting "Print" and then "Batch Plot."
The Batch Plot dialog box will resemble the Publish dialog box. Follow the same steps as outlined above for adding sheets, arranging them, and configuring plot settings.
In the Batch Plot dialog, confirm the settings such as plot device, plot style table, and output options. Ensure "Plot to file" is unchecked to print directly to the selected printer.
Click "Publish" to initiate the batch printing process. The utility will process each layout according to your specified settings.
Troubleshooting Common Issues
If you encounter errors, double-check your printer connection and driver status. Also, verify that the plot settings are appropriate for each layout.
Incorrect paper size settings can lead to truncated prints. Always confirm the paper size matches the layout dimensions.
Plot style table errors can cause unexpected color or lineweight variations. Ensure the correct plot style table is selected and that it is properly configured.
Update: Some users have reported issues with specific printer drivers. Consider updating to the latest driver version or trying a different driver if problems persist.
Next Steps and Ongoing Developments
Mastering batch printing is crucial for efficiency. Regularly review your plot settings and explore advanced features of the PUBLISH command.
Keep an eye on AutoCAD updates. Autodesk often introduces enhancements and bug fixes related to printing and plotting functionality.
For further assistance, consult the official AutoCAD documentation or seek support from the Autodesk community forums. Collaboration and knowledge sharing are key to overcoming challenges and optimizing your workflow.