How To Print An Image A Certain Size

In an increasingly visual world, the ability to accurately reproduce images at specific sizes is crucial. From crafting professional marketing materials to preserving cherished memories in tangible form, the demand for precise image printing is widespread. Yet, the process often feels shrouded in technical jargon, leaving many frustrated with results that don't match their vision.
This article demystifies the process of printing images at a desired size, offering a comprehensive guide suitable for both beginners and experienced users. We will explore the fundamental concepts of resolution, aspect ratio, and scaling, providing step-by-step instructions and practical tips. Whether you're aiming for a wallet-sized photo or a large-format poster, mastering these techniques will empower you to achieve consistently accurate and visually appealing prints.
Understanding Key Concepts
Before diving into the how-to, it's essential to grasp the core principles that govern image printing. These include resolution, measured in dots per inch (DPI) or pixels per inch (PPI), and aspect ratio, the proportional relationship between an image's width and height.
Resolution: The Foundation of Sharpness
Resolution determines the level of detail in your printed image. A higher DPI/PPI means more dots or pixels are packed into each inch, resulting in a sharper and more detailed print. A lower resolution can lead to blurry or pixelated results, especially when printing larger sizes.
For high-quality photo prints, a resolution of 300 DPI is generally recommended, according to experts at Adobe. For documents with mainly text, 150 DPI may suffice, reducing file size and printing time.
Aspect Ratio: Maintaining Proportions
The aspect ratio is the ratio of an image's width to its height, commonly expressed as two numbers separated by a colon (e.g., 4:3, 16:9). Maintaining the correct aspect ratio is crucial to avoid distortion or cropping when resizing an image.
If your desired print size has a different aspect ratio than your original image, you'll need to either crop the image or add borders to maintain its original proportions. Cropping might mean losing important parts of the picture.
Step-by-Step Guide to Printing at a Specific Size
The following steps outline the process of printing an image at a specific size using common image editing software.
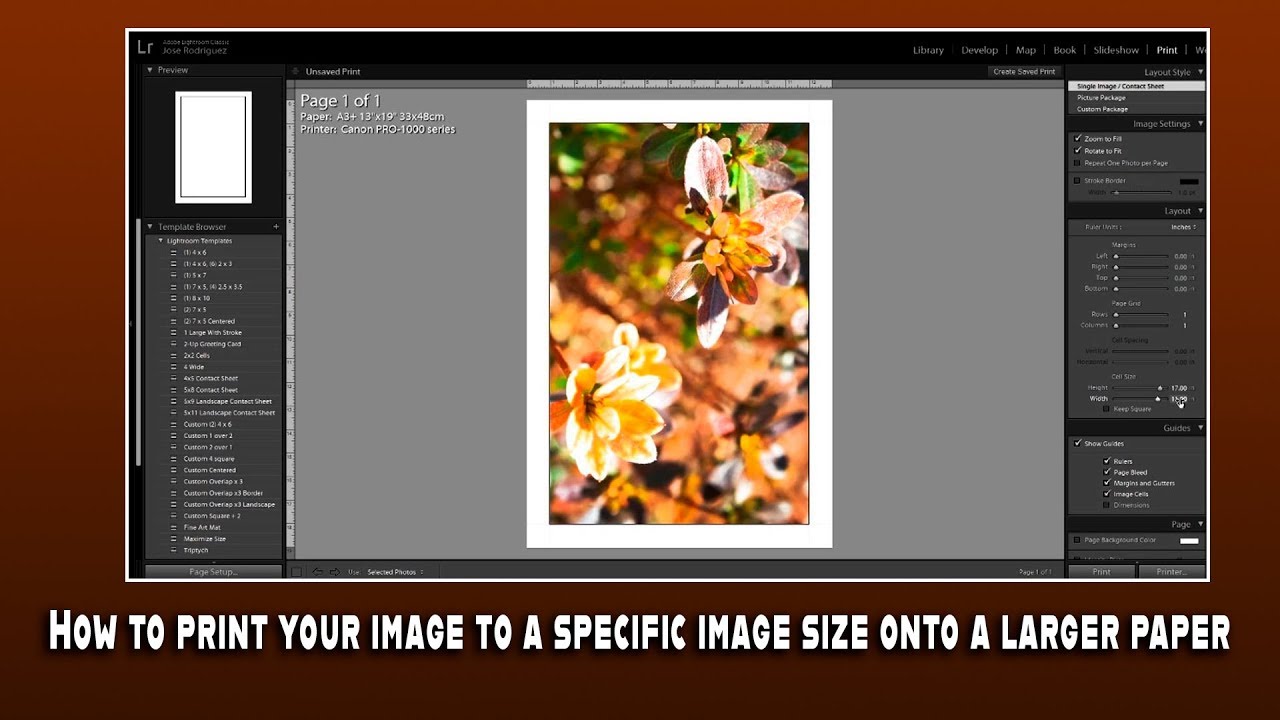
1. Determine Your Desired Print Size and Resolution
First, decide on the exact dimensions you want your printed image to be (e.g., 4x6 inches, 8x10 inches). Then, determine the appropriate resolution based on the intended use of the print (300 DPI for photos, 150 DPI for documents).
Knowing these parameters is the first step in getting the print size just right. Consider the distance that viewers will be from the print; a larger format image for viewing at a distance can often be lower DPI.
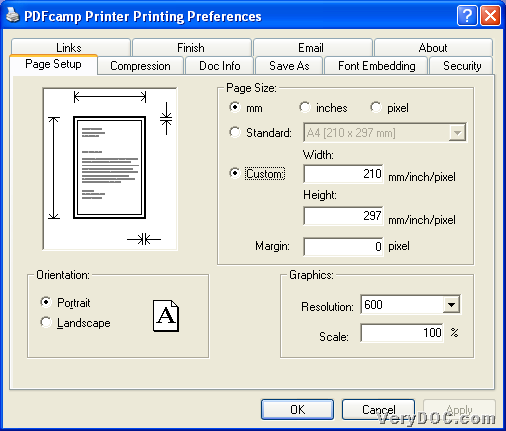
2. Use Image Editing Software
Open your image in an image editing program such as Adobe Photoshop, GIMP (a free alternative), or even built-in tools like Microsoft Paint. These programs will allow you to resize and adjust resolution.
The specific steps for resizing vary slightly depending on the software you are using, but the underlying principles remain the same. Look for tools labelled "Resize," "Image Size," or "Resample."
3. Resize and Resample
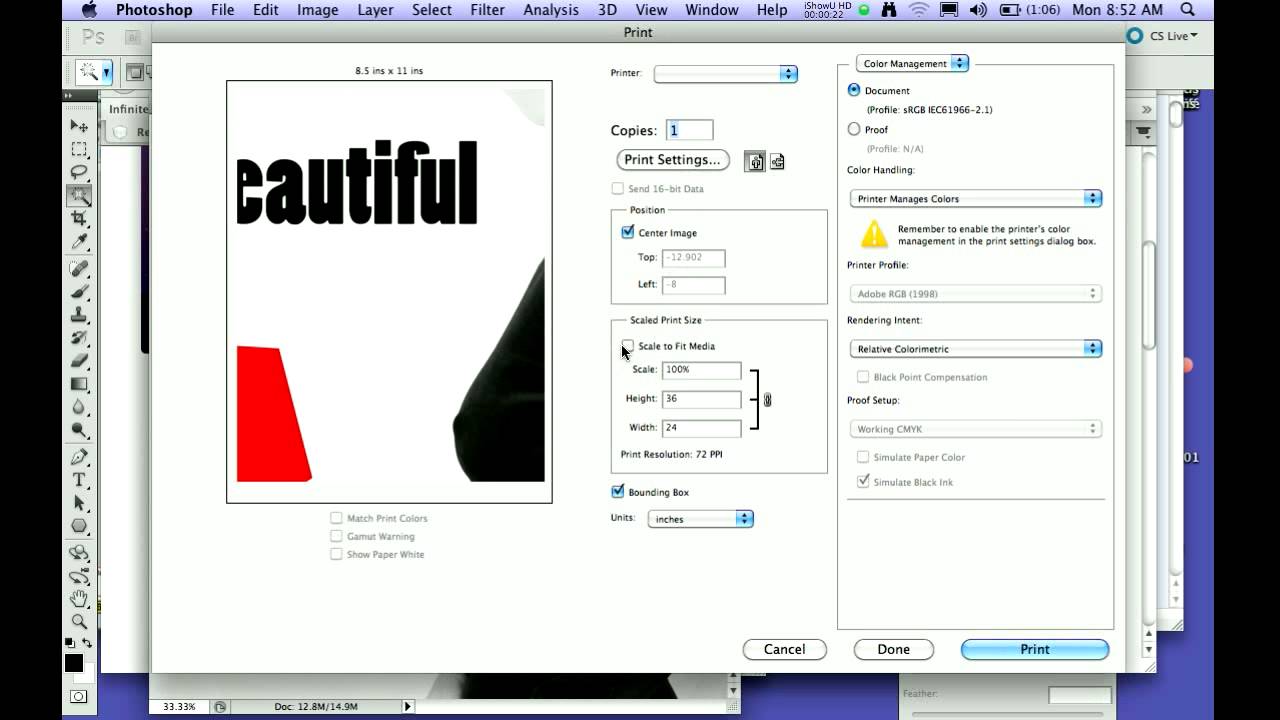
In the image resizing dialog box, enter your desired print dimensions (width and height). Ensure the "Resample" option is enabled to adjust the number of pixels in the image.
Also, make sure to adjust the resolution to your target DPI value (e.g., 300 DPI). Some software packages allow you to uncheck a constrain aspect ratio box to allow you to change width and height independently; use with caution, as this will distort your image.
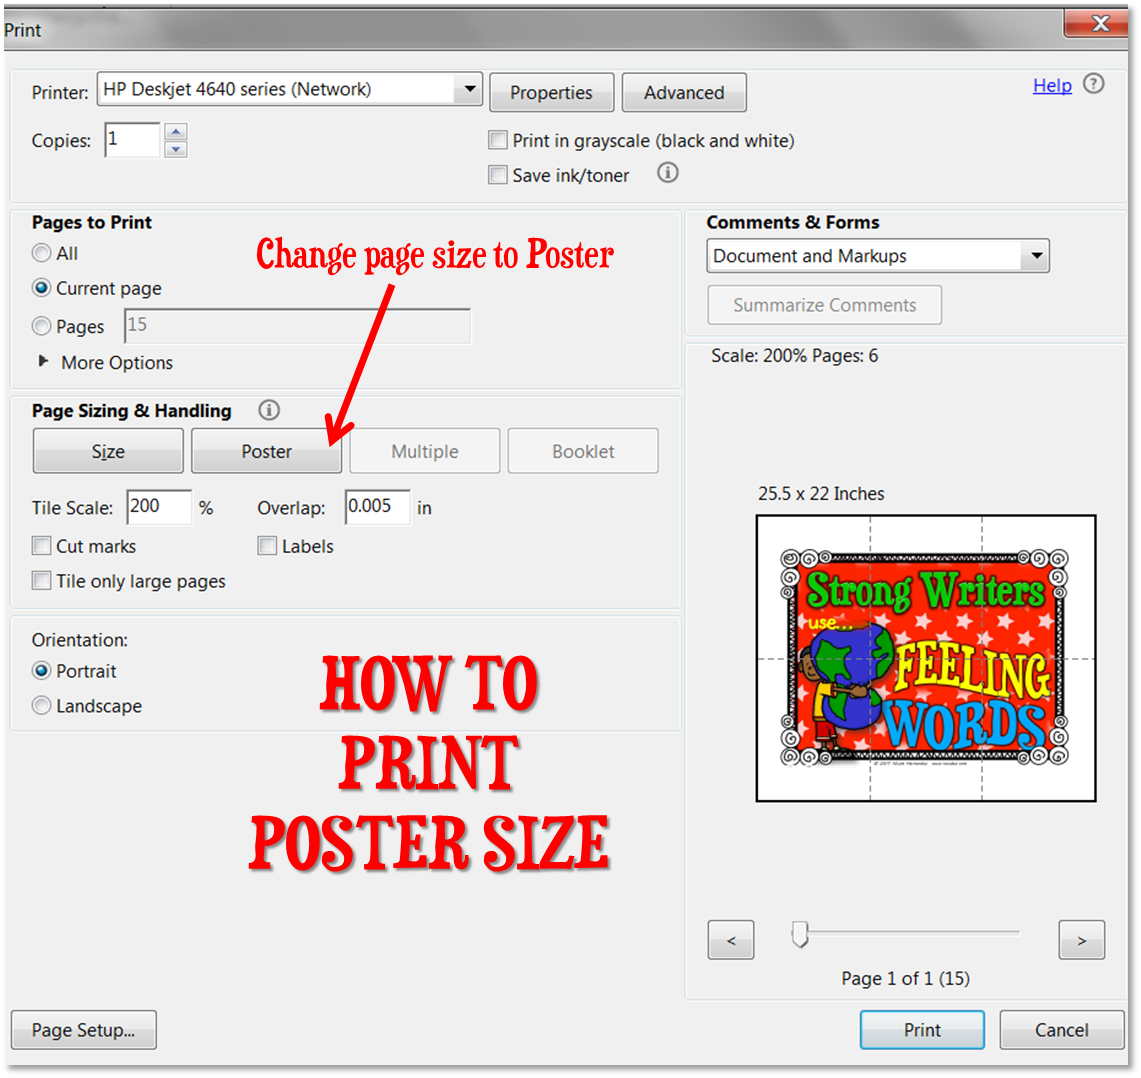
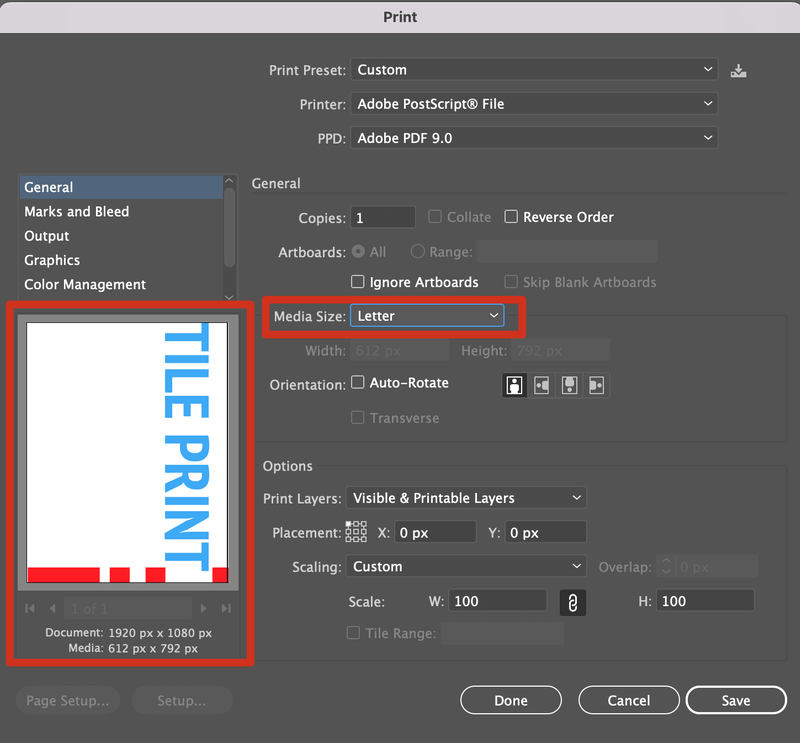
4. Print Preview and Adjustments
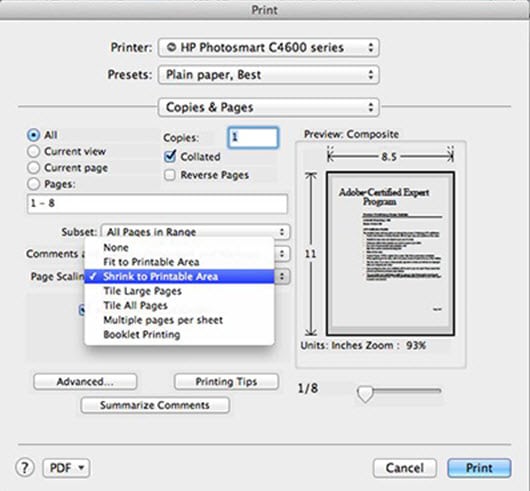
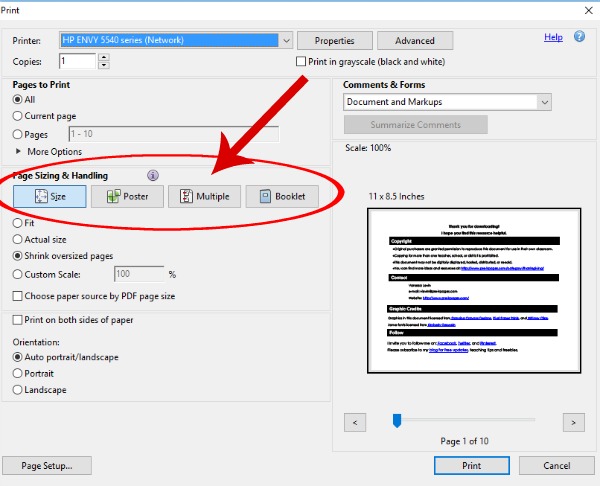
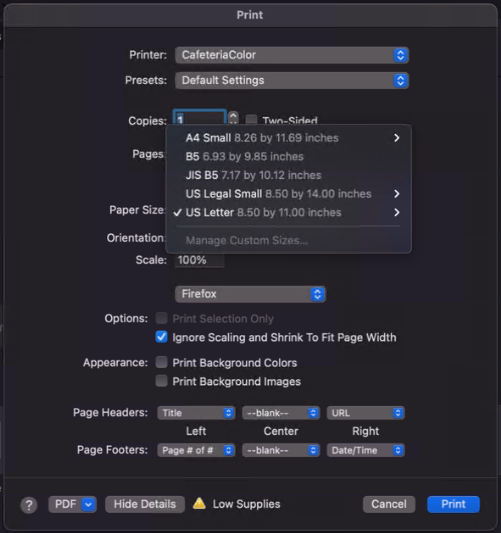
Before printing, use the print preview function to see how your image will look on the page. Make any necessary adjustments to the positioning, margins, or brightness/contrast.
Many printer drivers allow you to specify the paper size and type. Selecting the correct settings will ensure optimal print quality and prevent unexpected results.
5. Print and Evaluate
Finally, print your image and evaluate the results. If the print quality is not satisfactory, revisit the previous steps and make further adjustments to the resolution or image settings. Don't be afraid to reprint several times, as each printer has its own unique properties.
Troubleshooting Common Issues
Even with careful planning, you may encounter issues during the printing process.
Pixelation often occurs when an image is enlarged beyond its original resolution, a clear reminder of the importance of a high-resolution original. Color variations between your screen and the printed image can be addressed by calibrating your monitor and printer.
Banding (visible lines in the print) can often be fixed with updated printer drivers or by cleaning the print heads. Resources from printer manufacturers like HP and Epson offer detailed troubleshooting guides.
The Future of Image Printing
The future of image printing is likely to see increased integration of artificial intelligence to automatically optimize print settings for different images and paper types. Advancements in printing technology, such as higher resolution printers and improved color management systems, are further enhancing the quality and accuracy of printed images.
Moreover, the rise of cloud-based printing services is making it easier than ever to print images from anywhere in the world, eliminating the need for local printers. These services, as highlighted by Canon and Brother, often offer advanced features such as automated resizing and color correction.
By understanding the fundamental concepts and following the steps outlined in this guide, anyone can master the art of printing images at a specific size. The result is a tangible connection to your digital world.