How To Take Out The Ink Cartridge Of Hp Printer
Replacing an ink cartridge in an HP printer might seem daunting, but the process is generally straightforward and designed for ease of use. Most HP printers share a similar method, allowing users to replace cartridges quickly and efficiently at home or in the office.
The fundamental steps for removing an ink cartridge from an HP printer involve accessing the cartridge compartment, releasing the old cartridge, and preparing for the new one. Understanding these steps can save time and prevent potential damage to the printer.
Accessing the Cartridge Compartment
The first step involves ensuring the printer is powered on. This allows the cartridge carriage to move into the accessible position.
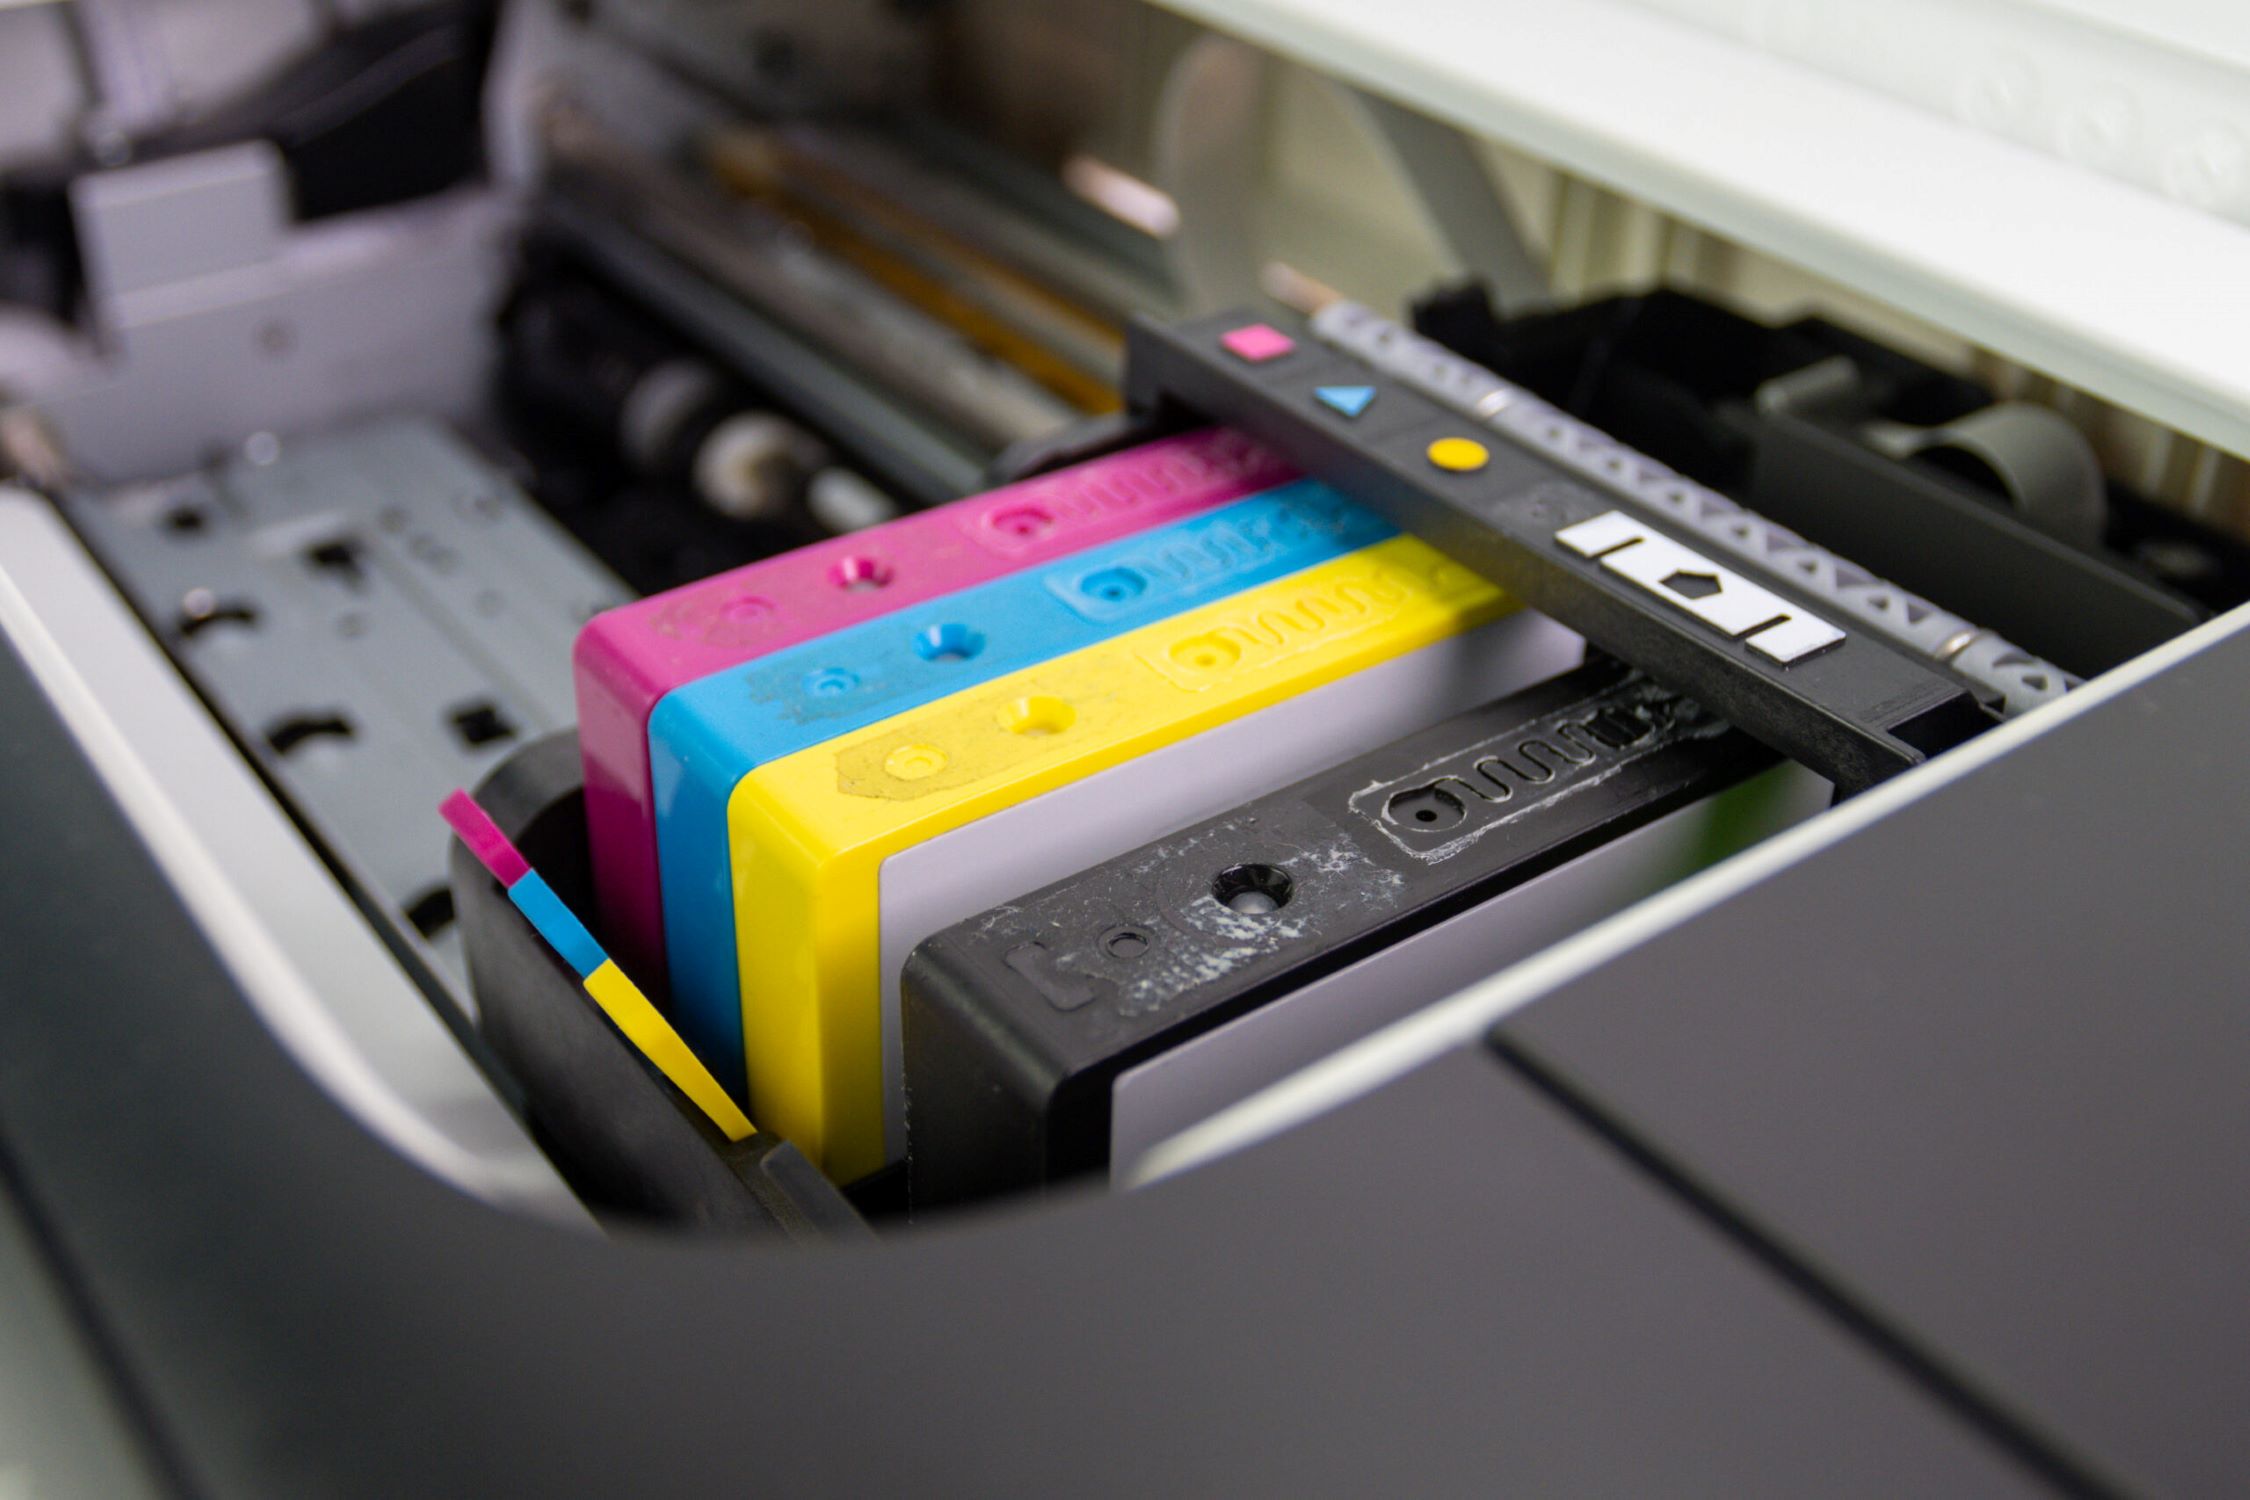
Next, locate the access door or cover for the ink cartridges. This is typically on the front or side of the printer, often marked with an ink drop icon or a label indicating "Cartridge Access."
Open the access door. Wait for the cartridge carriage to move to the center of the printer. Some models require pressing a specific button, often the "OK" or "Resume" button, to prompt the cartridge holder to move. Do not manually force the carriage to move.
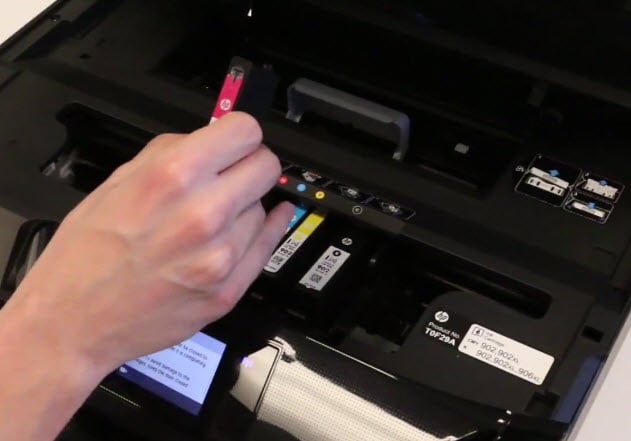
Removing the Old Cartridge
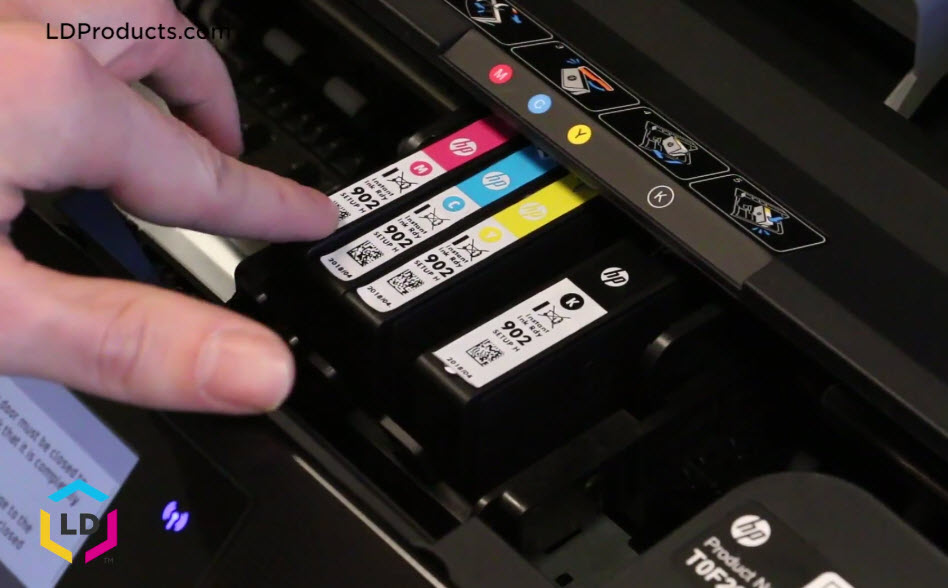
Once the cartridge carriage is in position, identify the cartridge you need to replace. Usually, the printer's display will indicate which cartridge is low or empty.
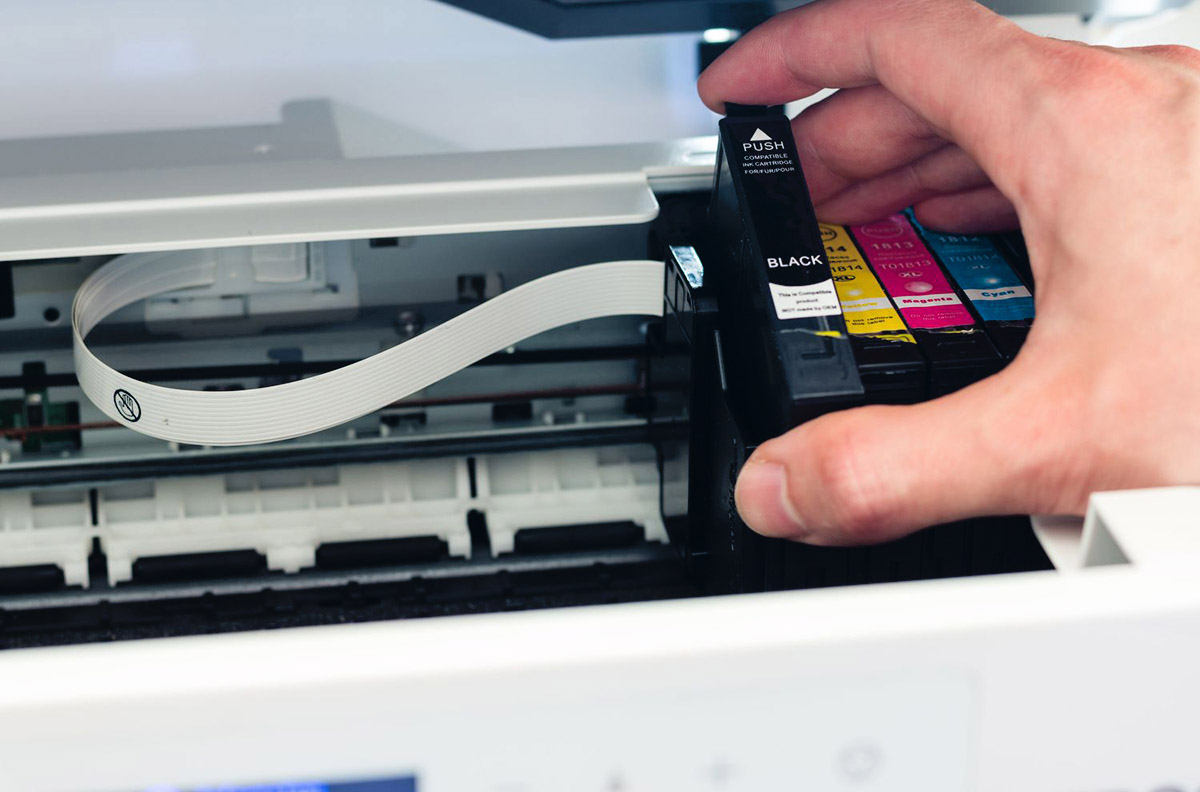
To remove the cartridge, gently press down on it to release it from its holder. Some HP printers have a small latch or clip that needs to be disengaged. Once released, pull the cartridge straight out of the slot.
Handle the cartridge with care to avoid getting ink on your hands or clothing. Consider placing the old cartridge in a plastic bag or container for proper disposal or recycling. HP offers recycling programs for used ink cartridges.
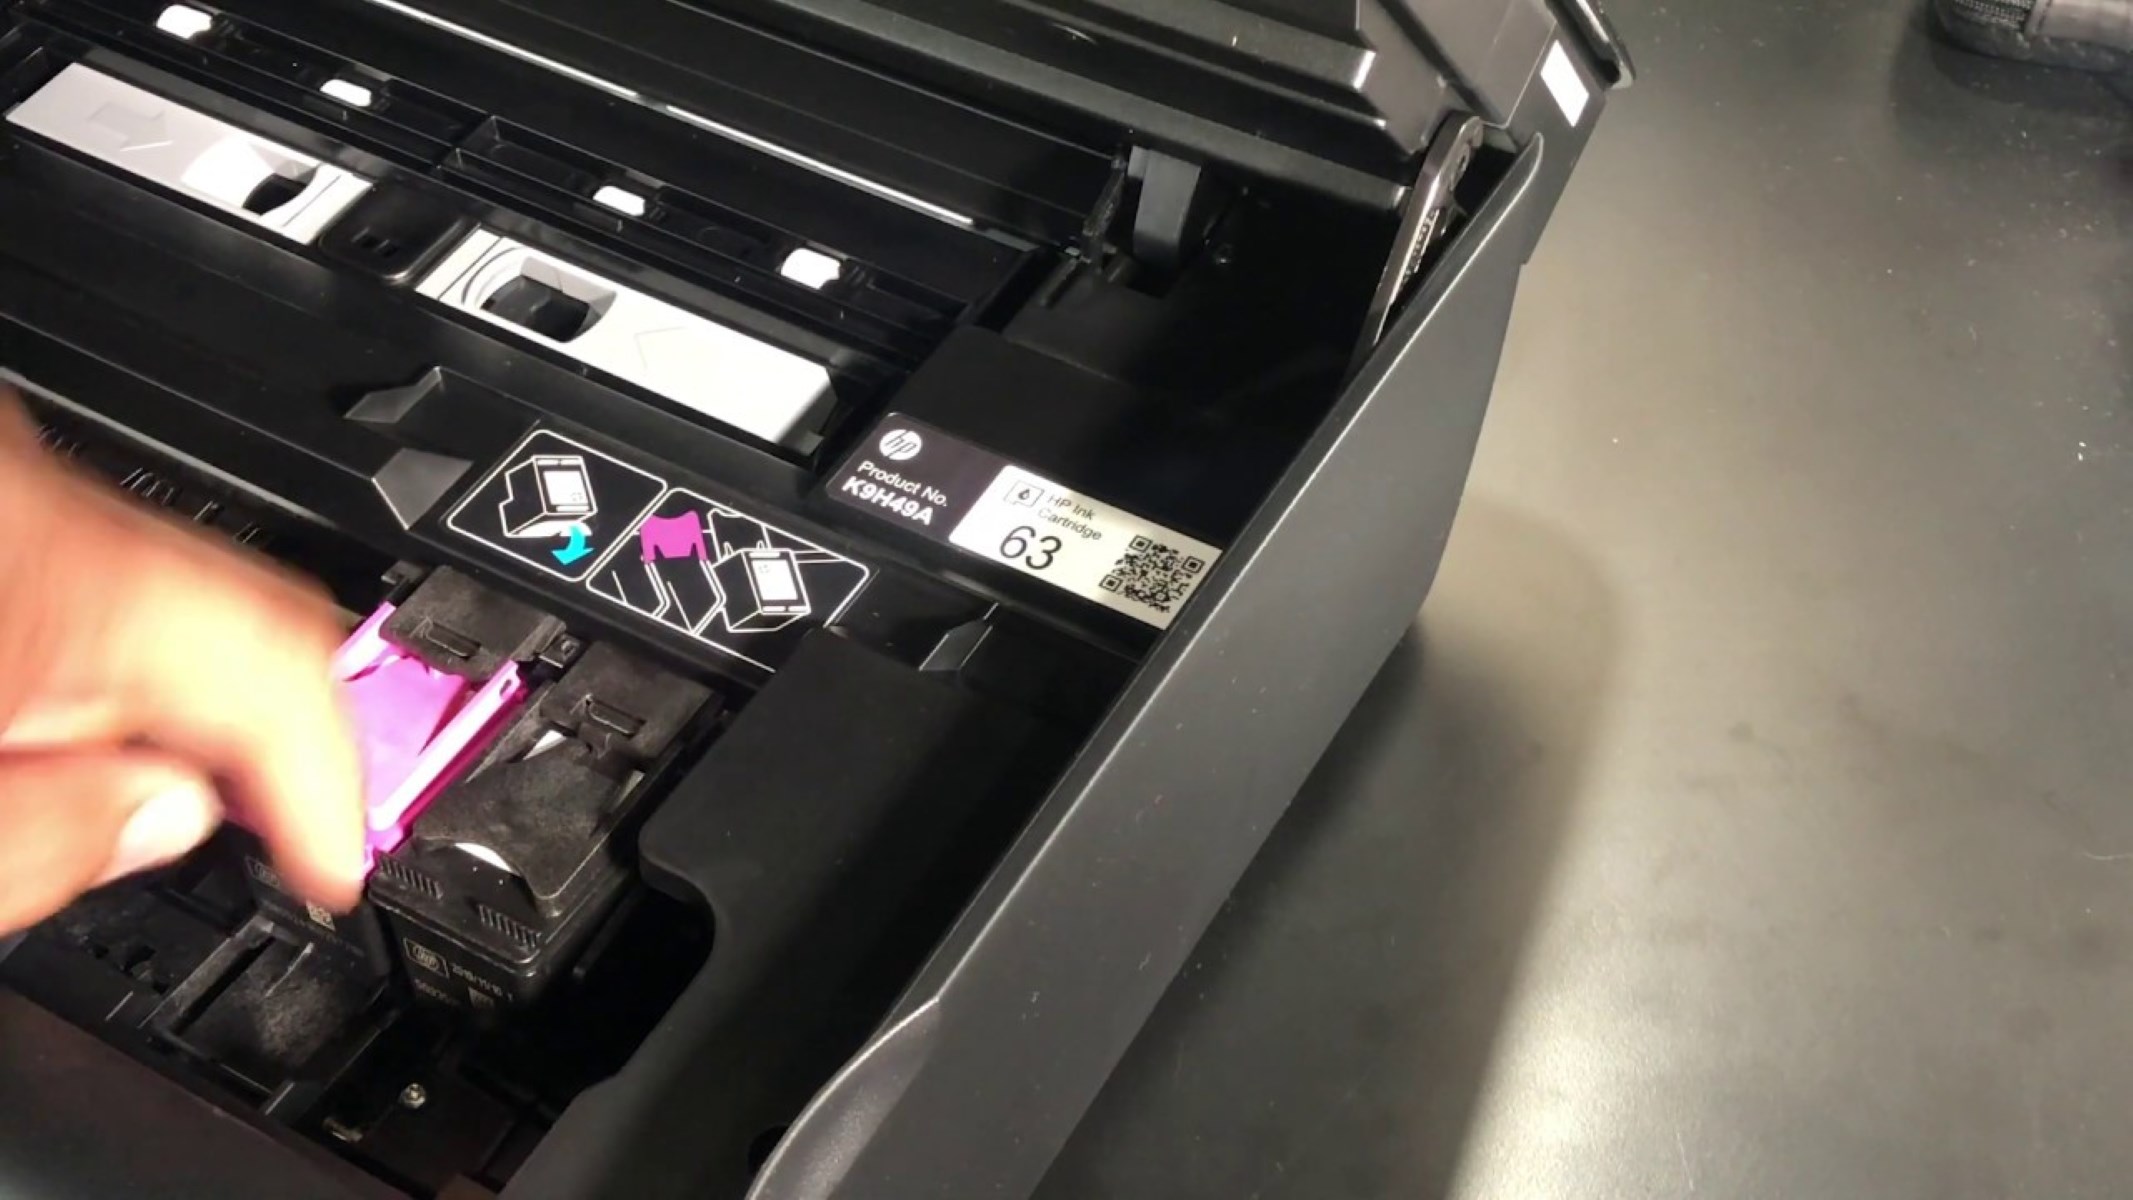
Preparing for the New Cartridge
Before installing the new cartridge, remove it from its packaging. Be sure to remove any protective tape or plastic covering the cartridge nozzles. Do not touch the copper-colored contacts or the ink nozzles. Touching these areas can cause poor electrical connections or ink delivery issues.
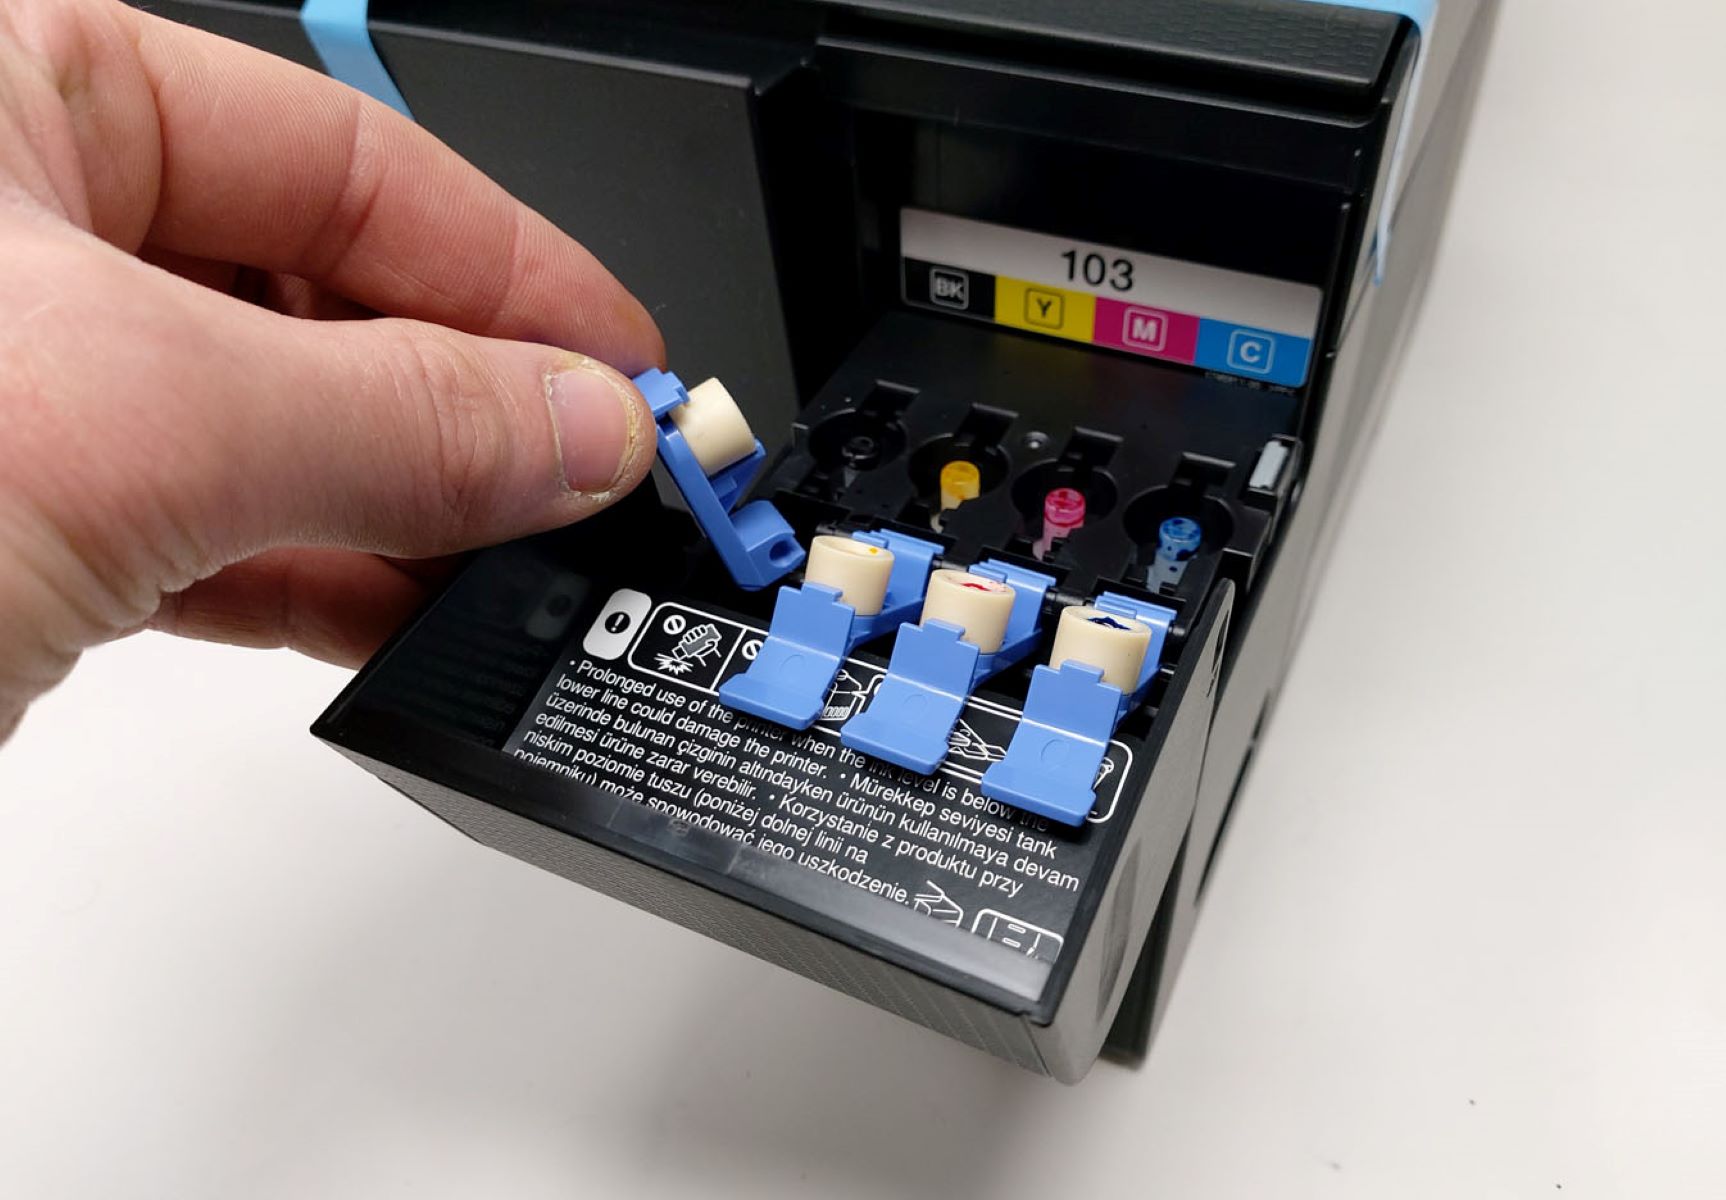
Refer to the printer's documentation for specific instructions on installing the new cartridge. Generally, you will align the new cartridge with the corresponding slot in the carriage, ensuring the color matches the printer's guide.
Slide the new cartridge into the slot until it clicks into place. Ensure it is securely seated. Close the access door or cover. The printer may then perform a calibration or alignment process to ensure optimal print quality.
Troubleshooting Common Issues
Sometimes, the printer might display an error message after replacing the cartridge. This could be due to improper installation, a faulty cartridge, or compatibility issues.
Double-check that the cartridge is securely seated in its slot. Restart the printer. If the error persists, consult the printer's troubleshooting guide or the HP support website for further assistance. The HP support website provides extensive documentation and troubleshooting guides.
Ensure that you are using a genuine HP ink cartridge or a compatible third-party cartridge designed for your specific printer model. Using incompatible cartridges can cause printing problems or even damage the printer.
By following these steps, users can effectively replace ink cartridges in their HP printers, ensuring continued functionality and print quality. Understanding these procedures can also save time and money by avoiding unnecessary service calls or printer malfunctions. Remember to always consult the specific printer manual for detailed instructions and safety precautions relevant to your model.