How To Turn A Drawing Into A Vector

The digital age demands versatility, and one of the most sought-after skills is converting hand-drawn sketches into crisp, scalable vector graphics. What was once a complex process requiring specialized knowledge is now increasingly accessible to artists, designers, and hobbyists alike.
This article delves into the various methods for transforming a drawing into a vector, from utilizing auto-tracing software to meticulously recreating artwork by hand, highlighting the pros and cons of each approach. Understanding these techniques empowers individuals to leverage the benefits of vector graphics – infinite scalability, editability, and smaller file sizes – for a wide range of creative projects.
Understanding Vectorization
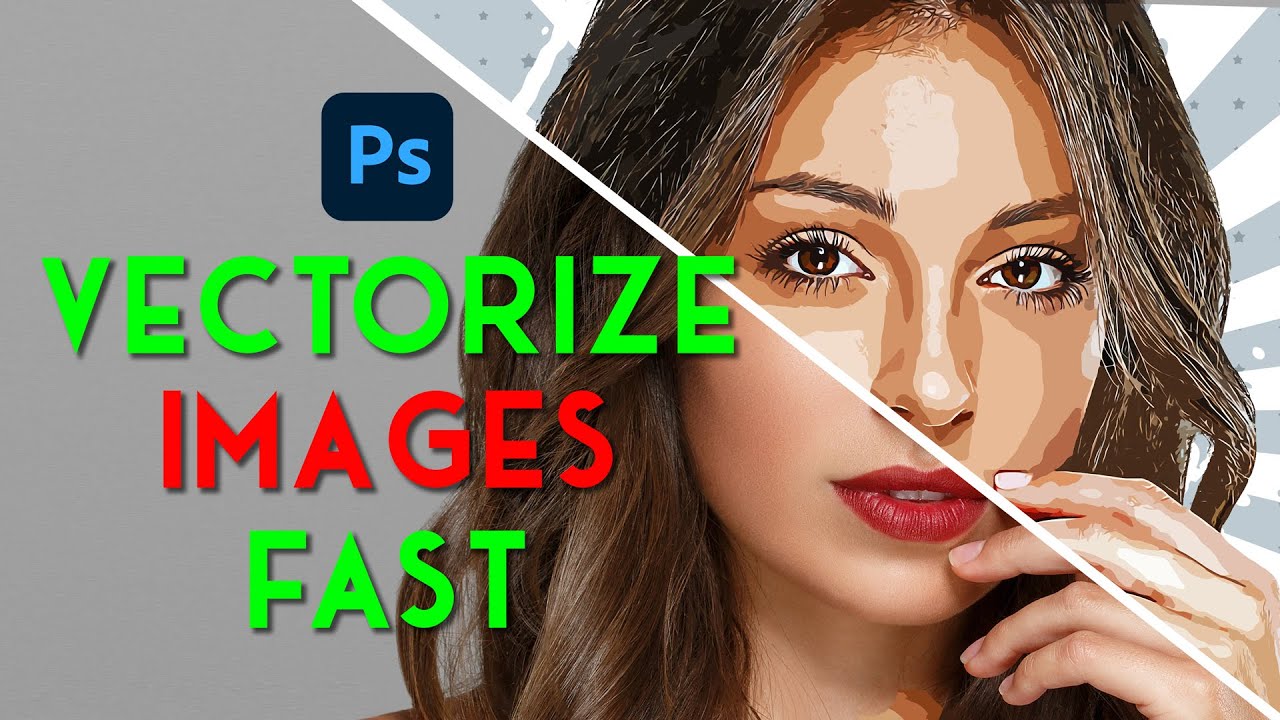
Vectorization is the process of converting raster images (composed of pixels) into vector images (defined by mathematical equations and paths). Unlike raster images, which lose quality when enlarged, vector graphics retain their sharpness and clarity at any scale.
This characteristic makes them ideal for logos, illustrations, and designs intended for both print and digital media. There are primarily two main methods for vectorizing a drawing: automatic tracing and manual tracing.
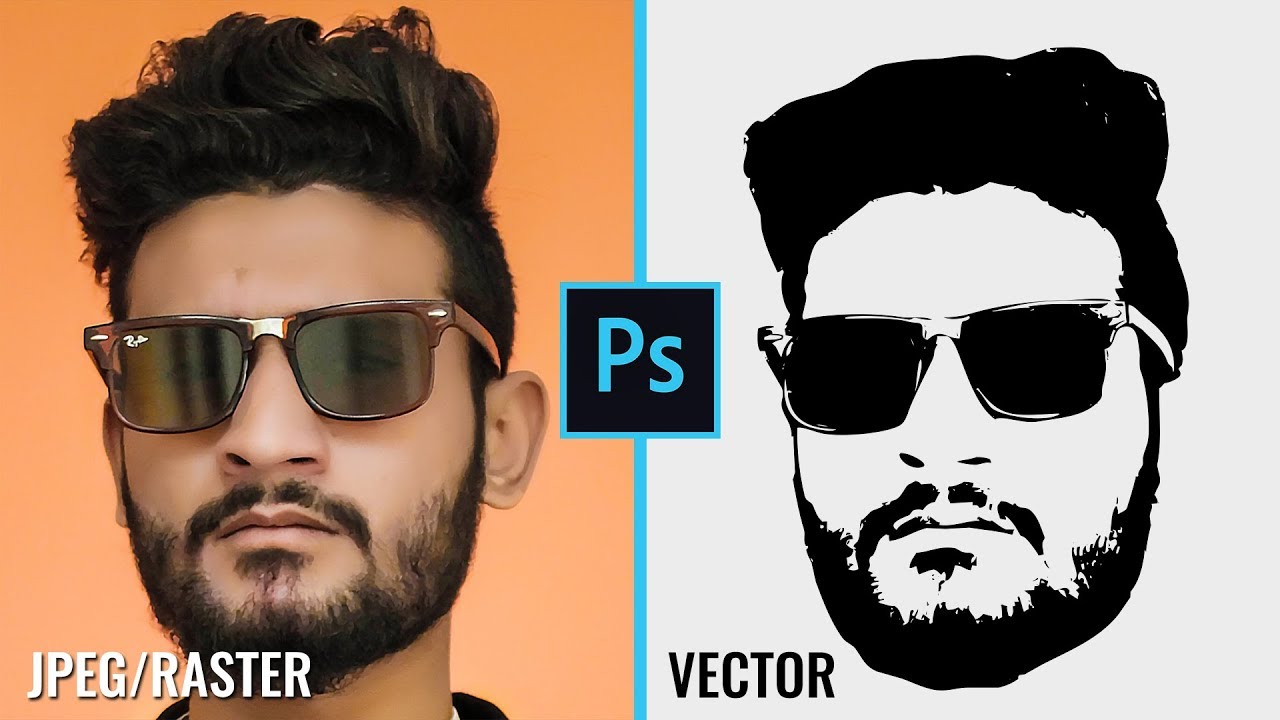
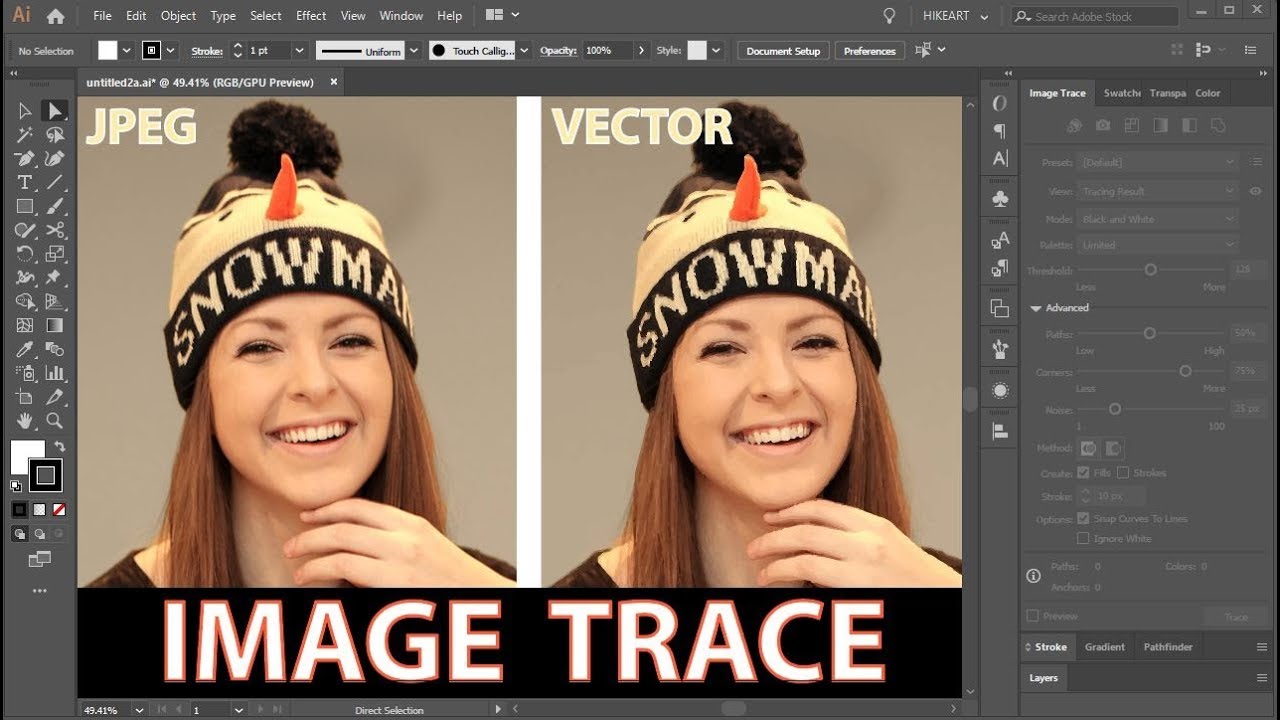
Automatic Tracing
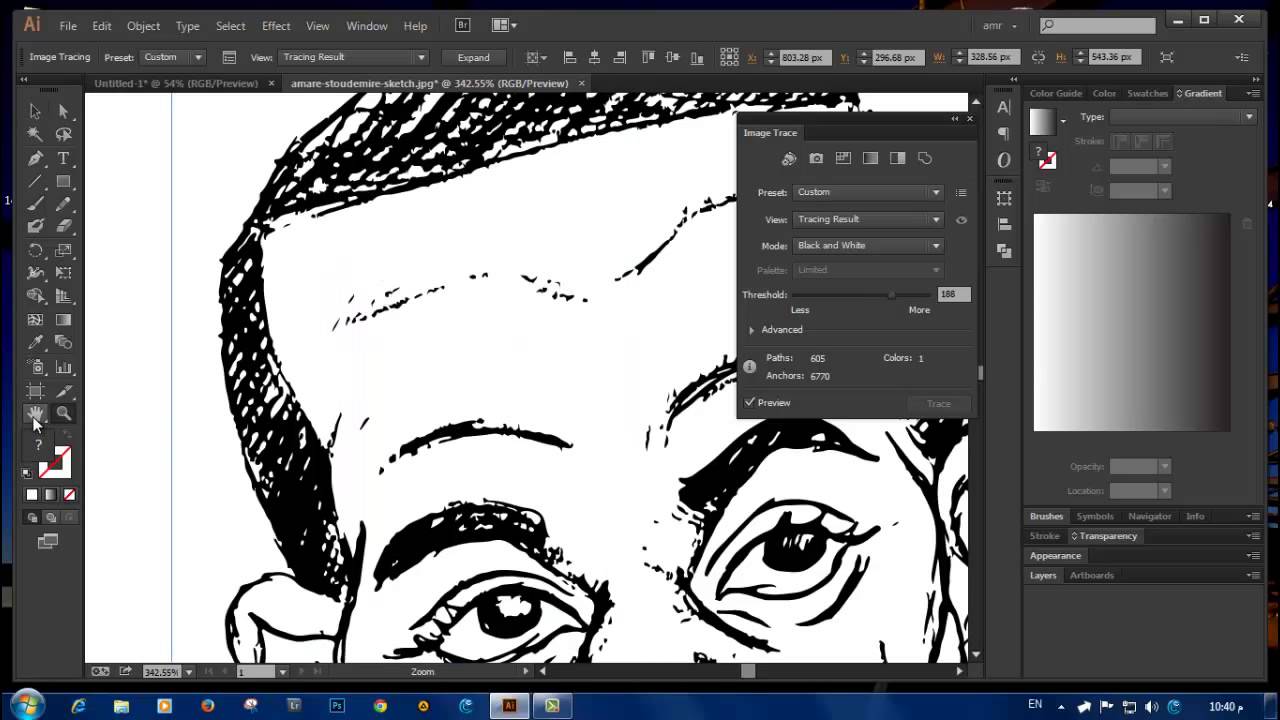
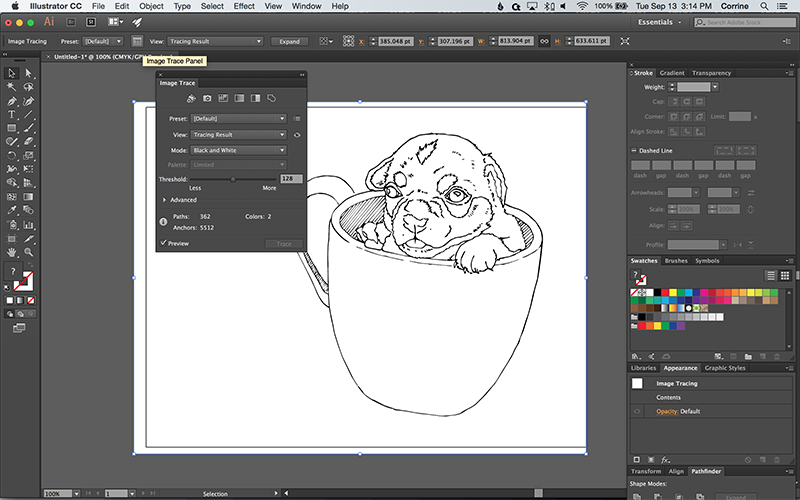
Automatic tracing, often referred to as auto-tracing, relies on software algorithms to analyze a raster image and generate corresponding vector paths. Programs like Adobe Illustrator's Image Trace feature, CorelDRAW's PowerTRACE, and Inkscape's Path > Trace Bitmap tool are widely used for this purpose.
The user uploads their drawing, adjusts parameters such as threshold, color mode, and path fitting, and the software automatically creates a vector version. While auto-tracing is quick and convenient, it often requires careful refinement to achieve optimal results.
According to Adobe's official documentation, the accuracy of Image Trace depends heavily on the quality of the original drawing. Clean, high-contrast images with clear lines typically yield the best results, while blurry or poorly defined drawings may produce messy and inaccurate vectors.
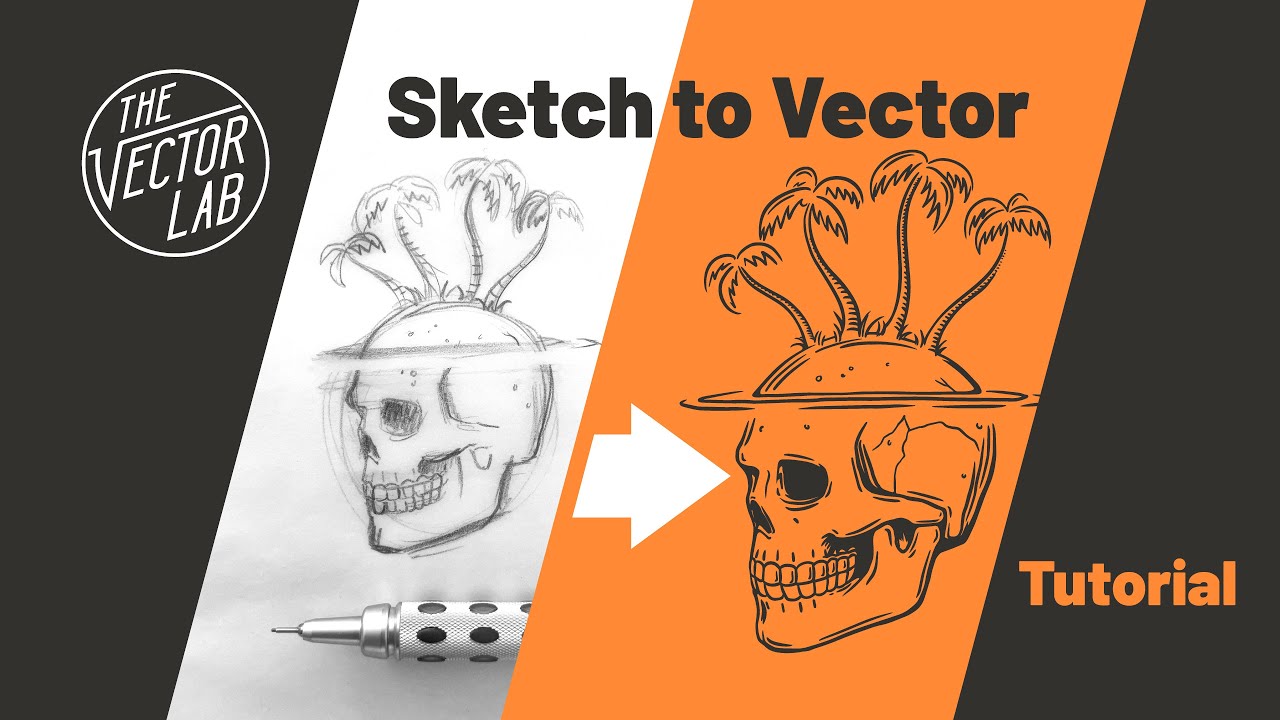
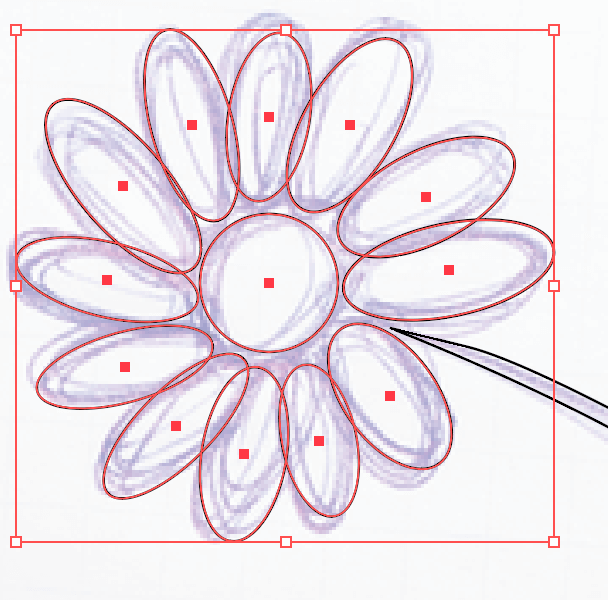
Manual Tracing
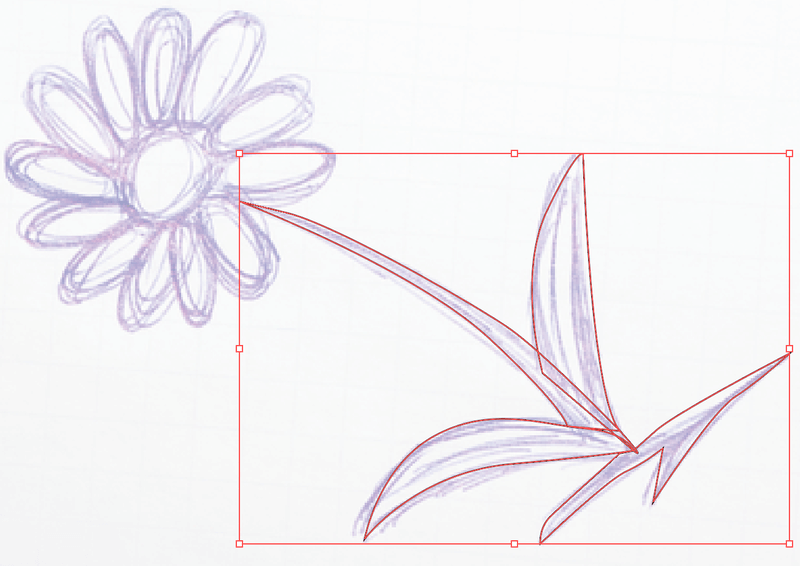
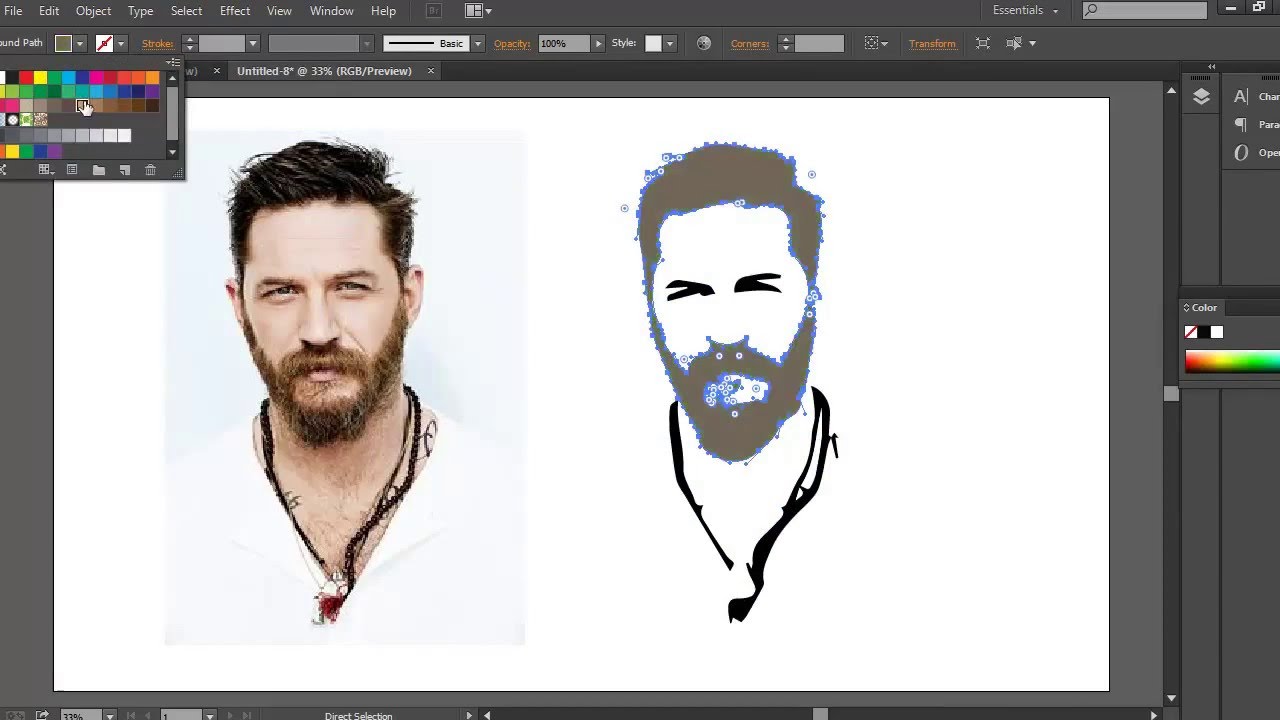
Manual tracing involves recreating a drawing using vector editing tools, such as the pen tool or shape tools, in software like Adobe Illustrator or Inkscape. This method offers greater control over the final vector image and allows for precise adjustments to line weight, curves, and details.
Although more time-consuming than auto-tracing, manual tracing generally results in a cleaner, more professional-looking vector graphic. The process involves importing the drawing as a template or background layer and then meticulously tracing over it with vector paths.
Expert designers often recommend manual tracing for complex or highly detailed drawings where accuracy and quality are paramount. This allows for the incorporation of specific design choices and ensures that the final vector reflects the artist's intended style.
Choosing the Right Method
The best method for vectorizing a drawing depends on several factors, including the complexity of the artwork, the desired level of accuracy, and the time available. Simple, clean drawings with bold lines are often well-suited for auto-tracing.
However, complex or highly detailed drawings may require manual tracing to achieve the desired level of quality. Budgetary considerations also play a role; while some vectorization software offers free or low-cost options, professional-grade programs often come with a subscription fee.
For example, Inkscape, a free and open-source vector graphics editor, provides both auto-tracing and manual tracing capabilities, making it a popular choice for budget-conscious users. Adobe Illustrator, on the other hand, offers a more comprehensive set of tools and features, but requires a paid subscription.
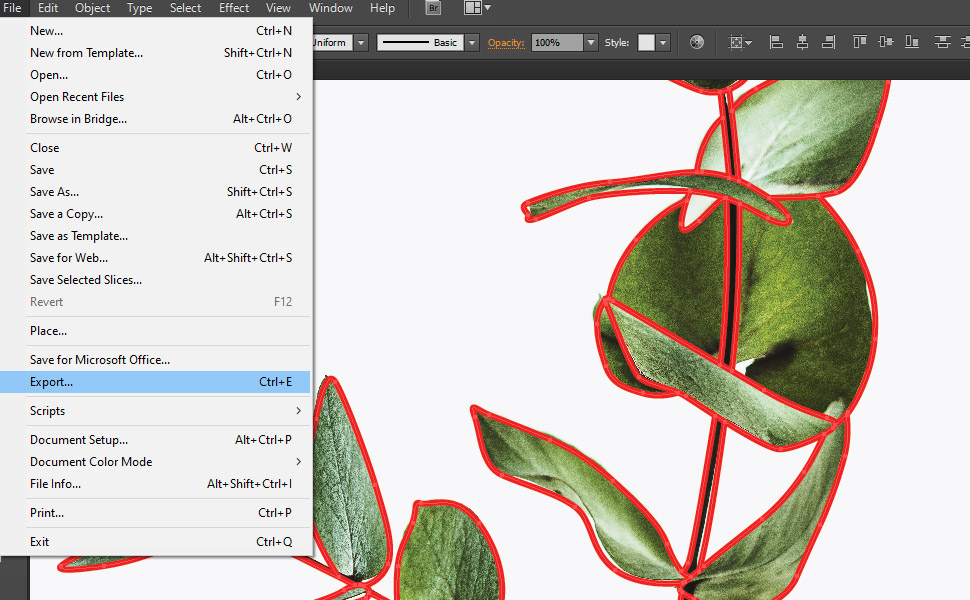
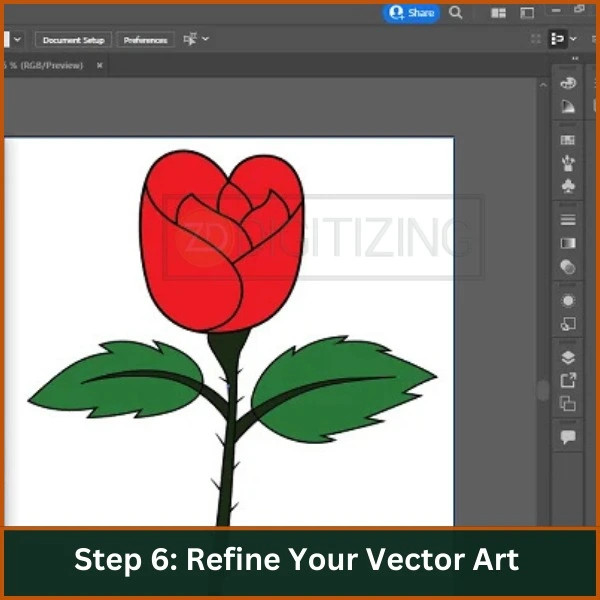
Post-Processing and Refinement
Regardless of the method used, post-processing and refinement are essential steps in the vectorization process. Auto-traced vectors often contain unnecessary anchor points or inaccuracies that need to be corrected.
Manual tracing may require adjustments to line weight, curve smoothness, and overall composition. Vector editing software provides a range of tools for manipulating anchor points, adjusting paths, and refining the overall appearance of the vector graphic.
According to best practices outlined by the Graphic Artists Guild, it's crucial to review the final vector carefully, paying attention to detail and ensuring that it accurately reflects the original drawing. This may involve zooming in to examine individual lines and curves, and making adjustments as needed.
The Future of Vectorization
As artificial intelligence and machine learning continue to advance, the process of vectorization is likely to become even more automated and efficient. Future software may be able to analyze drawings with greater accuracy and generate cleaner, more refined vectors with minimal user input.
Moreover, the integration of vectorization tools into mobile apps and cloud-based platforms could make it easier for artists and designers to create vector graphics on the go. This accessibility would further democratize the process and empower individuals to transform their hand-drawn sketches into professional-quality vector artwork.
Ultimately, understanding the principles and techniques of vectorization empowers individuals to unlock the full potential of their artwork and adapt to the ever-evolving demands of the digital landscape. The ability to transform a simple drawing into a scalable, editable vector is a valuable asset in today's visual world.
![How To Turn A Drawing Into A Vector Turn a drawing into vector art [How to] - Logotypers](https://i1.wp.com/www.logotypers.com/wp-content/uploads/2016/02/drawing-image-into-vector-art-3.png?w=1280&ssl=1)


![How To Turn A Drawing Into A Vector Turn a drawing into vector art [How to] - Logotypers](https://i0.wp.com/www.logotypers.com/wp-content/uploads/2016/02/drawing-image-into-vector-art-13.png)