How To Use Antares Autotune In Pro Tools

Vocal perfection is now within your reach. This is your urgent guide to achieving flawless vocals in Pro Tools using Antares Auto-Tune.
Auto-Tune, the industry-standard pitch correction software, is a must-have. This guide delivers a quick, practical walkthrough to get you started immediately.
Installation and Setup
First, ensure Auto-Tune is installed on your system. This typically involves downloading the installer from the Antares website and following the on-screen instructions.
Next, open Pro Tools and create a new session or open an existing one. Import the vocal track you want to tune.
Insert Auto-Tune as a plugin on the vocal track. This is done by selecting an insert slot on the track in the mixer window.
Plugin Insertion
Click on an empty insert slot on your vocal track in the Pro Tools mixer.
Navigate to the "Multi-channel plug-in" section. Select "Antares" and then choose your desired version of Auto-Tune (e.g., Auto-Tune Pro).
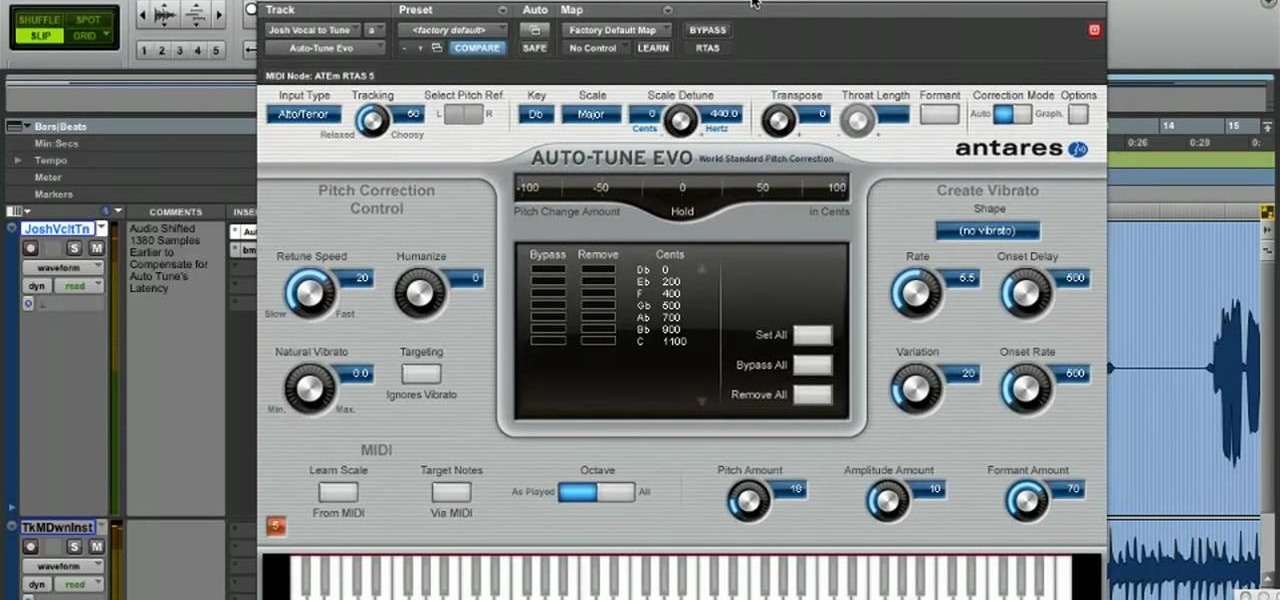
Configuring Auto-Tune
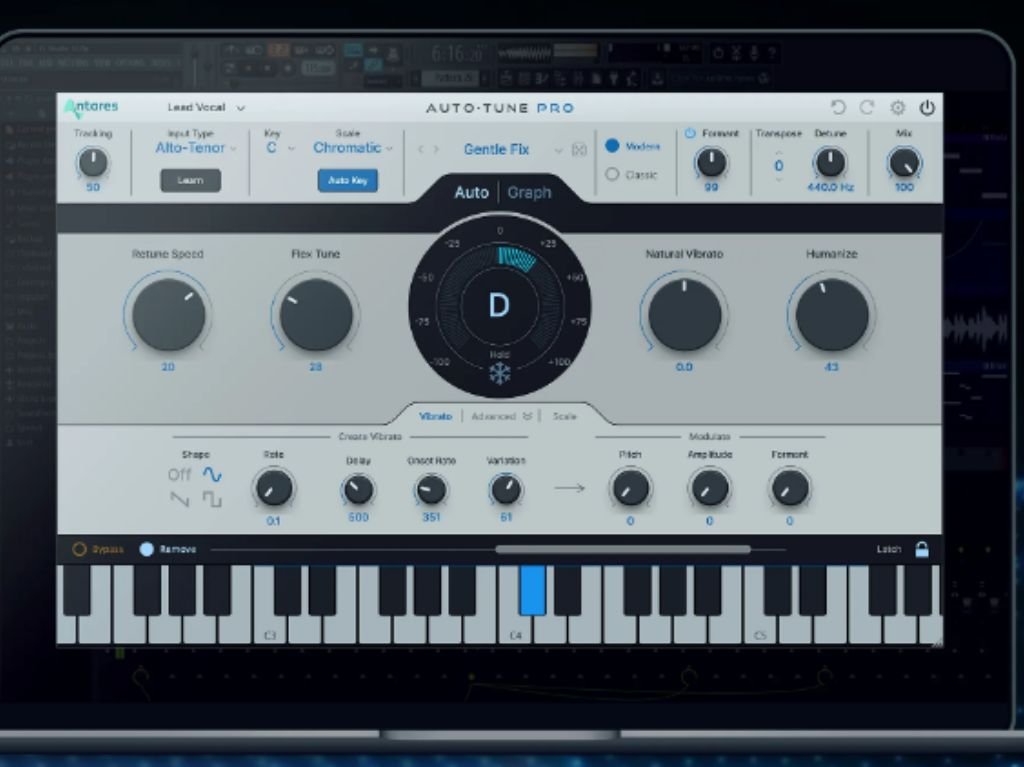
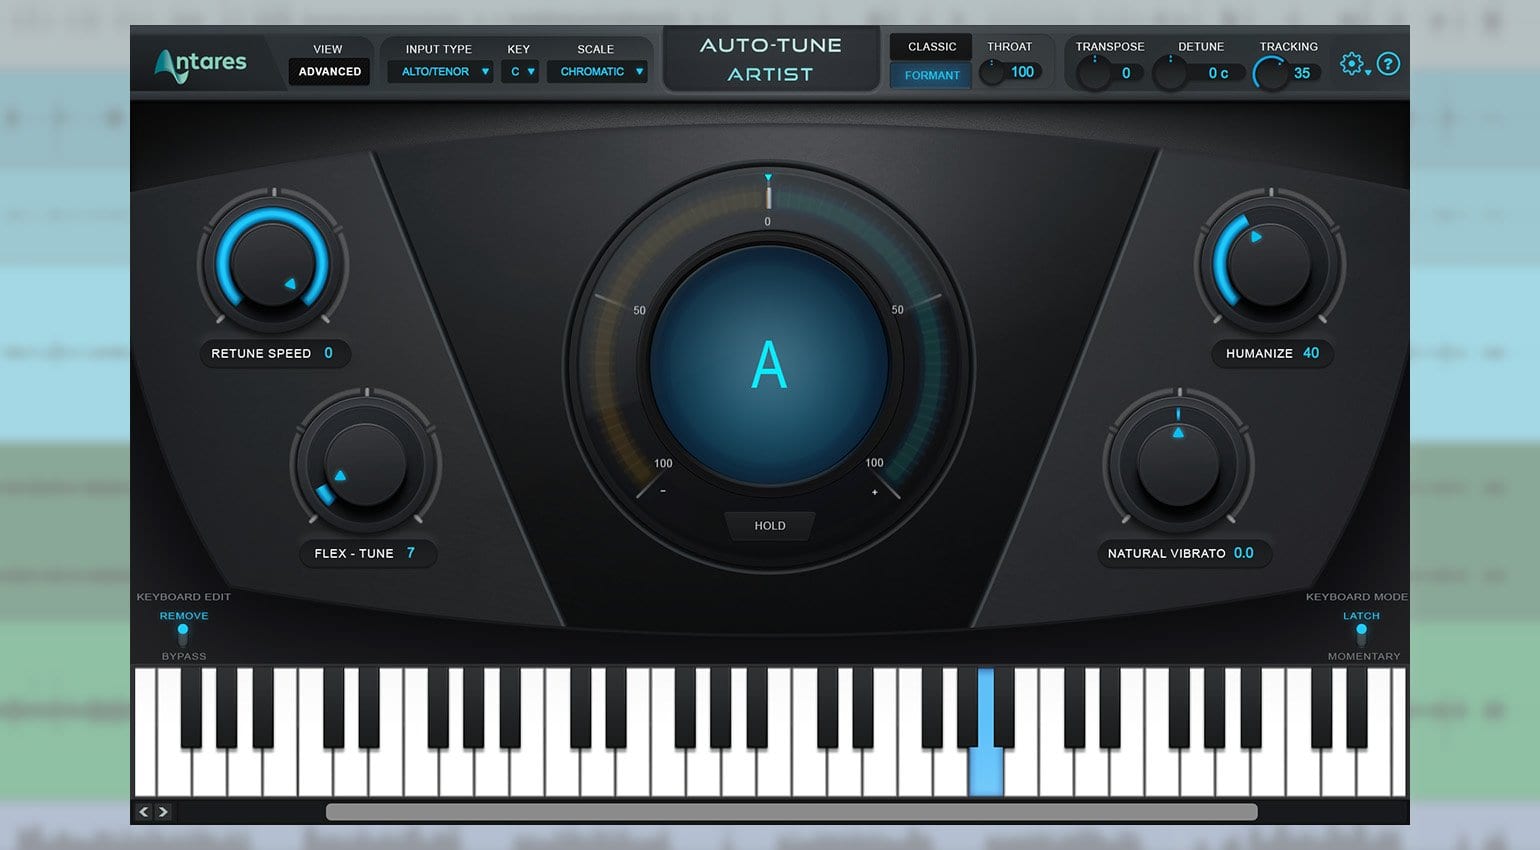
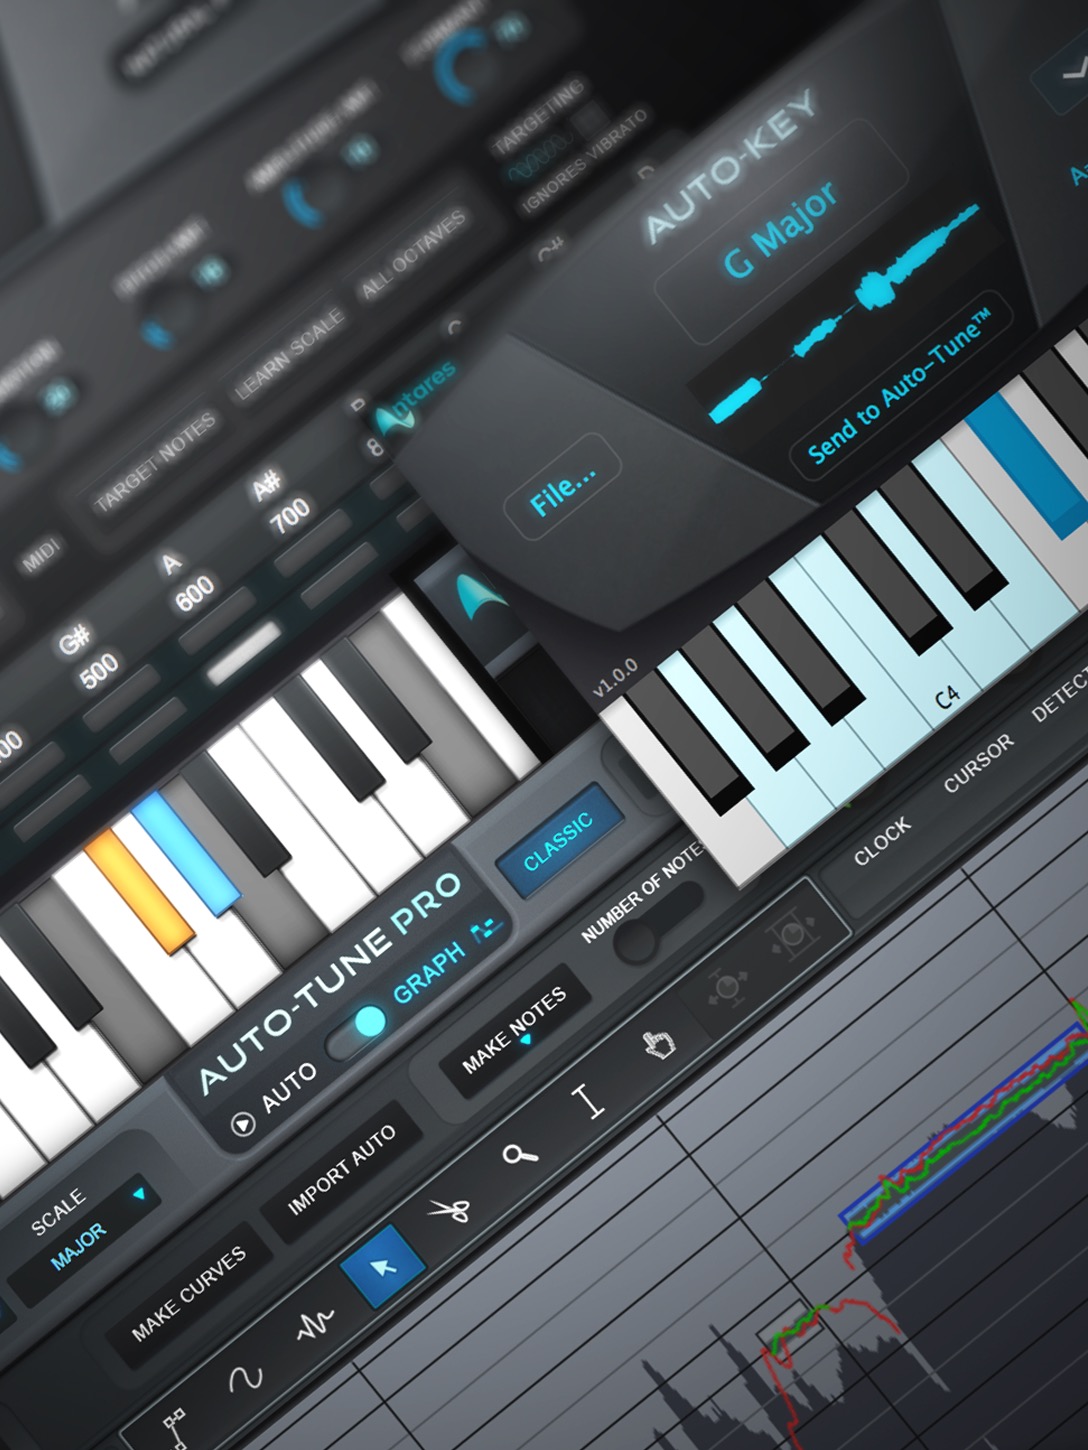
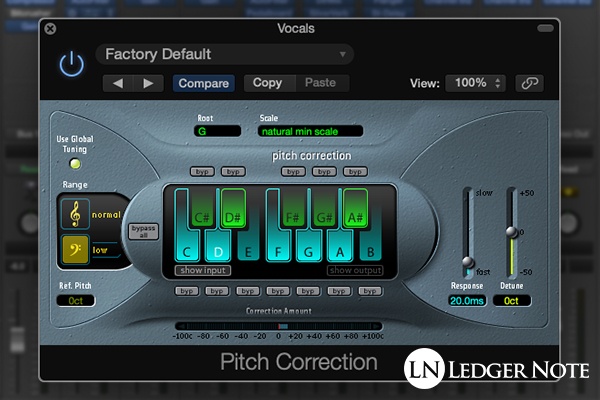
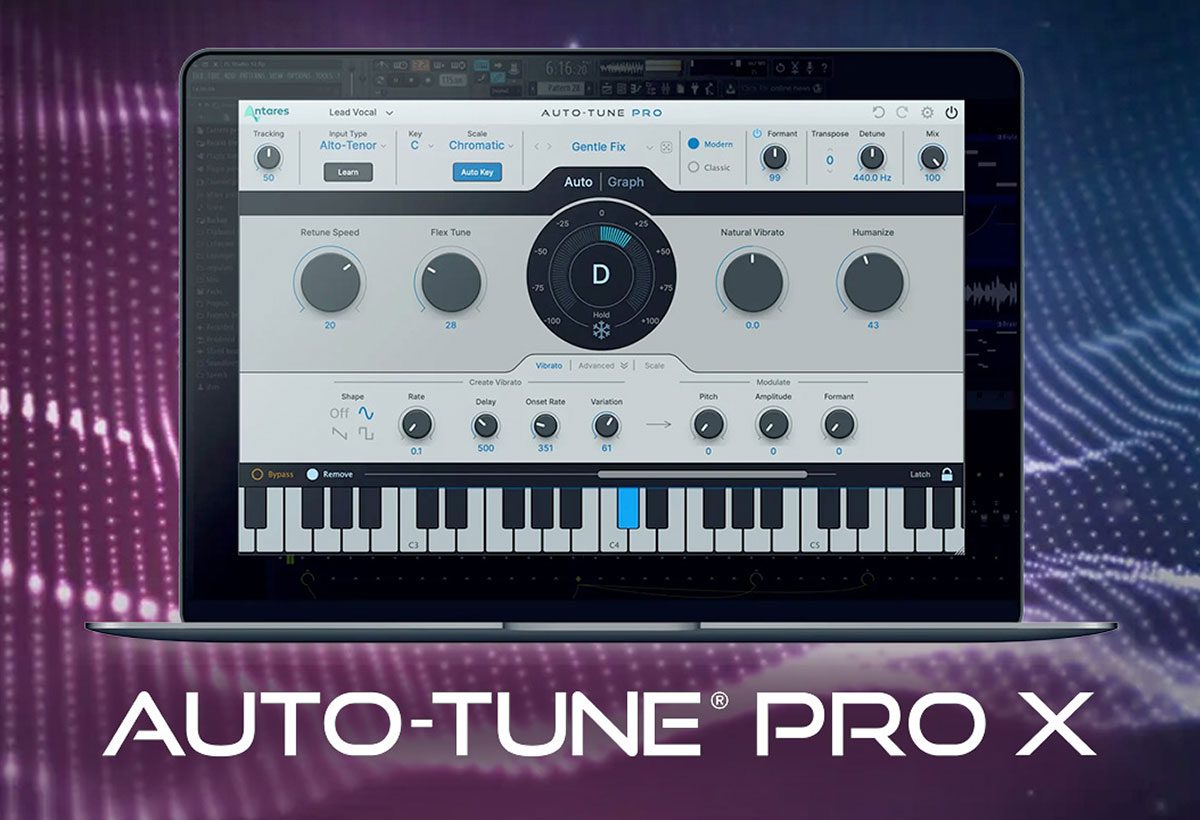
Once inserted, the Auto-Tune interface will appear. Familiarize yourself with the key controls.
Select the appropriate key and scale for your song. Incorrect settings will lead to undesirable, robotic artifacts.
Adjust the "Retune Speed" to control the aggressiveness of the pitch correction. Lower values for faster correction, higher values for more natural sound.
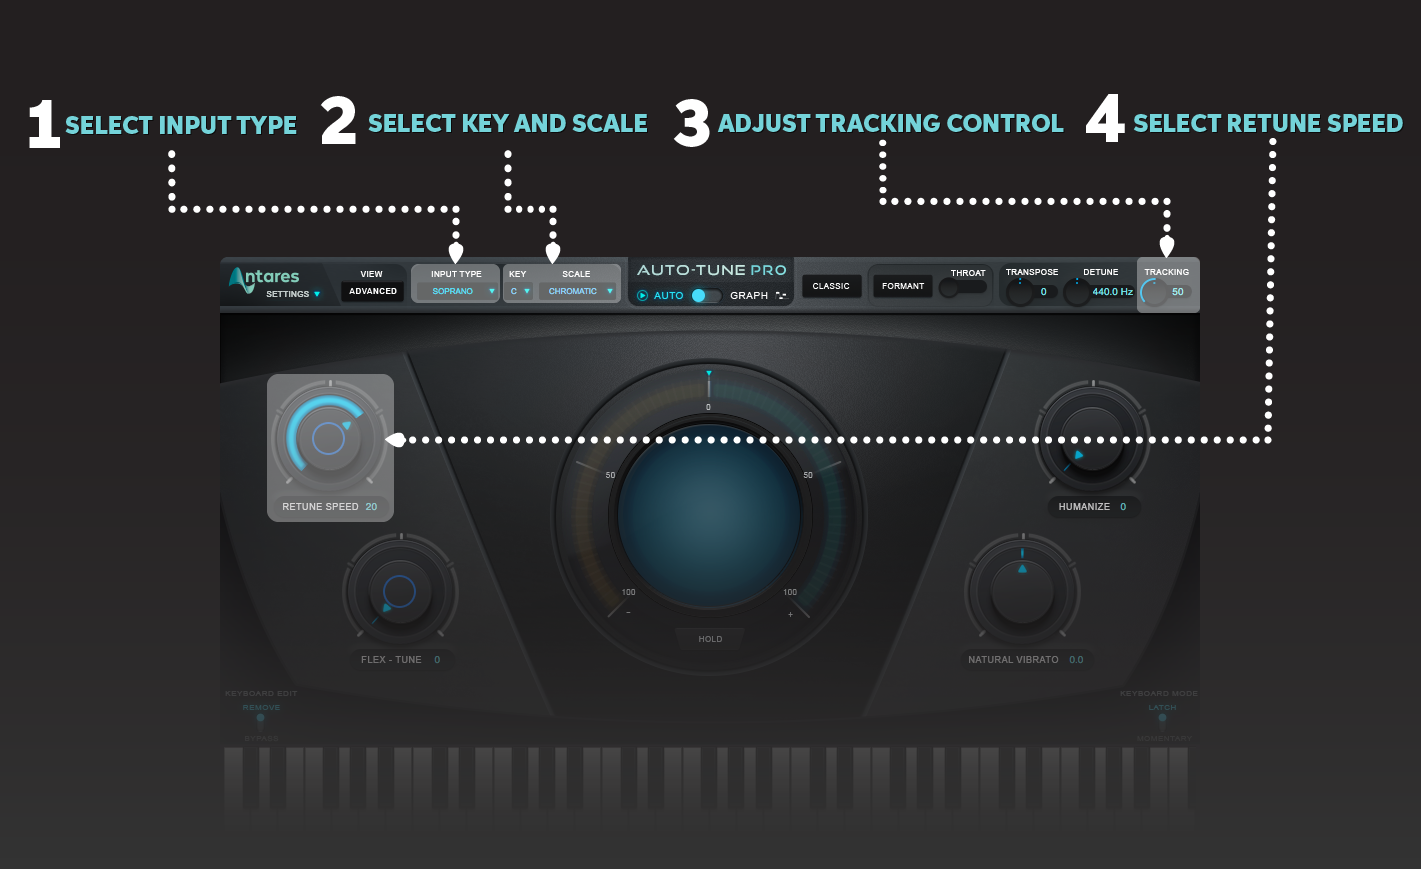
Key Parameters
The Key parameter defines the musical key of your song. Set this accurately.
The Scale parameter specifies the musical scale (e.g., major, minor) used. Choose the correct scale for optimal tuning.
Experiment with the Retune Speed. This controls how quickly Auto-Tune snaps the vocal to the correct pitch.
Basic Tuning Workflow
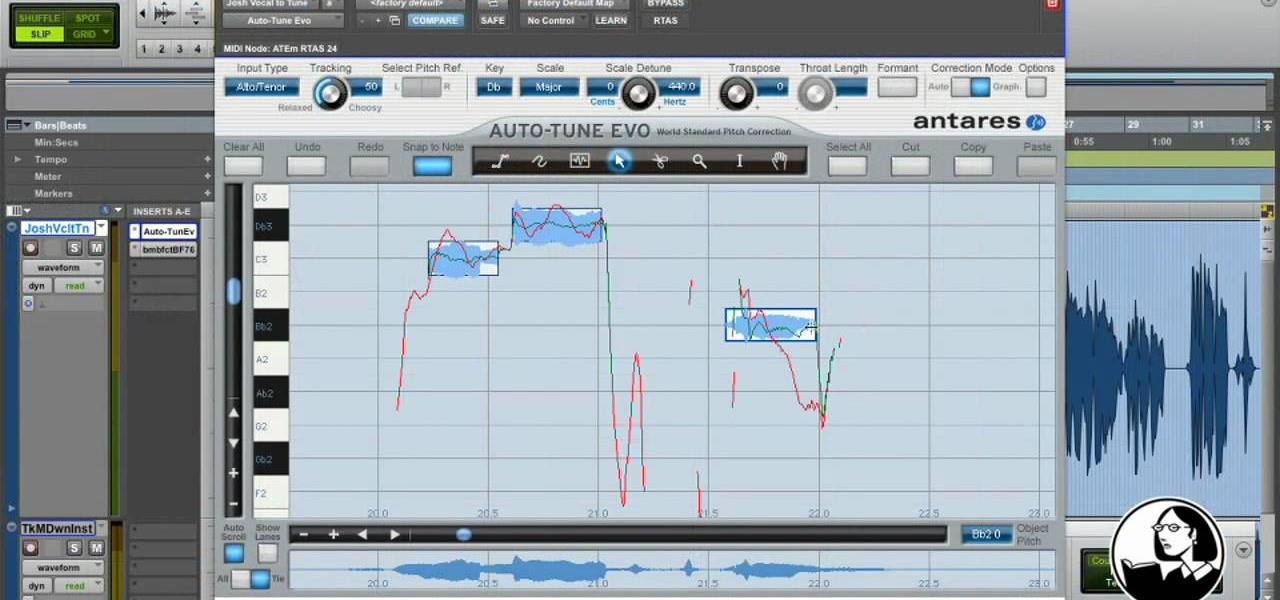
Play your vocal track within Pro Tools. Observe the real-time pitch correction displayed in Auto-Tune's graphical interface.
Fine-tune the Retune Speed until you achieve the desired level of correction. Balance accuracy with naturalness.
Consider using Auto-Tune's Graph Mode for precise, manual pitch adjustments. This is for intricate correction.
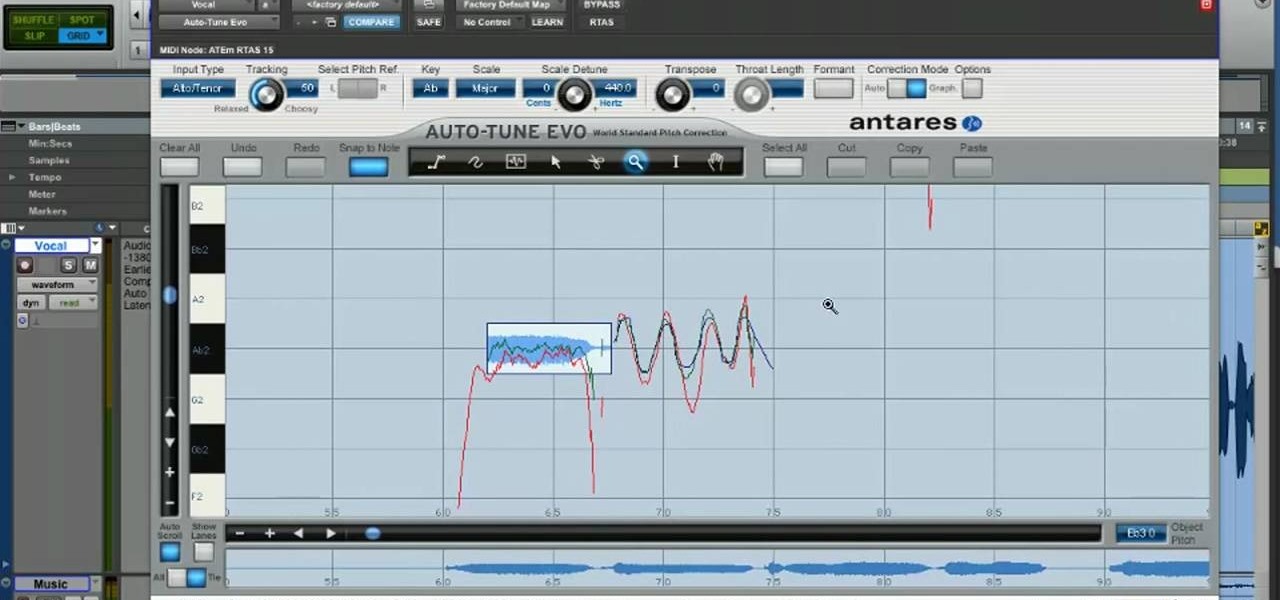
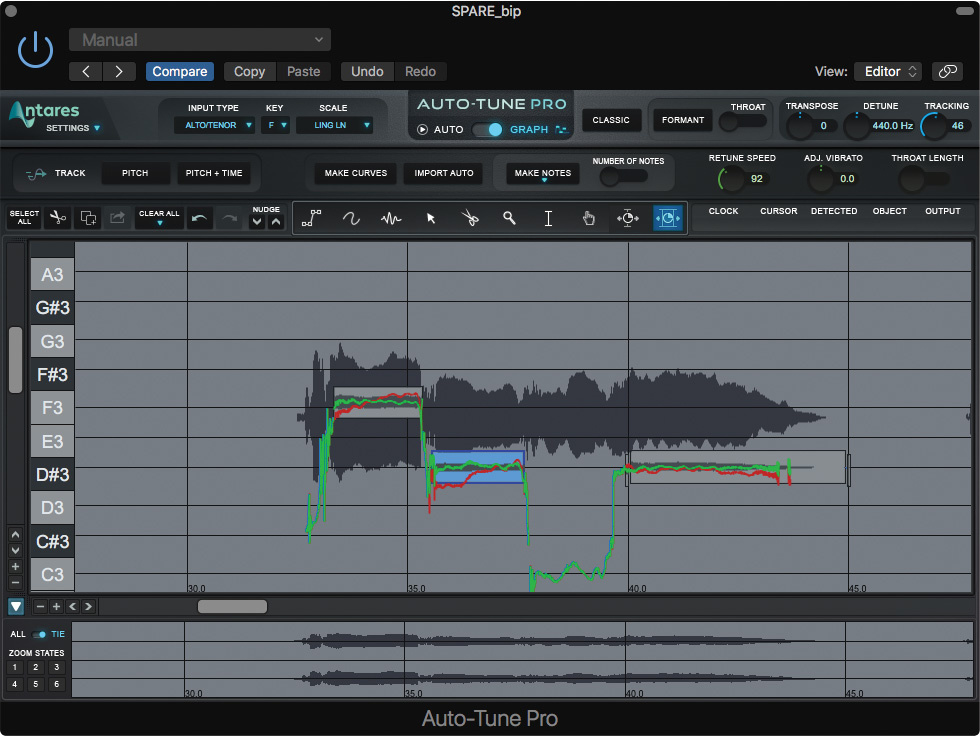
Graph Mode
Graph Mode provides a detailed visual representation of your vocal's pitch. This allows for granular control.
Use the tools within Graph Mode to manually adjust individual notes. Correct off-key notes and smooth transitions.
Be subtle in your adjustments. Over-correction can result in an unnatural and artificial sound.
Advanced Techniques
Explore Auto-Tune's formant correction features. Formant correction helps maintain the natural timbre of the voice.
Use automation in Pro Tools to vary Auto-Tune's parameters over time. This allows for dynamic and expressive vocal effects.
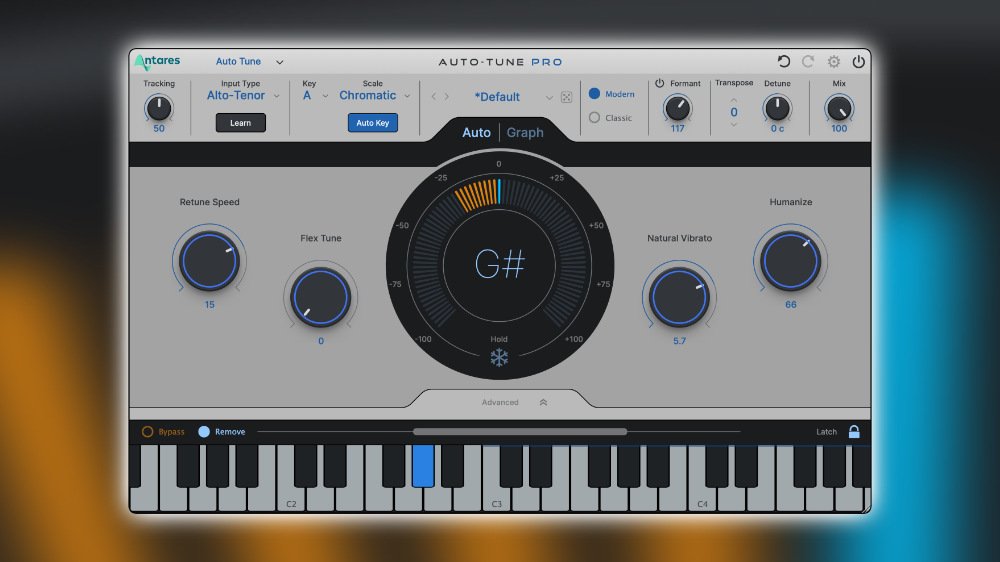
Experiment with different Auto-Tune plugins. Auto-Tune Access is a simplified version, while Auto-Tune Pro offers advanced capabilities.
Refer to the Antares website for in-depth tutorials. Antares is the only true source for support and assistance.
Next Steps
Practice using Auto-Tune on different vocal tracks. Gain experience with various settings and techniques.
Continue experimenting and refining your workflow. Vocal tuning is an art, and constant learning is critical.
Keep an eye on Antares’ website. They release updates and improvements regularly.