Jio Phone Mein Blacklist Mein Number Kaise Daalte Hain

In an era defined by relentless connectivity, the scourge of unwanted calls and messages continues to plague countless individuals. For users of the Jio Phone, a popular choice in India, managing this digital noise and maintaining personal privacy is paramount. Learning how to effectively blacklist numbers on this device is therefore not merely a convenience, but an essential skill for safeguarding one's digital well-being.
This article serves as a comprehensive guide for Jio Phone users seeking to understand and implement the process of blocking unwanted contacts. It will explore various methods, addressing the nuances of the Jio Phone's operating system and providing clear, step-by-step instructions. By equipping readers with the knowledge and tools to manage their contact lists, this article aims to empower them to reclaim control over their communication experiences.
Understanding Blacklisting on the Jio Phone
The Jio Phone, primarily targeting users in India, operates on a modified version of KaiOS. This lightweight operating system provides essential functionalities, including the ability to block unwanted numbers. Blacklisting, also known as blocking, prevents specific numbers from contacting you via calls or text messages.
When a number is added to the blacklist, any attempts to call or text you from that number will be automatically rejected. You will not receive any notification of these attempts, effectively shielding you from the unwanted communication.
Methods for Blacklisting Numbers
Method 1: Blocking from Call History
This is perhaps the most straightforward method, allowing you to block numbers directly from your recent call log. First, open the Phone app on your Jio Phone.
Then, navigate to the Call History section. Locate the number you wish to block, press the Options key (usually the center key), and select Block Number.
A confirmation prompt will appear; confirm your decision to add the number to the blacklist.
Method 2: Blocking from Contacts
If the number you wish to block is already saved in your contacts, this method is equally efficient. Open the Contacts app on your Jio Phone.
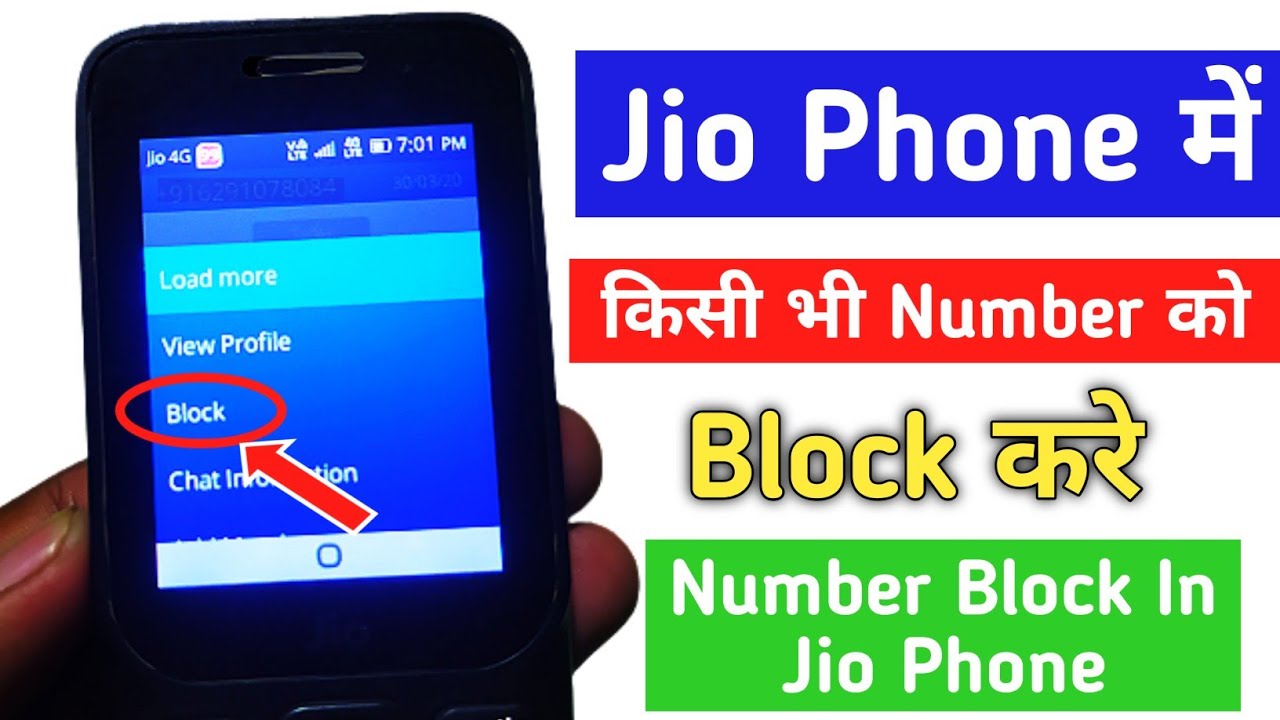
Select the contact you wish to block. Press the Options key and then choose the Block Contact option.
Confirm your decision to add the contact to the blacklist.
Method 3: Using Third-Party Apps (Caution Advised)
While the Jio Phone offers built-in blacklisting features, some users may explore third-party apps for potentially enhanced functionality. However, exercise extreme caution when downloading and installing apps from unknown sources. Many such apps could pose security risks, including data breaches or malware infection.
Before installing any third-party app, carefully review its permissions and read user reviews. Only install apps from trusted sources, and be wary of apps that request excessive permissions.
Managing the Blacklist
Unfortunately, KaiOS on the Jio Phone does not offer a dedicated section to view and manage the complete blacklist. The OS lacks a direct feature to see a list of blocked numbers, making it difficult to review and remove numbers from the blacklist.
To unblock a number, you may need to try to manually call or message the number. If blocked, an error might appear allowing to unblock or remove it from your contact list and re-add it.
The Future of Blacklisting on Jio Phone
As KaiOS evolves, there's hope for improved blacklist management features. User feedback and demands often drive software updates and feature enhancements.
Future iterations of KaiOS could potentially include a dedicated blacklist management interface, offering users greater control and transparency. The Jio Phone's continued popularity ensures that user needs will likely shape its future development.
Ultimately, mastering the art of blacklisting on your Jio Phone is a crucial step towards maintaining a peaceful and productive digital life. By following these methods and exercising caution with third-party apps, you can effectively manage unwanted communication and reclaim control over your communication experiences.