Remove Background In Affinity Designer

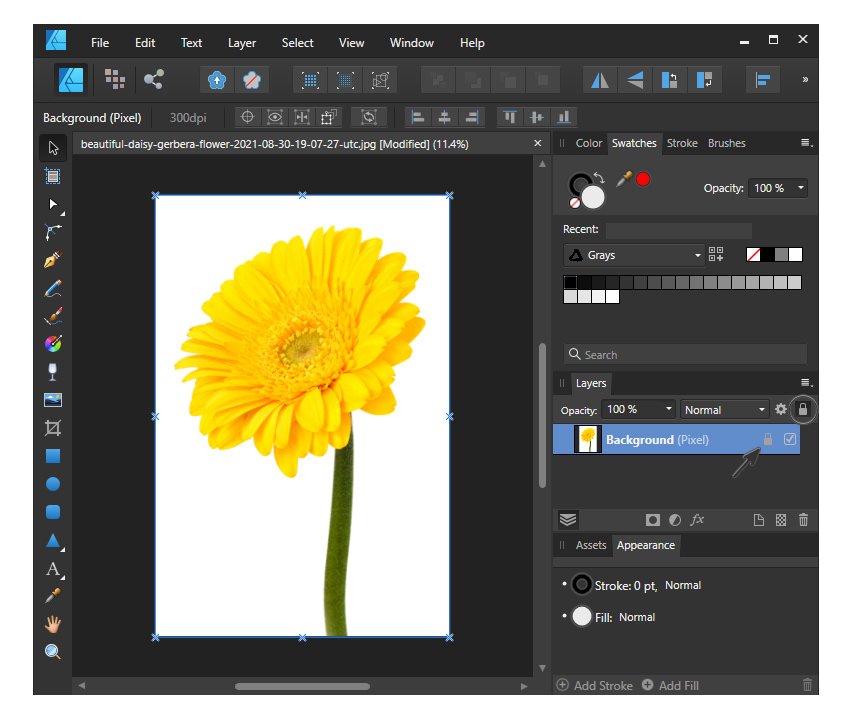
Affinity Designer, Serif's acclaimed vector graphics editor, continues to empower users with its robust features, offering a versatile toolkit for professionals and hobbyists alike. One frequently utilized capability is its ability to remove backgrounds from images, a process crucial for various design tasks ranging from product mockups to website graphics.
The background removal process in Affinity Designer offers multiple approaches, each with its own strengths depending on the complexity of the image. Understanding these methods is key to achieving a clean and professional result.
Methods for Background Removal
Affinity Designer offers several techniques for isolating subjects from their backgrounds. These include using selection tools, utilizing the Pen tool for precise outlining, and leveraging the built-in Refine Edge tool.
Selection Tools
The Selection Brush Tool allows users to "paint" over areas they want to select. This is particularly useful for images with clearly defined edges and strong contrast between the subject and background.
The Freehand Selection Tool provides more control for drawing custom selection outlines. The Marquee Selection Tool can select rectangle or ellipse areas.
The Color Range Selection Tool selects area with similiar color range. It's valuable for isolating elements based on color similarities.
Pen Tool
For complex shapes and intricate details, the Pen Tool offers the highest degree of precision. This method involves manually tracing the outline of the subject, creating a vector path that can then be used to create a mask.
The Pen Tool creates vector paths that can be easily adjusted. This is ideal for creating clean edges around complex shapes.
Refine Edge Tool
Affinity Designer's Refine Edge Tool is particularly useful for refining selections, especially around hair or fur. It allows users to fine-tune the edges of a selection, removing unwanted fringing and creating a more natural-looking result.
The Refine Edge Tool allows users to adjust the softness, contrast, and other parameters of the selection edge. This feature is essential for complex extractions.
Workflow Example
A common workflow involves initially making a rough selection using one of the selection tools. Then using the Refine Edge Tool to enhance the selection.
The refined selection can then be converted into a mask. Masking hides the area outside the selection.
Users can adjust the mask at any time to fine-tune the result. This non-destructive approach allows for iterative refinement.
Impact and Significance
The ability to effectively remove backgrounds in Affinity Designer has significant implications for various design workflows. It is crucial for creating product mockups, marketing materials, and website graphics.
Designers can quickly isolate elements for compositing and manipulation. It is saves time and enhances creative possibilities.
The versatility of the tools allows users to adapt to different image complexities. It ensures a professional outcome across various projects.
Additional Considerations
Image resolution plays a crucial role in the quality of the final result. Higher resolution images generally yield better selections, especially when using the Refine Edge Tool.
Understanding the strengths and weaknesses of each method is key to efficient background removal. Experimentation and practice are essential for mastering these techniques.
Serif offers numerous tutorials and resources on their website. These resources can assist users in learning and mastering background removal techniques.
"Affinity Designer provides a powerful and intuitive environment for image editing. The background removal tools are just one example of its capabilities," said a Serif representative in a recent statement.
As Affinity Designer continues to evolve, users can expect further refinements and enhancements to its background removal capabilities, solidifying its position as a leading vector graphics editor.