How To Clean Out Plastic Gas Tank
Contaminated fuel can cripple engines, and a dirty plastic gas tank is often the culprit. Immediate action is required to prevent further damage and costly repairs.
This guide provides a step-by-step method to safely and effectively clean out a plastic gas tank, addressing the most common contaminants and ensuring optimal engine performance. The process prioritizes safety and thoroughness, minimizing risks associated with fuel handling.
Safety First: Preparation is Key
Safety is paramount when dealing with gasoline. Work in a well-ventilated area, away from open flames or potential ignition sources. Always wear safety glasses and nitrile gloves.
Disconnect the fuel line from the engine. This prevents fuel from flowing into the engine during the cleaning process.
Have a fire extinguisher readily available. Fuel vapors are highly flammable, and an extinguisher can prevent a small incident from escalating.
Step-by-Step Cleaning Procedure
1. Empty the Tank Completely
Drain all remaining fuel from the tank. Use a siphon or a fuel pump to remove as much fuel as possible.
Dispose of the old fuel properly. Contact your local waste management facility for guidelines on handling and disposal of gasoline.
Never pour gasoline down drains or onto the ground. This is illegal and environmentally harmful.
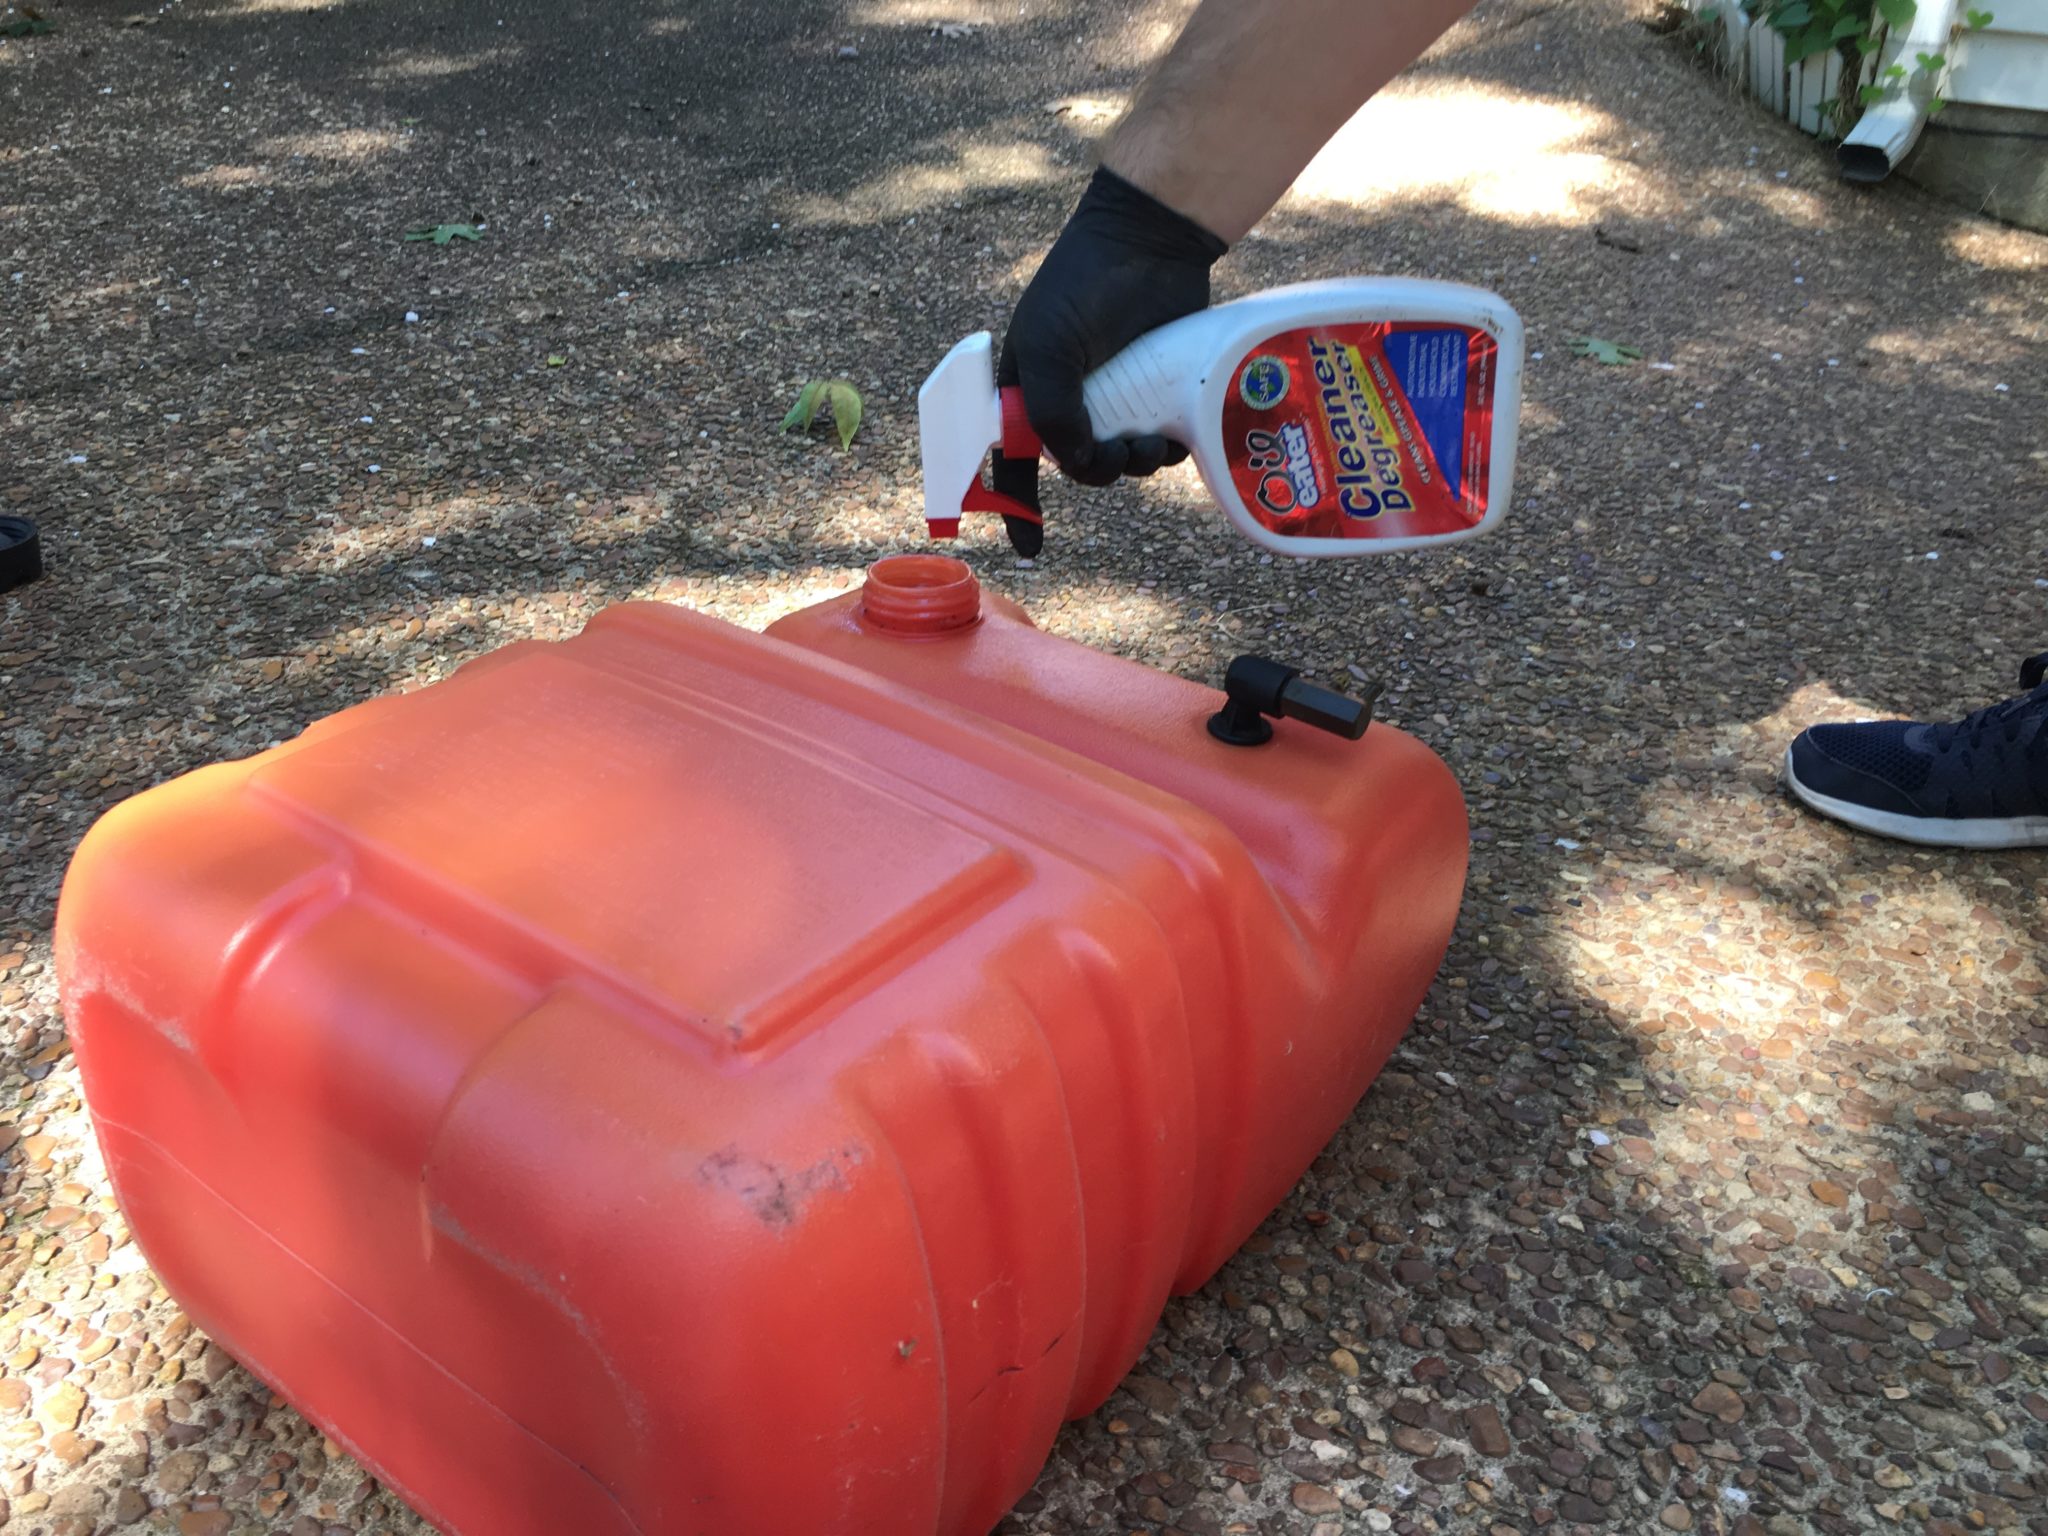
2. Initial Rinse with Soap and Water
Prepare a solution of warm water and mild dish soap. Avoid harsh chemicals or solvents that could damage the plastic tank.
Pour the soapy water into the tank and slosh it around vigorously. This helps to loosen any loose debris or residue.
Drain the soapy water completely. Rinse the tank several times with clean water to remove any remaining soap residue.
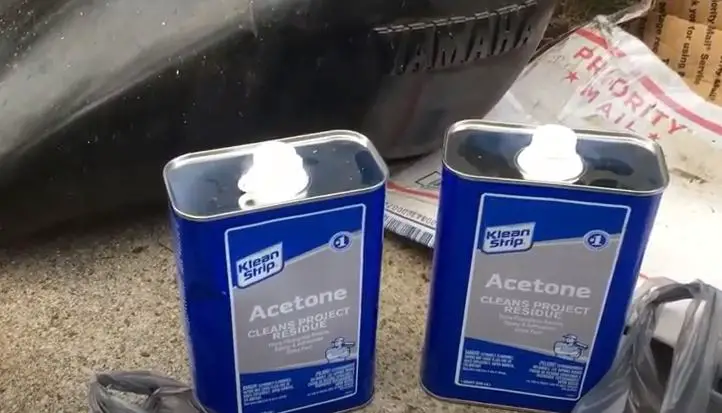
3. Deep Cleaning with a Specialized Cleaner (Optional)
For stubborn deposits or significant contamination, consider using a fuel tank cleaner specifically designed for plastic tanks. Follow the manufacturer's instructions carefully.
One example of cleaner is Sea Foam Motor Treatment which can dissolve gum and varnish deposits.
Ensure the cleaner is compatible with plastic and won't cause degradation. Test it on a small, inconspicuous area first.
4. Remove Stubborn Residue
If residue remains, consider using a clean, lint-free cloth or a soft brush attached to a flexible handle. Reach into the tank to scrub the areas affected.
Avoid using abrasive materials that could scratch the plastic. Scratches can create areas where contaminants can accumulate more easily in the future.
For hard-to-reach areas, try using a pressure washer with a low-pressure nozzle. Be cautious to avoid damaging the tank.
5. Drying and Inspection
Allow the tank to air dry completely. Leaving moisture inside can lead to corrosion or promote the growth of mold and bacteria.
Inspect the tank for any signs of damage, such as cracks or leaks. Replace the tank if any damage is found.
Ensure the tank is completely dry before reassembling.
Reassembly and Final Checks
Reattach the fuel line securely, ensuring a tight seal. Use new fuel line clamps if necessary.
Add fresh, clean fuel to the tank. Use the correct octane rating recommended for your engine.
Start the engine and check for any leaks around the fuel line connections and the tank itself. Address any leaks immediately.
Preventative Measures
Use a fuel stabilizer when storing equipment for extended periods. This helps prevent fuel degradation and the formation of deposits.
Regularly inspect your fuel tank for signs of contamination. Early detection can prevent more serious problems down the road.
Consider using a fuel filter to remove contaminants before they reach the engine. Replace the filter according to the manufacturer's recommendations.
Ongoing Developments and Expert Advice
The Environmental Protection Agency (EPA) is constantly updating regulations regarding fuel storage and handling. Stay informed about the latest guidelines.
Consult with a qualified mechanic if you are unsure about any aspect of the cleaning process. Professional assistance can ensure the job is done safely and correctly.
Some manufacturers recommend specific cleaning products or procedures for their tanks. Refer to the owner's manual for detailed instructions.