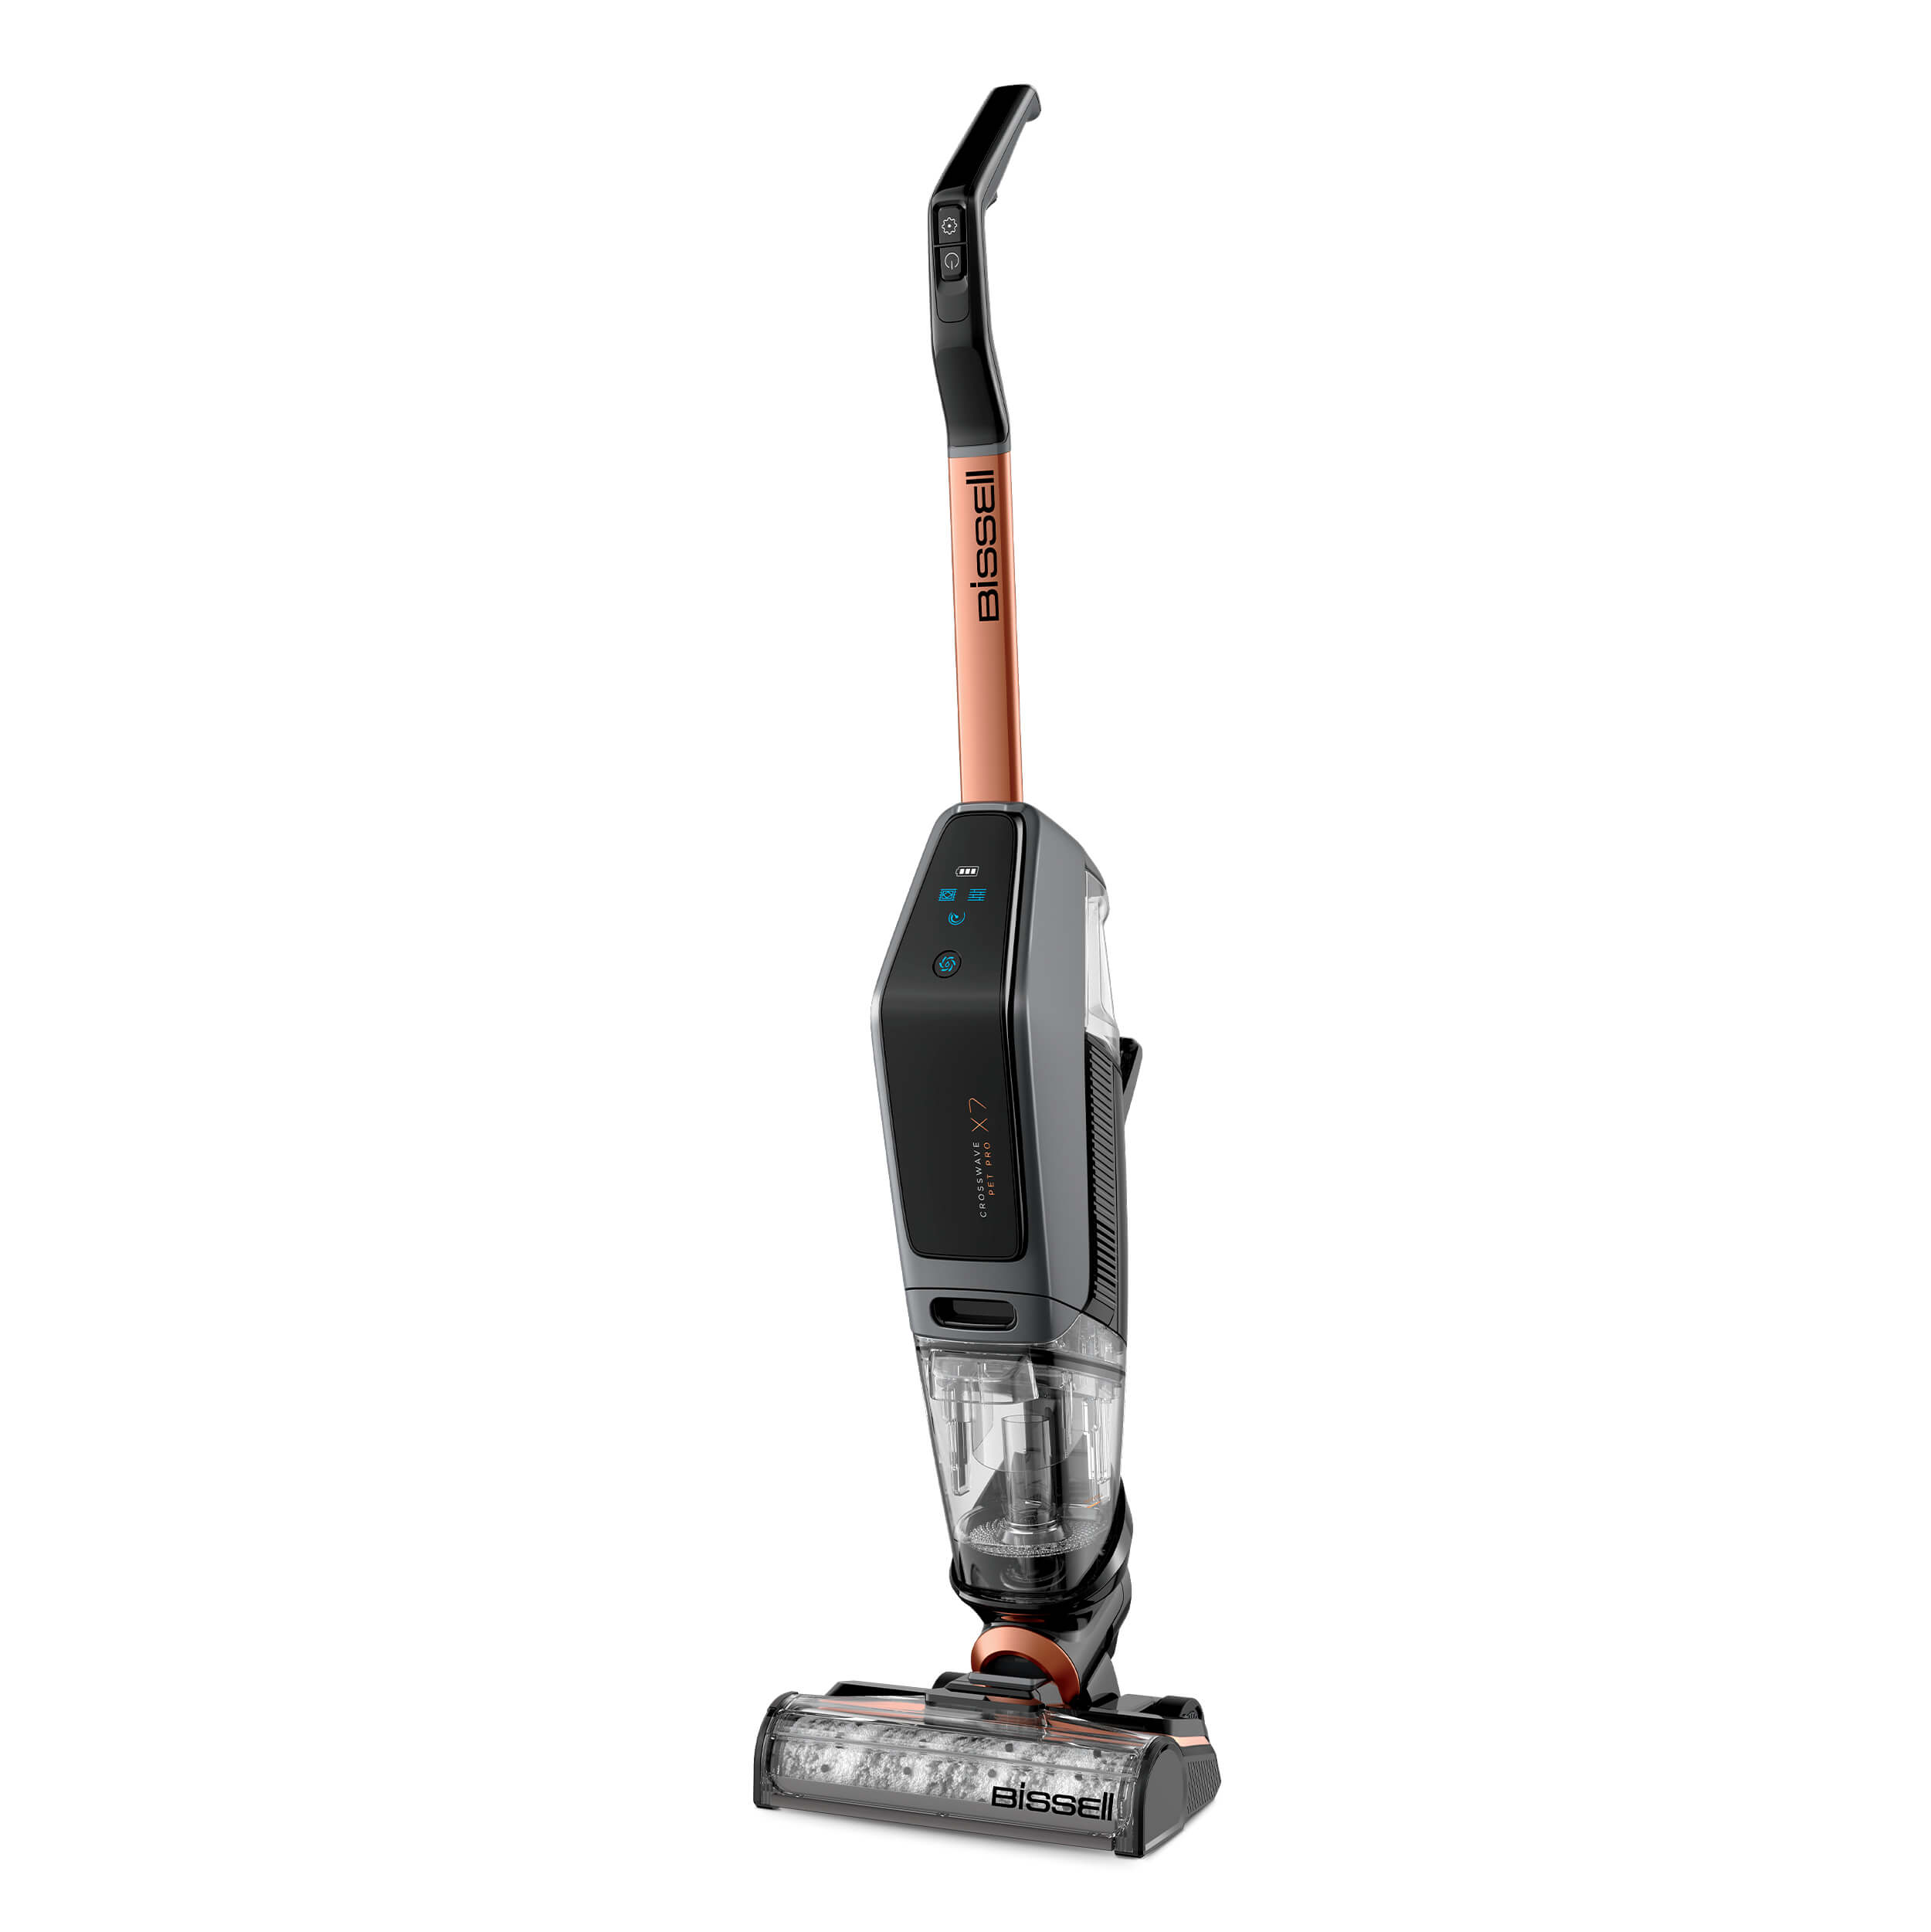
How To Disassemble Bissell Crosswave Pet Pro

Imagine this: you’ve just finished cleaning up after your furry friend with your trusty Bissell Crosswave Pet Pro. The floors are gleaming, the air is fresh, but now it’s time for the less glamorous task of cleaning the machine itself. Don’t worry, you're not alone! Many pet owners find themselves facing the challenge of properly disassembling their beloved cleaning companion.
This guide provides a step-by-step breakdown of how to disassemble your Bissell Crosswave Pet Pro for thorough cleaning and maintenance. Proper disassembly ensures longevity and optimal performance, preventing common issues like clogs and unpleasant odors.
Getting Started: Essential Preparations
Before diving in, make sure your Crosswave Pet Pro is unplugged. This is crucial for safety. Gather a few soft cloths, a small brush (an old toothbrush works great!), and possibly a blunt object like a butter knife for gently prying if needed.
Removing the Brush Roll and Brush Window
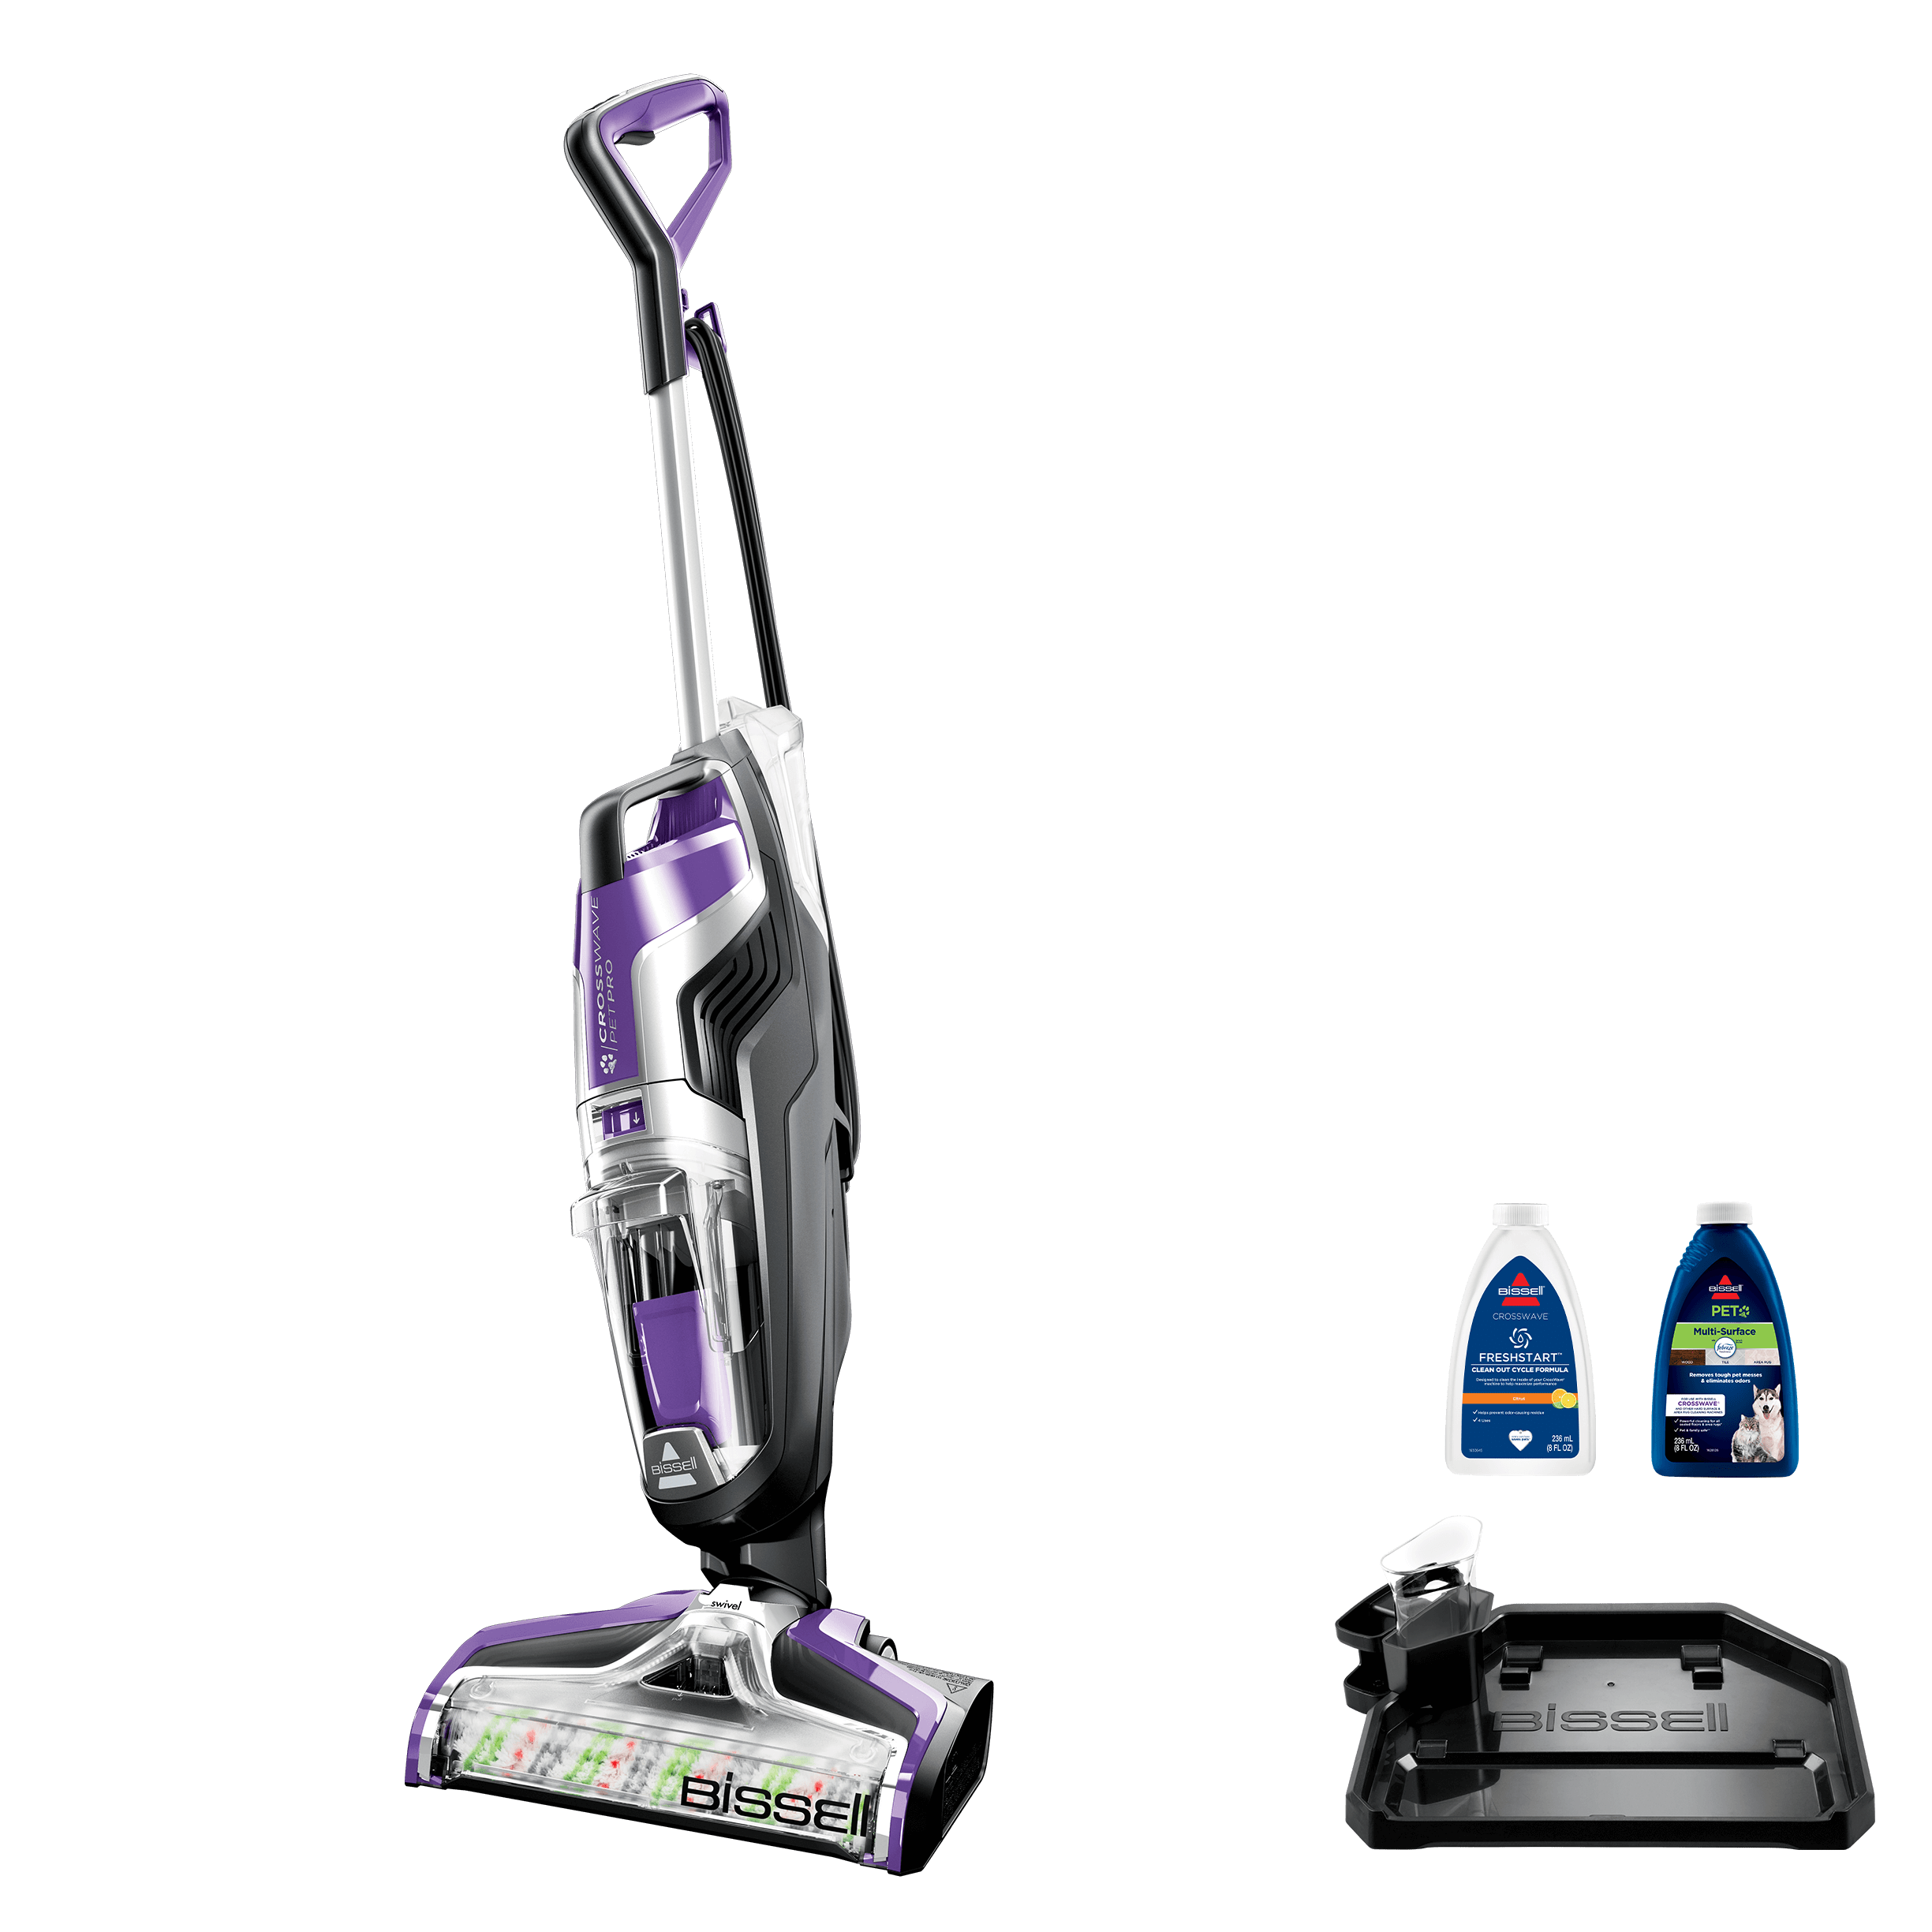
First, empty both the clean and dirty water tanks. These simply detach by pressing the release buttons located on the front of the machine. Next, lay the Crosswave Pet Pro flat on the floor.
Locate the brush window on the bottom of the machine. It's usually held in place by a small tab or latch. Gently release the tab and lift the brush window away.
Now you can access the brush roll. Simply pull it out. Be mindful of any hair or debris that might be wrapped around the brush.
Detaching the Foot and Nozzle
The foot of the Crosswave Pet Pro, where the brush roll sits, is often detachable for easier cleaning. Look for a release button or latch, usually located near the base of the foot.
Press the release and gently pull the foot away from the main body of the machine. The nozzle, the part that sprays the cleaning solution, can also be detached. Check for screws or clips holding it in place, and remove them accordingly.
Cleaning Individual Components
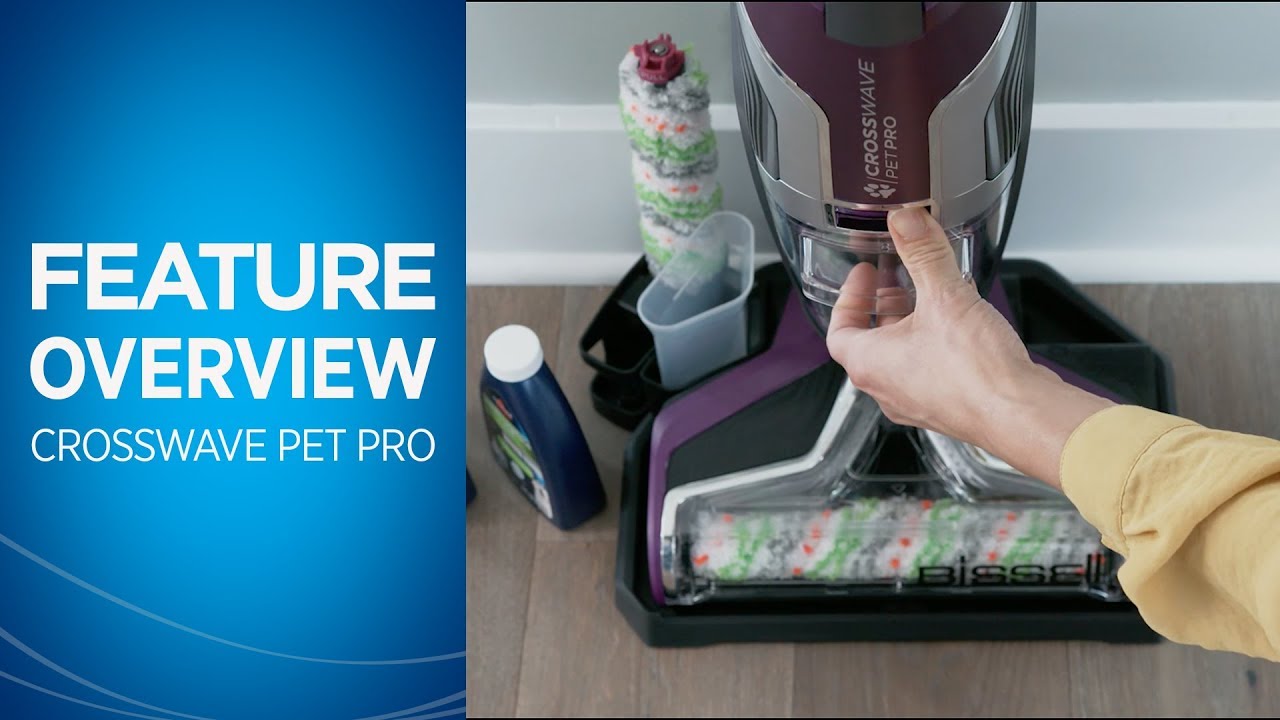
With the components disassembled, thoroughly rinse each part under warm water. Use the small brush to scrub away any stubborn dirt or debris. Pay special attention to the brush roll, removing any tangled hair.
Allow all the parts to air dry completely before reassembling. This prevents mold and mildew growth. Ensure every part is thoroughly dried.
Reassembly: Putting it Back Together
Once everything is dry, reassembly is essentially the reverse of disassembly. Start by reattaching the nozzle, securing it with any screws or clips you removed earlier.
Next, reattach the foot to the main body of the machine until it clicks into place. Slide the brush roll back into its housing.
Finally, reattach the brush window, ensuring the tab or latch is securely fastened. Reattach the clean and dirty water tanks, and you're done! Your Crosswave Pet Pro is ready for its next cleaning adventure.
Maintenance Tips for Longevity
Regular disassembly and cleaning are key to keeping your Bissell Crosswave Pet Pro in top condition. Experts at Bissell recommend cleaning the brush roll after each use, especially if you have pets that shed a lot.
Consider using Bissell’s recommended cleaning solutions for optimal performance and to avoid damaging the machine. Avoid using harsh chemicals or abrasive cleaners.
By following these steps, you can easily disassemble and clean your Bissell Crosswave Pet Pro, ensuring it continues to deliver sparkling clean floors for years to come. Happy cleaning!