How To Install Magnetic Door Stop
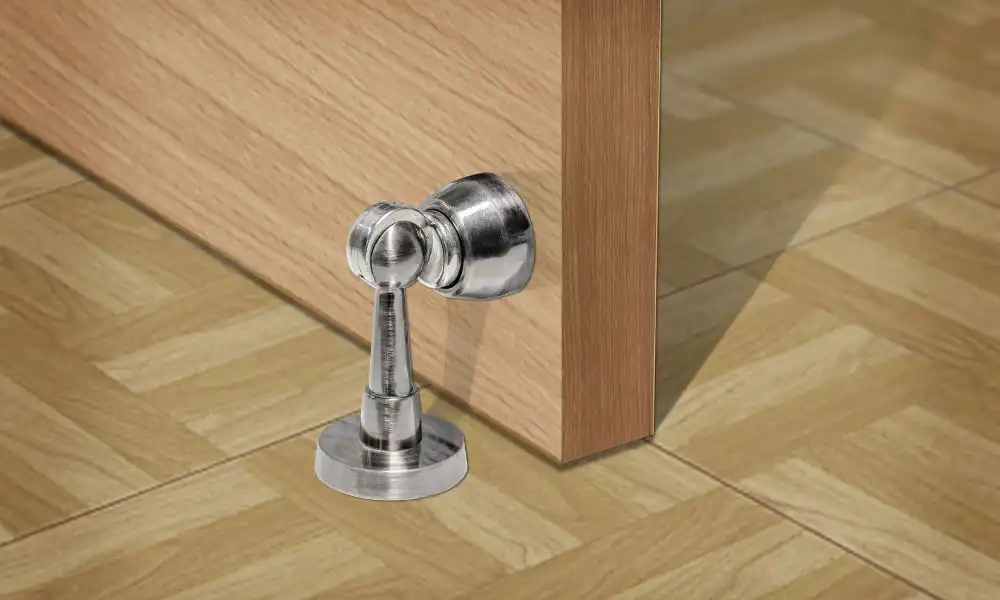
Don't let slamming doors damage your walls and disrupt your peace. Installing a magnetic door stop is a quick, effective solution, and this guide will walk you through the process step-by-step.
This article provides a concise, immediately actionable guide on how to install a magnetic door stop, ensuring your doors remain secure and your walls protected, potentially saving you costly repairs down the line.
Materials You'll Need
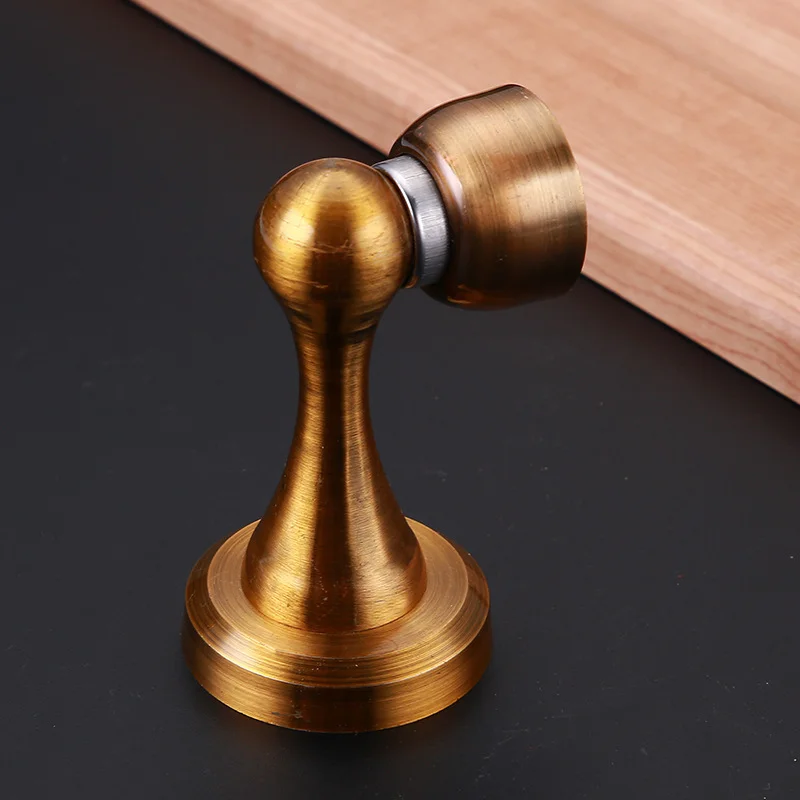
Before you begin, gather these essential items: A magnetic door stop kit (includes the magnet and strike plate), a drill with appropriate drill bits (for wood or drywall, depending on your door and wall), a screwdriver (Phillips head is often required), a pencil, and a measuring tape or ruler.
Safety first! Put on safety glasses.
Step 1: Identifying the Installation Points
The first step is locating where you will install the magnetic door stop.
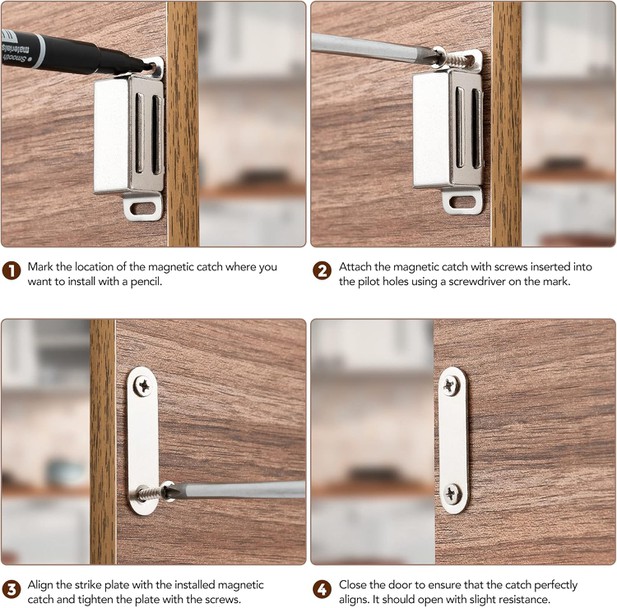
Open the door to the desired stopping point. With a pencil, mark the floor where the door's bottom edge aligns.
Now, on the door, determine a suitable location for the strike plate, typically near the bottom. Align the magnet with the floor mark to transfer the mark on the door. Accuracy is key here for proper alignment.
Step 2: Preparing the Door for the Strike Plate
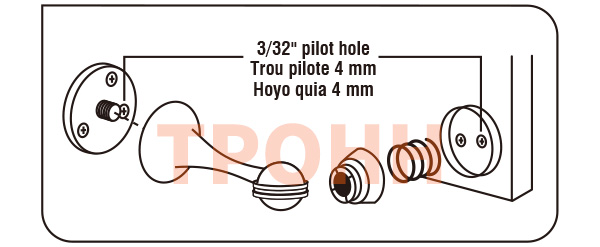
Depending on your kit, you may need to pre-drill pilot holes for the strike plate screws.
Refer to the instructions included with your magnetic door stop kit for specific drill bit sizes. Gently drill pilot holes at the marked locations on the door. Avoid drilling too deep!
Step 3: Installing the Strike Plate on the Door
Position the strike plate over the pilot holes on the door.
Using a screwdriver, carefully secure the strike plate to the door with the provided screws. Ensure it is flush and securely fastened. Do not overtighten.
Step 4: Preparing the Floor for the Magnet
Now, let's move to the floor. Similar to the strike plate, you might need to pre-drill pilot holes for the magnet's base.
Again, consult your kit’s instructions for appropriate drill bit size based on your flooring material (wood, concrete, etc.). Drill the pilot holes at the floor mark.
Consider using a slightly smaller drill bit than the screw size to ensure a firm grip, particularly if the floor is hardwood.
Step 5: Installing the Magnet on the Floor
Place the magnet base over the pilot holes on the floor.
Using a screwdriver, fasten the magnet securely to the floor with the provided screws. Make sure the magnet is pointing upwards to align with the strike plate.
Step 6: Testing and Adjusting
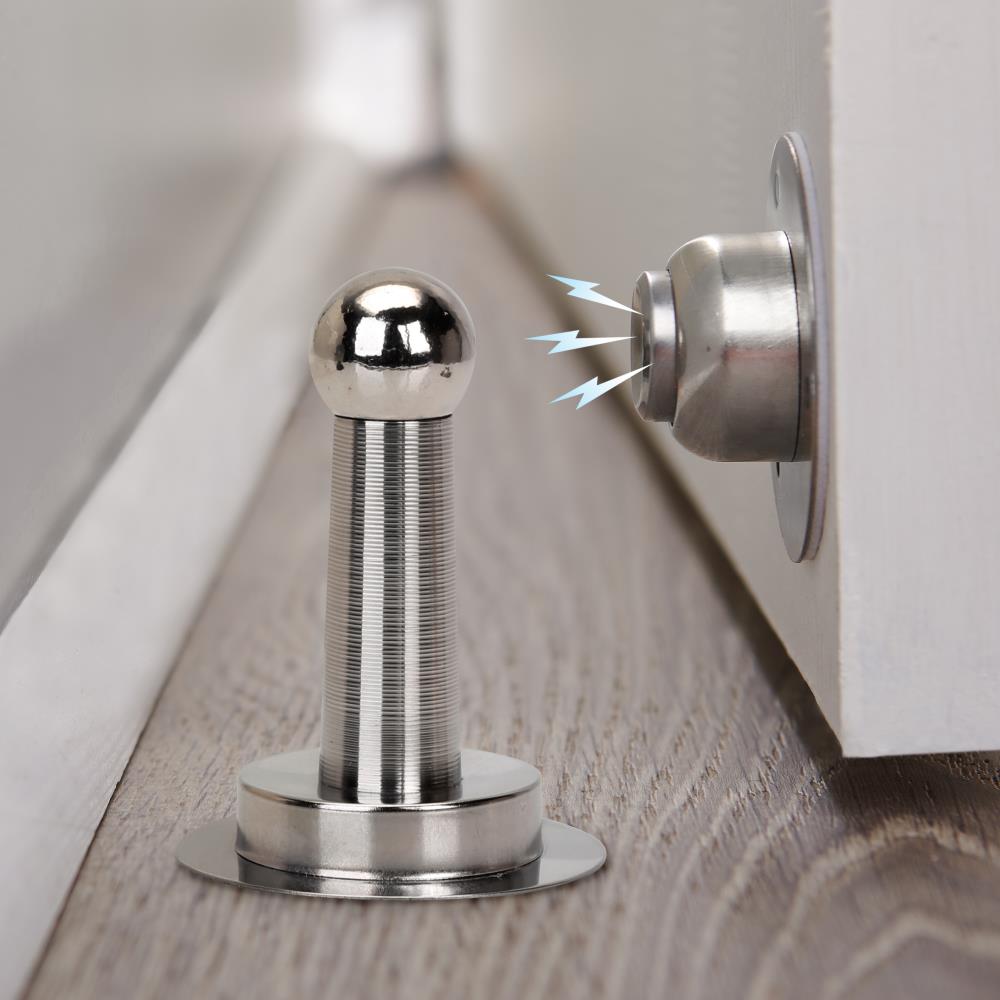
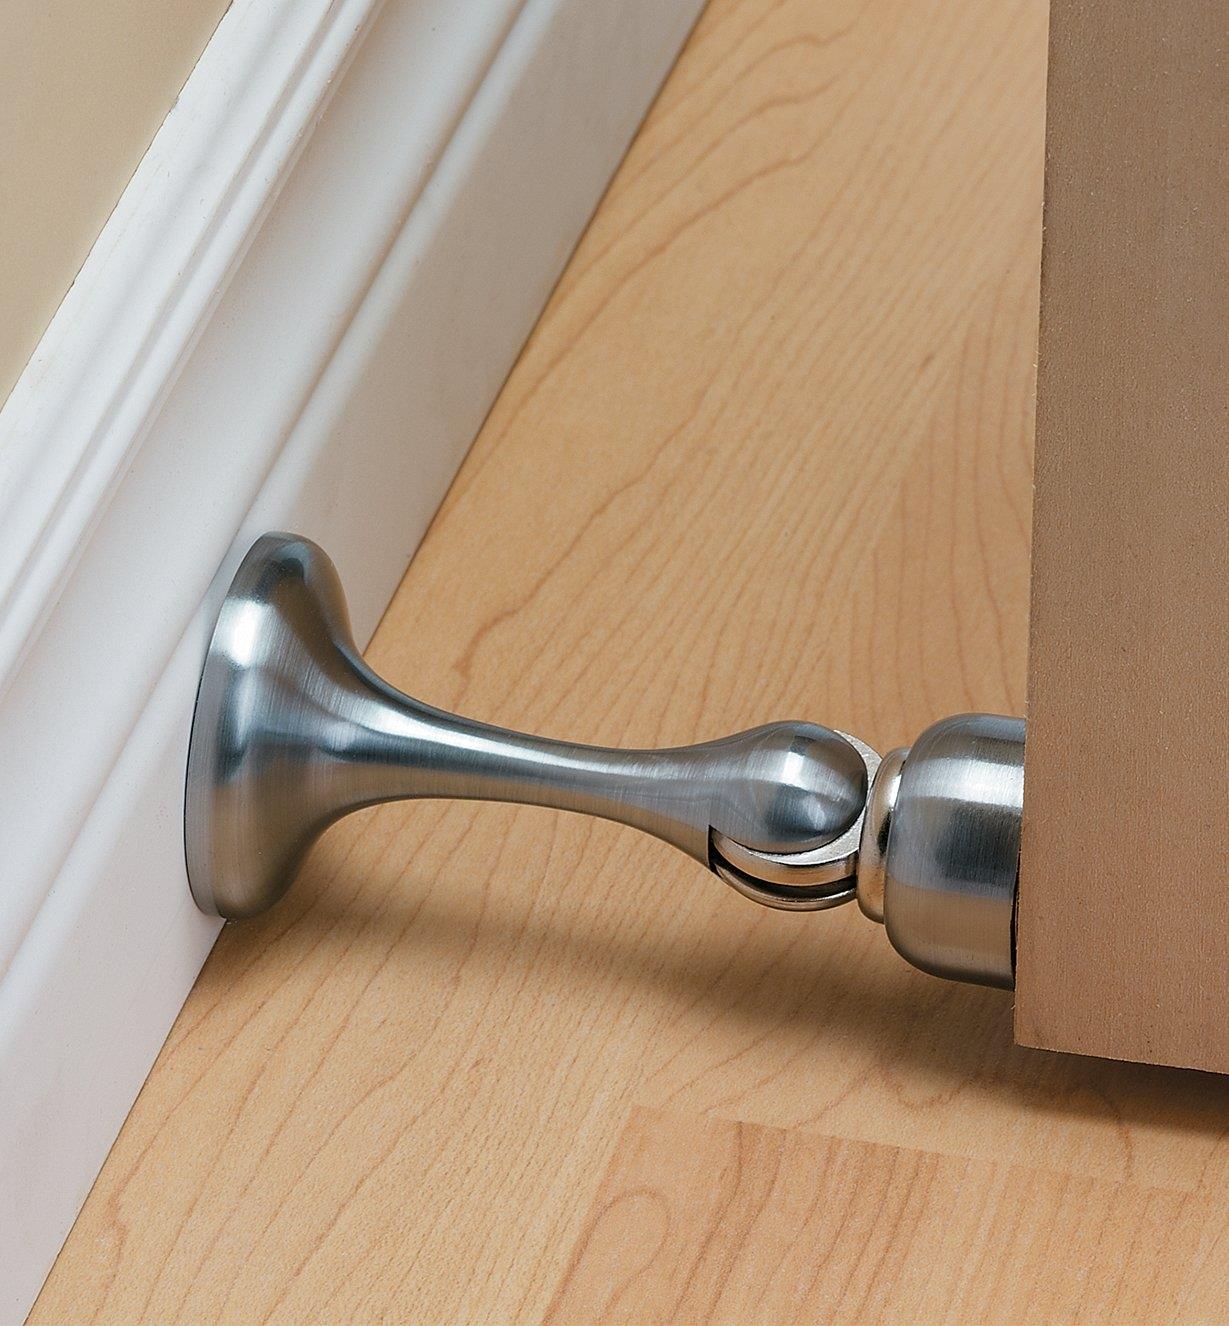
Carefully open and close the door to test the magnetic door stop.
The magnet and strike plate should connect smoothly and hold the door open securely. If the alignment is off, slightly loosen the screws and reposition the magnet or strike plate as needed. Repeat until the connection is perfect.
Troubleshooting
If the door doesn't stay open, double-check the alignment of the magnet and strike plate. Ensure they are both securely fastened.
If the magnet is too weak, consider using a stronger magnetic door stop or adding shims behind the strike plate to bring it closer to the magnet.
Dealing with Hollow Core Doors
For hollow core doors, be extra cautious when drilling. Avoid drilling too deeply, as you could damage the door’s interior structure.
Working with Concrete Floors
Installing on concrete requires specialized concrete drill bits and anchors. Always wear safety glasses.
Important: If you are uncomfortable with drilling or unsure about any step, consider consulting a professional handyman.
Next Steps
Once installed, periodically check the screws on both the magnet and strike plate to ensure they remain tight. Clean the magnet and strike plate to remove dust and debris for optimal performance.
Regular maintenance will prolong the life of your magnetic door stop and keep your walls protected.
By following these straightforward steps, you can quickly and effectively install a magnetic door stop, safeguarding your walls and enhancing your home's functionality.