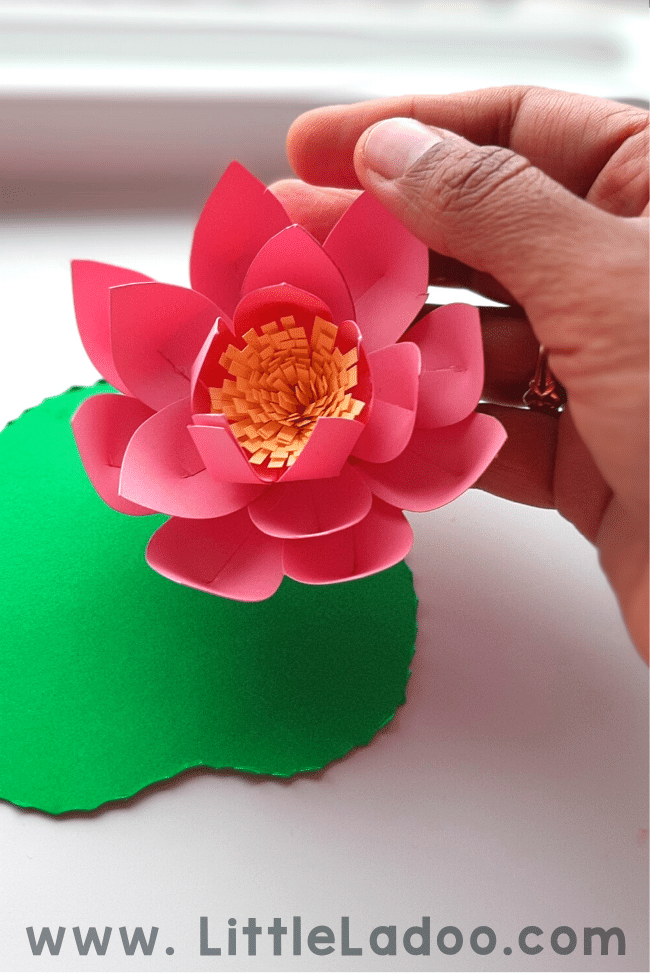
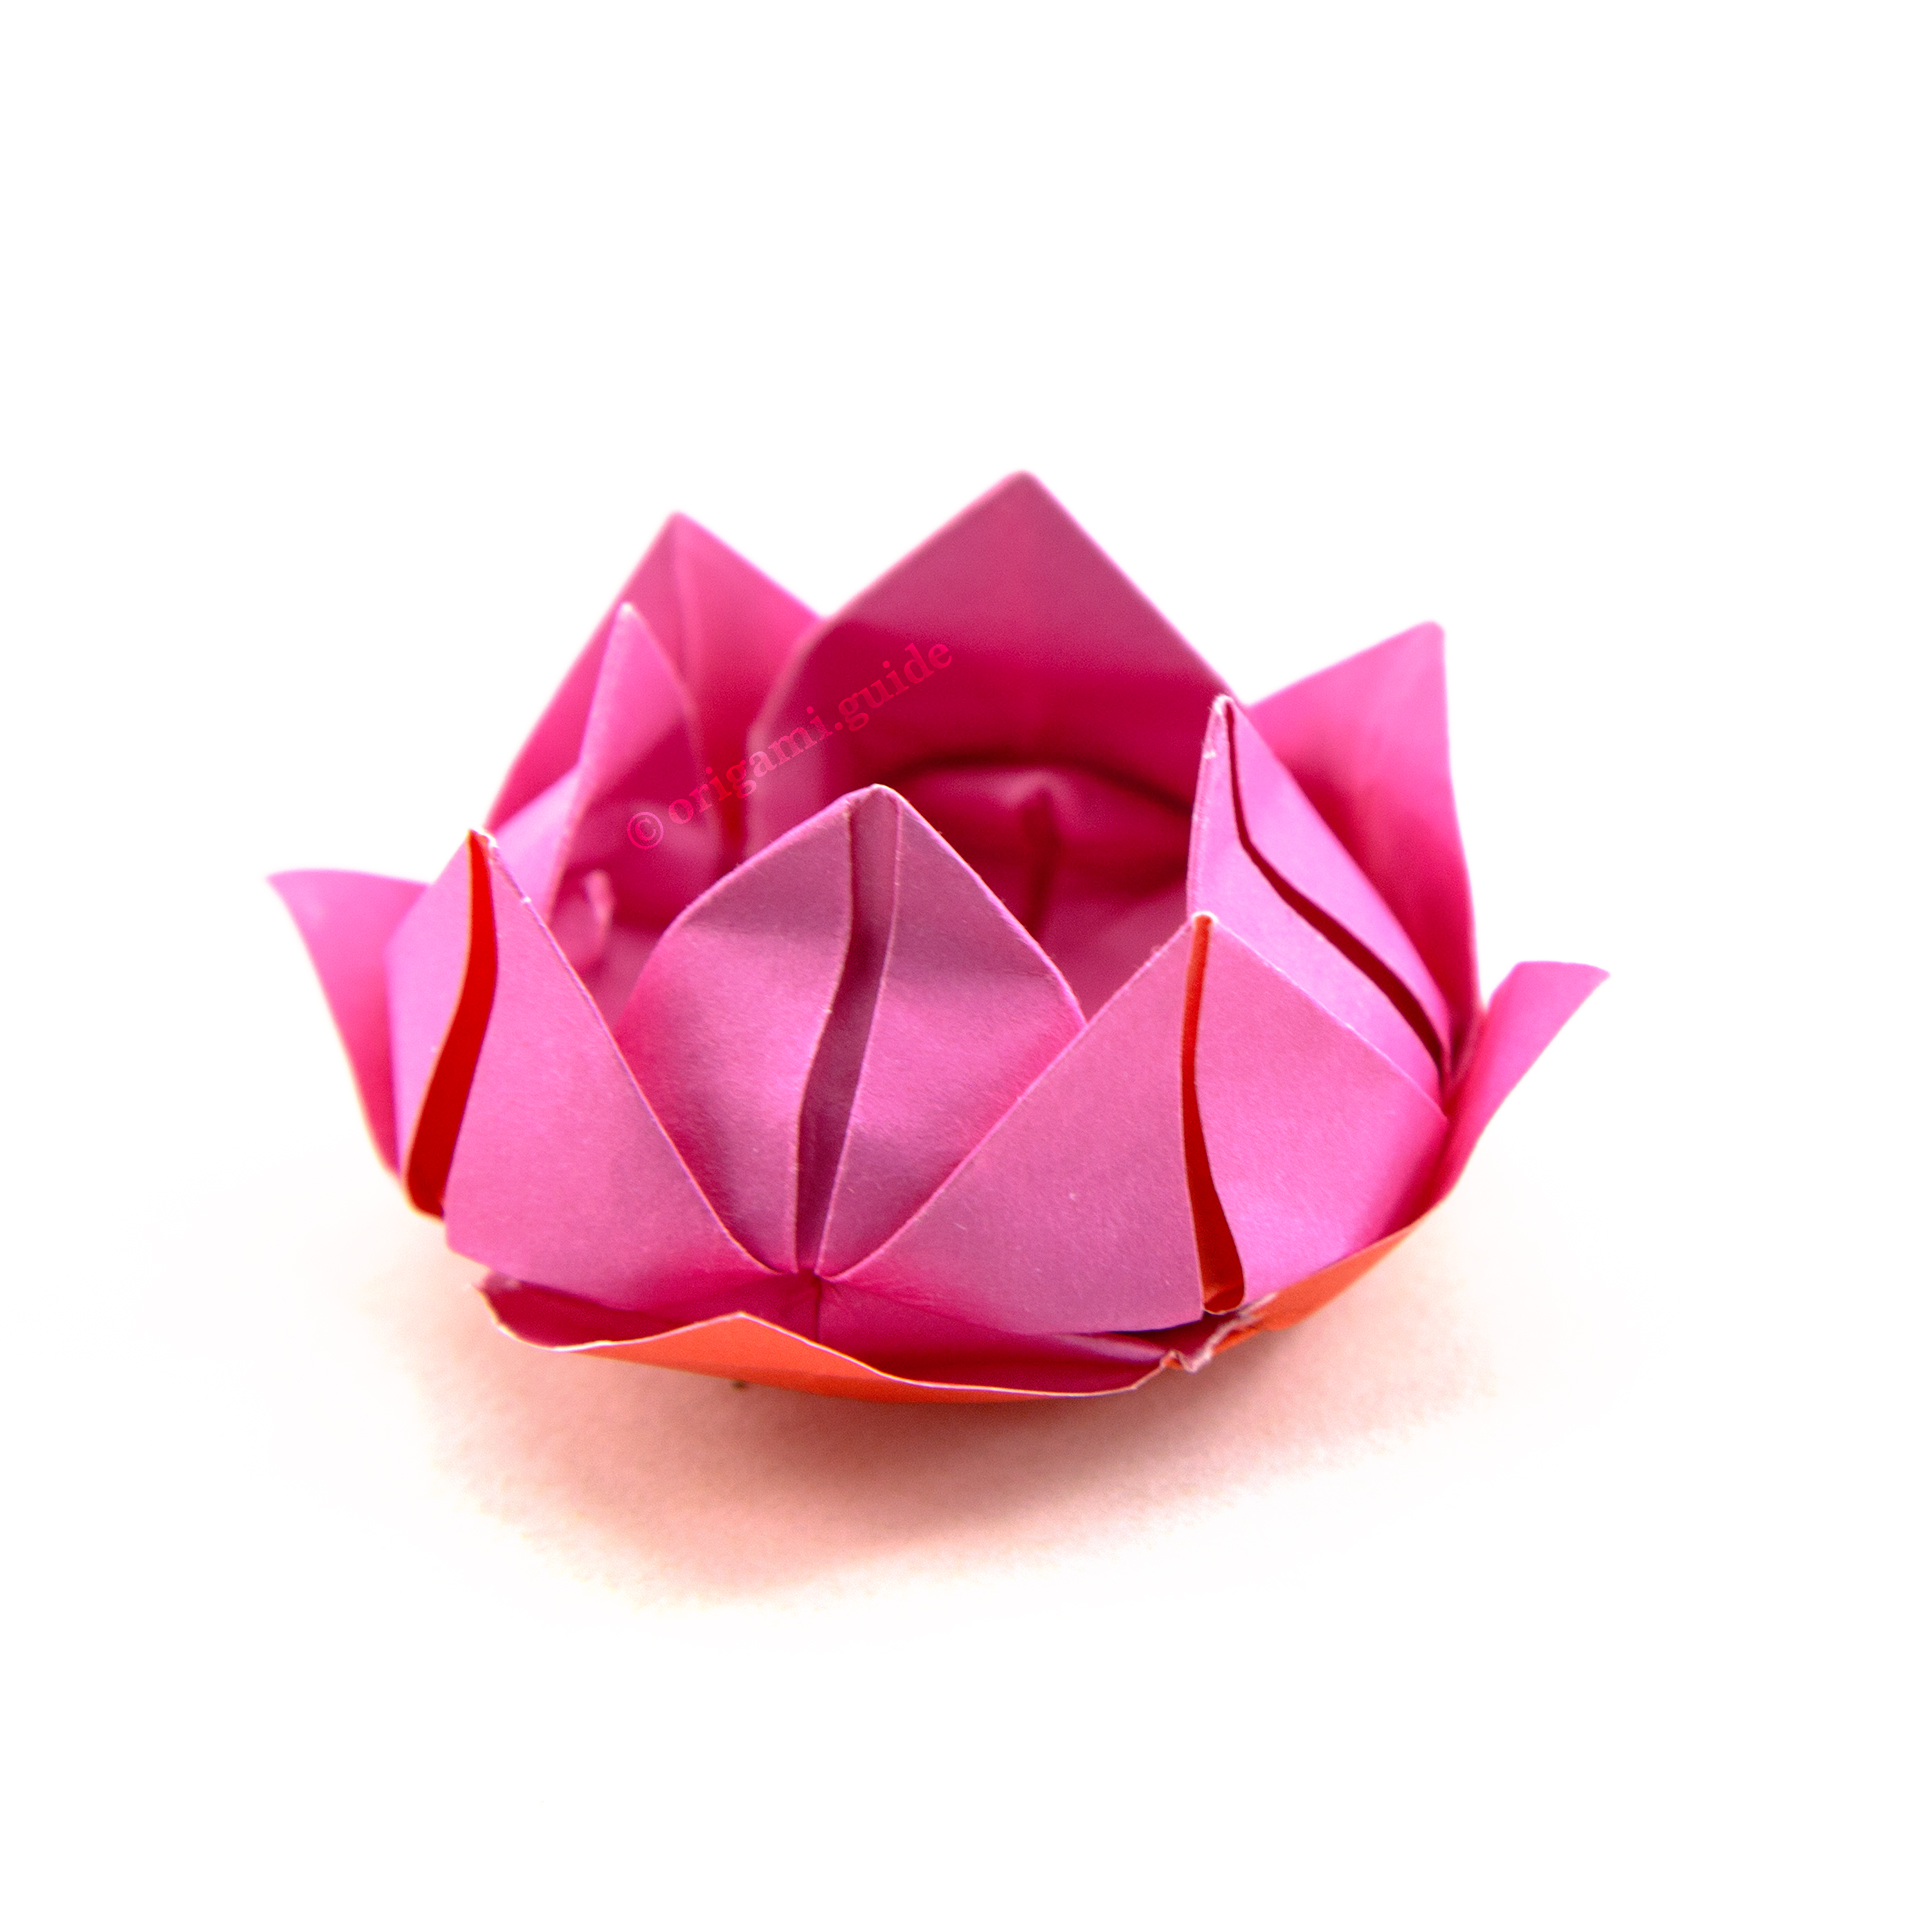
How To Make A Lotus With Paper
In an era dominated by fleeting digital trends, a resurgence of traditional crafts offers a tangible connection to artistry and mindfulness. Amidst the clamor of notifications and the constant churn of social media, the simple act of folding paper into intricate forms provides a quiet refuge. This article explores the step-by-step process of creating a paper lotus, offering readers a gateway to this timeless art form.
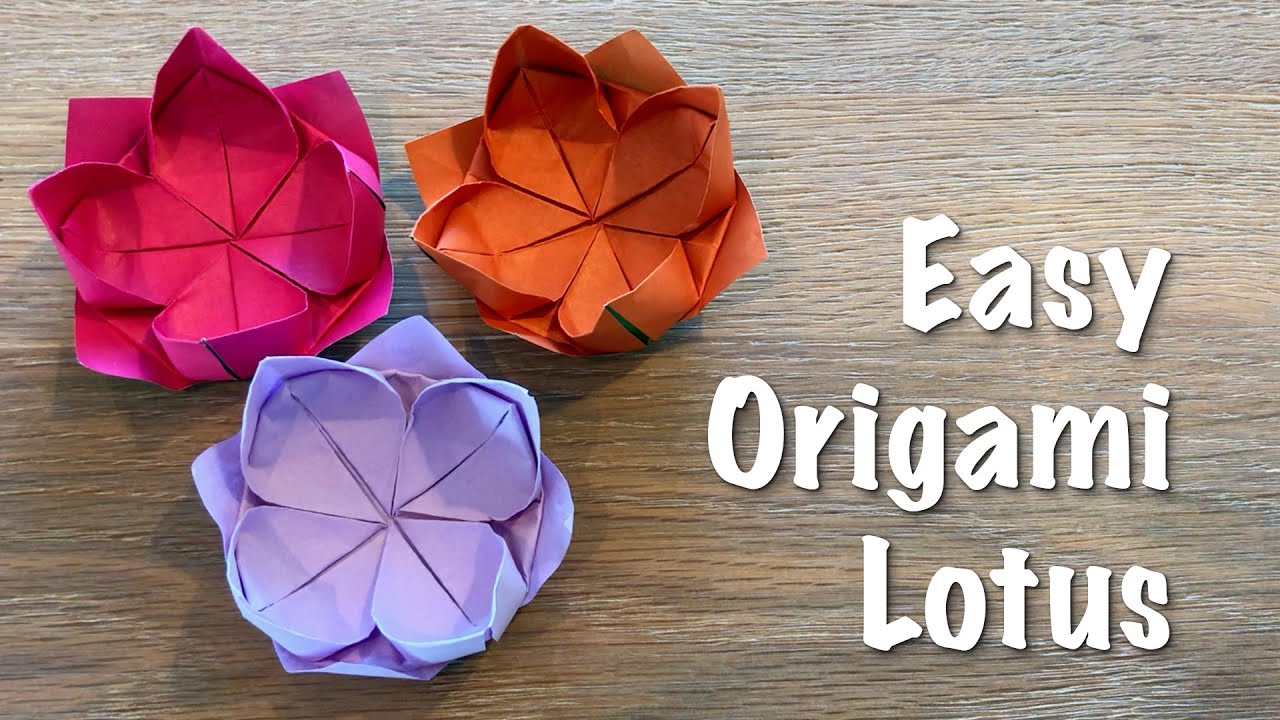
The paper lotus, a symbol of purity, enlightenment, and rebirth across various cultures, transcends mere origami. It's a meditative practice accessible to all. This guide provides a clear, concise pathway for crafting your own paper lotus, unlocking a sense of calm and creative accomplishment. The process requires patience and precision, but the result is a beautiful and meaningful object.
Materials and Preparation
The journey begins with gathering the necessary materials. You'll need square sheets of paper, preferably origami paper, which is thinner and easier to fold. Consider using different colors to add vibrancy and symbolism to your lotus.
A minimum of eight sheets is recommended, though more can be used for a fuller, more layered bloom. A ruler or bone folder can be helpful for creating crisp, clean folds. A flat, clean workspace is essential for optimal results.
Folding the Petals: The Foundation
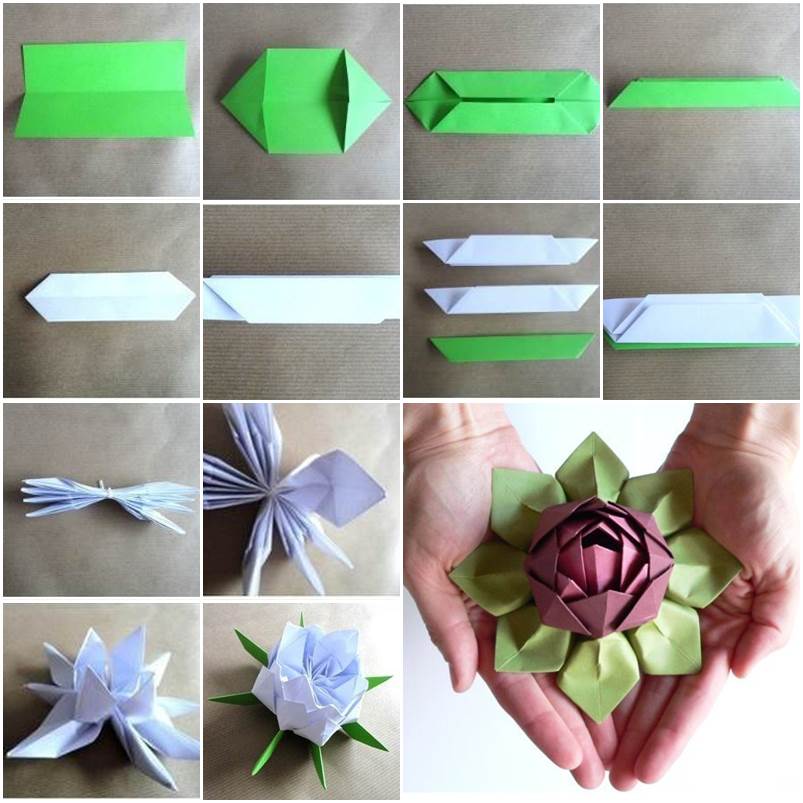
Each petal of the lotus begins as a single square of paper. Begin by folding the square in half diagonally, creating a triangle. Repeat on the other diagonal to form an 'X' crease.
Next, fold the square in half horizontally, then vertically. Unfold the paper completely. These creases will serve as guides for the next steps.
Using the creases, collapse the square into a smaller square, known as a "waterbomb base." This is a fundamental origami technique. Ensure the edges are aligned and the folds are crisp.
Now, fold each of the four points of the smaller square towards the center line. This will create a kite shape. Repeat this step on the back of the square, resulting in a fully folded petal unit.
Repeat this process with all remaining sheets of paper. Consistency in the folds is key to creating a symmetrical and balanced lotus flower. Each petal unit should look identical.
Assembling the Lotus: Bringing it to Life
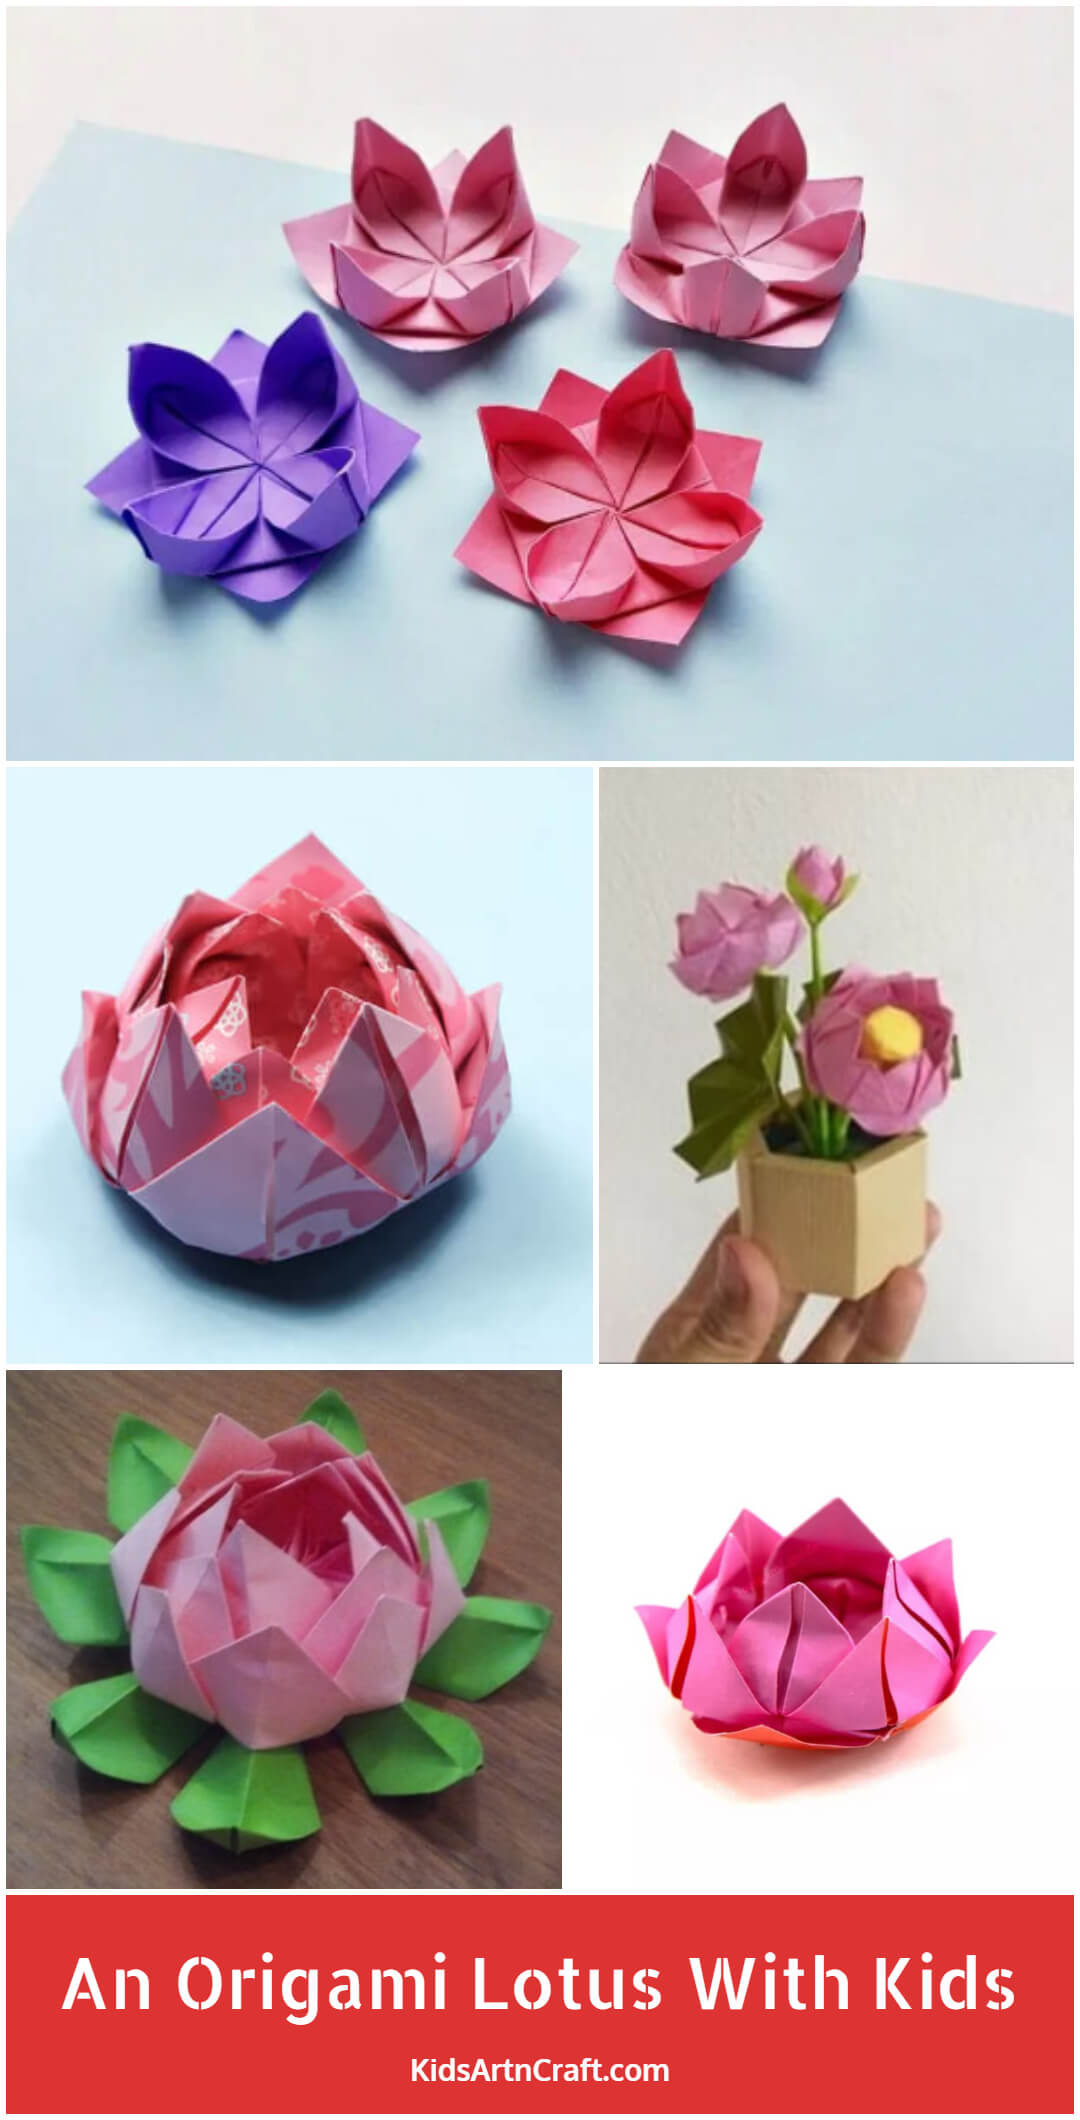
Once you have created all the petal units, it's time to assemble the lotus. Begin by taking four petals and aligning them, points facing outwards, to form a square. A small amount of glue or double-sided tape can be used to secure the petals together.
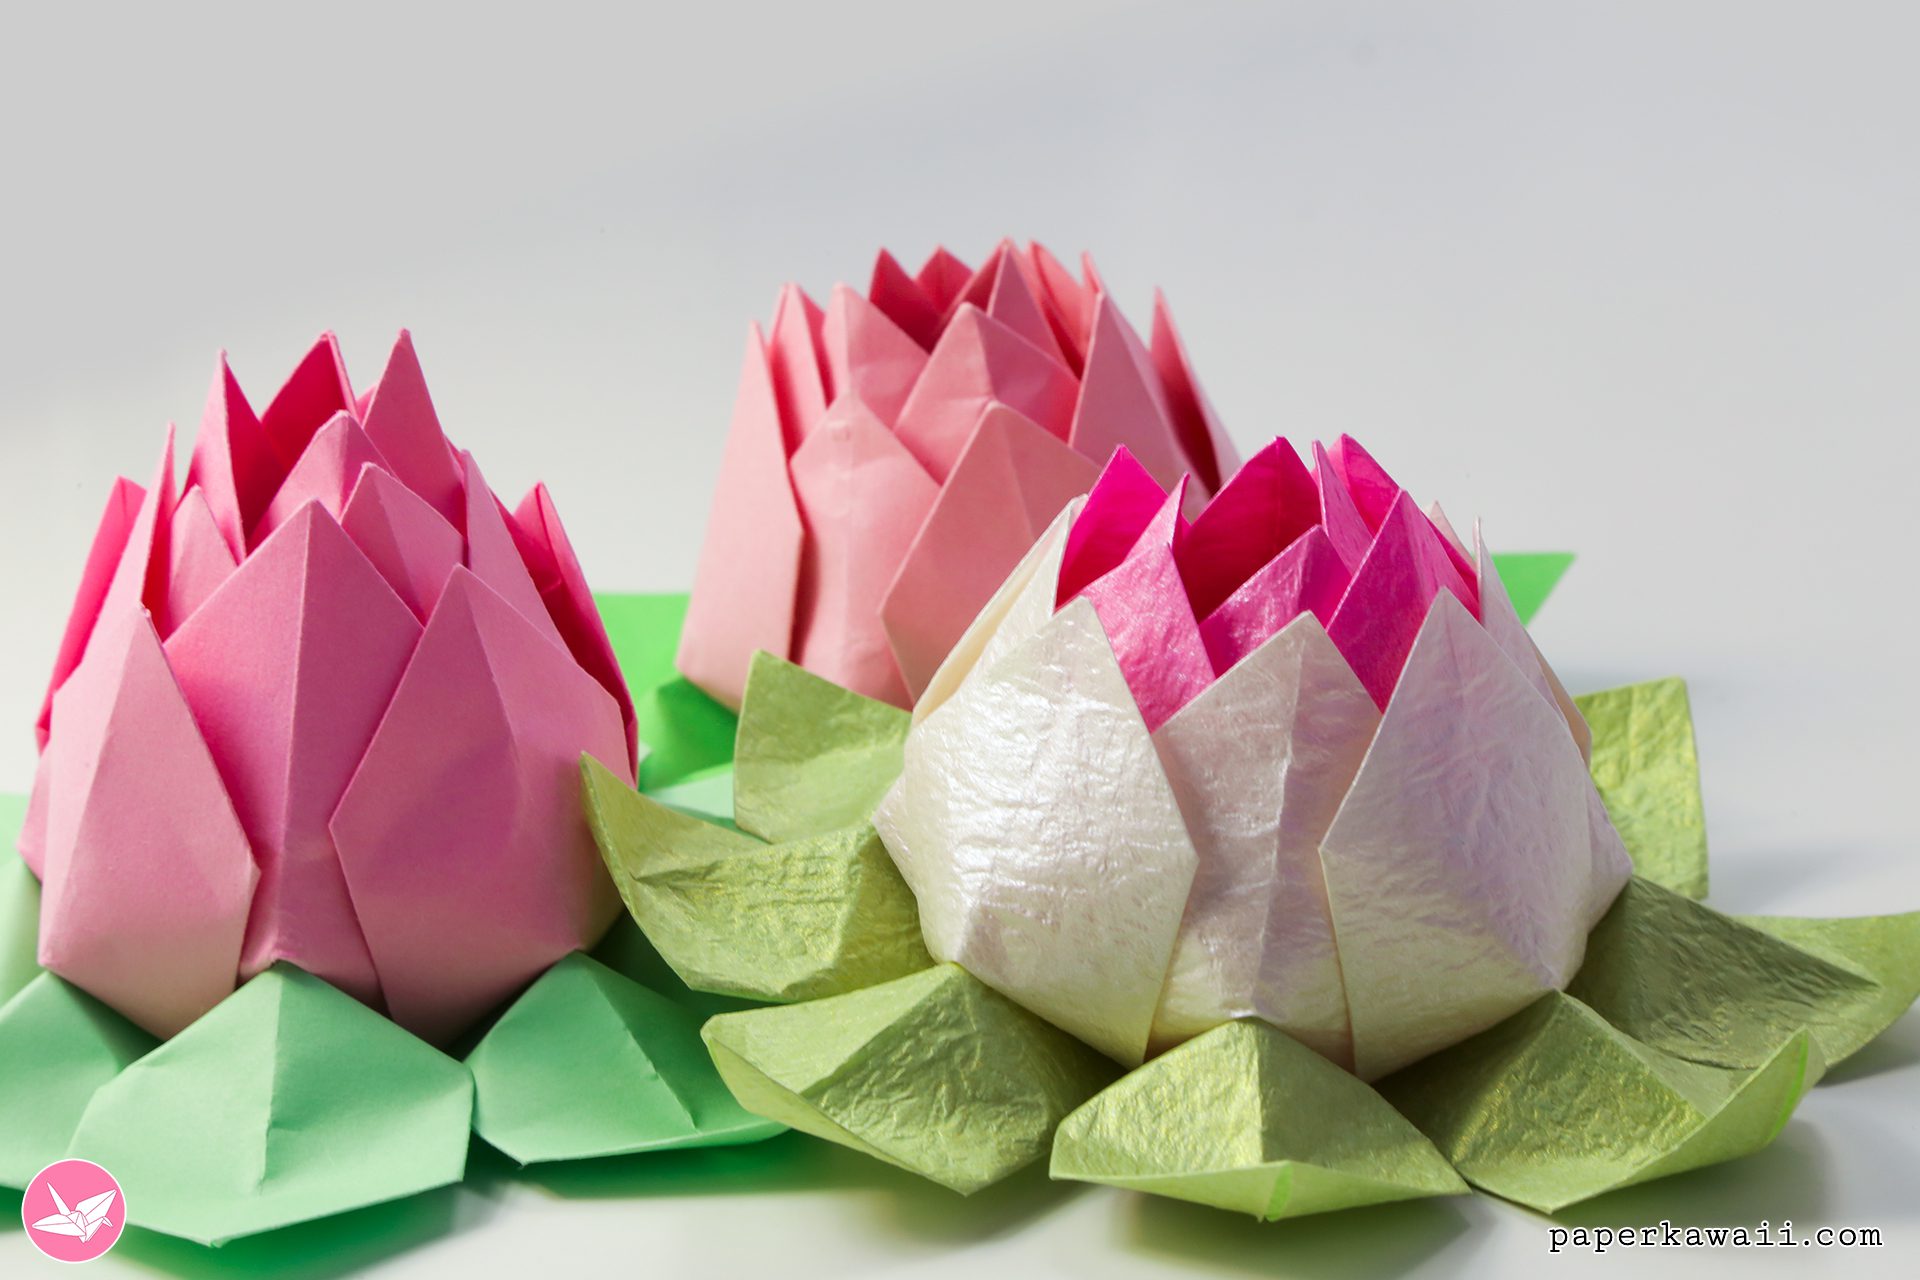
Next, take another four petals and layer them on top of the first square, offsetting them slightly. This creates depth and visual interest. Again, secure them with glue or tape.
Depending on the desired fullness, you can add more layers of petals. Ensure each layer is offset and securely attached. Experiment with different arrangements to achieve your desired aesthetic.
Alternative Assembly Techniques
Some crafters prefer to weave the petals together rather than using glue. This method involves carefully inserting the points of one petal unit into the folds of another. This technique can create a more intricate and secure bond, but it requires more patience and dexterity.
Another variation involves using a small piece of wire or string to tie the petals together at the base. This allows for a more flexible and adjustable lotus flower. The wire or string can be concealed within the layers of petals.
Finishing Touches and Presentation
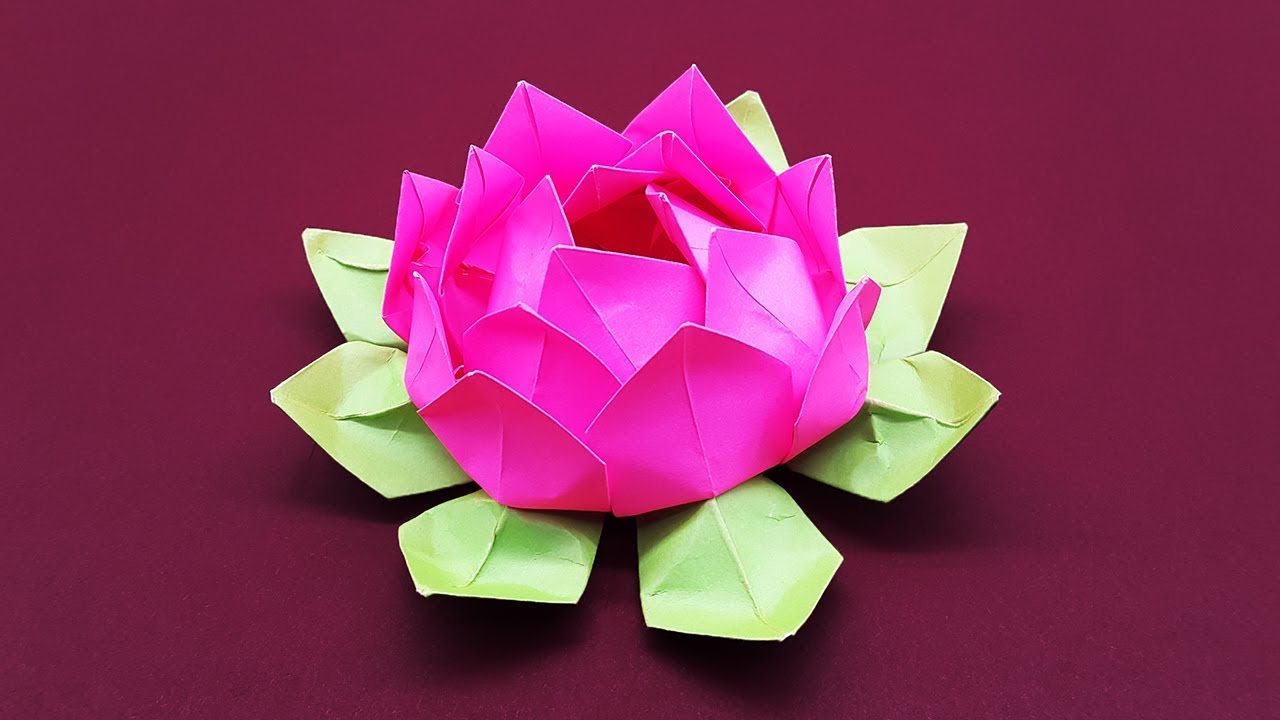
Once the lotus is assembled, you can add finishing touches to enhance its beauty. Gently curve the edges of the petals to create a more natural and organic look. This can be done by gently rolling the edges over a pen or pencil.
Consider adding a small bead or gemstone to the center of the lotus. This adds a touch of sparkle and draws the eye to the center of the flower. Experiment with different colors and materials to create a unique and personalized lotus.
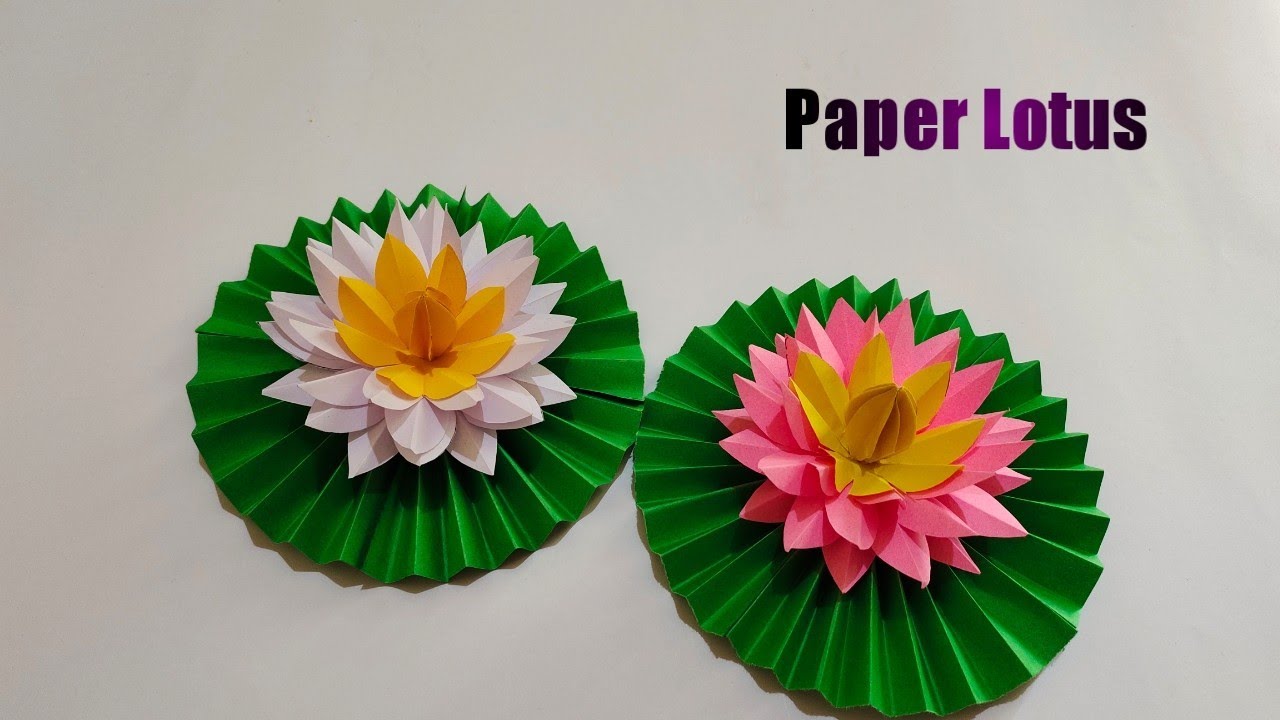
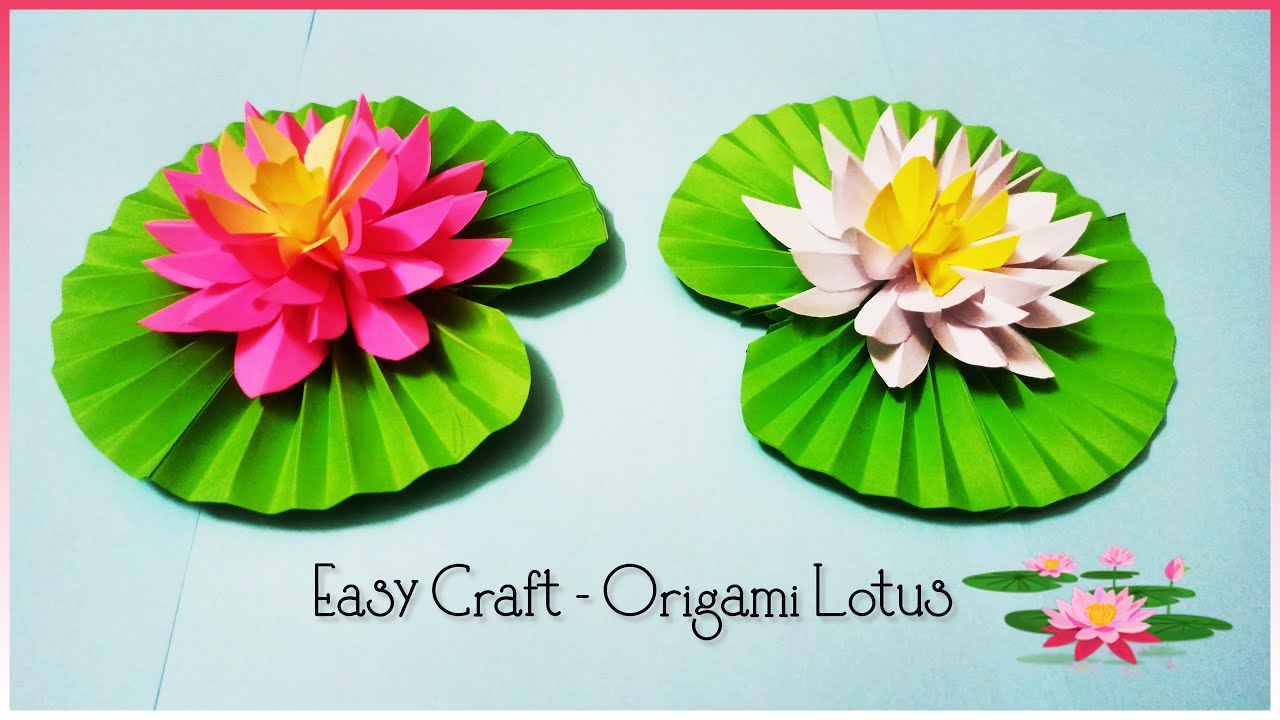
The finished paper lotus can be displayed in a variety of ways. It can be placed in a small dish or bowl, used as a centerpiece, or given as a thoughtful and handmade gift. It is also perfect for decorating gifts and scrapbooking.
Alternatively, the lotus can be incorporated into larger art projects, such as mobiles or wall hangings. The possibilities are endless. The lotus is not only a beautiful creation but a versatile decor element.
The Enduring Appeal of Paper Art
In a world increasingly dominated by digital experiences, the tactile and meditative qualities of paper art offer a welcome respite. The process of folding paper requires focus and concentration, promoting mindfulness and reducing stress. The therapeutic benefits of origami are well-documented. It allows one to disconnect and find peace through the art of creation.
Furthermore, paper art is an accessible and affordable craft. All you need is paper and a little patience to create beautiful and meaningful objects. It encourages resourcefulness and creativity, promoting sustainable practices. It is a creative outlet that can be enjoyed by people of all ages and skill levels. Creativity is important.
The art of making a paper lotus is more than just a craft; it's a connection to tradition, a pathway to mindfulness, and a testament to the enduring power of human creativity. As we continue to navigate the complexities of the modern world, embracing simple, hands-on activities like paper folding can provide a much-needed sense of grounding and fulfillment. Paper art is a gift we give ourselves.