How To Put Ipod Songs Onto Itunes Library

Imagine a time capsule unearthed from the early 2000s: a classic iPod, its silver back scratched from years of faithful service. Inside, a musical journey – forgotten playlists, live recordings, and those guilty-pleasure tracks we swore we’d never admit to liking. Now, the mission: to resurrect these digital treasures and breathe new life into them within the familiar embrace of your iTunes library.
Transferring music from an iPod to your iTunes library might seem like a relic of the past, but it’s a crucial skill for anyone looking to preserve their musical history or consolidate their digital collections. Whether you're dealing with a long-lost iPod or simply want to merge music from multiple devices, this guide will provide clear, step-by-step instructions on how to accomplish this task successfully.
Understanding the Process
Before diving in, it's important to understand a key aspect: Apple designed iTunes primarily to sync music *from* a computer to an iPod, not the other way around. Because of copyright concerns, directly transferring songs from an iPod back to iTunes is intentionally not straightforward. However, with a few workarounds, it's absolutely possible.
The "Show Hidden Files" Trick
The core of the process involves revealing hidden files on your iPod. By default, the music files are stored in a way that prevents easy access. Here’s how to make them visible:
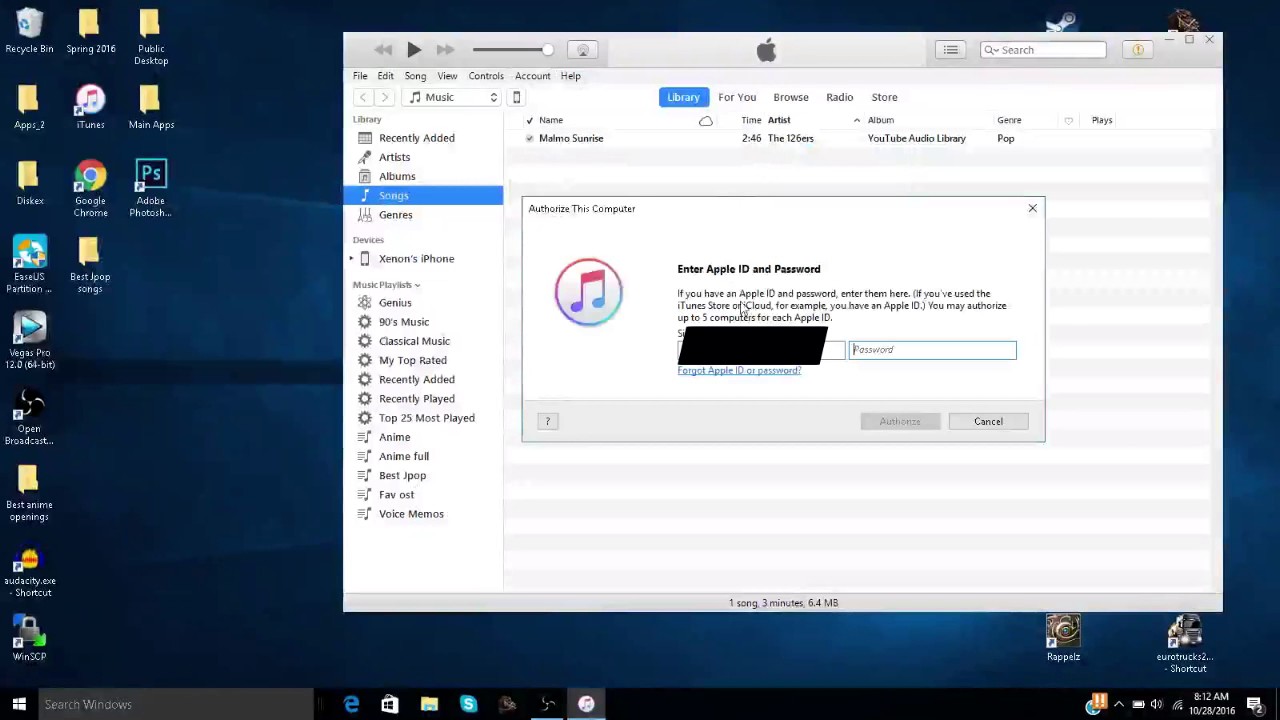
First, connect your iPod to your computer using the USB cable. Make sure iTunes is closed during this process.
Next, on Windows, open File Explorer, navigate to your iPod drive, click on the "View" tab, and check the "Hidden items" box. On a Mac, open Finder, press Command + Shift + . (period) to reveal hidden files and folders.
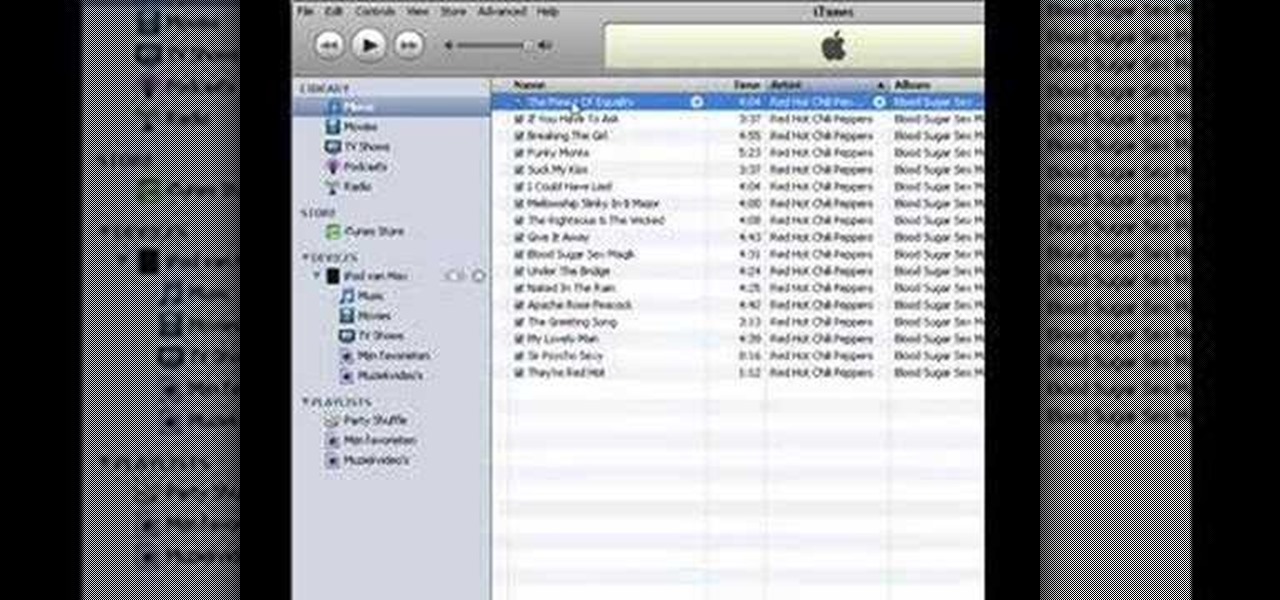
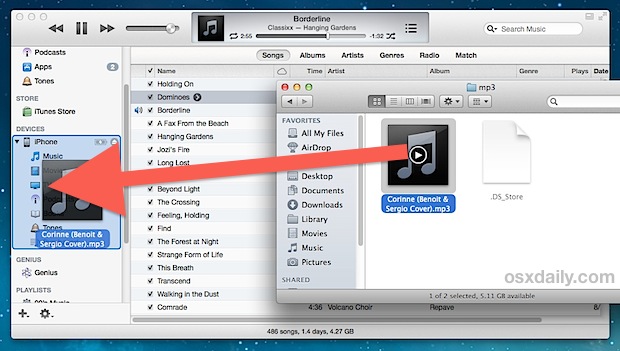
Copying the Music Files
Once the hidden files are visible, you'll see a folder named "iPod_Control". Inside, you'll find another folder called "Music." This is where all your music is stored, albeit in a somewhat disorganized fashion. The files will often have cryptic names.
Create a new folder on your computer (e.g., "iPod Music Backup") and copy *all* the folders from the "Music" folder on your iPod into this new folder.
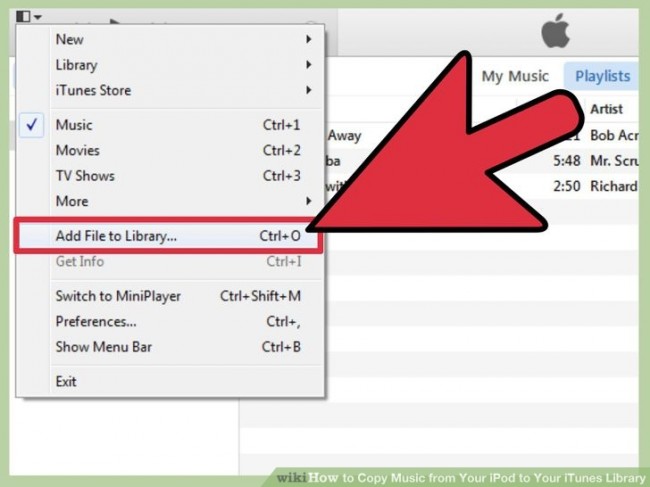
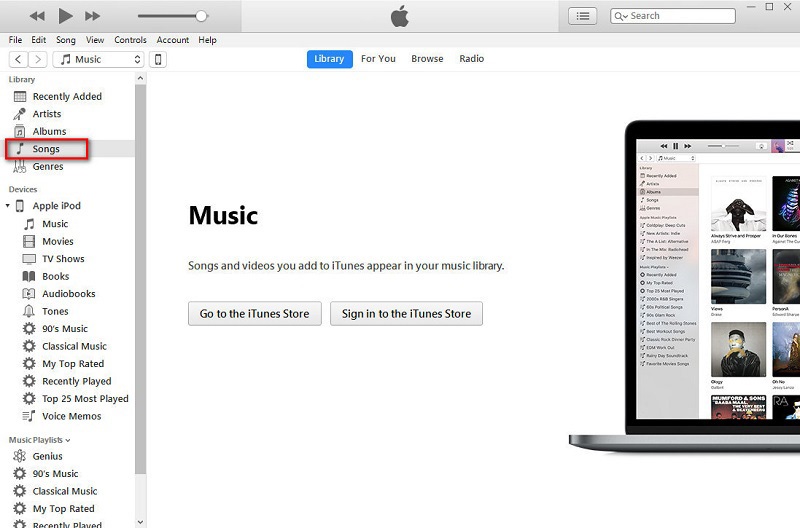
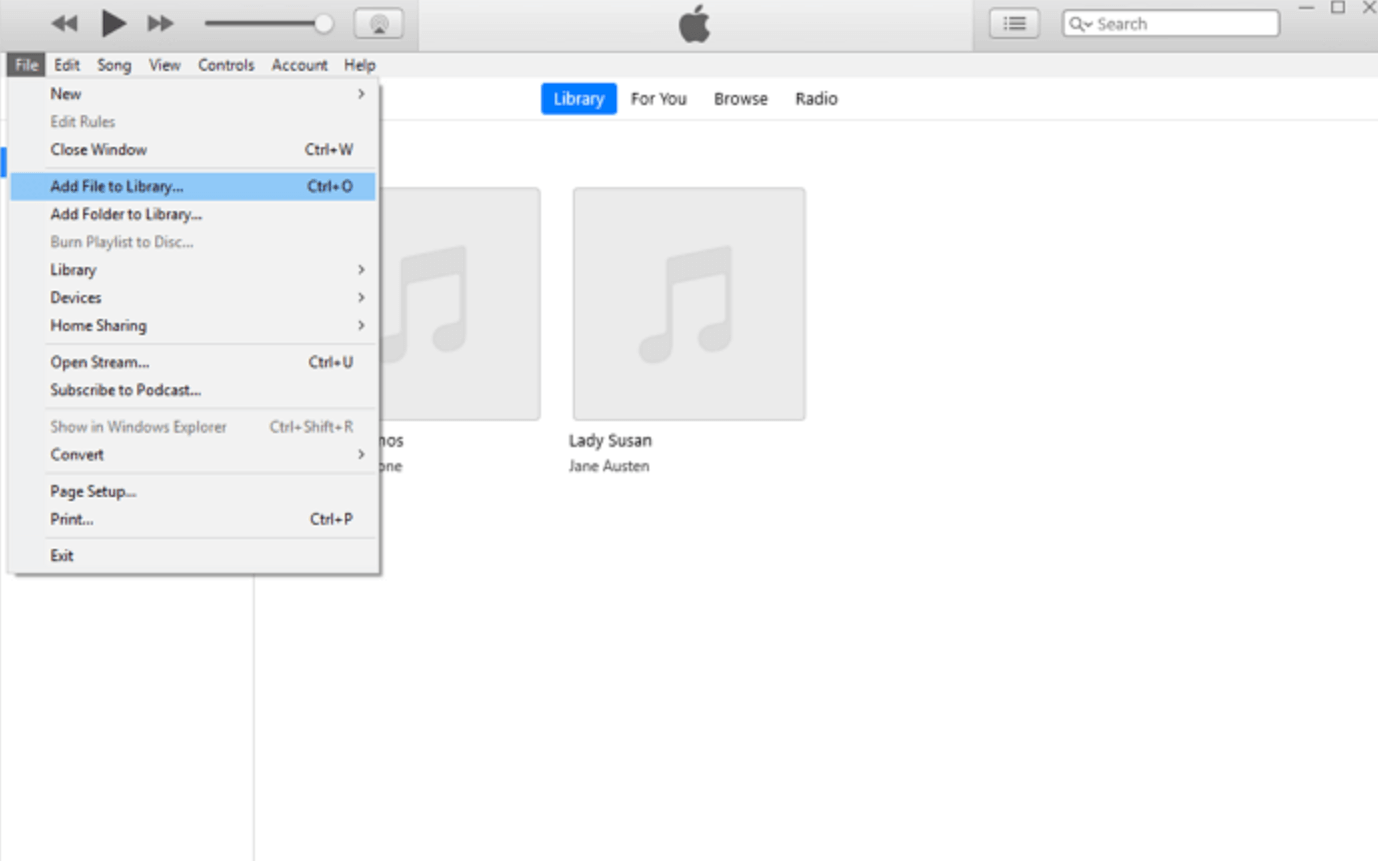
Importing into iTunes
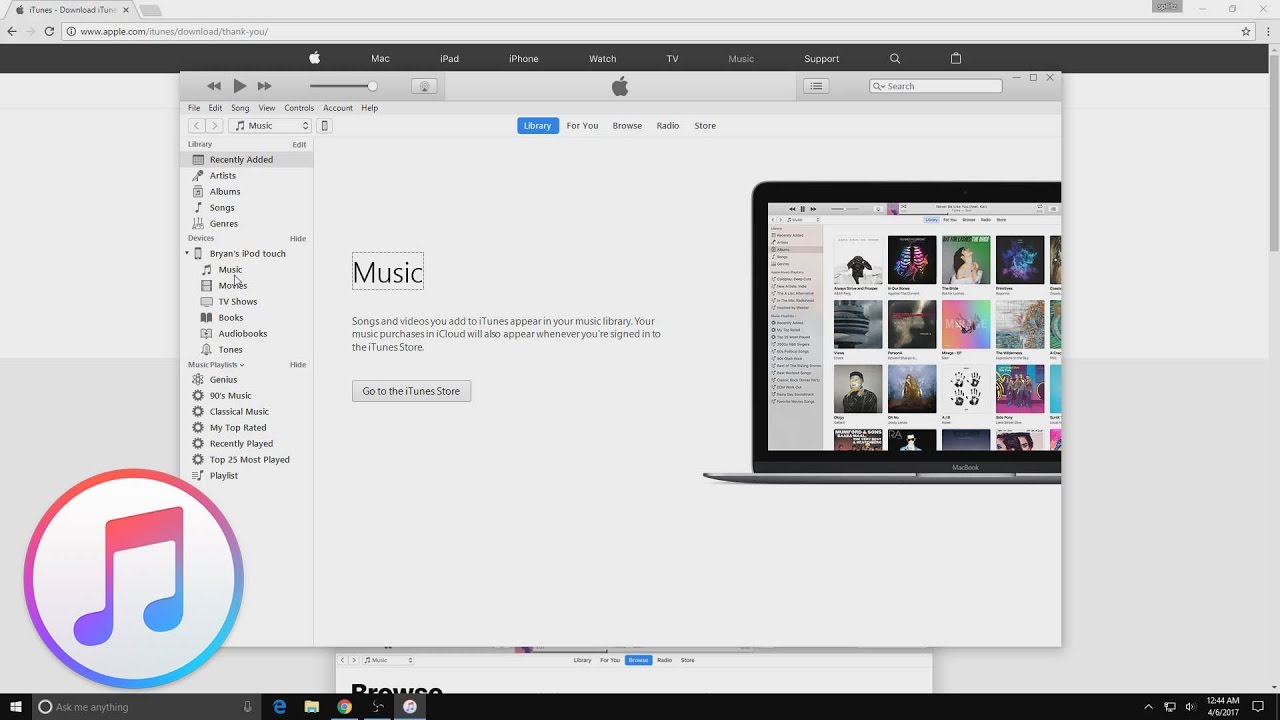
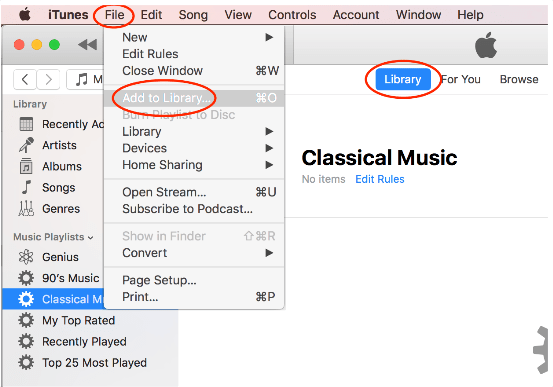
Now, open iTunes. Go to "File" > "Add Folder to Library" (or "Add File to Library" if you prefer to add songs individually). Navigate to the "iPod Music Backup" folder you created and select it.
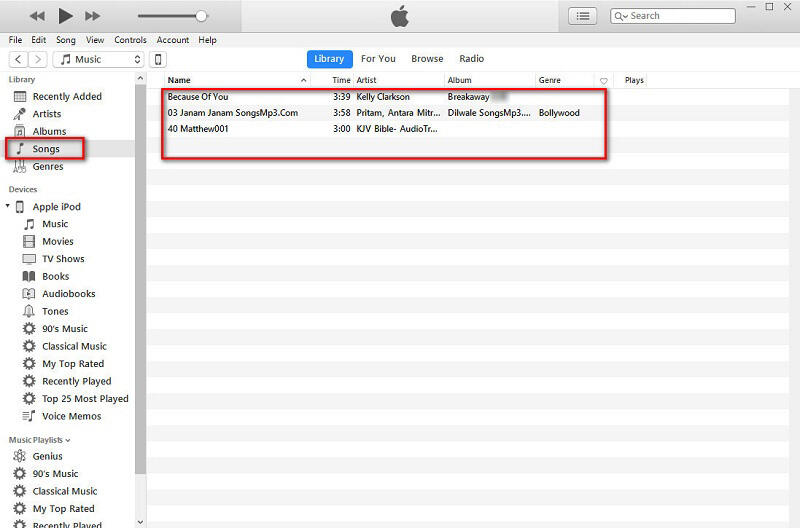
iTunes will now import all the songs into your library. Be patient; this may take some time depending on the number of songs.
Dealing with Cryptic Names
As mentioned, the imported songs may have strange, unhelpful names. iTunes will try to match the files based on the audio fingerprint and metadata (if available). To correct the remaining songs, you can manually edit the song information within iTunes. Right-click on a song, select "Get Info," and then edit the title, artist, album, and other details.
Using Third-Party Software
For a more automated and user-friendly approach, consider using third-party software specifically designed for transferring music from an iPod to iTunes. Programs like iMazing and CopyTrans Manager offer simplified interfaces and often automatically identify song information, saving you time and effort. These programs are not free, so consider the cost before purchasing.
Transferring music from an iPod to iTunes is not only about retrieving old songs. It is about preserving memories, rediscovering musical tastes, and potentially introducing a new generation to your personal soundtrack. The process might require a bit of technical finesse, but the reward is a vibrant reminder of where we've been, musically and personally.