How To Scan Double Sided Documents Canon Printer

Time is money. Learn to quickly scan double-sided documents using your Canon printer and avoid wasting precious minutes.
This guide offers a streamlined process for utilizing the automatic duplex scanning feature on your Canon printer. Streamlining your workflow is crucial in today’s fast-paced environment, and this skill will boost your productivity.
Confirming Duplex Scanning Capability
First, verify your Canon printer model supports automatic duplex scanning, often referred to as "2-sided scanning." Check your printer's manual or Canon's official website using your specific model number.
Not all models have this feature. It's important to confirm compatibility to prevent frustration.
Loading Your Document
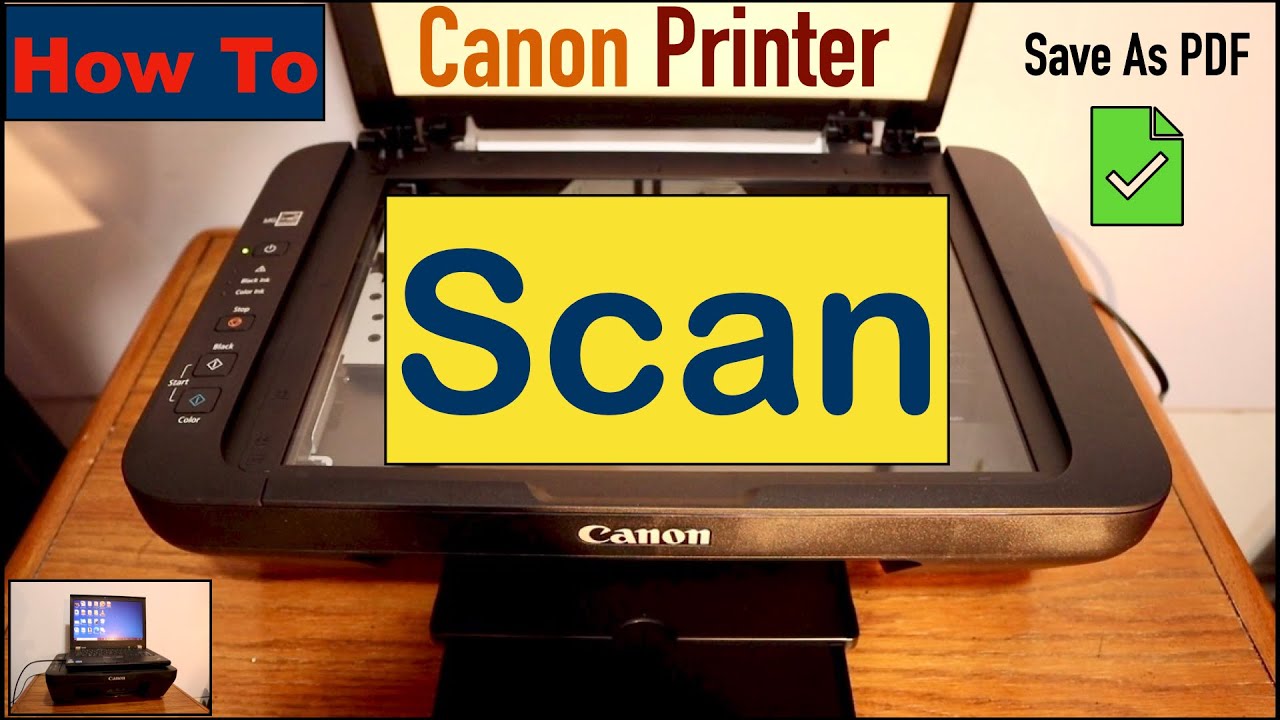
Place your document face-up in the Automatic Document Feeder (ADF). Ensure the stack is aligned and within the ADF's maximum paper capacity.
Overloading the ADF can lead to paper jams and scanning errors. The ADF is usually located on the top of the printer.
Accessing Scan Settings
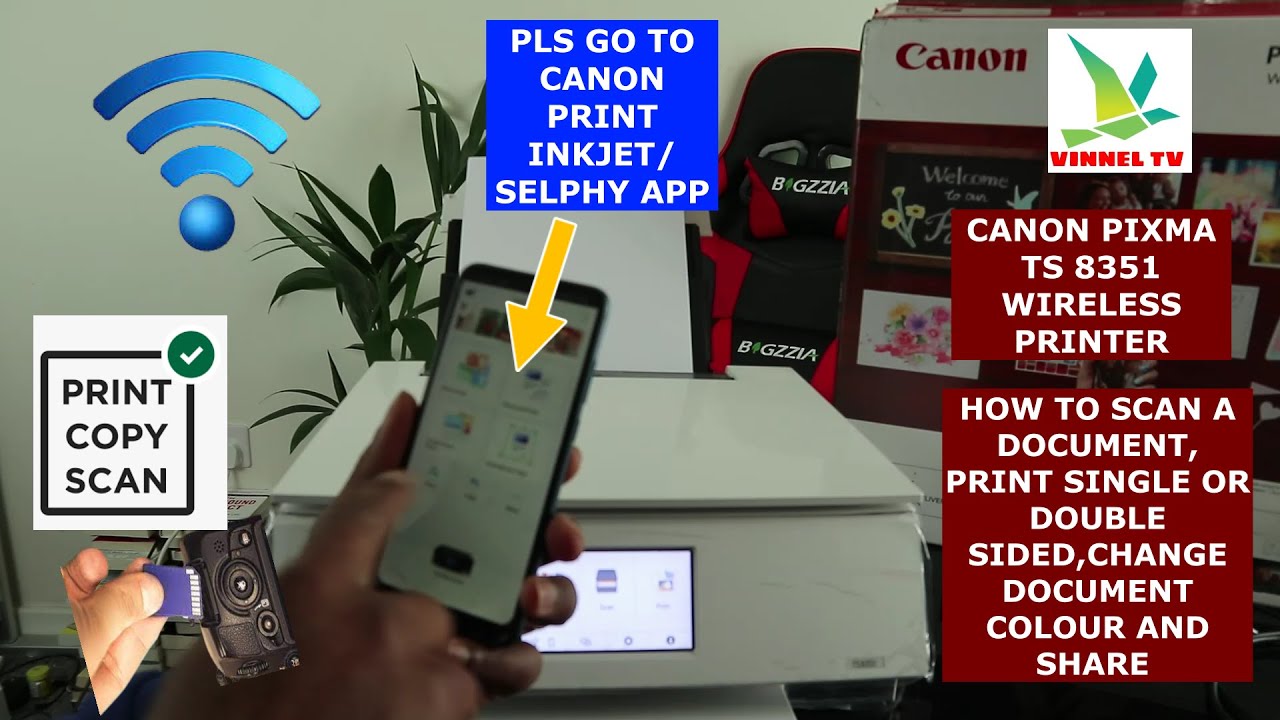
Open the Canon scanning software on your computer. This is often called "Canon IJ Scan Utility" or a similar name, depending on your printer model and operating system.
You can usually find this program in your applications folder or by searching in the start menu. The software should be pre-installed; if not, download it from Canon's website.
Configuring Scan Settings for Duplex Scanning
Within the scanning software, locate the settings related to document scanning. Look for options like "Source," "Scan Type," and most importantly, "2-sided Scanning" or "Duplex Scanning."
Select "ADF" as the source. Choose the appropriate document type (e.g., "Document," "Photo"). Enable the "2-sided Scanning" option.
If prompted, choose the binding edge (long-edge or short-edge) based on how your document is bound. This ensures correct page order.
Initiating the Scan
Adjust any other desired settings, such as resolution and file format. Then, click the "Scan" button to start the process.
The printer will automatically feed each page through the ADF, scanning both sides. The scanned document will then be saved to your specified location.
Troubleshooting Common Issues
Paper jams: Carefully remove any jammed paper, following your printer's manual. Ensure the paper is properly aligned in the ADF.
Incorrect page order: Double-check your binding edge setting. Rescan the document with the correct setting selected.
Poor image quality: Increase the scan resolution in the software settings. Clean the printer's scanner glass.
Next Steps
Regularly check Canon's website for updated drivers and software for your printer model. This ensures optimal performance and compatibility.
Consider creating preset scan profiles for common document types. This can further streamline your scanning workflow.