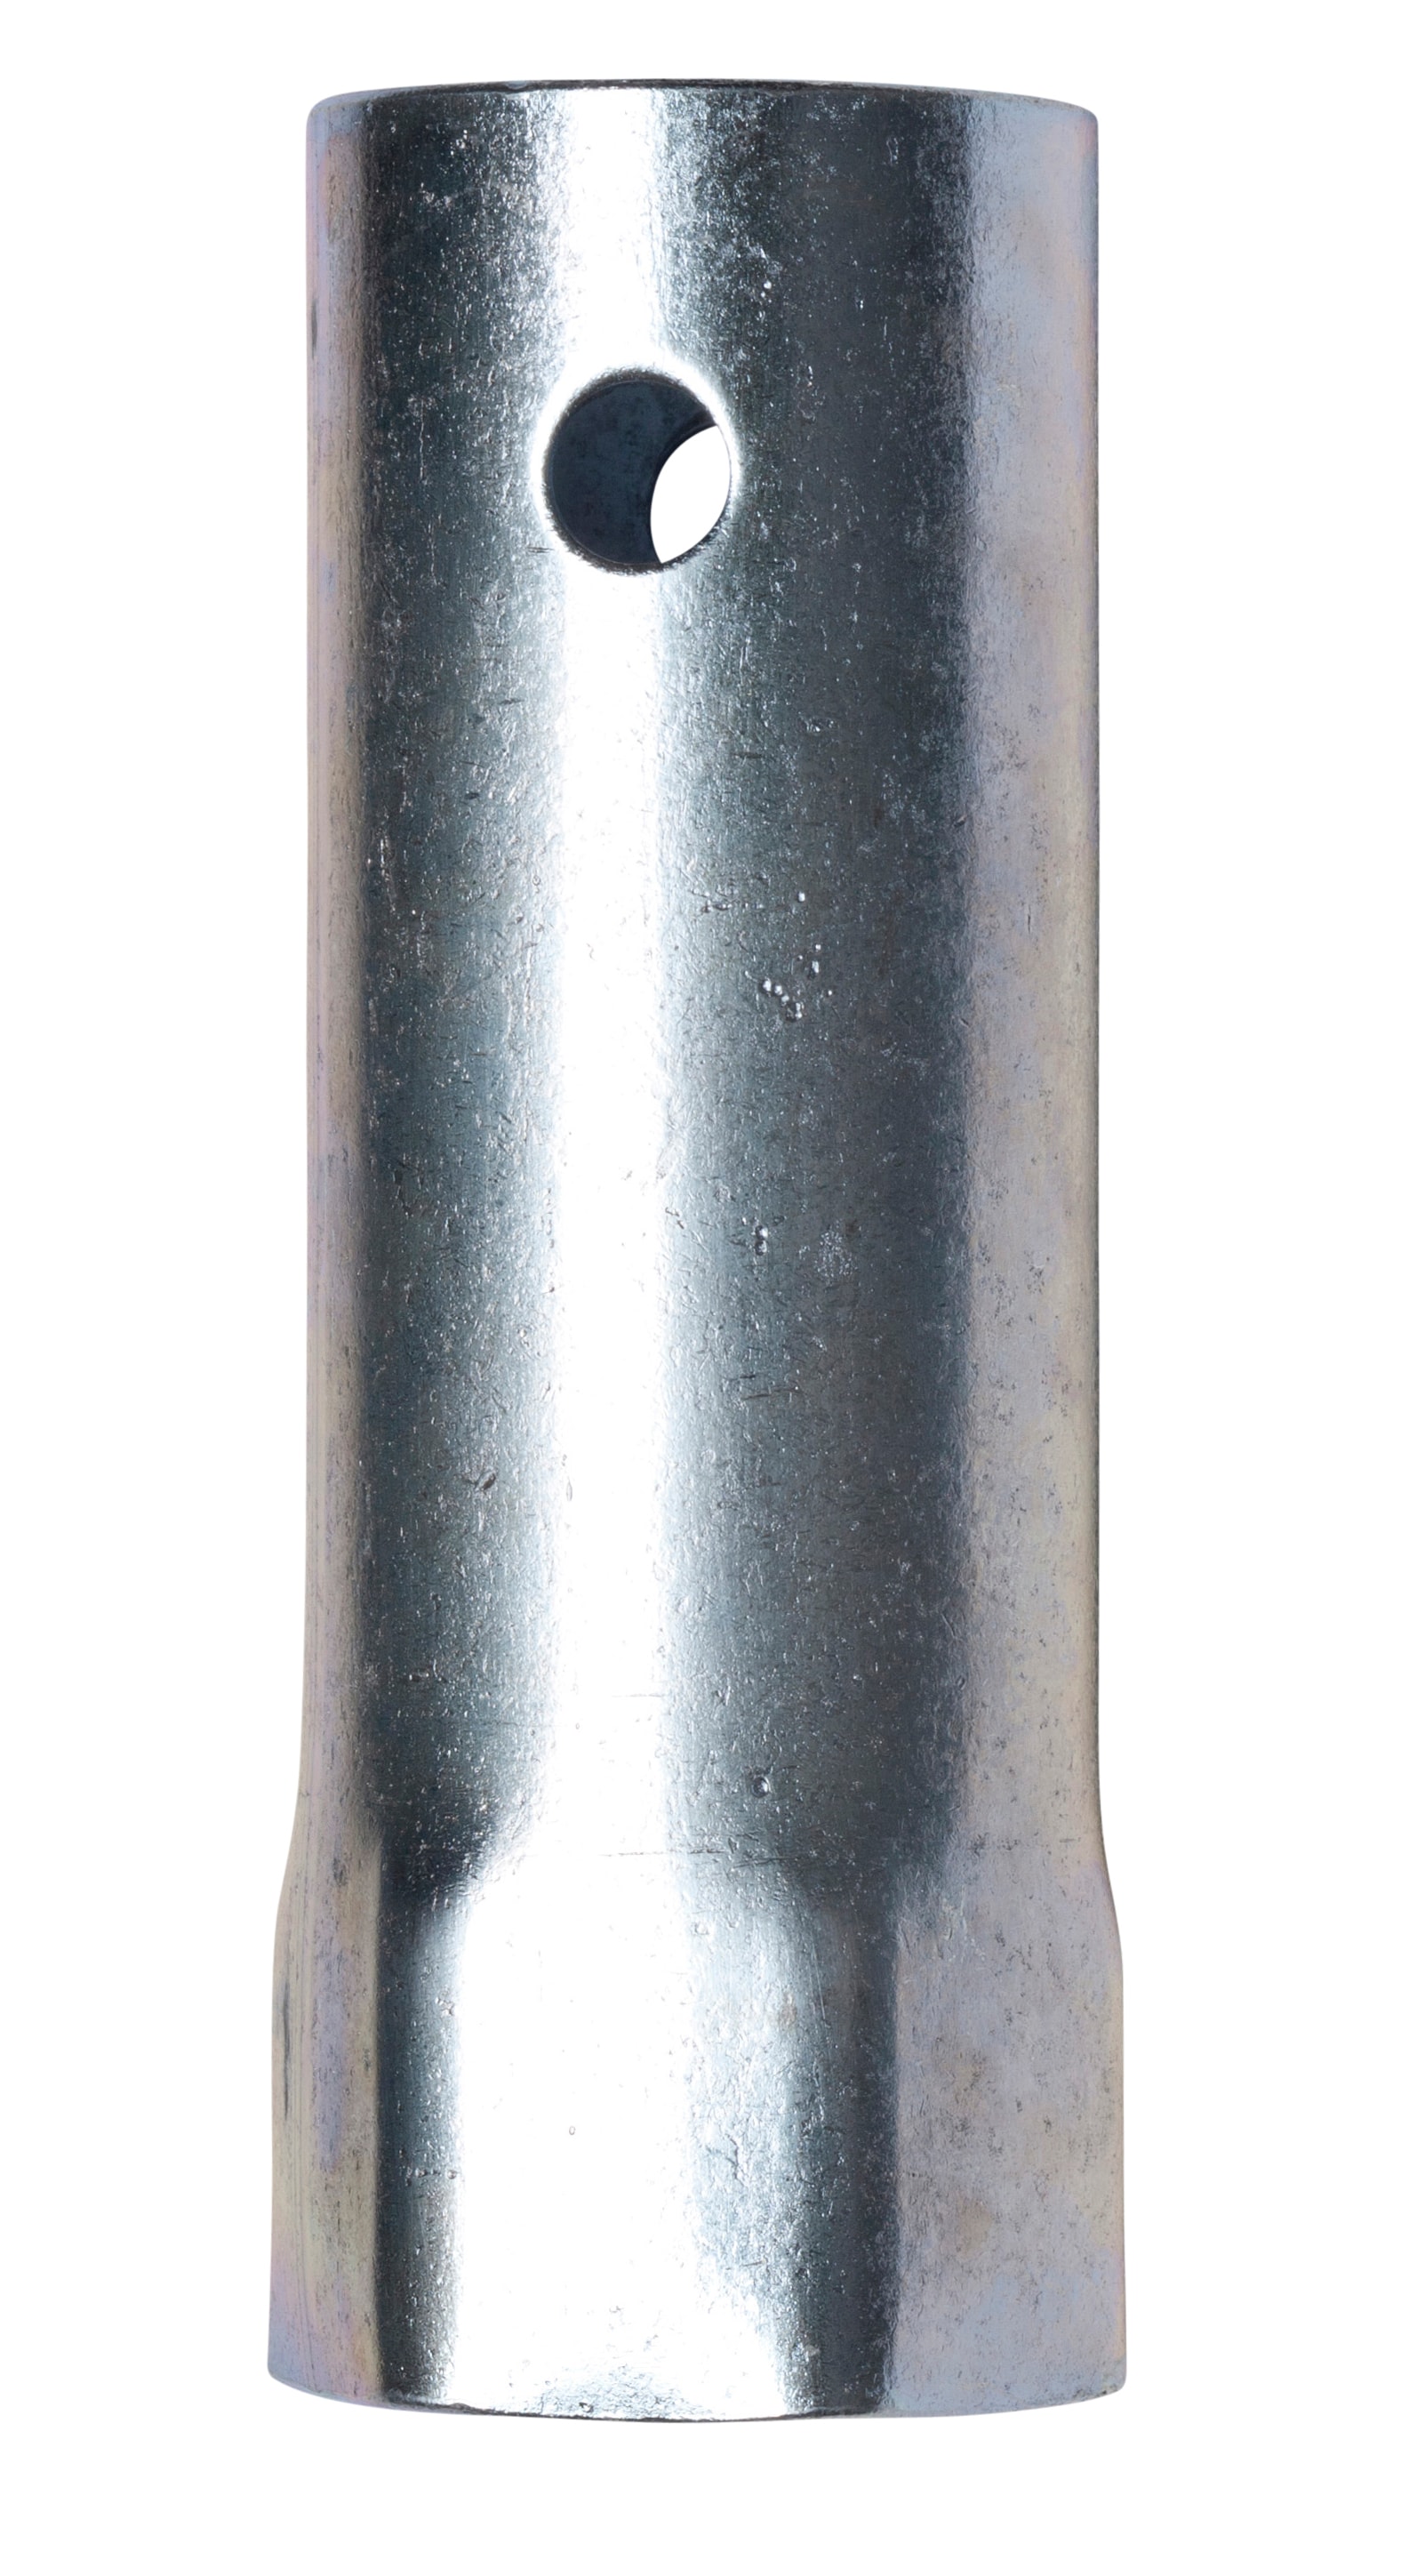
What Size Socket Fits A Water Heater Element
:max_bytes(150000):strip_icc()/replace-the-heating-element-water-heater-1824886-hero-2aab79f3803d419294e664b733414e38.jpg)
Plunging into a cold shower is more than just unpleasant; it's a sign your water heater's element might be failing. Knowing the correct socket size to remove and replace it is crucial to restoring hot water swiftly.
This article delivers the definitive answer on what size socket you need to tackle this DIY plumbing task, preventing further delays and potential damage.
Essential Tool: The Socket Size You Need
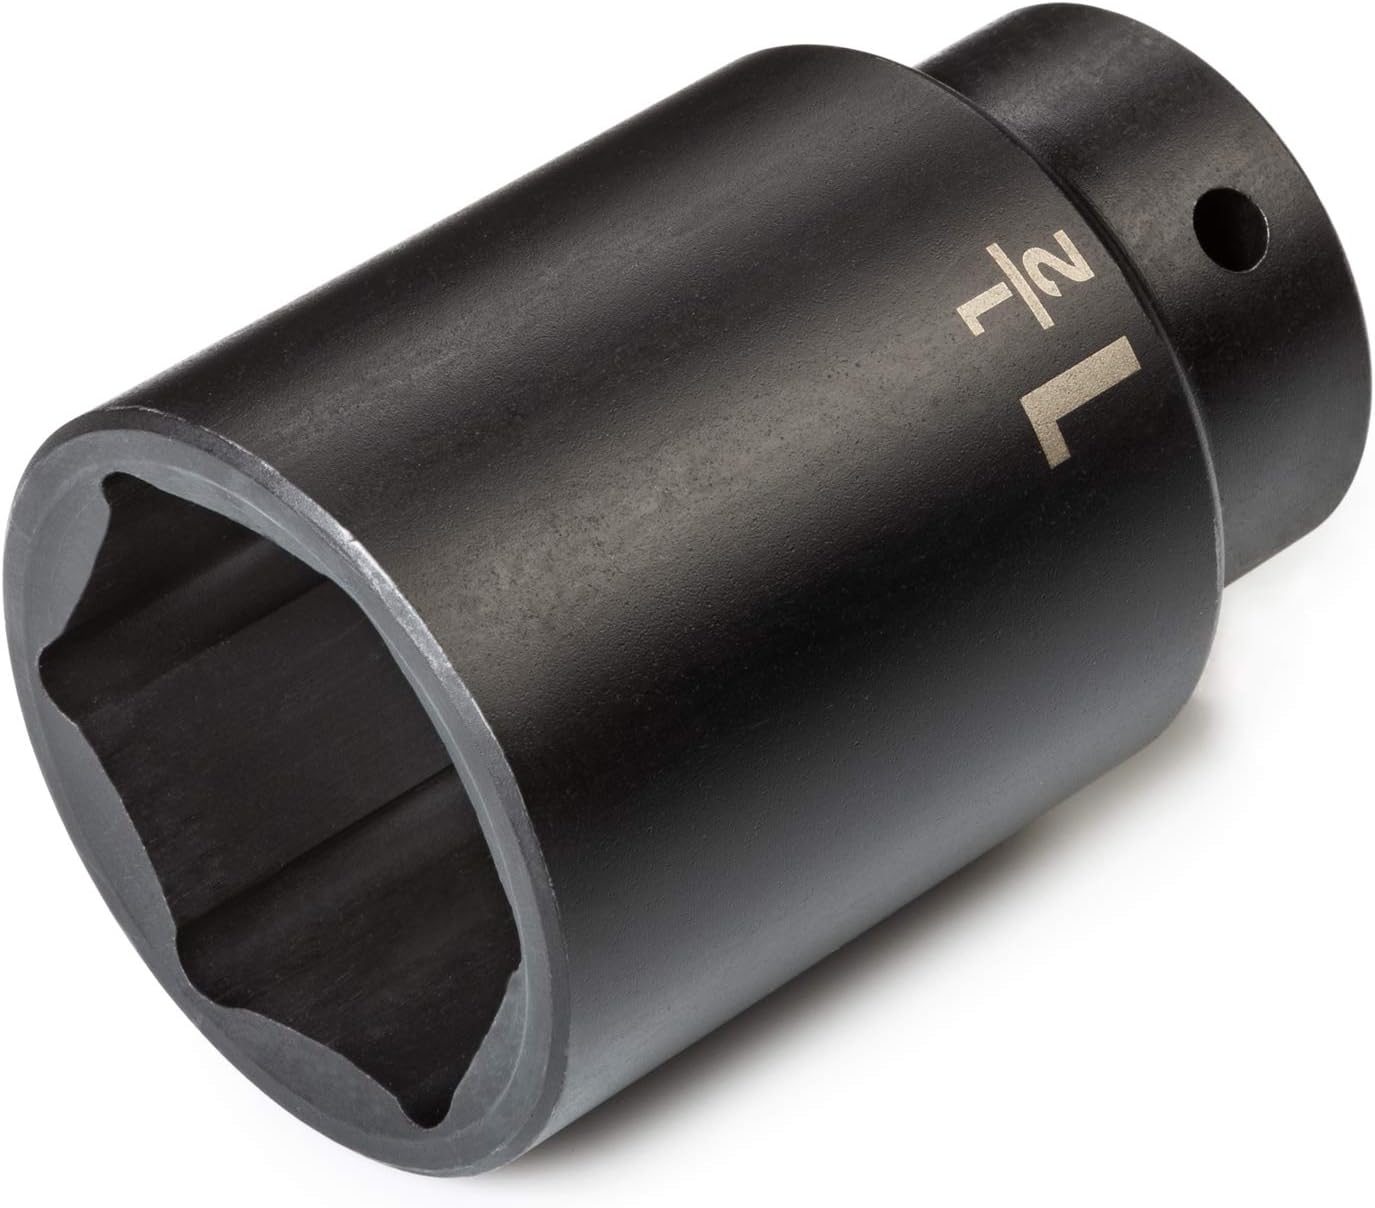
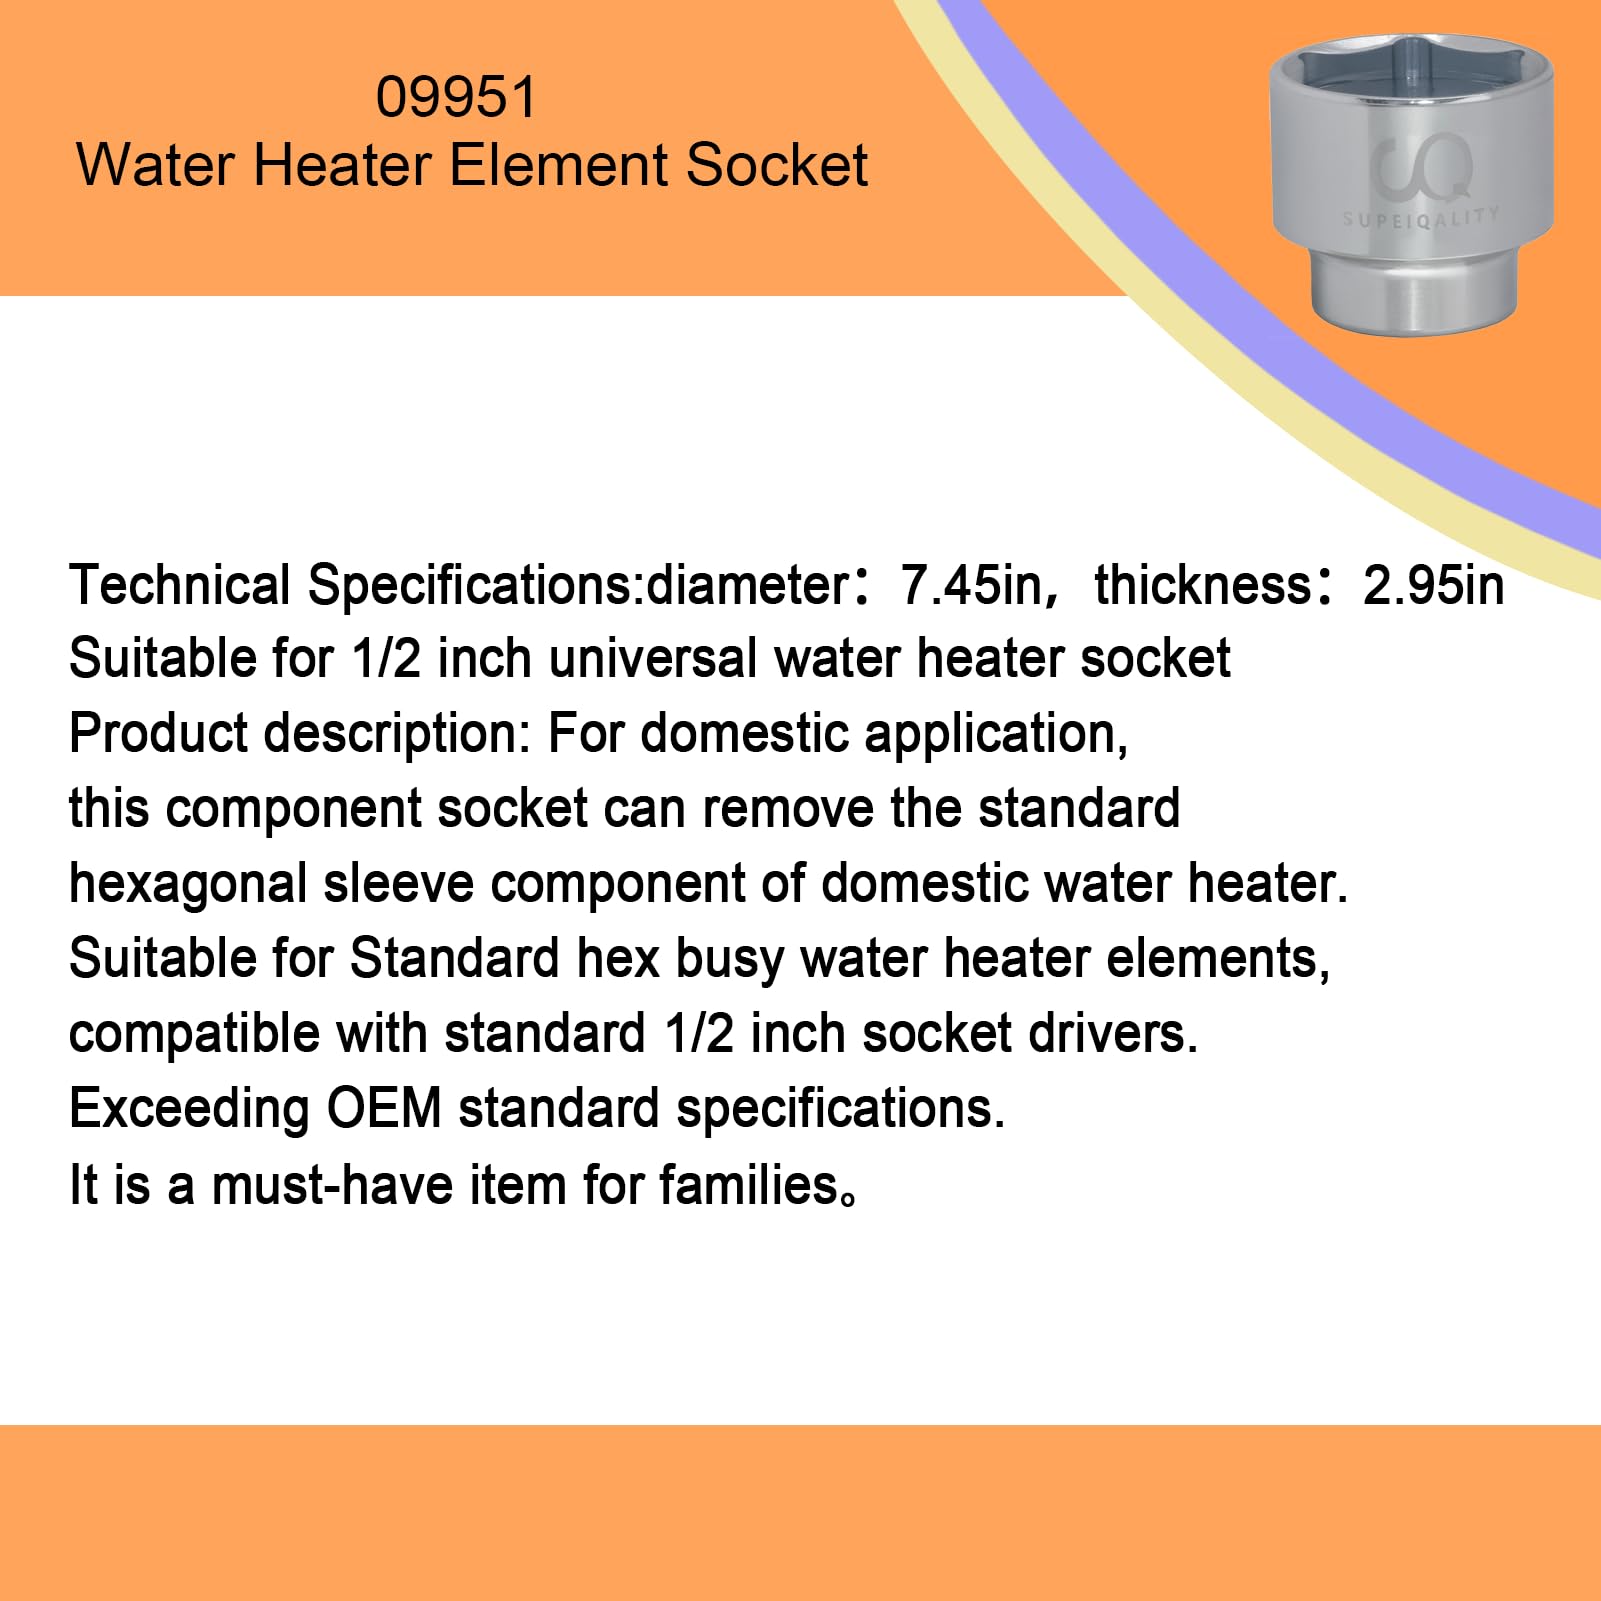
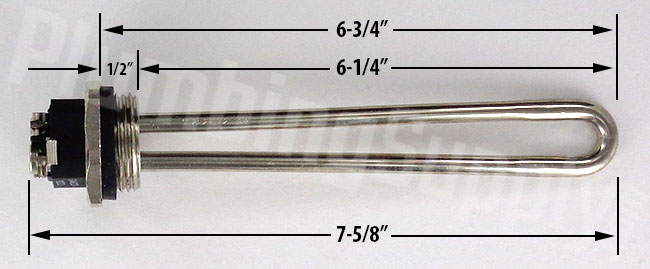
The most common socket size for removing and installing water heater elements is 1 1/2 inch. This applies to most standard residential electric water heaters. However, confirmation is vital to avoid stripping the element's hex head.
Confirming Compatibility: A Crucial Step
Do not proceed without confirming the size. Check your water heater's manual for the exact element specifications. If the manual is unavailable, visually inspect the element's hex head and compare it to the 1 1/2 inch socket. A loose fit indicates an incorrect size.
Alternative Socket Sizes: When 1 1/2 Inches Isn't Right
While 1 1/2 inches is the standard, some water heater models, especially older ones or those from specific manufacturers, may require a different size. 1 7/16 inch or even a 1 3/8 inch socket might be necessary.
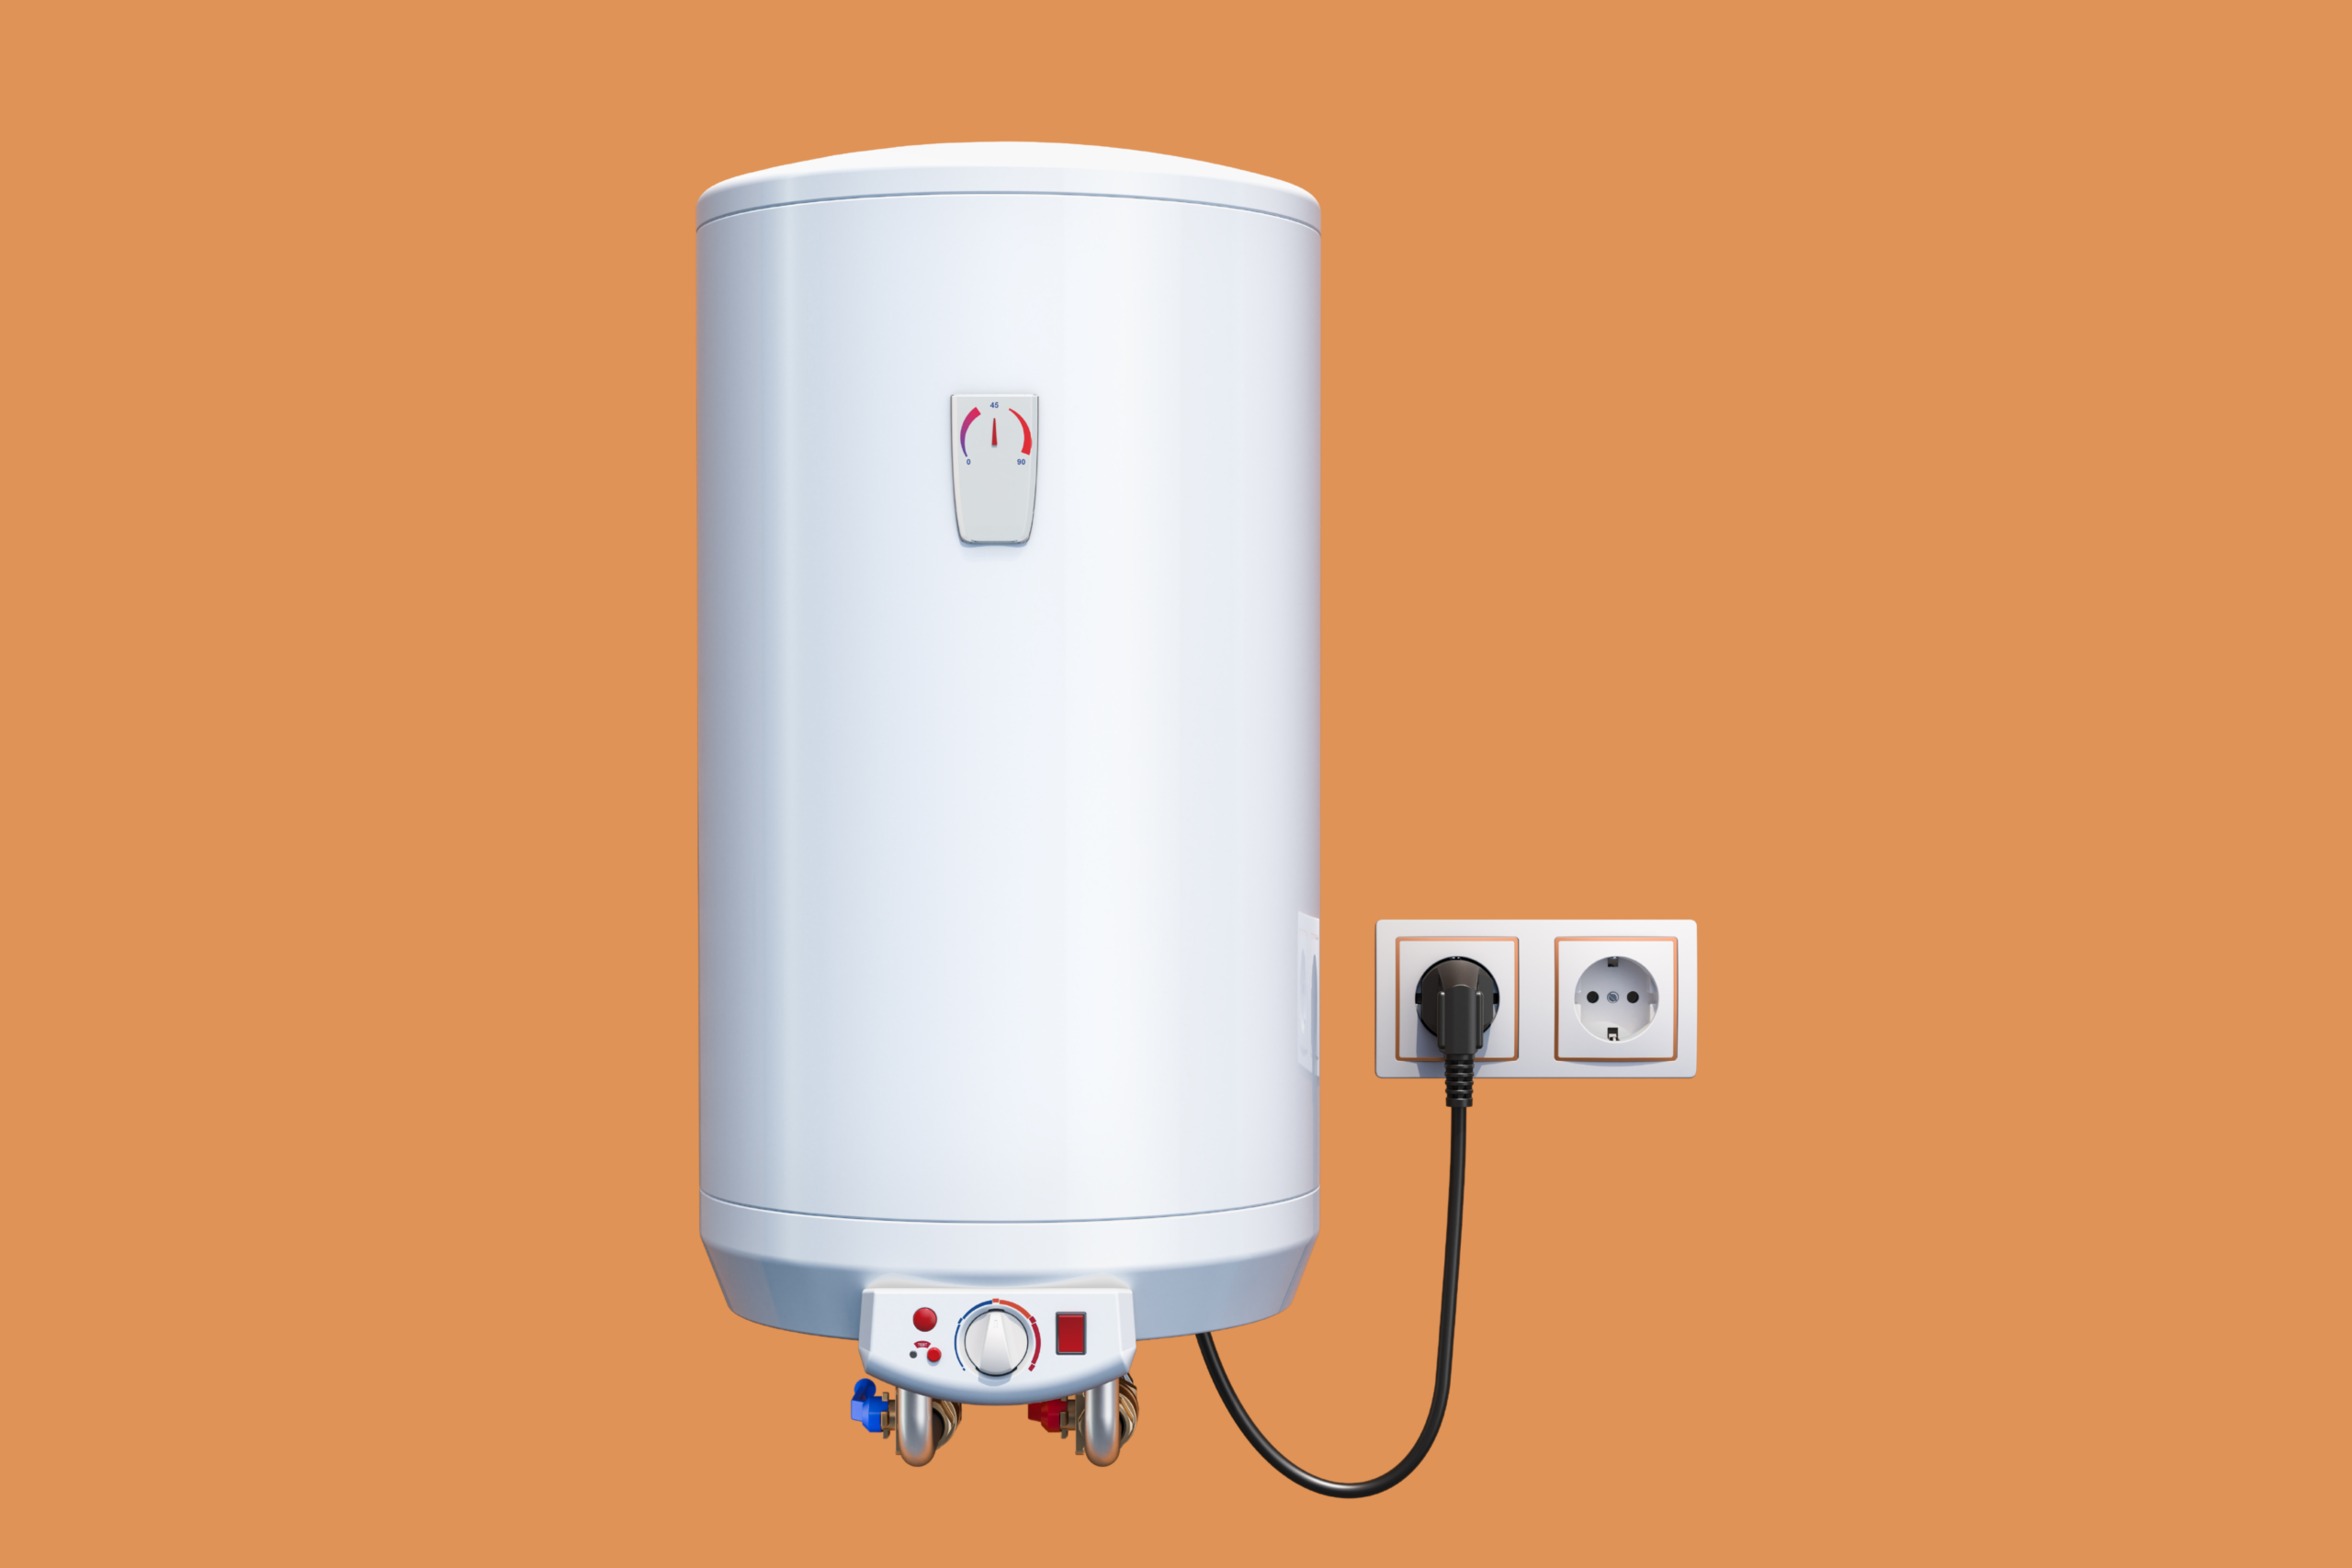
Gas water heaters are less likely to require element replacement, but electric models are prone to element failure over time.
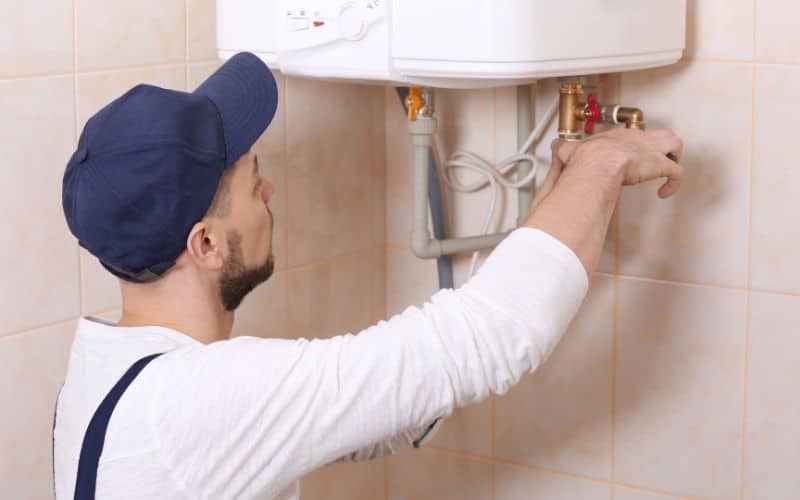
The Removal and Installation Process: A Brief Overview
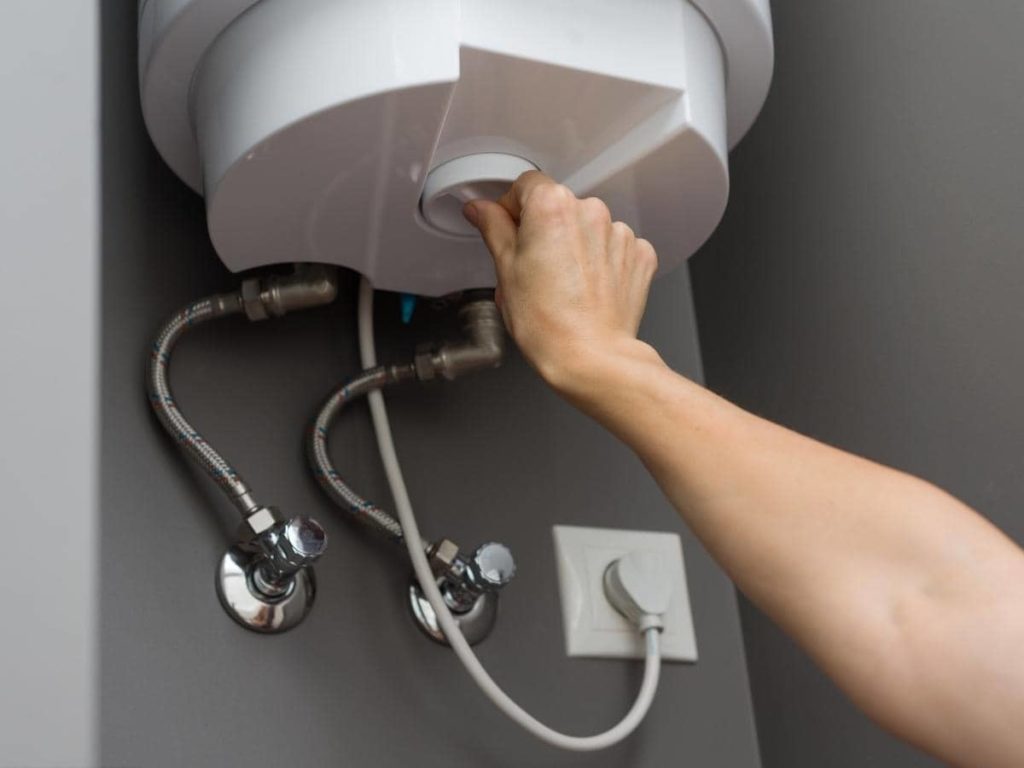
Before starting any work on your water heater, always turn off the power at the circuit breaker. Next, shut off the cold water supply valve to the tank.
Drain the tank until the water level is below the element. Removing the old element involves carefully unscrewing it counterclockwise using the correct socket and a breaker bar if necessary.
Install the new element by screwing it in clockwise, ensuring it's snug but not overtightened. Refill the tank, restore power, and check for leaks.
Safety First: Essential Precautions
Working with water and electricity can be dangerous. If you're not comfortable with electrical or plumbing work, hire a qualified professional. Never work on the water heater while it's full of water and electrically powered.
Wear appropriate safety gear, including eye protection and insulated gloves. Always double-check that the power is off before touching any electrical components.
Why Element Replacement Is Necessary
Water heater elements are responsible for heating the water in the tank. Over time, they can burn out due to sediment buildup or electrical issues. A faulty element will result in cold or lukewarm water.
Replacing a faulty element is often cheaper than replacing the entire water heater. It's a repair that many homeowners can tackle themselves with the right tools and knowledge.
Where to Find the Right Socket
The correct size socket can be found at most hardware stores and home improvement centers. They are usually available individually or as part of a socket set. Auto parts stores may also carry the necessary socket sizes.
Consider purchasing a deep socket for better leverage. Some specialty tools are designed specifically for water heater elements, which can make the job easier.
Troubleshooting Tips
If the element is stuck, try using a penetrating oil to loosen it. Apply the oil to the threads and let it sit for several hours before attempting to remove the element again. Using a breaker bar can provide additional leverage.
Make sure the replacement element is the correct voltage and wattage for your water heater. Using the wrong element can damage the water heater or create a fire hazard.
Next Steps: Ensuring a Lasting Repair
After replacing the element, monitor the water heater for leaks and proper heating. Flush the tank periodically to prevent sediment buildup, which can shorten the lifespan of the element.
Regular maintenance can help prevent future element failures. If problems persist, consult a qualified plumber. Document the make, model, and element specifications for future reference.