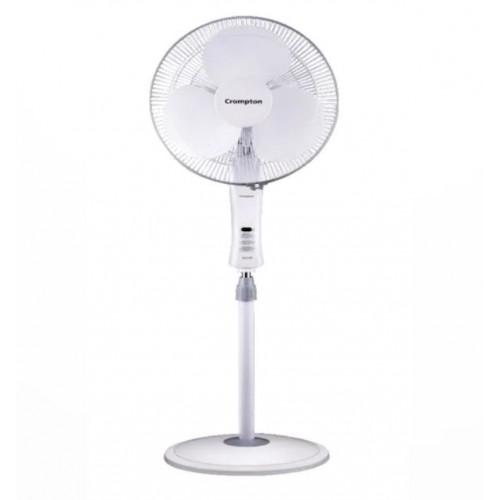
How To Assemble Crompton Greaves Pedestal Fan

Summer's swelter can quickly turn a comfortable home into an unbearable oven. A reliable pedestal fan becomes less a luxury and more a necessity. For many, a Crompton Greaves pedestal fan offers a cost-effective solution. However, navigating the assembly process can sometimes be frustrating, even with the included manual.
This article provides a comprehensive, step-by-step guide on how to assemble a Crompton Greaves pedestal fan. We will ensure a smooth and efficient setup. From unpacking the components to performing a final functionality check, this guide aims to demystify the process. It will equip you with the knowledge to quickly enjoy a cool and refreshing breeze.
Unboxing and Component Verification
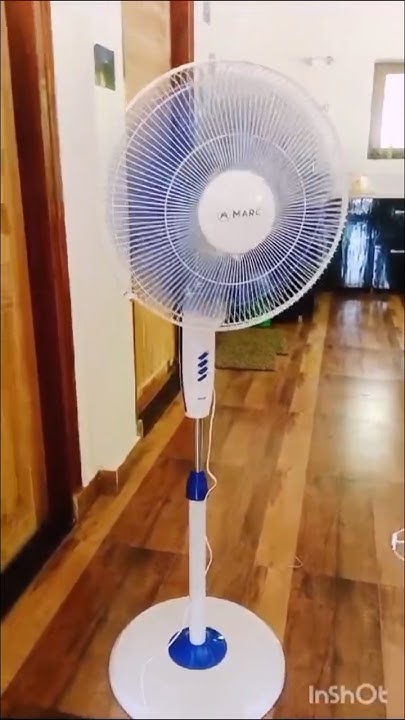
Carefully open the carton box and lay out all the components on a clean, spacious surface. Compare the parts against the components list provided in the instruction manual. The typical components usually include the fan motor assembly, fan blades, front and rear guards, the pedestal stand, base, and a bag of screws and nuts.
Verify that no parts are missing or damaged. If you find any discrepancies, contact Crompton Greaves customer support immediately for assistance and replacement parts. This proactive step saves time and prevents frustration later in the assembly process.
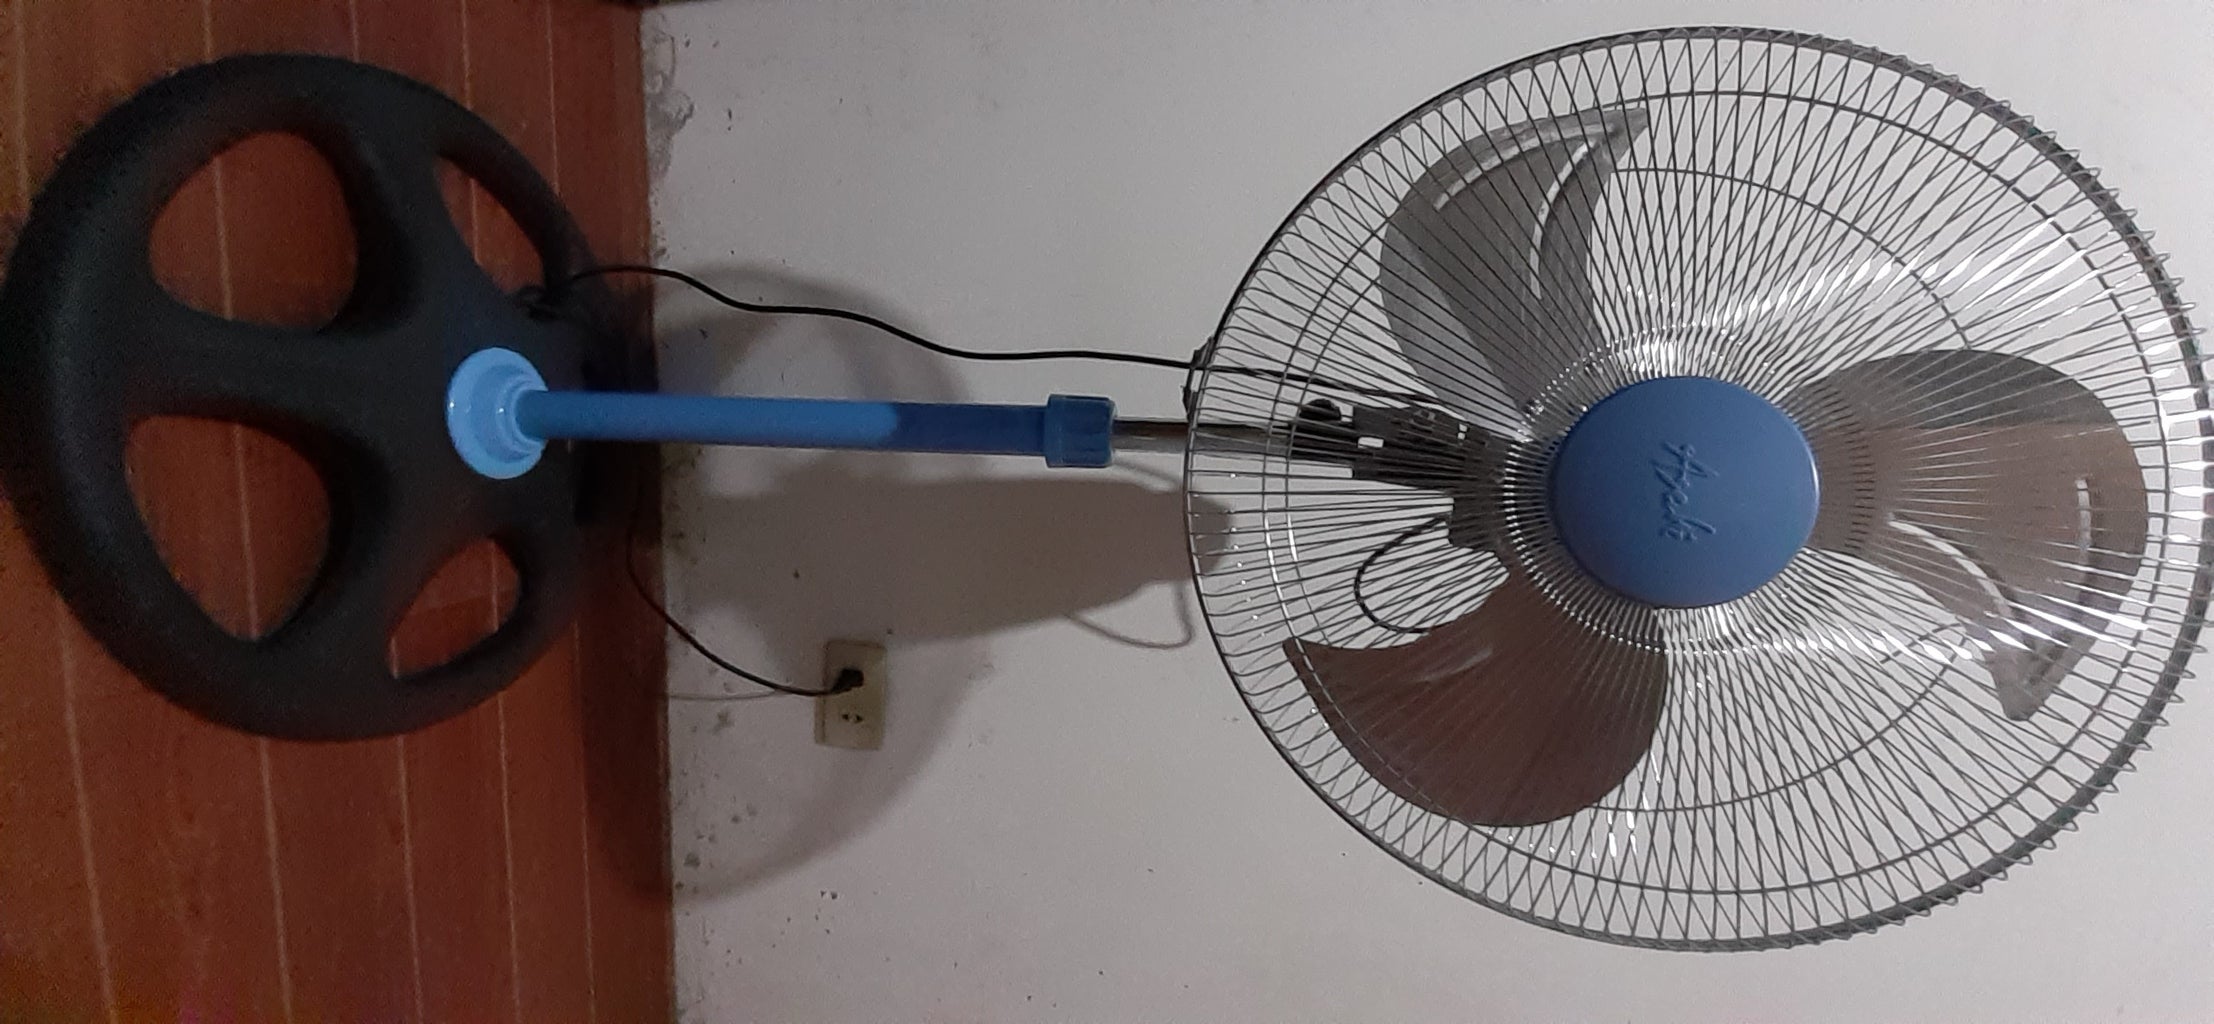
Assembling the Base and Pedestal
Begin by attaching the pedestal stand to the base. Align the holes on the pedestal with those on the base. Secure the stand using the provided screws and washers.
Tighten the screws firmly but avoid over-tightening. Over-tightening can damage the plastic base. Ensure the pedestal stand is stable and doesn't wobble.
A stable base is crucial for the fan's overall stability and prevents accidental tipping.
Attaching the Fan Motor Assembly
Next, carefully slide the fan motor assembly onto the top of the pedestal stand. Most Crompton Greaves fans use a locking mechanism or screws to secure the motor. Follow the instructions in your manual to properly attach the motor.
Ensure the motor is firmly attached and cannot rotate freely. This step is critical for the fan's safe and efficient operation. Always unplug the fan before making any adjustments or repairs.
Installing the Fan Blades and Guards
Slide the rear guard onto the motor shaft. Secure it with the provided nut or clip. Ensure the rear guard is firmly in place to prevent the blades from striking anything.
Now, attach the fan blades to the motor shaft. Align the blades with the designated slots on the motor. Tighten the blade securing nut or screw, ensuring it is snug but not excessively tight. Overtightening the screw can crack or damage the fan blade.
Carefully attach the front guard to the rear guard. Most models have clips or screws to hold the guards together. Ensure the front and rear guards are securely fastened. This prevents accidental contact with the rotating blades.
Final Checks and Functionality Test
Before plugging in the fan, double-check that all screws and nuts are properly tightened. Ensure all parts are correctly assembled and securely fastened. Verify that the fan blades rotate freely without obstruction.
Plug the fan into a power outlet. Test all the speed settings to ensure they function correctly. Listen for any unusual noises or vibrations. If you notice anything out of the ordinary, unplug the fan immediately and consult the troubleshooting section of the manual or contact Crompton Greaves customer support.
Troubleshooting Common Issues
If the fan doesn't turn on, check the power cord and the outlet. Ensure the fan speed settings are properly engaged.
If the fan vibrates excessively, double-check that the blades are properly balanced. Also verify that all screws are tightly secured. Sometimes, uneven placement of the fan on the floor can contribute to vibrations.
If the fan makes unusual noises, inspect the motor for any obstructions or damage. Contact a qualified technician if you are unable to resolve the issue yourself. Never attempt to repair the motor assembly yourself unless you are a trained technician.
Looking Ahead: Maintenance and Longevity
Regular cleaning is crucial for maintaining the performance and longevity of your Crompton Greaves pedestal fan. Use a soft, damp cloth to wipe down the blades and guards. This removes dust and debris.
Periodically check and tighten all screws and nuts. This prevents vibrations and ensures stable operation. Properly storing the fan during off-season months also extends its lifespan.
By following these assembly and maintenance guidelines, you can ensure that your Crompton Greaves pedestal fan provides years of reliable cooling comfort. Enjoy a refreshing breeze all summer long!