How To Install Homebrew On Switch Lite

Nintendo Switch Lite owners, listen up! A new method for installing Homebrew has emerged, potentially unlocking a world of custom games, apps, and modifications for your handheld console.
This guide provides a concise, step-by-step approach to installing Homebrew on your Switch Lite. Proceed at your own risk; improper handling can void your warranty or even brick your device.
Preparation is Key
Before diving in, gather the necessary tools. You'll need a Nintendo Switch Lite, a USB-C cable, a microSD card (64GB or larger recommended), and a computer with internet access.
Download the required software: Atmosphere, Hekate, and TegraRcmGUI (for Windows users).
Format your microSD card to FAT32 or exFAT. This ensures compatibility with the Switch Lite.
Step-by-Step Installation
1. Prepare the SD Card
Extract the downloaded Atmosphere and Hekate archives to the root of your microSD card. Overwrite any existing files if prompted.
Create a folder named "bootloader" on the root of the microSD card, if it doesn't already exist.
Copy the "hekate_ctcaer_x.x.x.bin" file from the Hekate folder on your PC to the "bootloader" folder on your microSD card. Rename it to "payload.bin".
2. Installing the Drivers
If you are on Windows install the TegraRcmGUI application. This will allow you to install the drivers the Switch Lite needs to communicate with your PC.
Put the Switch Lite into RCM mode. With the console powered off, press and hold the Power Button and the Vol + button.
Connect the Switch Lite to your computer via USB-C.
3. Injecting the Payload
Open TegraRcmGUI. If you installed the driver correctly, it will show the Switch Lite is in RCM mode.
Select "Settings", click "Install Driver" and wait for the install to complete.
Under the "Payload" select the "payload.bin" file that you put on your SD Card and click "Inject Payload". Your Switch Lite should now boot to the Hekate menu.
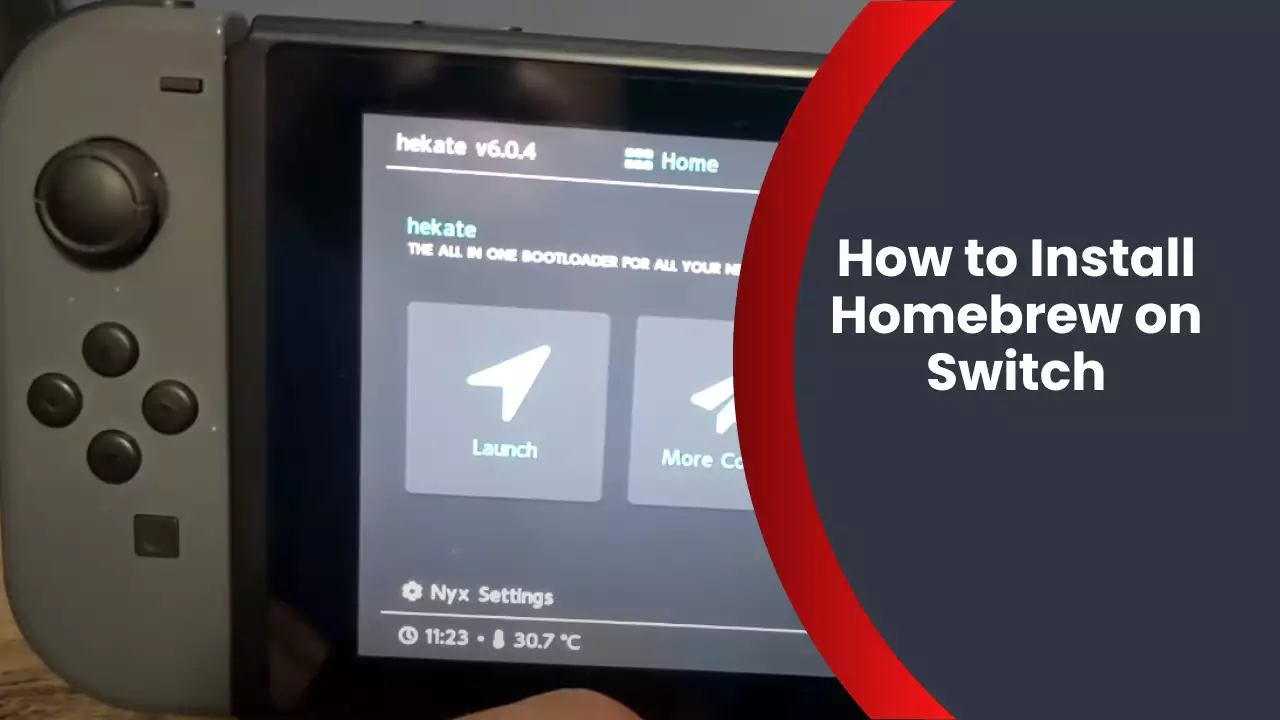
4. Booting into CFW
In the Hekate menu, navigate to "Launch". Select "CFW (sysNAND)".
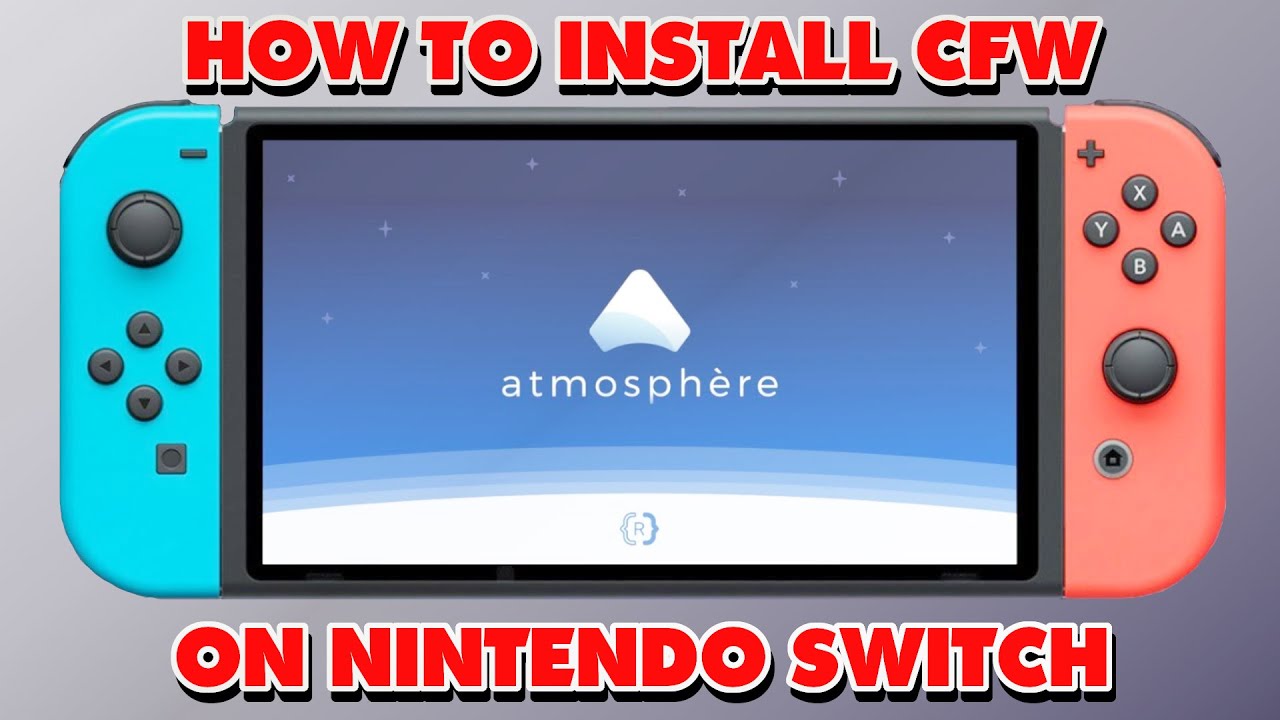
Your Switch Lite should now boot into Atmosphere, a custom firmware (CFW) environment.
If you are successful, a new folder called "atmosphere" will be created on your microSD card. If you encounter any errors, double check each of these steps and search online for help.
Post-Installation
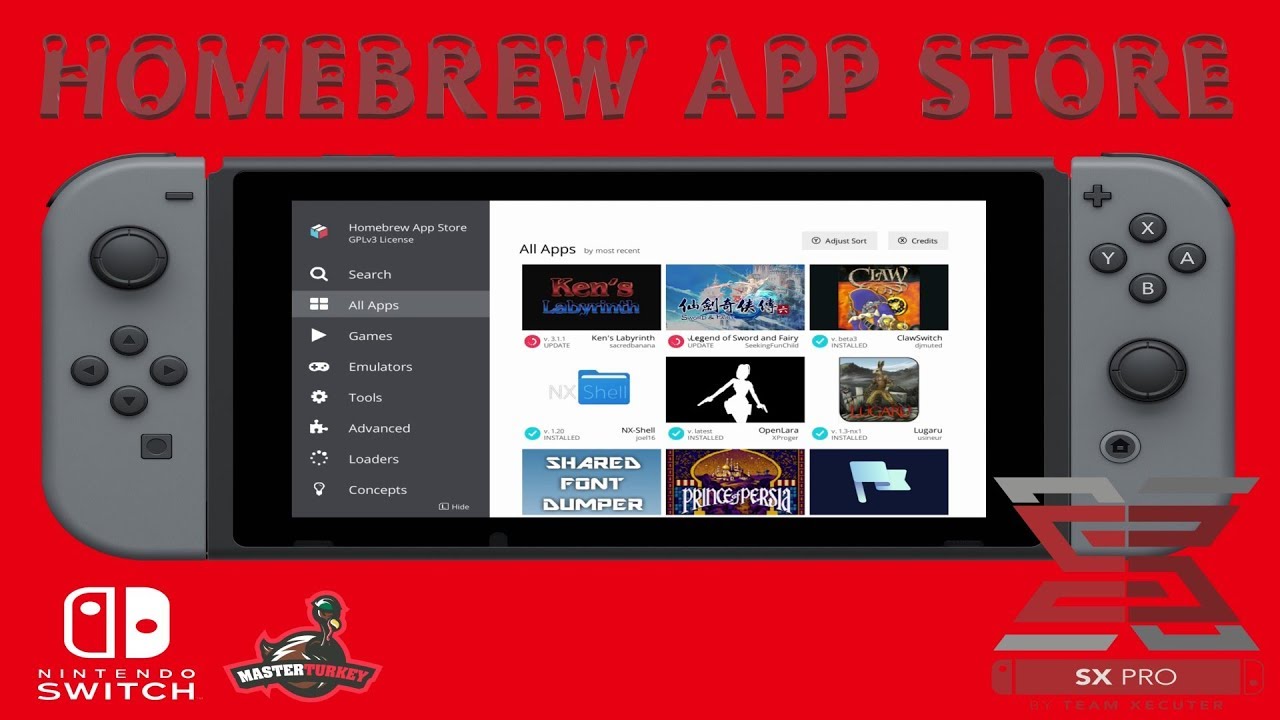
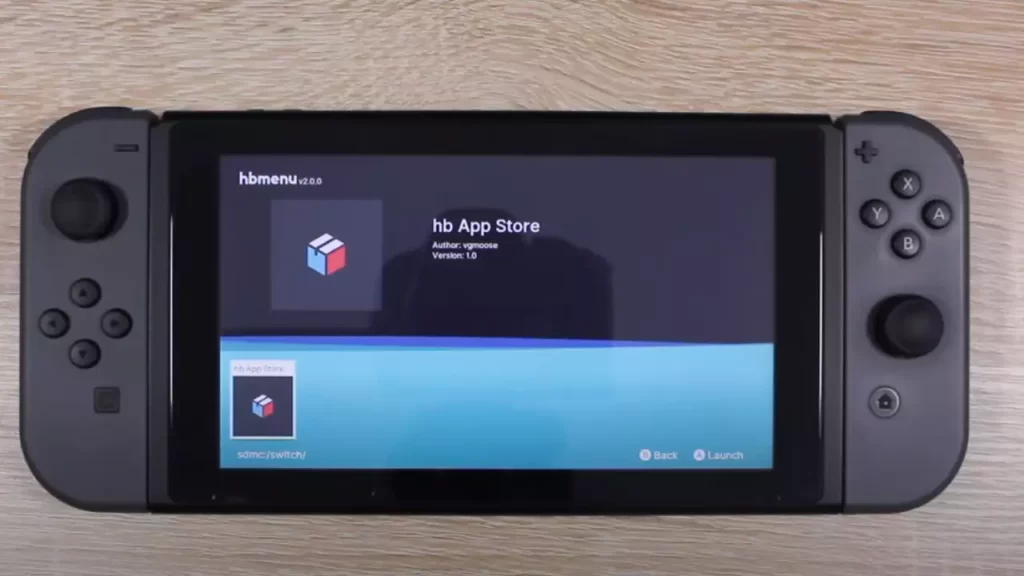
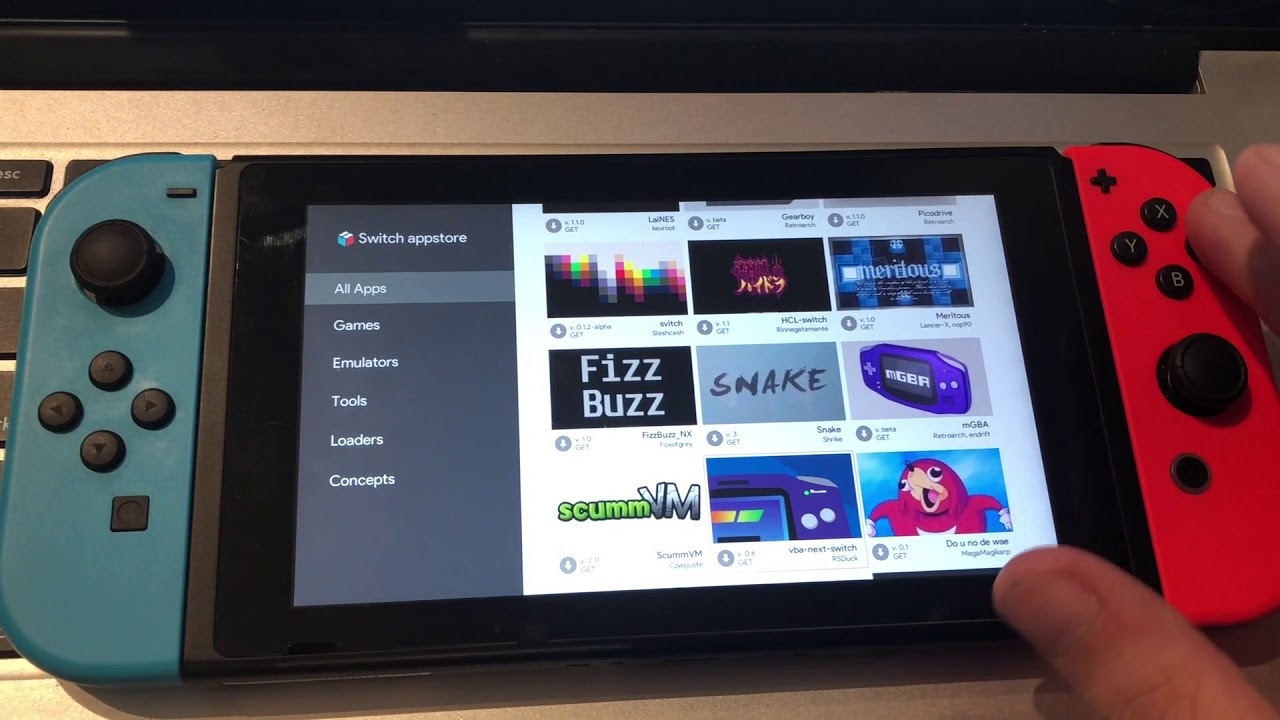
Once in Atmosphere, you can install Homebrew applications using various methods. One common method involves using the Homebrew App Store, which can be downloaded and installed like any other Homebrew application.
Remember, using Homebrew can have consequences. Stay informed about potential risks and benefits before proceeding.
The Nintendo Switch Lite scene is constantly evolving. Stay updated with the latest developments to ensure your system remains secure and stable.
This guide provides a starting point. Consult online communities and resources for more in-depth information and troubleshooting assistance.