How To Setup Dual Monitors On Chromebook

Chromebooks, known for their simplicity and cloud-based functionality, are increasingly becoming a staple for students and professionals alike. One feature that significantly enhances productivity on these devices is the ability to connect to and utilize dual monitors. Here's a guide on how to set up dual monitors on your Chromebook, expanding your workspace and streamlining your workflow.
The process is relatively straightforward, regardless of your technical expertise. The core requirement is ensuring you have the necessary hardware and a compatible Chromebook. This article outlines the steps involved, from checking compatibility to configuring your display settings.
Checking Compatibility and Hardware Requirements
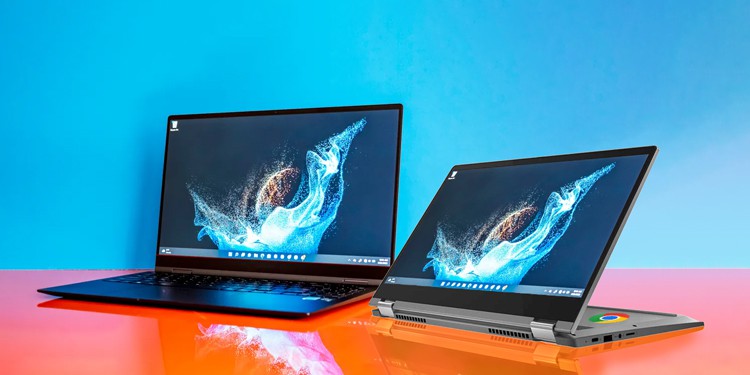
Before diving into the setup, it's crucial to determine if your Chromebook supports dual monitors. Most modern Chromebooks equipped with a USB-C or HDMI port will support external displays, but it's always wise to consult your device's specifications on the manufacturer's website.
You'll need at least one external monitor with either an HDMI, DisplayPort, or USB-C input, depending on your Chromebook's available ports. You might also need an adapter if your monitor's connection doesn't match your Chromebook's ports.
A USB-C hub can be particularly useful, allowing you to connect multiple devices, including external monitors, through a single port.
Connecting the Monitors
Once you've confirmed compatibility and gathered the necessary hardware, physically connect the external monitor(s) to your Chromebook. If you're using an adapter, ensure it's securely connected to both your Chromebook and the monitor.
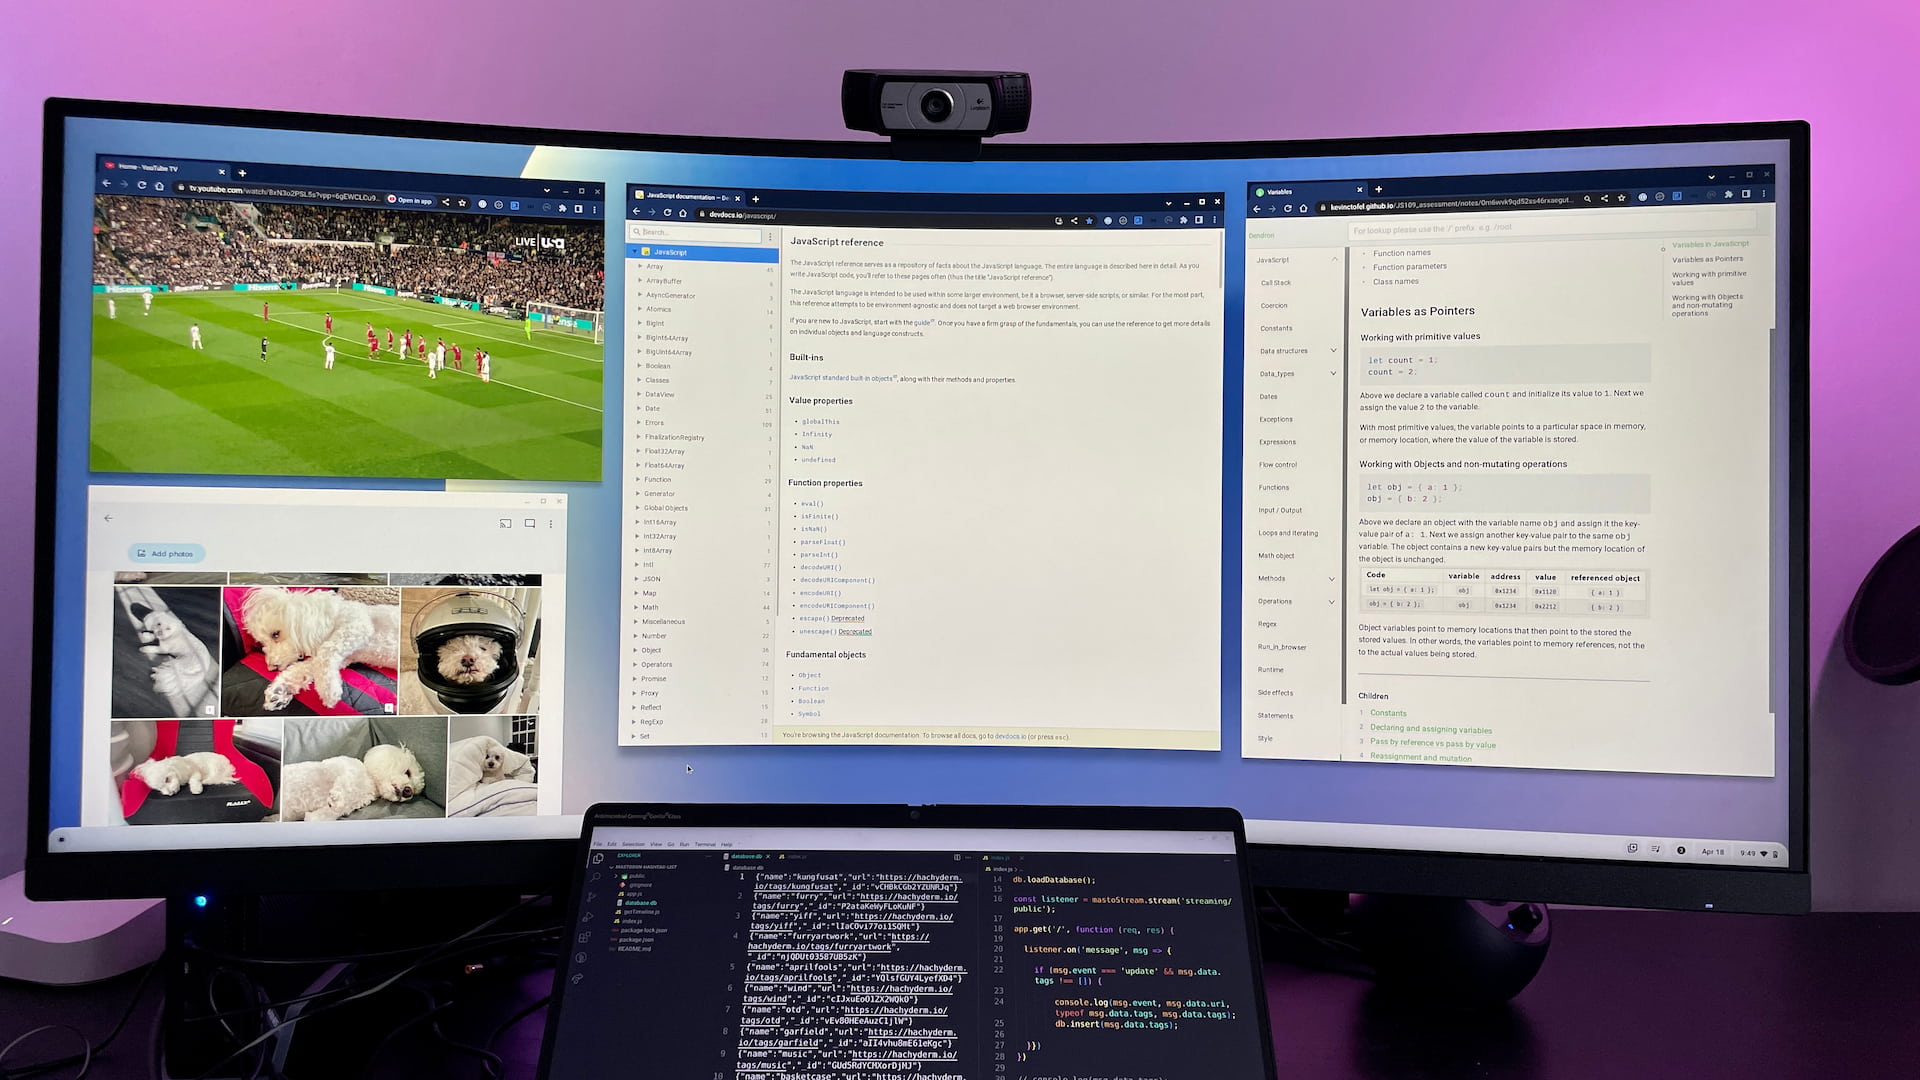
For multiple displays, ensure each is connected correctly using either separate ports or a suitable hub. Once connected, your Chromebook should automatically detect the external monitor(s).
Configuring Display Settings
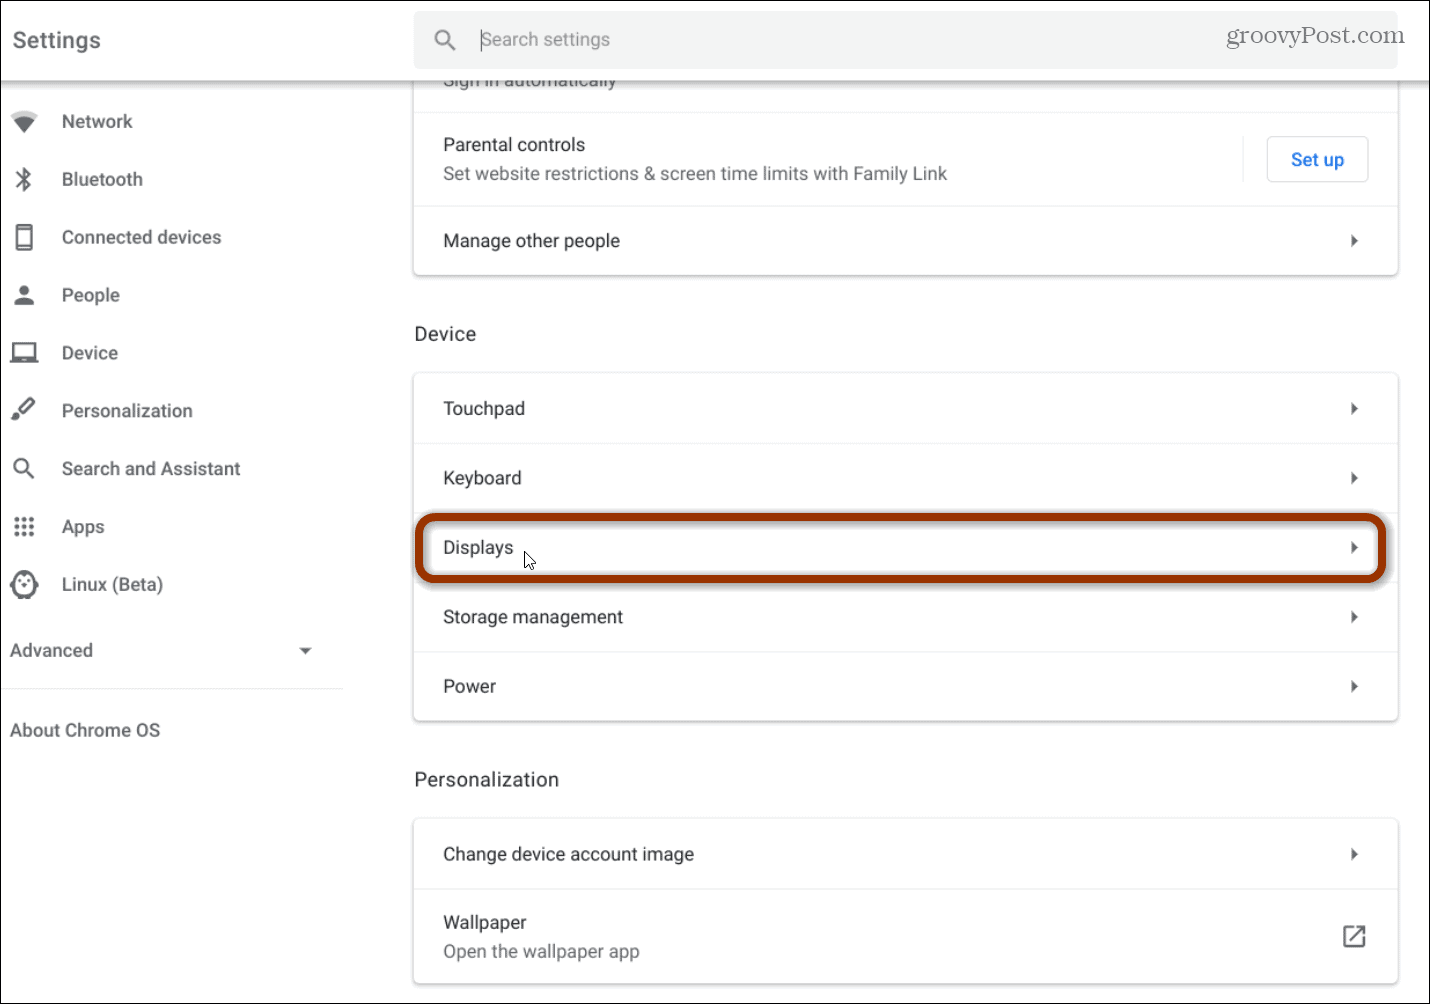
If your Chromebook doesn't automatically detect the external monitor, or if you want to adjust the display settings, navigate to the Settings menu. You can do this by clicking on the system tray (bottom-right corner of your screen) and then clicking the gear icon.
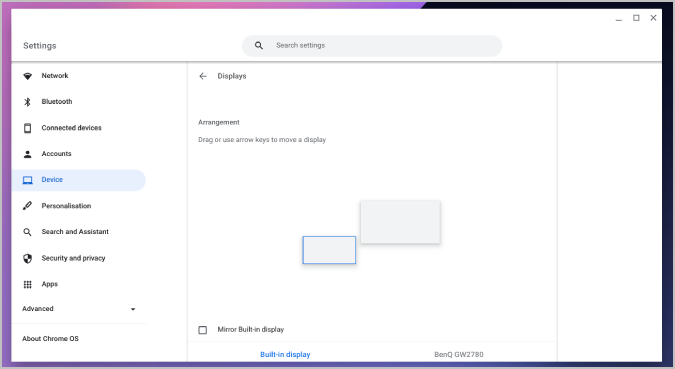
Within the Settings menu, search for "Displays" or navigate to "Device" and then "Displays." Here, you'll find options to arrange, mirror, or extend your display.
You should see representations of your Chromebook's built-in display and the connected external monitor(s). You can drag and drop these representations to arrange them in the way that best matches your physical setup. For example, if your external monitor is to the left of your Chromebook, drag the external monitor's icon to the left of the Chromebook's icon.
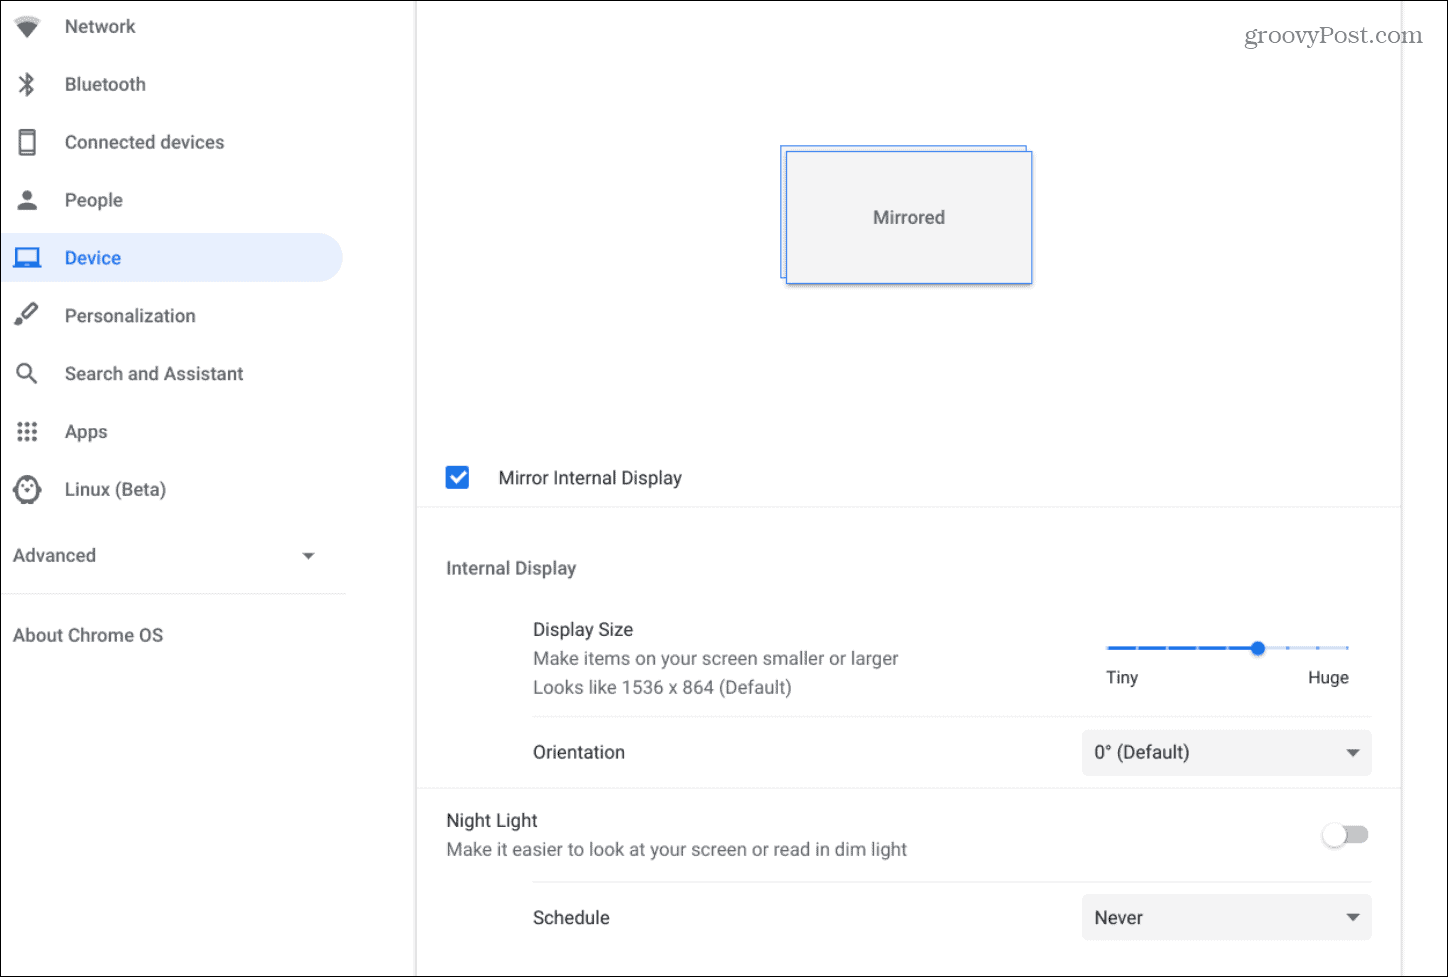
Choose whether you want to mirror your display (showing the same content on both screens) or extend it (treating the external monitor as an extension of your desktop). Extending your display is generally the preferred option for maximizing productivity.
You can also adjust the resolution, orientation, and refresh rate of each display individually. Ensure that the resolution is set to the recommended value for your monitor for optimal clarity.
Troubleshooting Common Issues
Sometimes, even with the correct setup, issues can arise. If your Chromebook doesn't detect the external monitor, try restarting both your Chromebook and the monitor.
Check the cable connections to ensure they are secure. If you're using an adapter, try a different one, as faulty adapters are a common cause of display issues.
Ensure your Chromebook's operating system is up to date. Outdated software can sometimes cause compatibility problems. You can check for updates in the Settings menu under "About Chrome OS."
If the display appears distorted or blurry, double-check the resolution settings. Using an unsupported resolution can lead to visual artifacts.
According to Google's Chromebook Help documentation, compatibility can vary across different models. Consulting the official documentation for your specific Chromebook model is often helpful.
Benefits of Dual Monitors on Chromebook
Setting up dual monitors on a Chromebook offers significant benefits in terms of productivity and multitasking. Users can dedicate one screen to research or reference materials while working on a document on the other.
This setup also streamlines workflows for creative professionals, such as graphic designers and video editors, who can utilize one screen for their primary workspace and the other for tools and palettes. The National Center for Education Statistics (NCES) often highlights accessibility and personalization of educational devices, and dual monitors enhances both of these aspects for students.
By following these steps, users can easily set up dual monitors on their Chromebooks, unlocking a more efficient and productive computing experience. It's a simple upgrade that can have a significant impact on your daily workflow.
The increase in screen real estate fosters a more organized and focused working environment.


![How To Setup Dual Monitors On Chromebook How to Use a Chromebook as a Monitor [ 5 Easiest Ways ] - Alvaro Trigo](https://alvarotrigo.com/blog/assets/imgs/2022-12-23/how-use-chromebook-monitor.jpeg)
![How To Setup Dual Monitors On Chromebook How to Use a Chromebook as a Monitor [ 5 Easiest Ways ] - Alvaro Trigo](https://alvarotrigo.com/blog/assets/imgs/2022-12-23/chromebook-monitor-hdmi.jpeg)
